A heat sealing iron can be made in less than 30 minutes for about $20.
My DIY iron is made of an adjustable-temperature soldering iron (this one) and two different sizes of copper tubing that I found at a local plumbing and heating/refrigeration supply shop. The North American sizes are in inches (1/4″ and 3/8″), but hopefully you can find something similar wherever you happen to be. (If not, please tell me and I will offer it in the Shop.)
Use a hammer to flatten and bend the larger tubing by hammering it against a flat surface (or use a vice, if you have one). Be careful to keep the “foot” surface smooth so it will not tear your fabric. Then bend up the end and corners with your pliers so they won’t snag the fabric either.
The fit between the iron-tubing-tubing doesn’t have to be exact – just crimp them together with your pliers to make sure there is plenty of contact between the components so that heat will be conducted from the soldering iron into the flattened tubing. (The pictures do not show the tubing fully crimped because I wanted to be able to take this one apart easily so I can make a better one in the upcoming video.)
Once it’s assembled, plug in the soldering iron and adjust the temperature by trial and error until it seals your fabric well without melting it. (Allow sufficient time for the temperature to stabilize each time you make an adjustment.) When sealing your fabric, remember to apply pressure as well as heat to get a good bond.
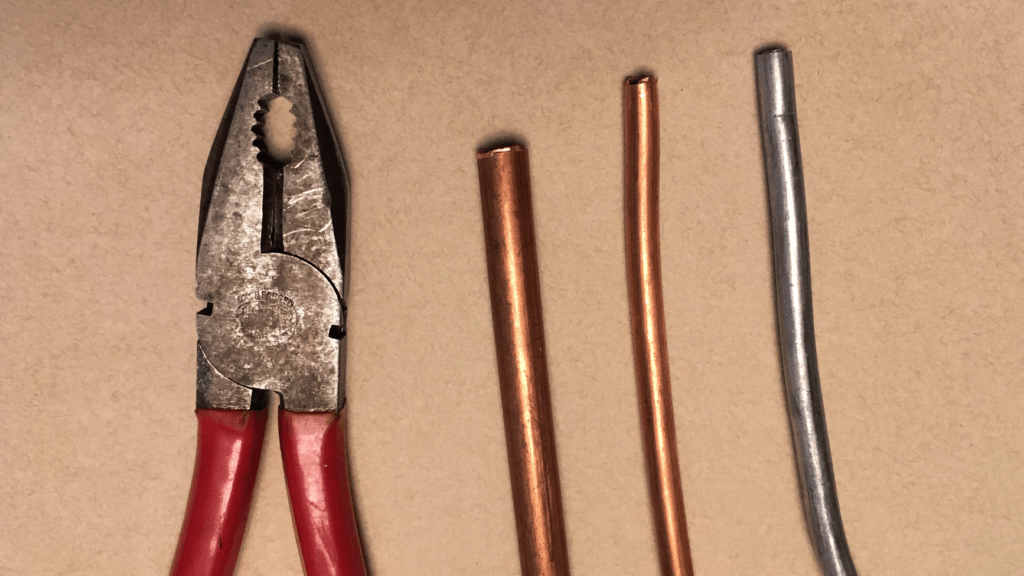
Copper (and aluminum) tubing, with pliers for scale.
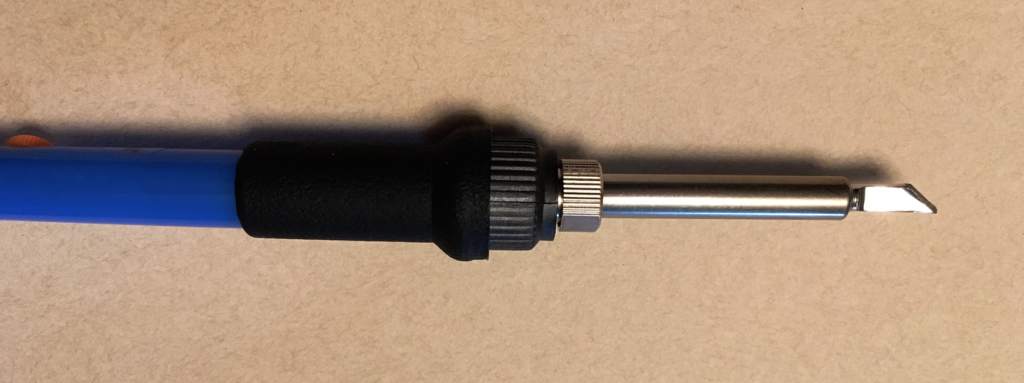
Adjustable soldering iron (comes with interchangeable tips).
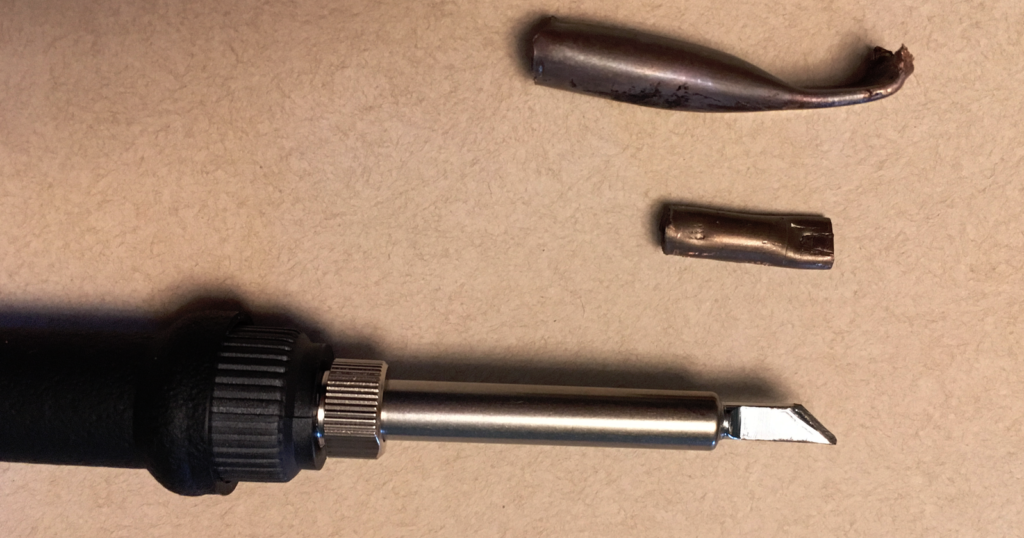
Components
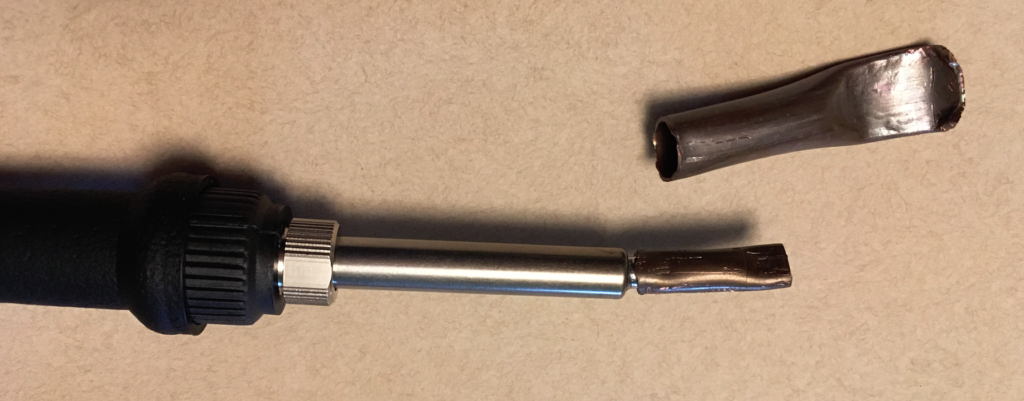
Assembly, step 1
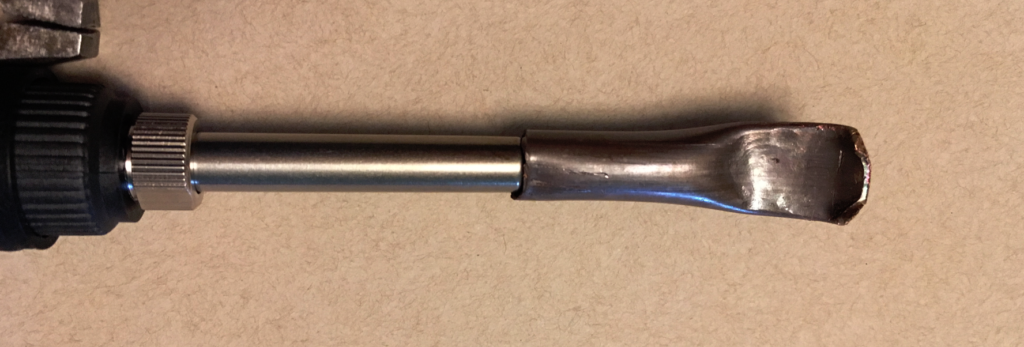
Assembly, step 2
If you don’t mind spending more money for a nicer tip, you could purchase a set of Coverite trim sealing iron tips and make an adapter to attach one to your soldering iron (it won’t fit without some modifications unless your iron accepts ~1/4″ diameter tips). 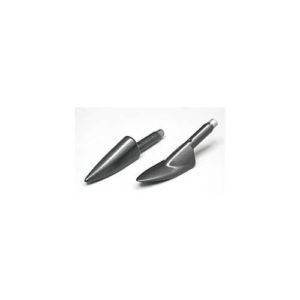 The Coverite tip almost fits inside 1/4″ copper tubing, while 3/8″ is too big, so one approach would be to cut a slot lengthwise in some 1/4″ tubing so you can force the tip inside, and then slide 3/8″ over that (for increased strength and heat transfer) and crimp everything together onto the soldering iron tip. Another option is to drill a hole in the aluminum trim sealing tip to accept your soldering iron tip (use aluminum foil as a shim, if necessary). See the video above for details.
(Thanks to David for the links.)