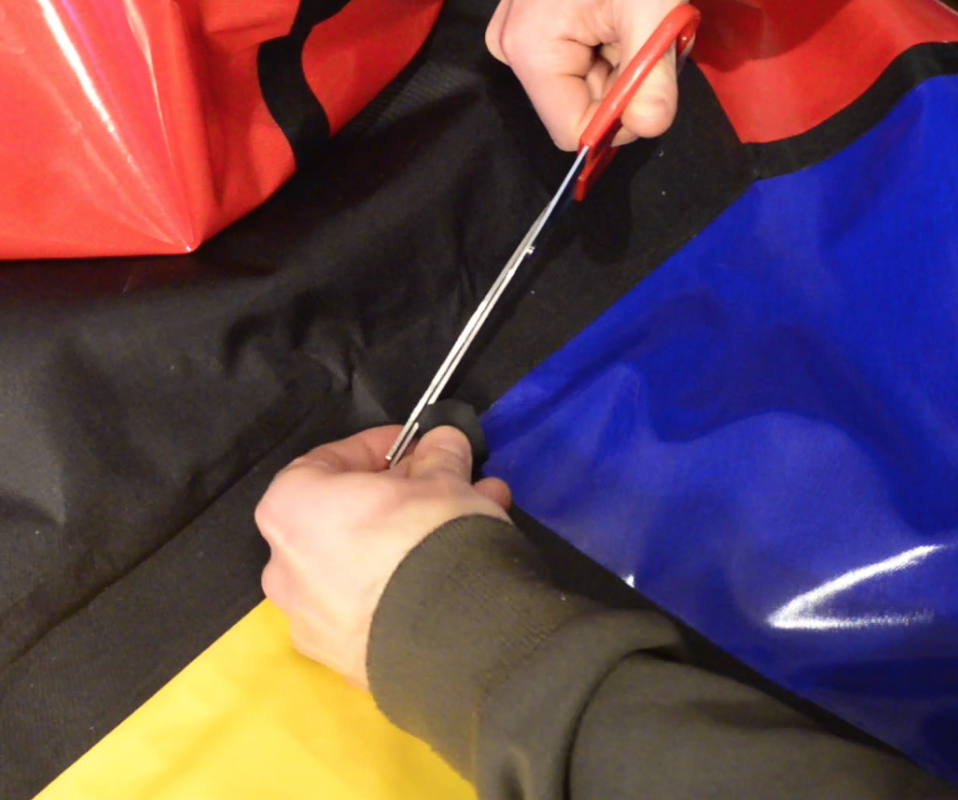
The front and rear center seams are the final seams to be sealed on your packraft. If you didn’t cut thin strips for them in Step 2, do so now using the lengths indicated here.
Front Center Seam
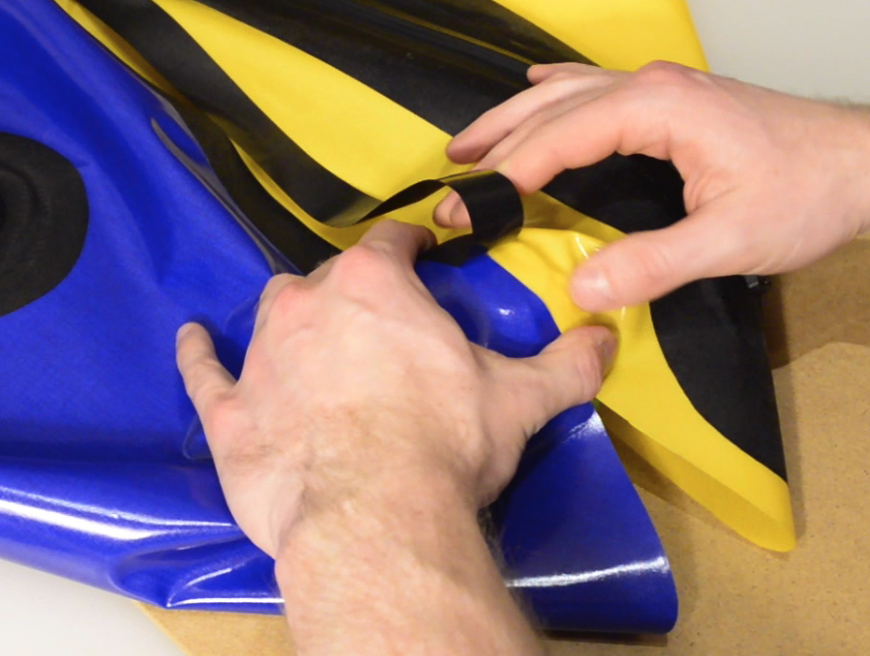
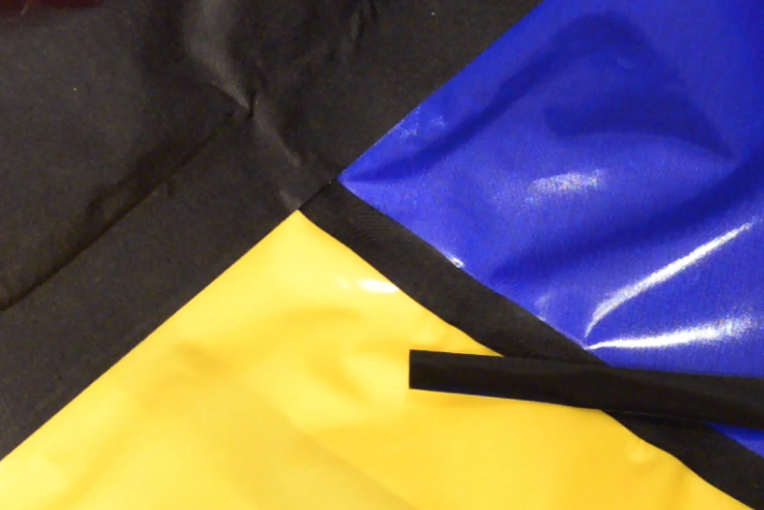
Start by laying out your packraft topside up with the front end pointing towards you.
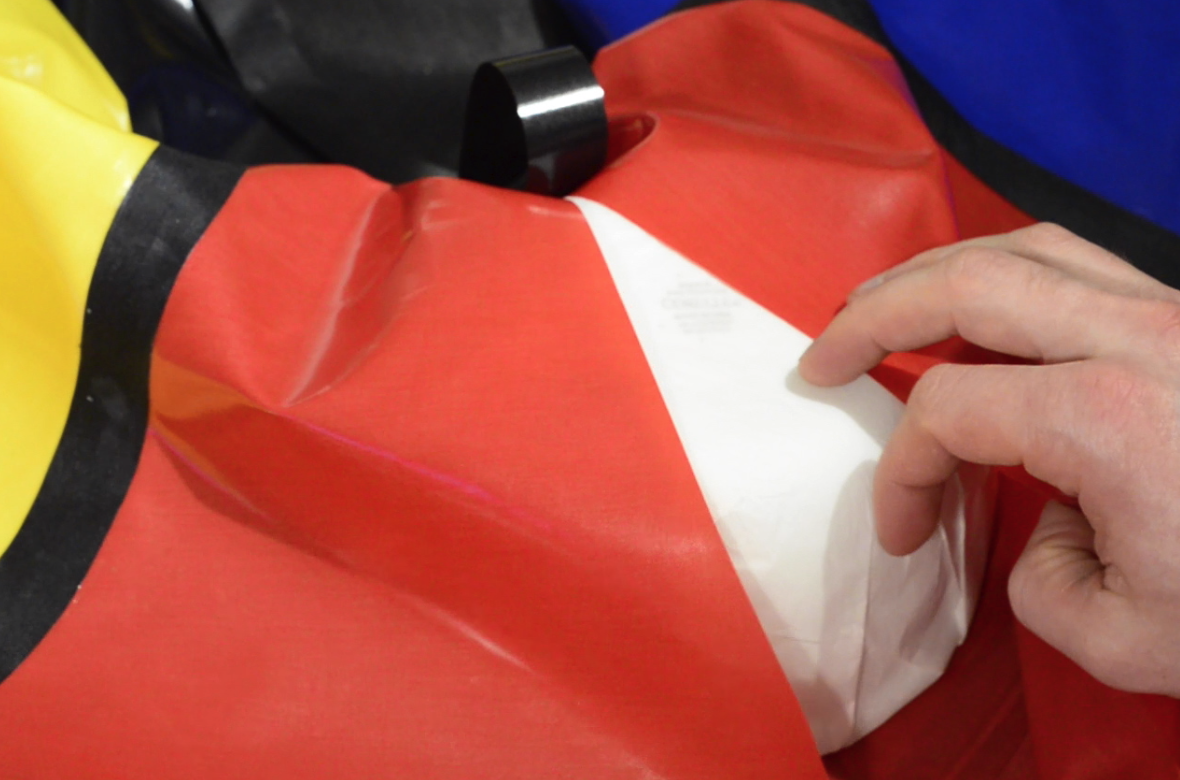
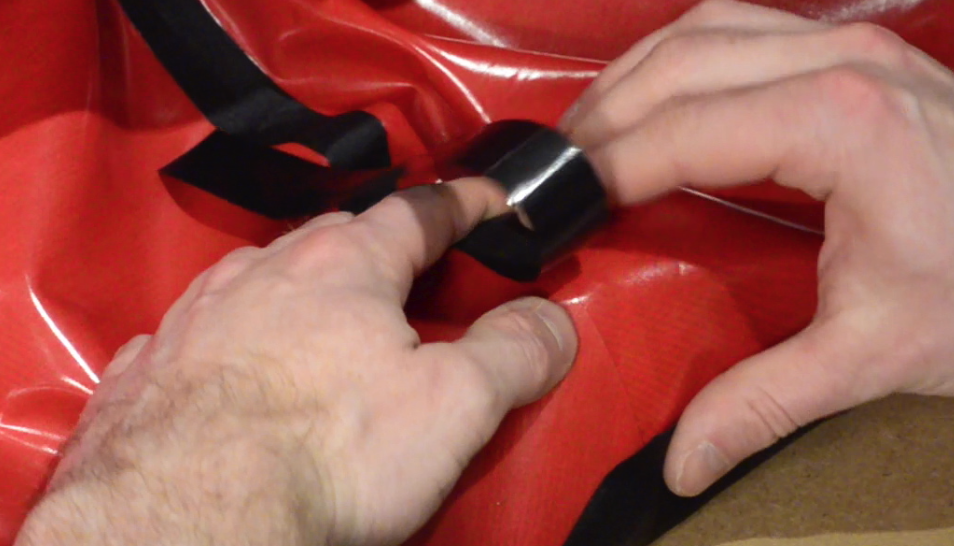
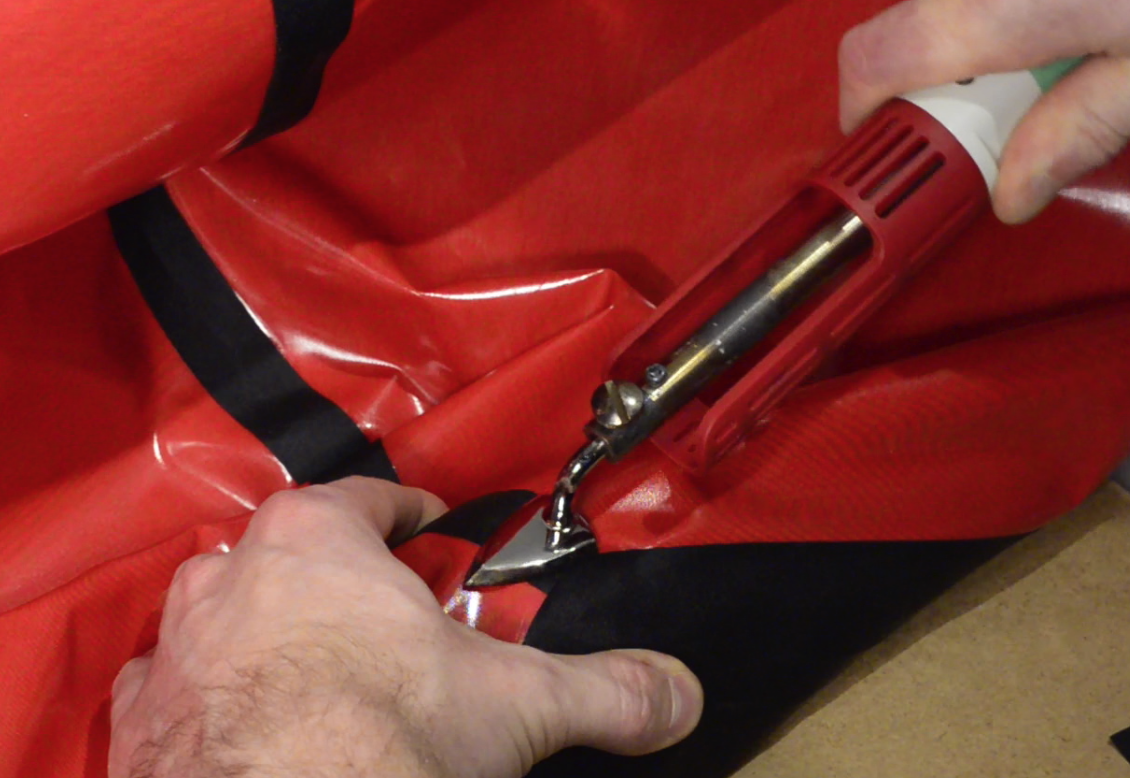
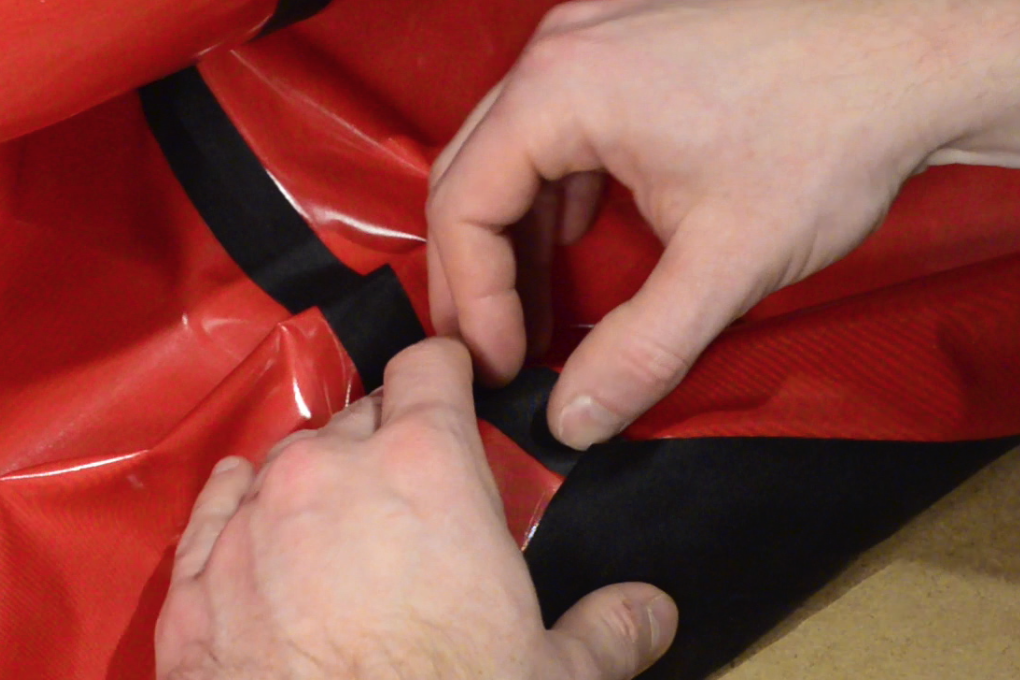
Fold a 2 cm tab at the end of your 110 cm narrow strip and place it so it can bond to the top of the floor before folding back to bridge the gap between the tube pieces, TPU side to TPU side.
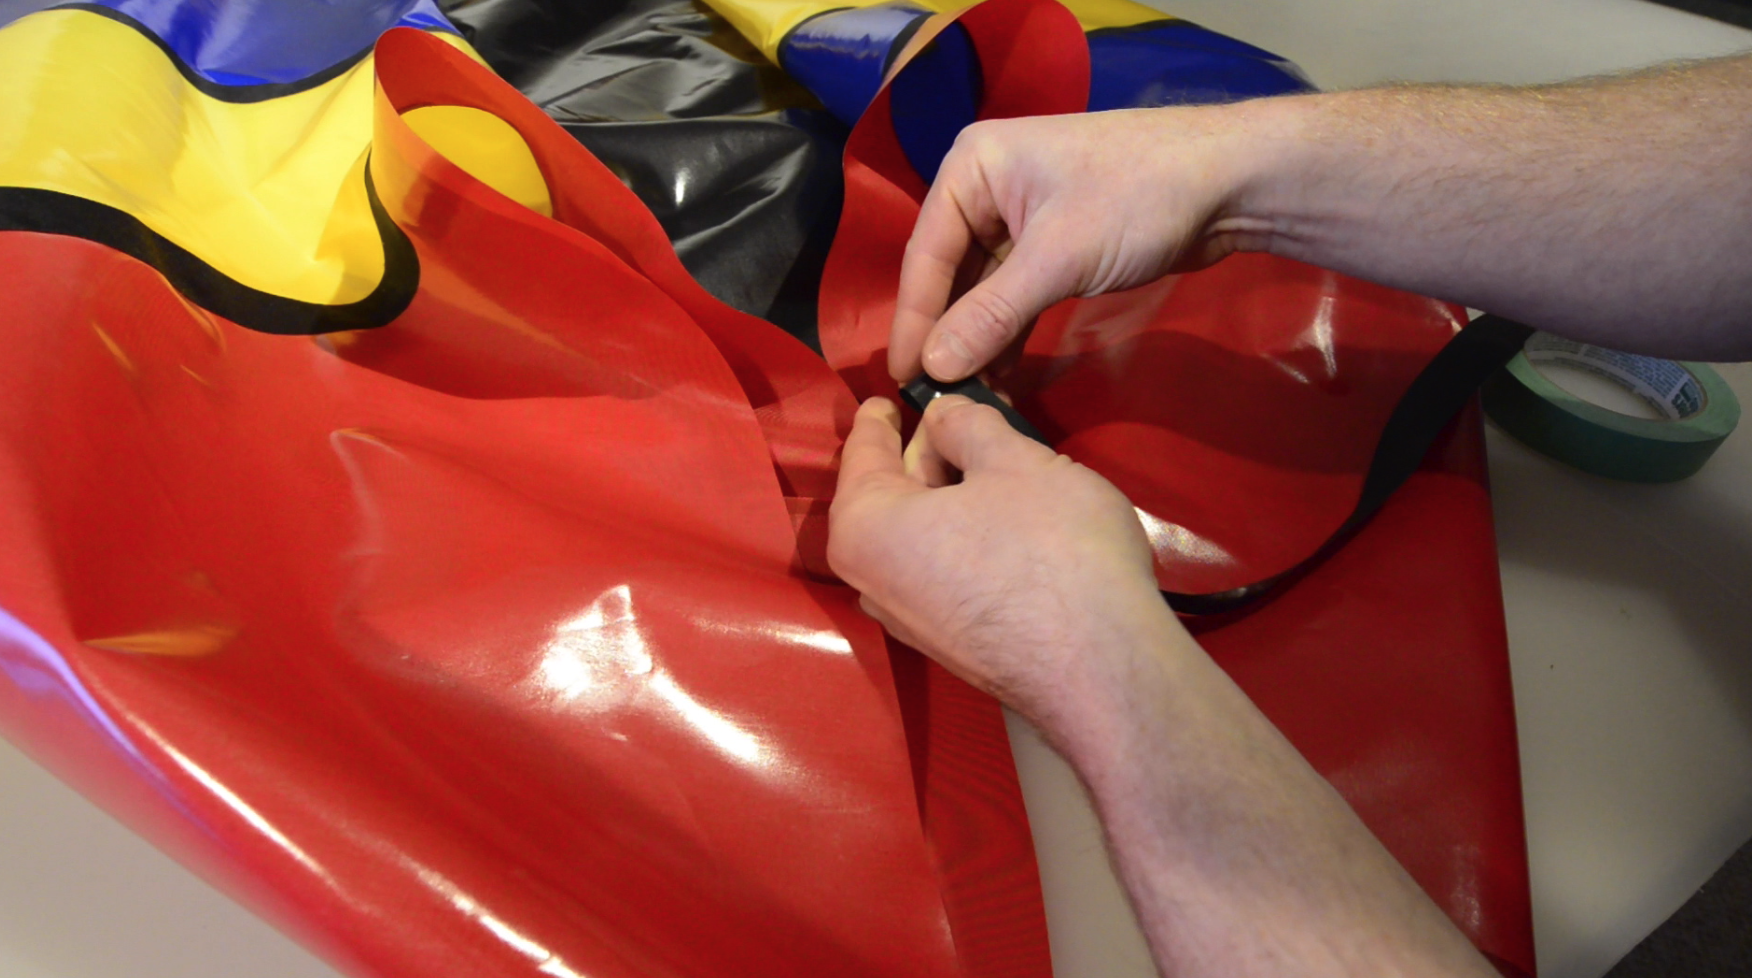
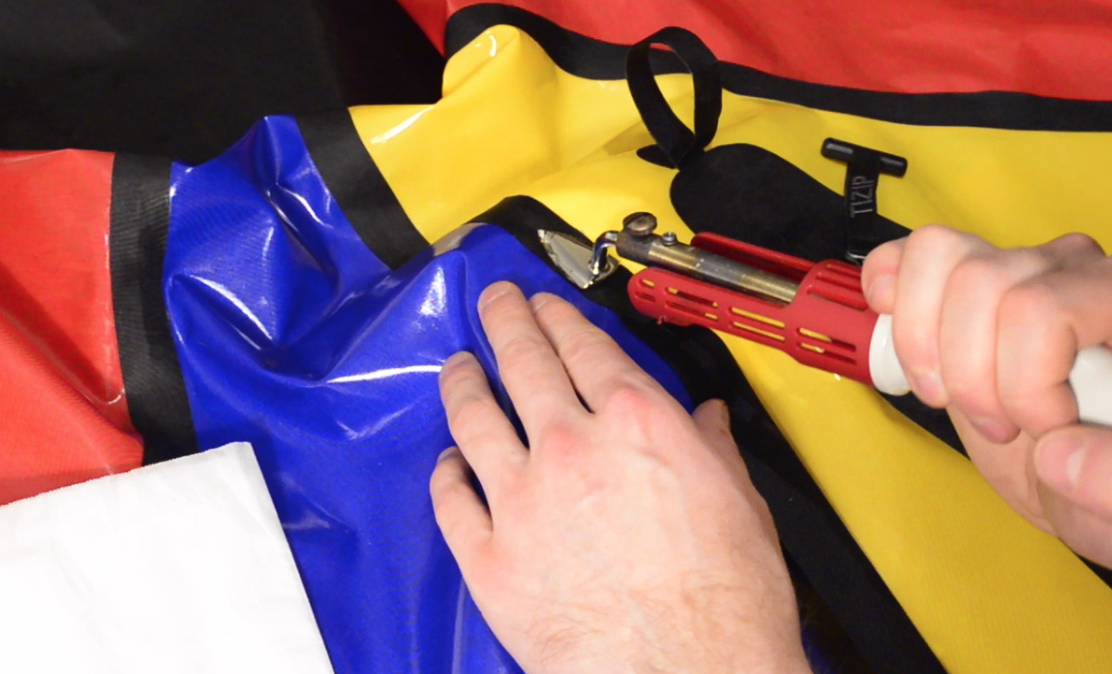
Tack the end in place with your iron, and then place a piece of parchment paper under the seam and begin bonding the tube pieces to the strip below.
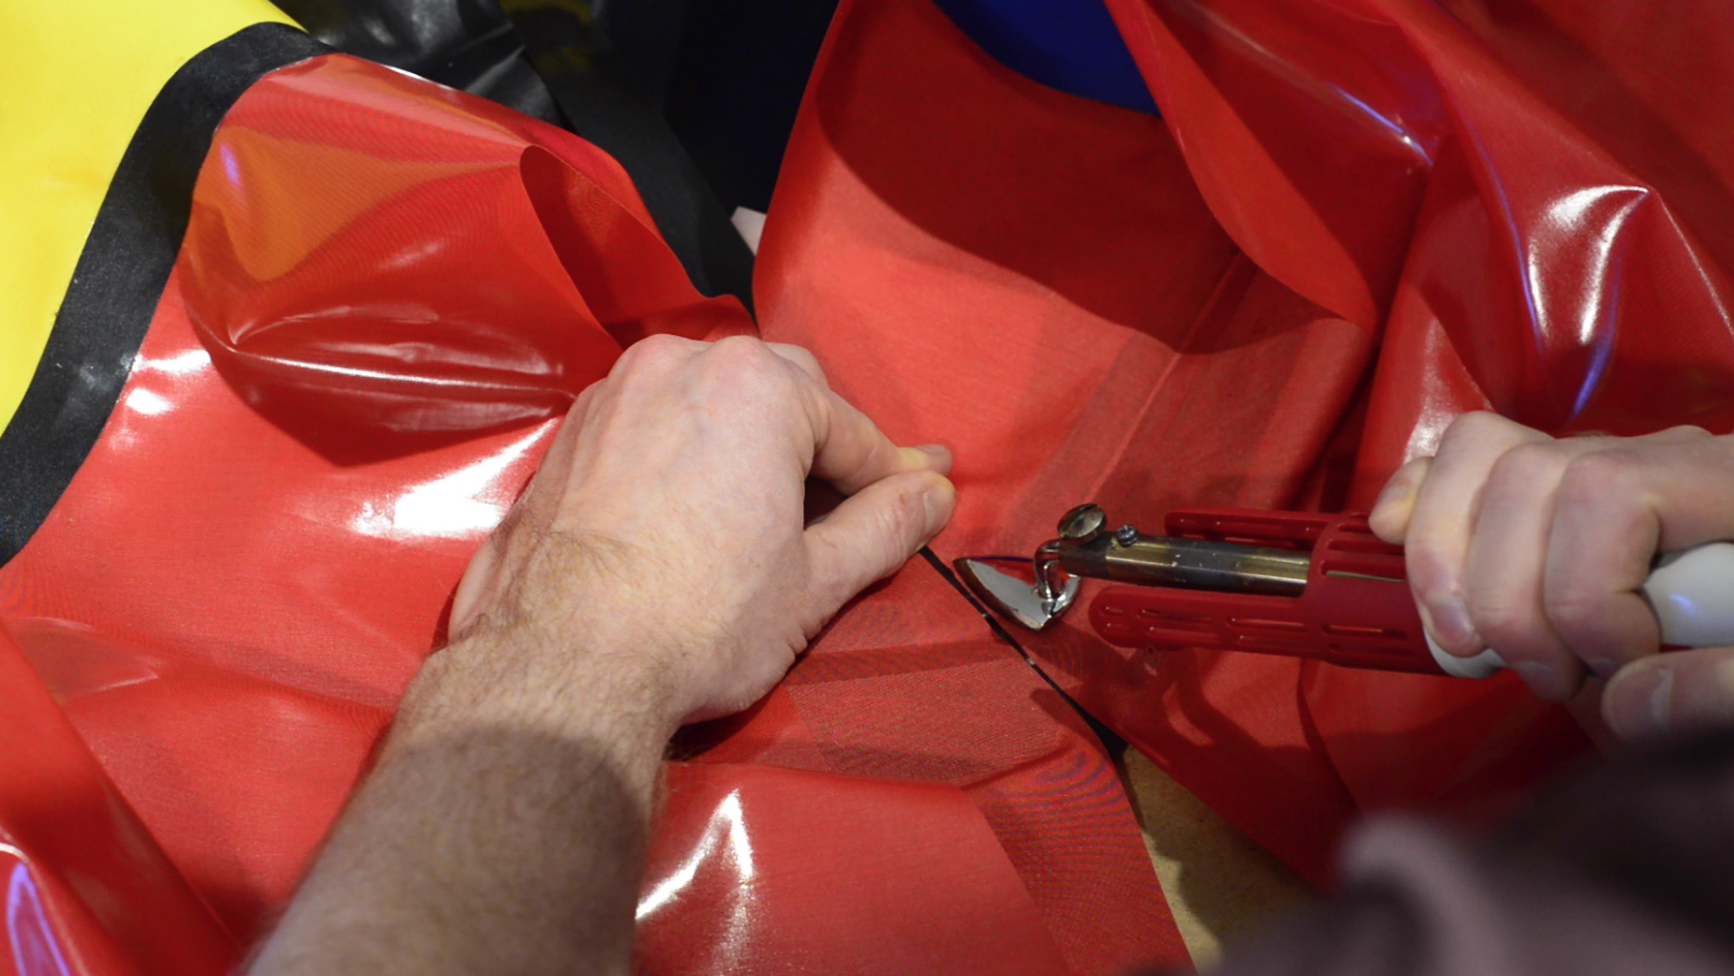
To accommodate the curved sides of the tube pieces, you will soon find it necessary to place a bowl under the seam.
As you move farther along the seam, accessing it from the “inside” side of the tube will become too awkward; when that happens, move your bowl inside the tube and seal the rest of the seam from the narrow strip side.
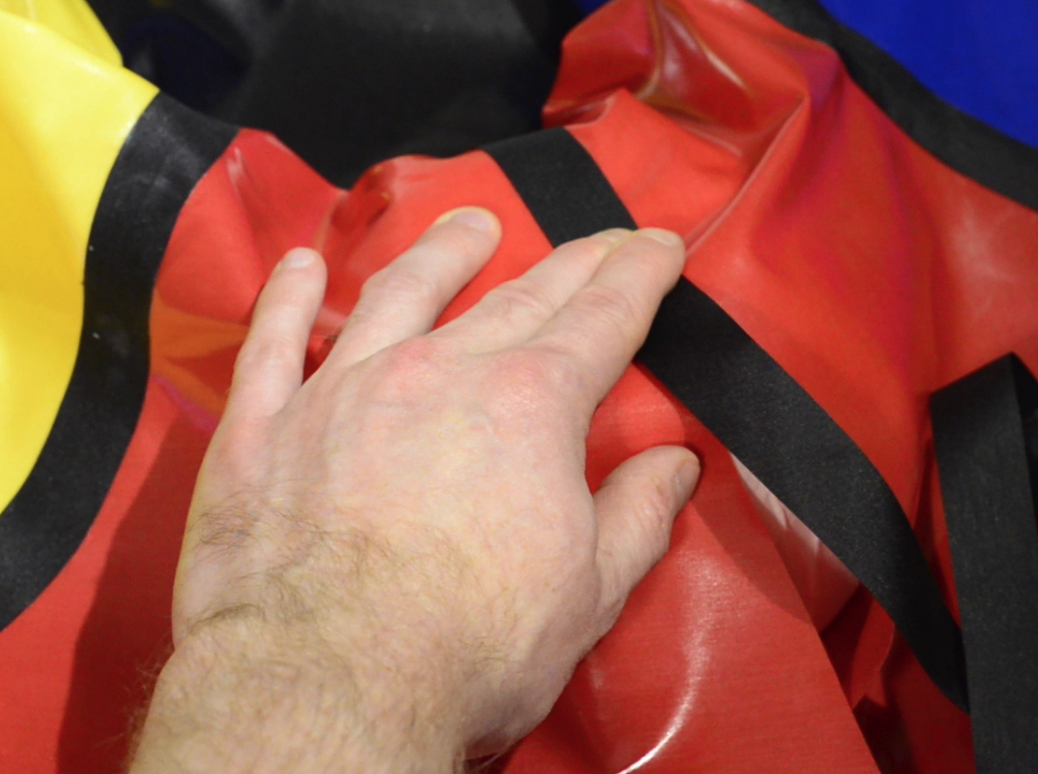
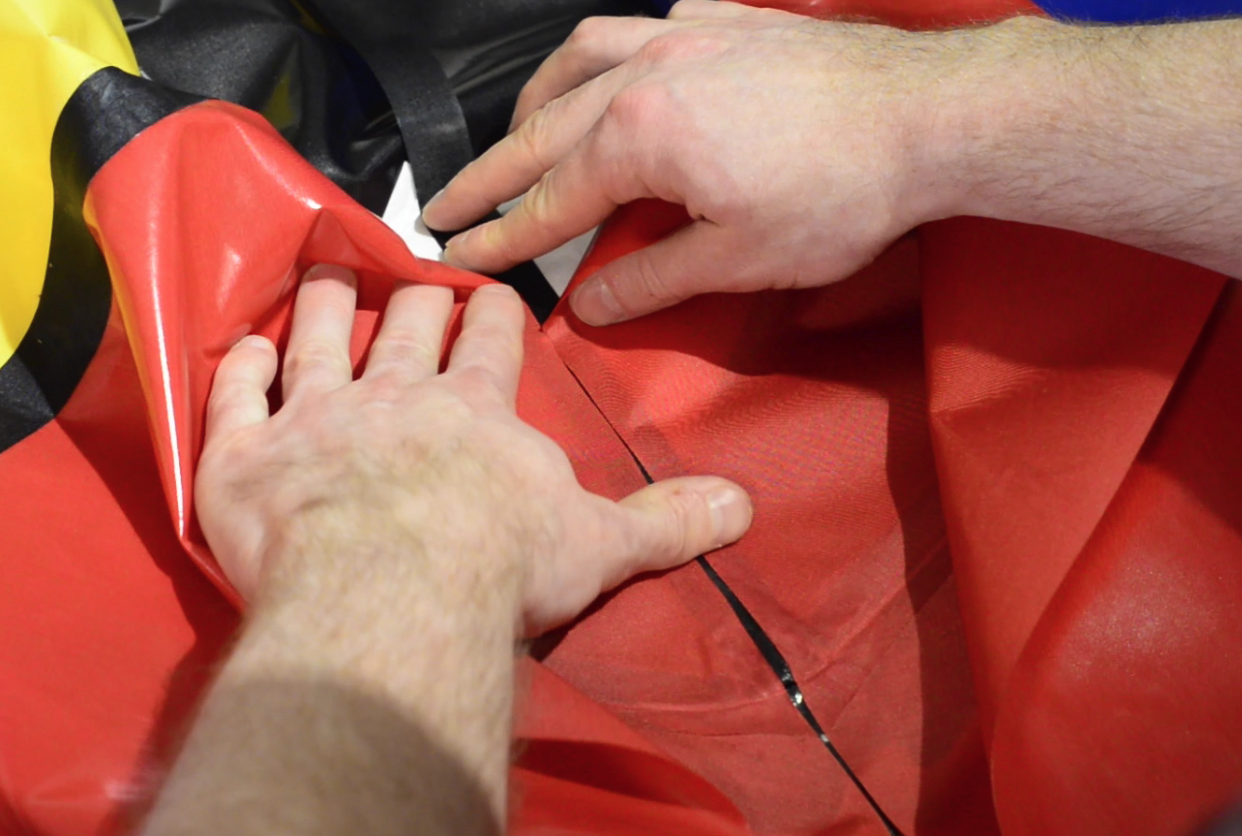
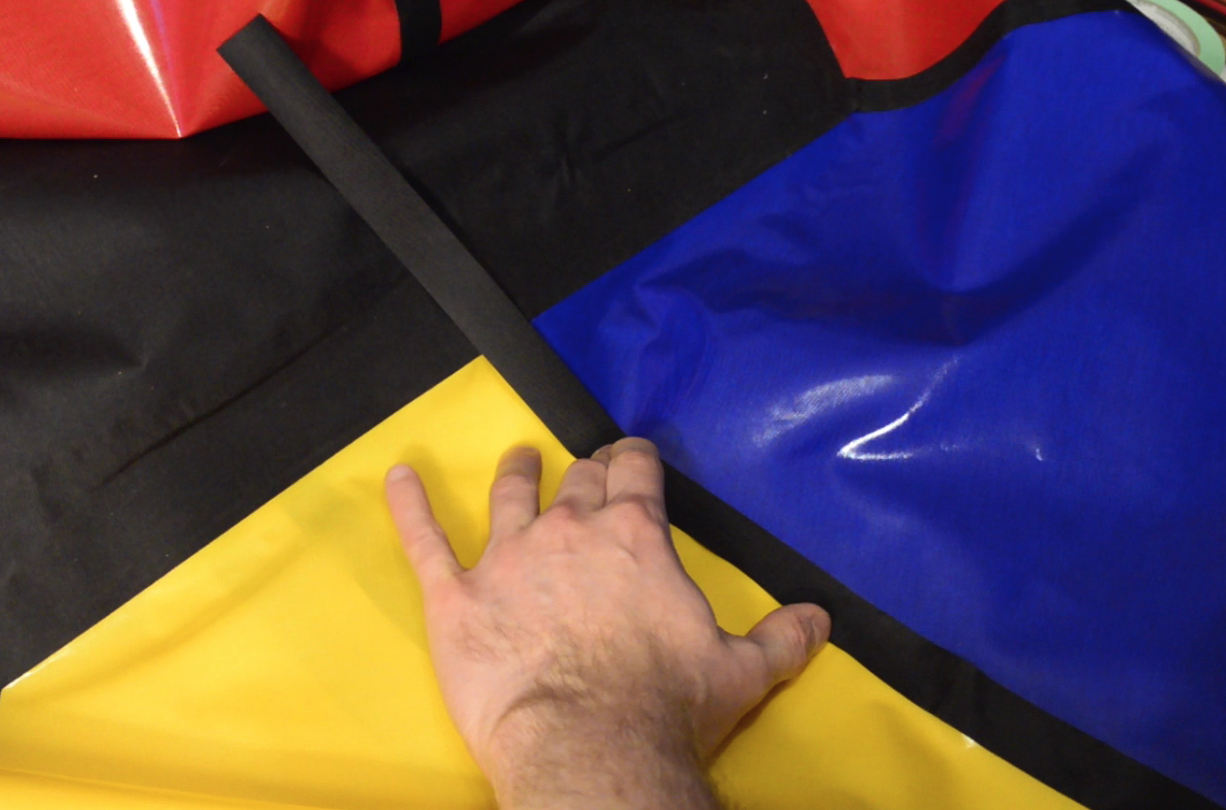
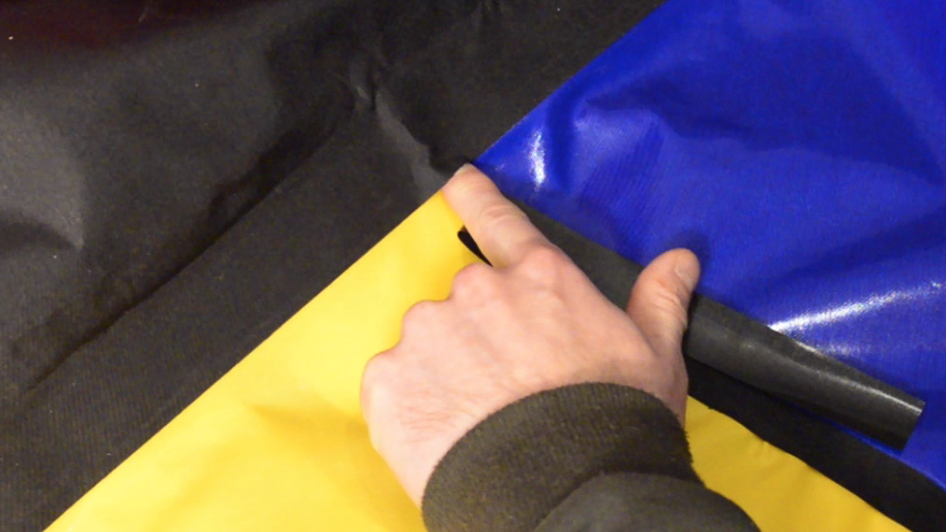
To finish the seam, bond the strip all the way around to the outside of the floor.
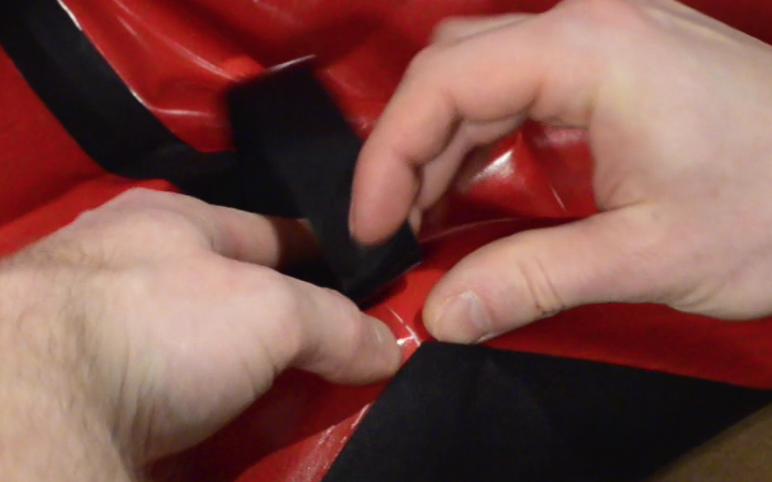
Use the technique described in the Tip video from Step 2 to ensure that the end of the seam lines up properly without excess fabric bunching up on one side. (If you still have excess fabric on one side, remove a “dart” of fabric perpendicular to the seam. Seal the dart with a second narrow strip, as in the picture below.)
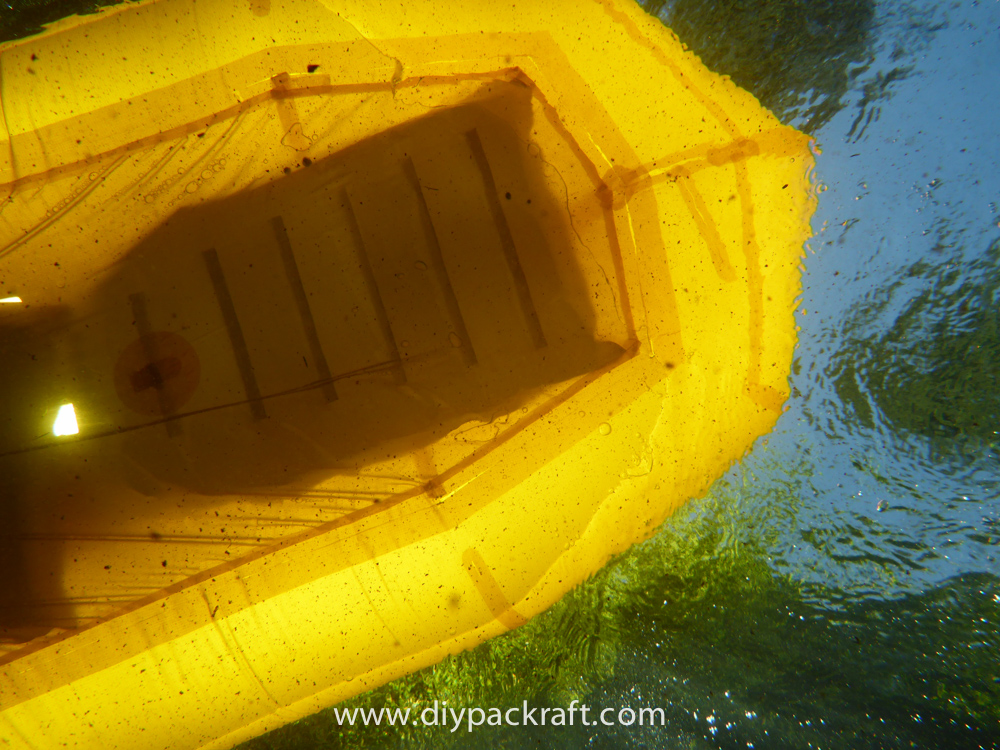
Underwater looking up. Here a “dart” is visible on the front seam of my yellow prototype.
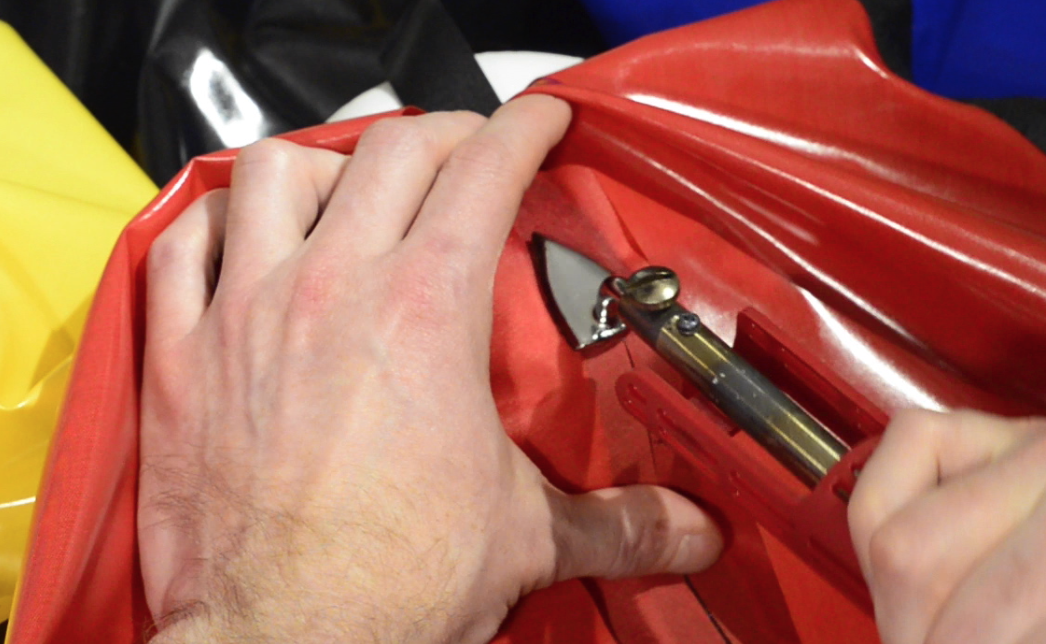
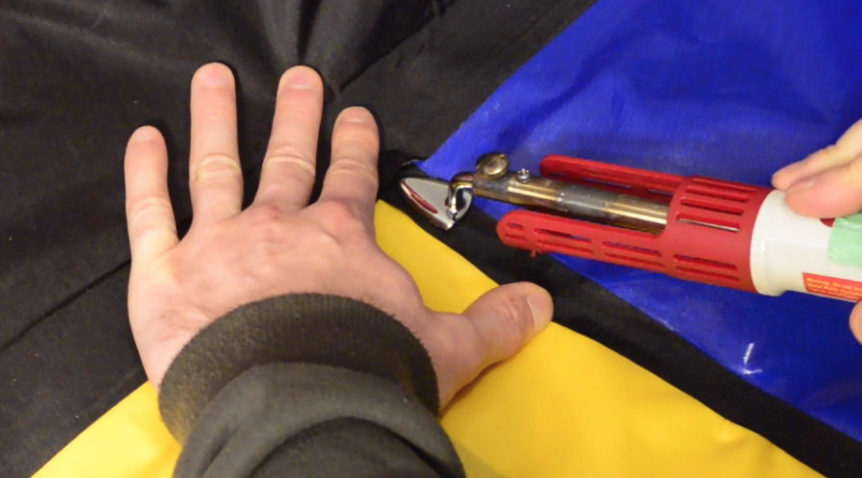
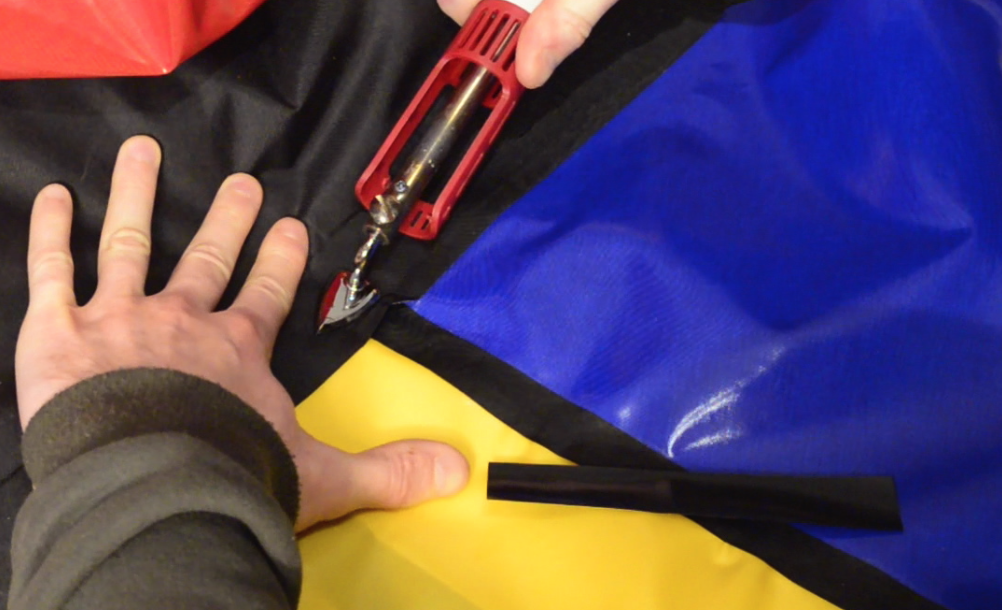
When you reach the end of the seam, trim the narrow strip to length, leaving an additional ~1 cm at the end of the strip that you can fold back to bond to the floor piece. (Later, we will add some glue in the small, unsealed pocket formed here.)
When that’s done, remove the bowl from inside the tube by sliding it out the far end of your packraft.
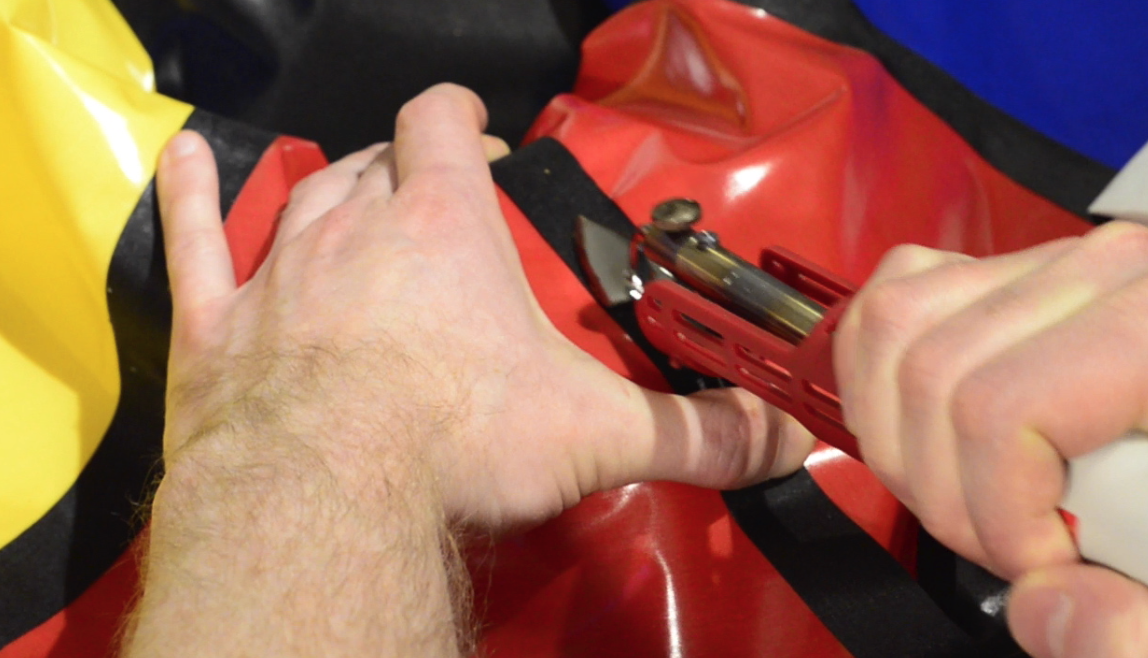
To prevent a leak from forming where the corners of the tube pieces bond to the floor, spread some glue here after the seam is completed as you did with the other tube seams. This time, you will have to reach in from the far end of the tube (before you seal the rear center seam) and apply the glue by feel. This is easier than it might seem – simply place your other hand on the outside of the tube so you can feel the position of the glue tube through the fabric.
Rear Center Seam
Now that the front center seam is done, it’s time to seal the rear center seam.
Begin it in the same way as the front center seam, starting at the tube-floor joint on the inside of the packraft.
Because the radius of the pointed stern is small, you will find it helpful to have a smaller bowl available, as well as your regular-size bowl.
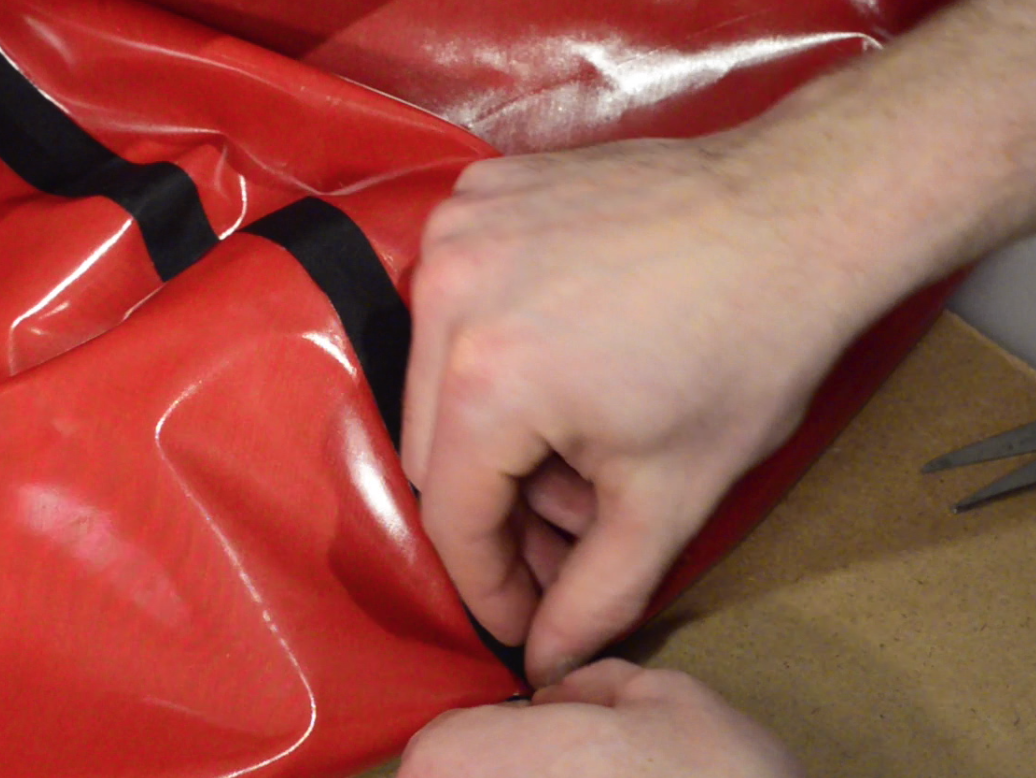
It is difficult to wrap a narrow strip around the pointed stern without creating wrinkles, so instead of bonding a single 175 cm strip all the way around this seam, you will find it easier to cut two strips (115 & 60 cm) and have them meet at the point. Add some glue where they meet to ensure an airtight seal.
The bottom part of the rear center seam is straight, so no bowl will be required there. You can put a piece of parchment paper under the seam there, seal that area last, and then pull the parchment paper out through the Boston valve. (Alternatively, you can leave the parchment paper inside the packraft – it may be useful there if you have to make repairs in the future.)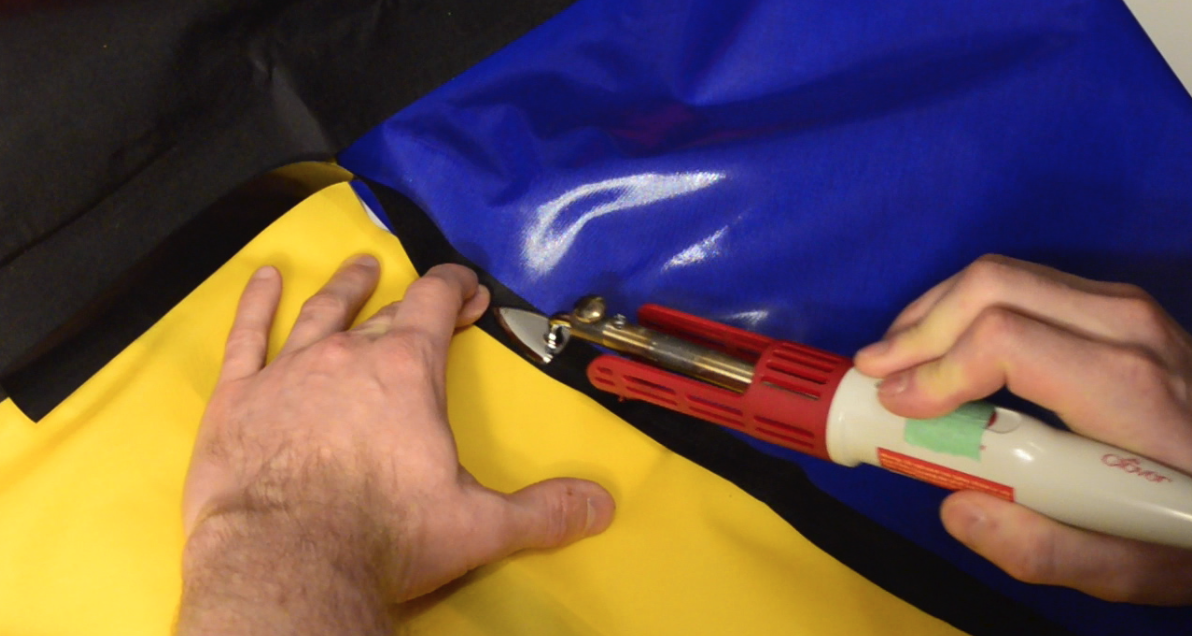
Make sure you remember to remove your bowls from inside the packraft before it’s too late, because unless you’ve installed an airtight zipper, you will have to cut a hole in the packraft to remove them!
When you’ve finished the rear center seam, add some glue to each of the ten small “pockets” that are formed where the curved seams meet the bottom of the floor. Then inflate your packraft and check for leaks. If air is escaping and you cannot figure out where the leak is located, use the soap+water method described here.
When your packraft is leak-free, congratulations – you have just built yourself a boat!
Questions? Please post a comment below.
12 Comments
Paul · May 31, 2018 at 3:01 pm
A roll of toilet paper has proven invaluable for this last step (instead of wood bowls, additionally the paper hold heat excellently ensuring a strong bond). the harder the roll the bettter, with the tube stuffed with something like socks, the outside covered with masking tape (reversed) so the material can be easily positioned. I am hoping then I may unravel it out the Boston valve as I am too cheap for the T-zip option ;)!
Matt (Admin) · June 4, 2018 at 11:17 am
Thanks for the tip!
Nele · July 27, 2017 at 9:13 am
What about spray covers? have you tried them?
I guess it is possible to iron that on after a first use?
Matt (Admin) · July 27, 2017 at 4:24 pm
Yes, a spray deck can be added after the packraft is completed. Here is my post about that: https://www.diypackraft.com/2017/04/29/spray-deck-plans/
Gerry · June 8, 2017 at 5:56 pm
I am in the process of ordering 2 packraft kits but can’t work out whether the kits include the “inflation bag” or do I have to order extra material & fittings;
Also, for the seat do I need to order a small valve for each seat.
Matt (Admin) · June 9, 2017 at 8:36 am
Hi Gerry, materials for an inflation bag are not currently included in the kits, though this may change in the future when I find a good source for fittings. For now, please check out this page about making an inflation bag. I suggest using the 40D ripstop fabric available in the shop, which can also be used to make a seat for your packraft. And yes – one valve is required per seat. Cheers!
Gerry · June 9, 2017 at 4:26 pm
Matt
Thanks for that; but another question; somewhere on your website, which has masses of information, we read that these valves – Pressure-Fit Inflation/Deflation Valves
Valve Type: Pair + Inflation Bag Valve – are better than Bostons. Is this correct and do we need an extra fitting for the bag itself.
Is the small valve adequate for making the seat. We have 2 in our order; do we need them anywhere else.
Matt (Admin) · June 10, 2017 at 7:38 pm
Hi Gerry,
The Pressure-Fit valves are an alternative to the Boston valve, but I wouldn’t necessarily say they are better… it depends on your needs. You can read about the pros and cons here: https://www.diypackraft.com/2017/05/08/alternative-lightweight-inflation-valves/ The “pair plus inflation bag valve” option in the shop gives you three valves – two for the boat, and one for the inflation bag.
The small valves are used in the seats, and also if you want to turn a double-layer floor into an inflatable floor (but I don’t recommend that for everyone as it adds complexity to the project).
I have recently added a seat kit to the shop, which includes pre-cut fabric and a small valve for about the same cost as the materials sold separately (and most of the work is done for you).
Gerry · June 11, 2017 at 1:53 pm
Hi Matt
I’m just in the process of redoing my order. I’ve put the seat kits in this time & just went to add 1 metre of 40D for the inflation bags as you suggest above but the system won’t let me & the 210D means my order won’t qualify for the free postage. What do I do now.
Matt (Admin) · June 12, 2017 at 10:45 am
Hi Gerry – we have to do a quick quality control check on the 40D shipment when it arrives before enabling it for purchase – I wouldn’t want to sell you something that’s no good! It should go live later this week. Thanks for your patience.
Maynard · March 6, 2017 at 2:25 pm
Hi Matt,
When doing the front and rear center seams is the way you describe the rear seam in two sections, is this your preferred method or can you use one solid seam? What are the cons?
Cheers and happy days
-Maynard-
Matt (Admin) · March 6, 2017 at 3:03 pm
Hi Maynard, it’s difficult to seal a single strip around the pointed tip of the stern without a lot of wrinkles, so my preferred method is two separate pieces. Either way will probably require extra sealing with Aquaseal, so you may as well take the easier route 🙂 Cheers