Note: This page is shared between several different instructions sets. When you’re finished here, use the “back” button to return to your specific packraft instructions.
Why add a Top-Up Valve?
A top-up valve is not a necessary addition to a DIY Packraft because you can regulate the air pressure in the tubes by adding or releasing air through the Boston valve (the main inflation valve) without going ashore, but a top-up valve makes it more convenient.
A top-up valve is also a good alternative to a Boston valve as the primary inflation/deflation valve in a smaller inflatable, such as a packraft seat or inflatable foot rest, because it’s a smaller and lighter valve.
Top-Up Valve Placement:
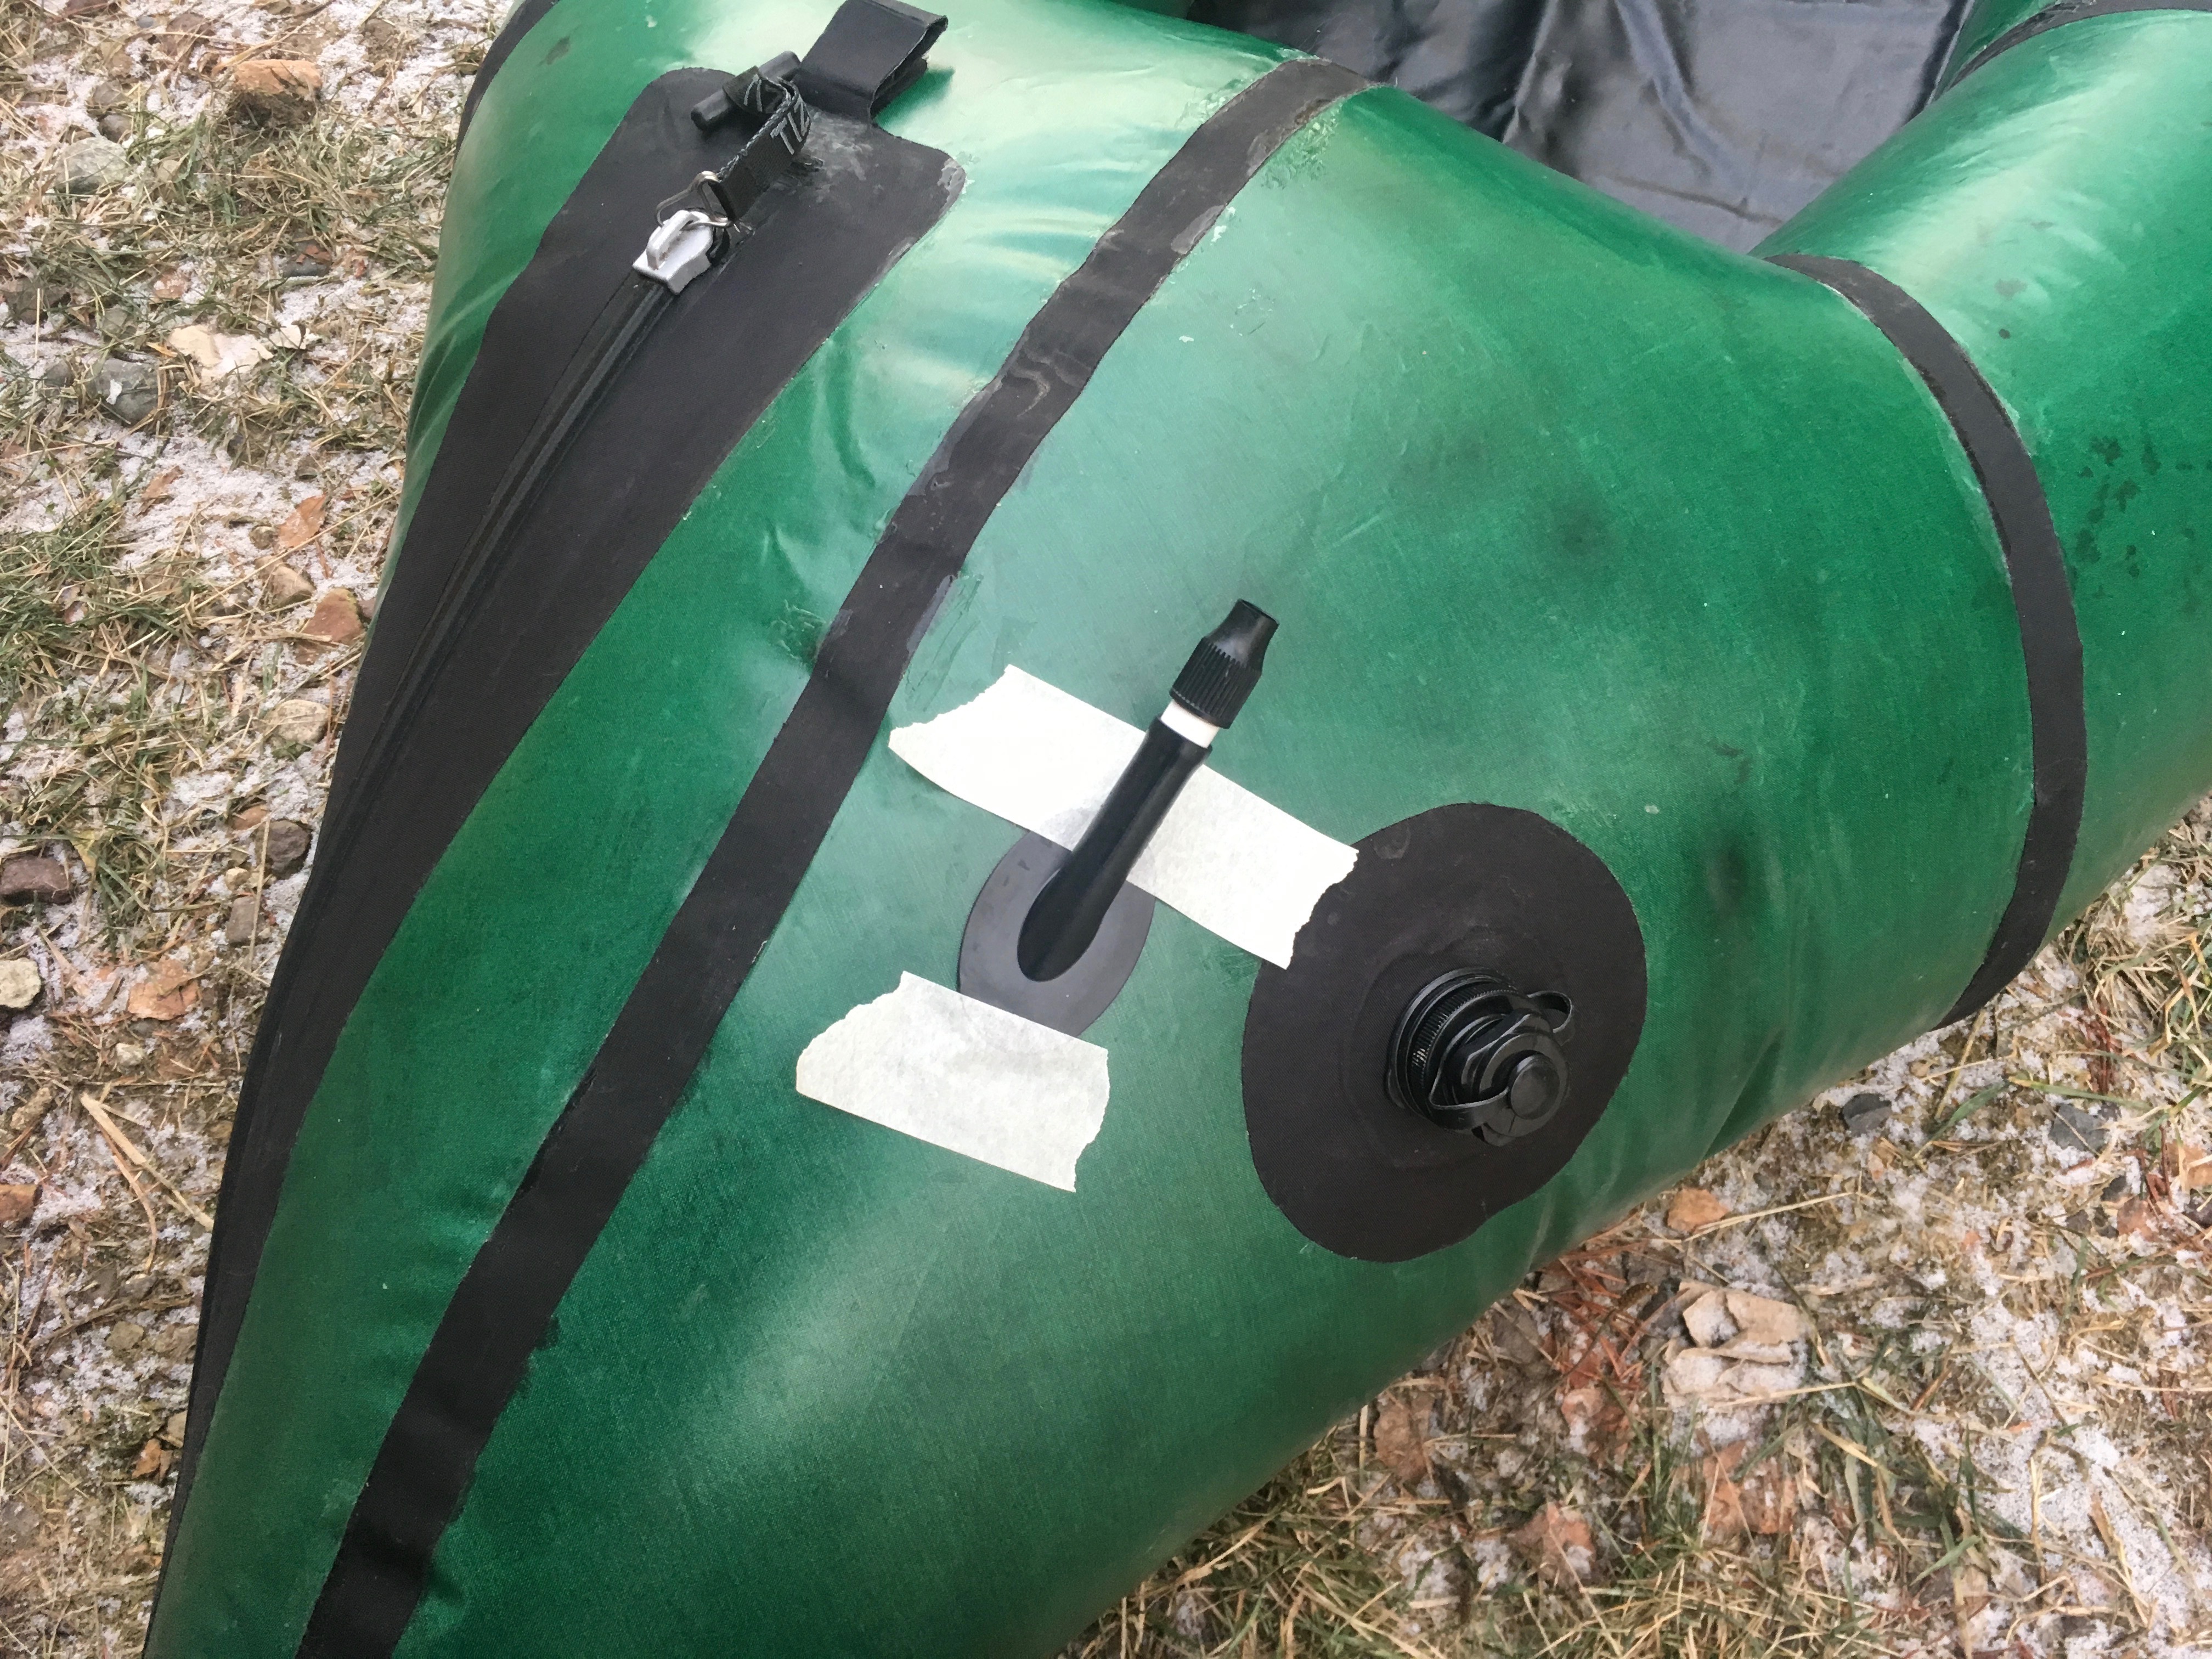
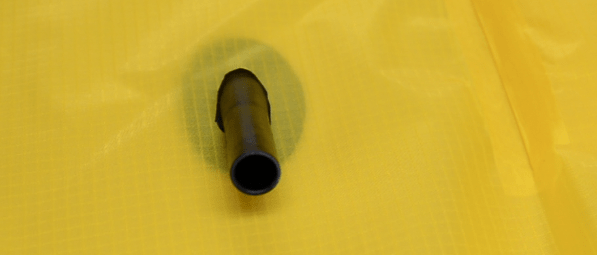
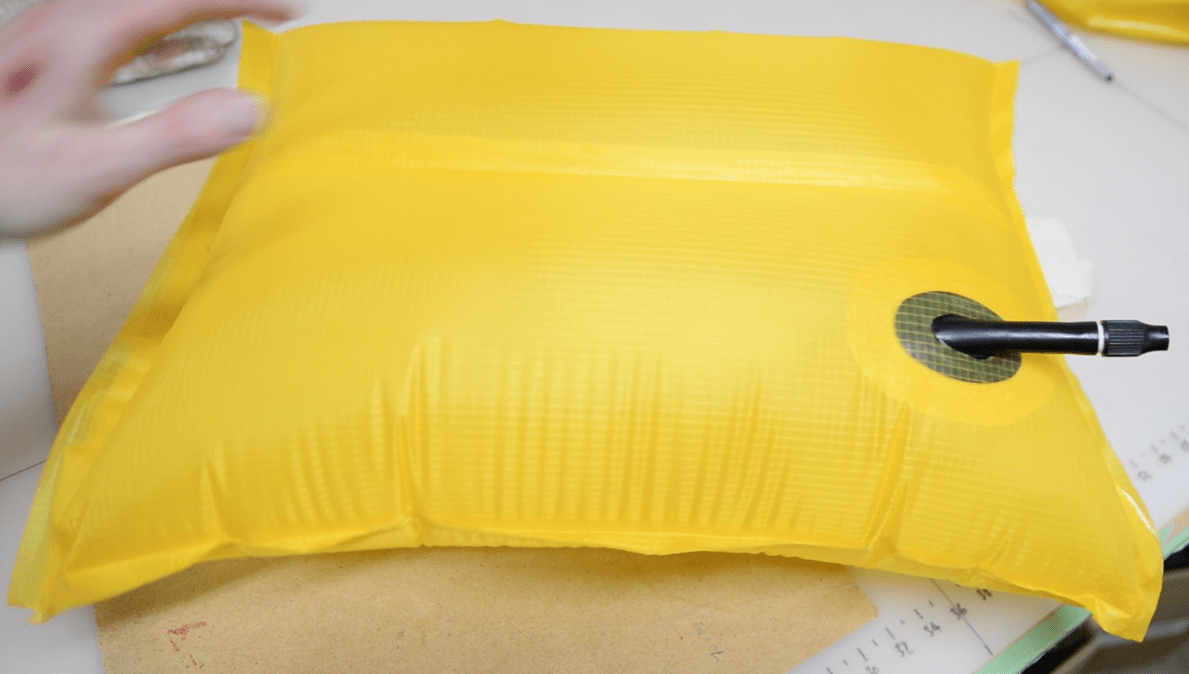
One nice thing about making your own packraft is that you can customize it to fit your body. The ideal location for a top-up valve will depend on your body size and flexibility, but one possible location is shown below on an old V3 model DIY Packraft:
I recommend waiting to install a top-up valve after your packraft is otherwise finished, because then you’ll be able to paddle it and practice twisting your body around to find the perfect location for your valve.
If you find it too awkward to twist your body around while sitting in the boat, an alternative placement would be on the inside of the cockpit near where your face ends up when you bend forward (i.e. close to your knee, but not so close the valve will poke your leg as you paddle).
Another option is to add a length of hose between the valve stem and the tip so you can easily reach it with your mouth while sitting in the packraft.
If you like, you can use field repair tape or something similar to hold the valve in place while you experiment with different locations on the water.
Wherever you decide to install your top-up valve, make sure your elbow won’t hit it during your paddle stroke!
Top-Up Valve Installation:
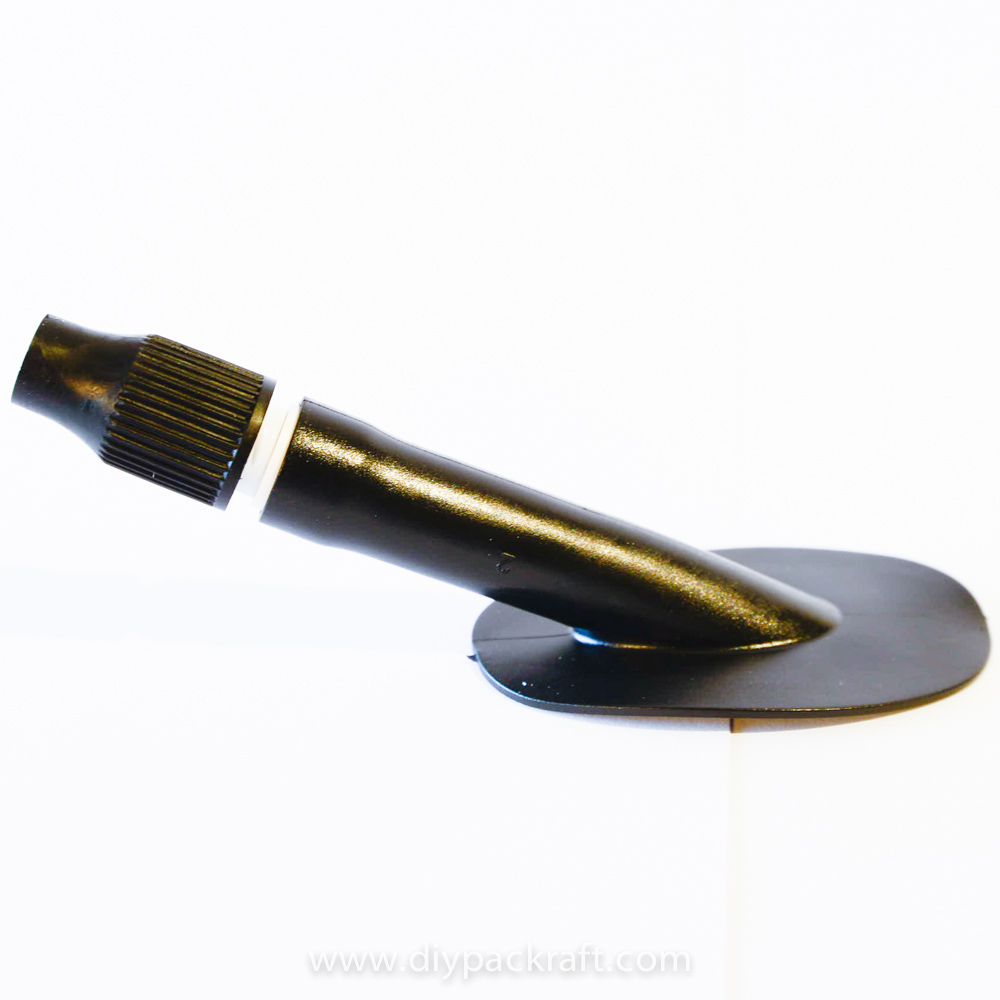
Note: The white and black valve should be glued into the flexible stem with Seam Grip+WP or Aquaseal, after roughening both surfaces with sandpaper or a knife. This can be done at any time before, during, or after the valve stem is installed.
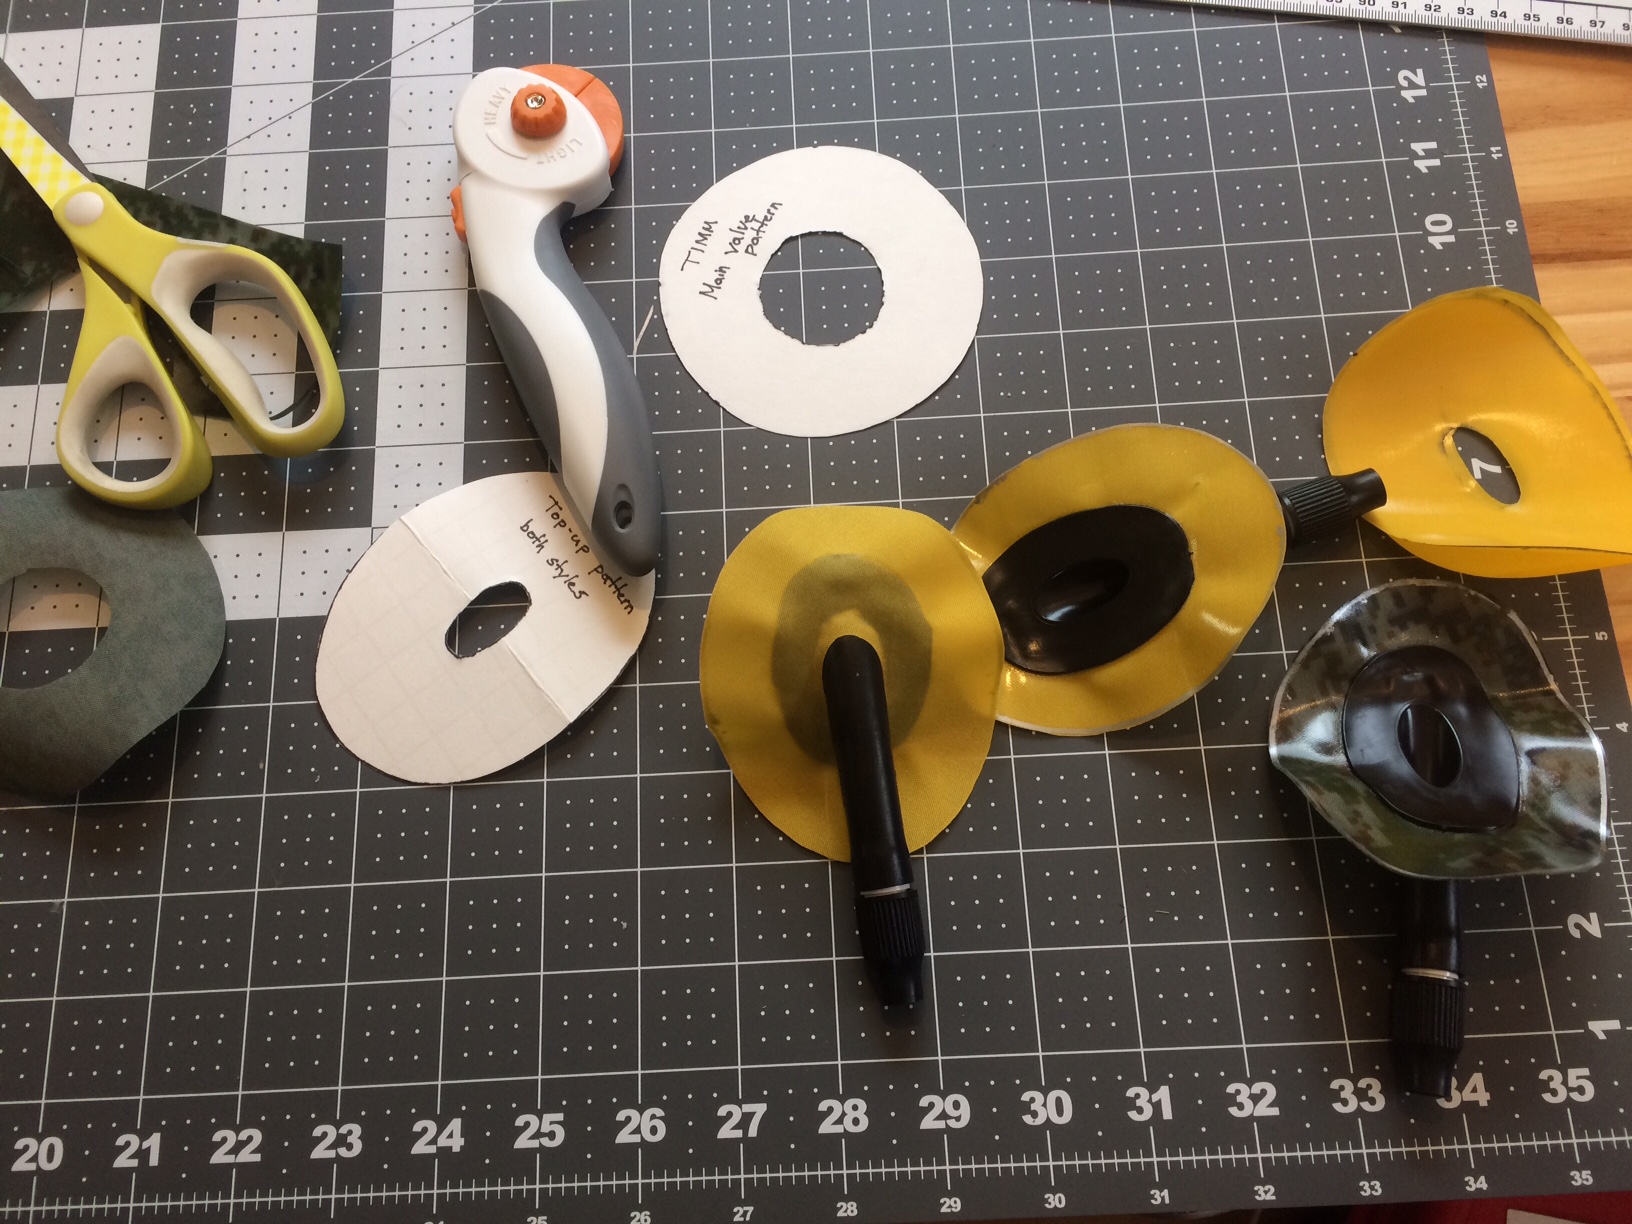
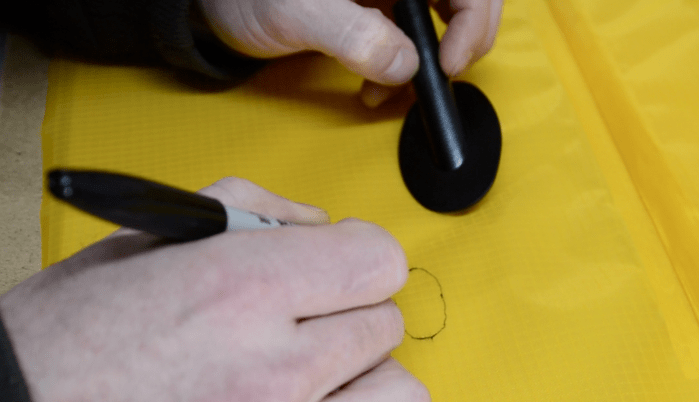
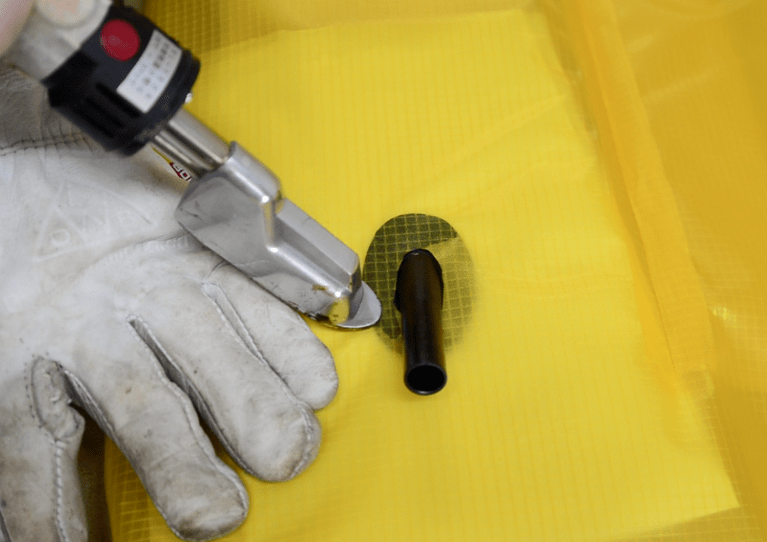
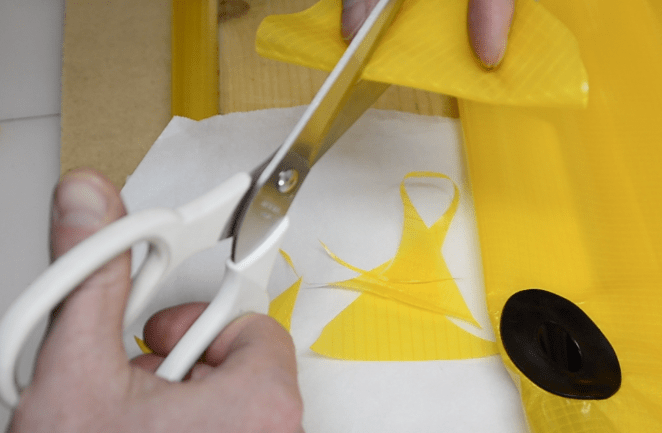
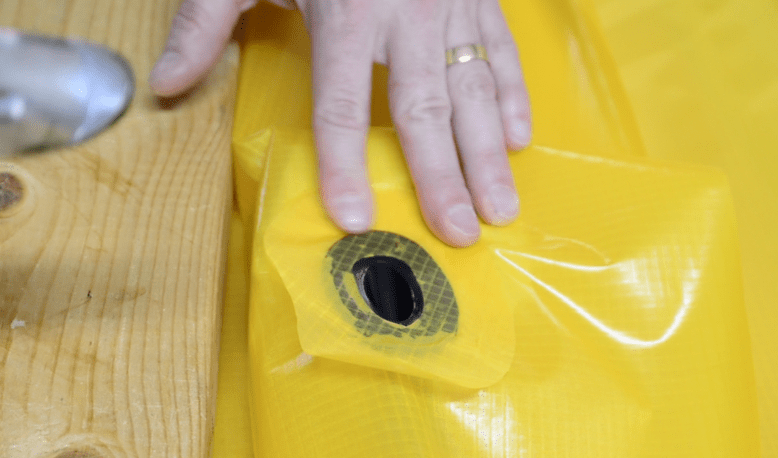
First, seal an oval of fabric to the valve with the valve stem poking through a hole in the center, and then seal the valve and the patch over a small hole cut in the packraft’s tube.
Here’s a picture sent by Jeb T. showing his top-up valves mounted in fabric rings, ready to seal to the packraft tube fabric:
If you haven’t installed an airtight zipper in your packraft, you will not be able to heat seal the top-up valve in place from the inside of the tube after the boat is complete, so you will either have to install the valve before the rear-center seam is closed, or just heat seal the fabric oval to the packraft’s tube.
Installing a top-up valve in a packraft seat or other inflatable with the TPU on the inside of the fabric:
(These same steps can be used to install a valve in a packraft with the TPU on the outside of the fabric – you will just have to flip the valve around so the stem is on the outside of the boat.)
Questions? Please post a comment below!
10 Comments
Joe · September 6, 2022 at 2:04 am
How does the top-up mouth piece work? Does it have a membrane in it to stop air from rushing out when you open it or is it just a simple -twist it up and then air is free to flow in both directions?
Matt (Admin) · September 6, 2022 at 4:37 am
Air is free to flow in both directions when it is open – I use the tip of my tongue to stop air from escaping when I take a breath.
Bryan · September 14, 2020 at 2:02 pm
Hi Matt
Hope your trip went well. I was wondering what size tubing you’d use to make the top up valve extension. Or what additional parts you would need to make one.
Matt (Admin) · September 15, 2020 at 12:44 pm
Hi Bryan; personally I would probably use surgical tubing and link it to the valve stem with a short bit of plastic or metal tubing, roughened on the outside with sandpaper. It’s hard to glue silicone or rubber tubing, so I usually wrap thread tightly around it and superglue the thread to itself.
Allen Failla · December 9, 2018 at 3:44 pm
is there a possibility that you could post a picture of a completed raft in this section so that we could see where the top-up valve should be placed, mahalo
Matt (Admin) · December 10, 2018 at 5:05 pm
Hi Allen, I’ve added some more pictures to this page – hopefully they’re helpful. Cheers!
Nils Endrestøl · September 26, 2017 at 12:57 pm
Is the actual valve-tip (white plasticpart) supposed to be glued to the black tube?
Matt (Admin) · September 26, 2017 at 4:00 pm
Yes, or you can add some tubing between the black part and the valve to extend the length and make it more convenient to operate.
Ibai · December 2, 2018 at 2:04 pm
How is it suposed to be glued? Just aplying some Aquasure or similar glue?
Matt (Admin) · December 2, 2018 at 4:09 pm
Yes, that should work. It stays in quite securely without glue, so glue is just to ensure it won’t pull out if it snags on something.