Several people have been asking for more details about the DIY heat sealing iron I am using now, so I wanted to make a quick post today showing some photos of how it’s put together, because I won’t have time to make a video until next week. (Update: video now available here.)
Commercially available trim sealing irons do not seem to be hot enough to seal TPU adequately. My Coverite trim sealing iron was not hot enough, even after trying several mods (insulating the shaft and changing out resistors from the circuit board), so I finally resorted to the soldering iron approach. Another reader has tried the Top Flite trim sealing iron, and it was not hot enough either. If anyone has tried the Hangar 9 model, please share your experience.
My DIY iron is made of an adjustable-temperature soldering iron (this one) and two different sizes of copper tubing that I bought at a local plumbing and heating/refrigeration supply shop. The North American sizes are in inches (1/4″ and 3/8″), but hopefully you can find something similar wherever you happen to be. (If not, please tell me and I will offer it in the Shop.)
Use a hammer to flatten and bend the larger tubing by hammering it against a flat surface (or use a vice, if you have one). Be careful to keep the “foot” surface smooth so it will not tear your fabric. Then bend up the end and corners with your pliers so they won’t snag the fabric either.
The fit between the iron-tubing-tubing doesn’t have to be exact – just crimp them together with your pliers to make sure there is plenty of contact between the components so that heat will be conducted from the soldering iron into the flattened tubing. (The pictures do not show the tubing fully crimped because I wanted to be able to take this one apart easily so I can make a better one in the upcoming video.)
Once it’s assembled, plug in the soldering iron and adjust the temperature by trial and error until it seals your fabric well without melting it. (Allow sufficient time for the temperature to stabilize each time you make an adjustment.) When sealing your fabric, remember to apply pressure as well as heat to get a good bond.
One thing I will do differently in my next tip is to make the small tubing the same length as the large tubing to conduct heat better all the way to the tip. I will also experiment with high-temperature paint to reduce the friction between the “foot” and the fabric.
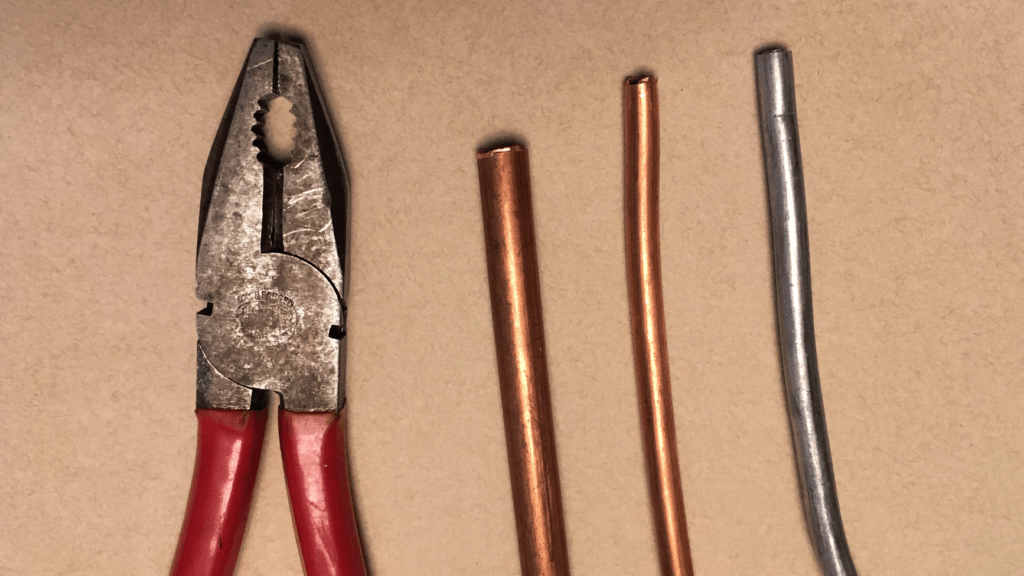
Copper (and aluminum) tubing, with pliers for scale.
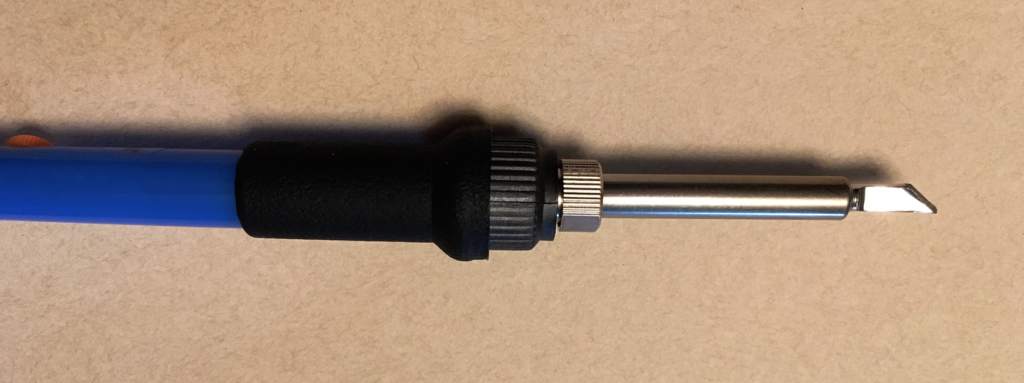
Adjustable soldering iron (comes with interchangeable tips).
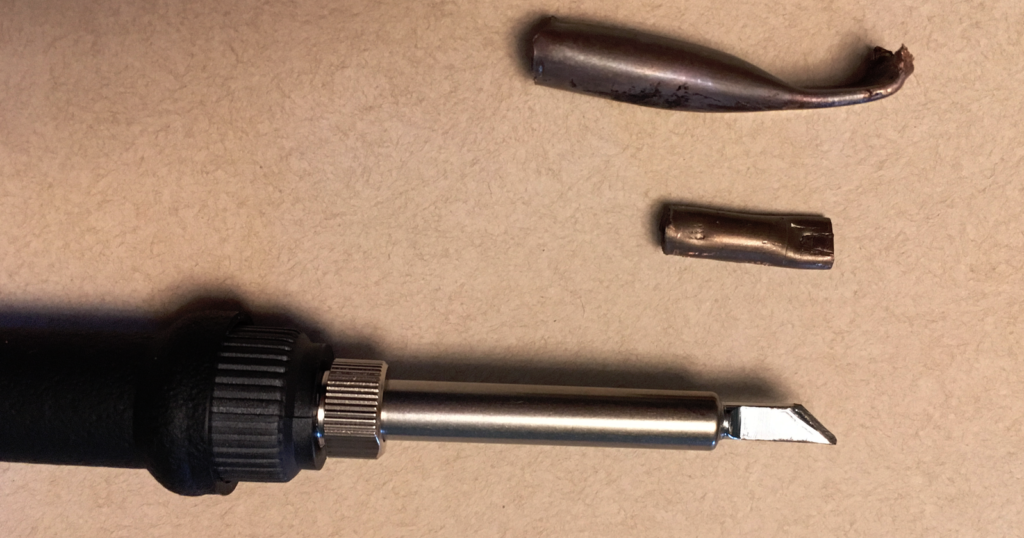
Components
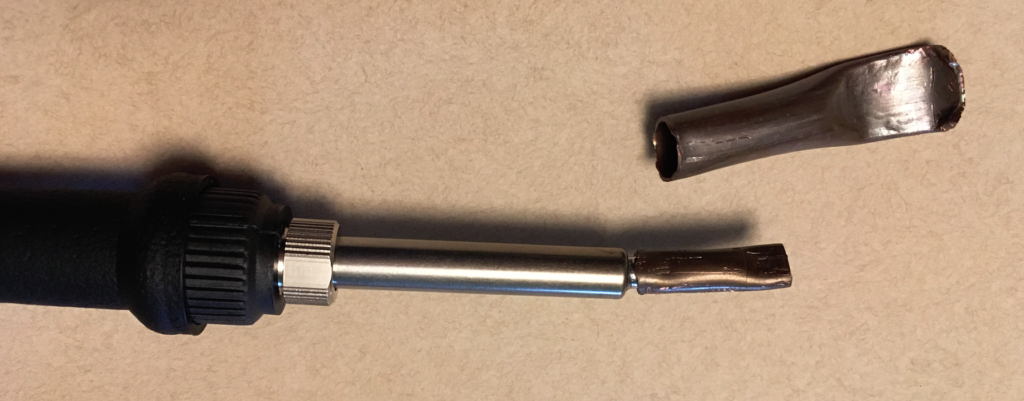
Assembly, step 1
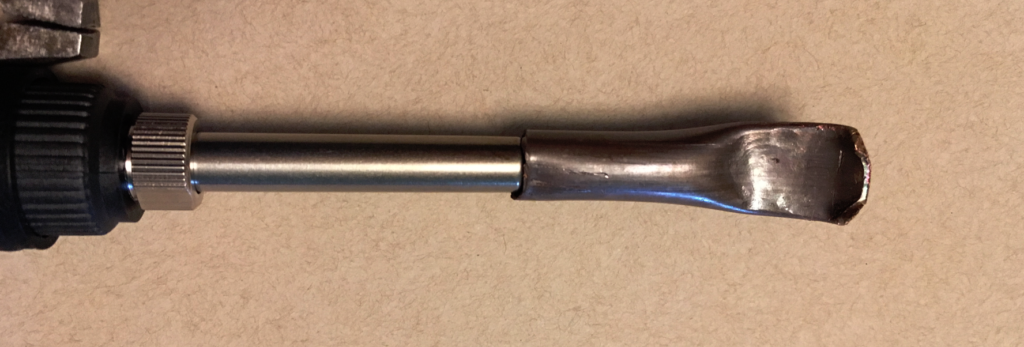
Assembly, step 2
If you don’t mind spending more money for a nicer tip, you could purchase a set of Coverite trim sealing iron tips and make an adapter to attach one to your soldering iron (it won’t fit without some modifications unless your iron accepts ~1/4″ diameter tips). 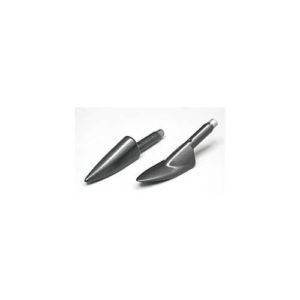 The Coverite tip almost fits inside 1/4″ copper tubing, while 3/8″ is too big, so one approach would be to cut a slot lengthwise in some 1/4″ tubing so you can force the tip inside, and then slide 3/8″ over that (for increased strength and heat transfer) and crimp everything together onto the soldering iron tip. (Thanks to David for the links.)
4 Comments
mikkel · November 16, 2016 at 12:57 pm
Hey Matt.
1.
excellent, excellent site. THANKS
2.
I’ve noticed that you seem to be using a different sealing iron in your latest video’s. At least with a different tip. Care to elaborate on your latest improvements?
3.
what about “mini sew iron’s “, http://www.ebay.co.uk/bhp/mini-iron ?
tried any of those
Matt (Admin) · November 16, 2016 at 5:53 pm
Thanks for the link! I just ordered one (the Clover Mini II) to try it out, and I will report back when it arrives. The tip in my latest video is one I made out of 1/2″ square aluminum bar and it works well, but now my cheap plastic iron is falling apart, so I’m modifying it. I will compare that to the Clover Mini and post my recommendations here on the site. Cheers!
Bob · July 12, 2016 at 12:37 pm
When you write 3/8″ or 1/4″ tubing, are you referring to the outside diameter or the nominal (inside) diameter? It’s probably the former but just to be sure.
Matt (Admin) · July 12, 2016 at 12:49 pm
Yep, it’s the outside diameter. There are a few different tubing wall thicknesses available, and unfortunately I don’t have a caliper to check the exact dimensions of the tubing I have.