Introduction
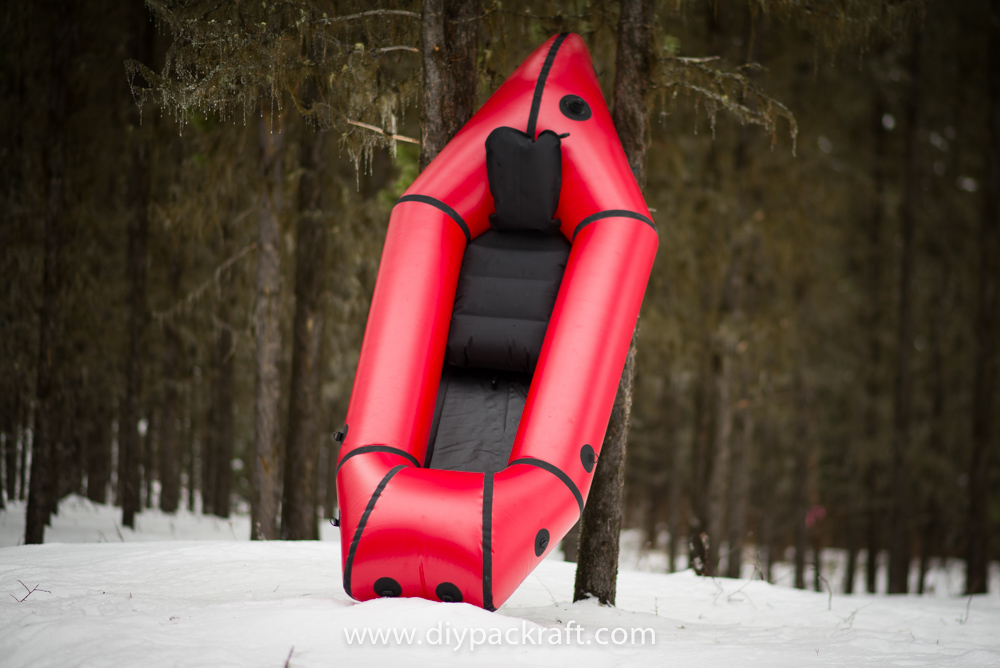
This is the homepage for the DIY Packraft Atlin assembly instructions.
At the bottom of this page you will find links to detailed instructional videos demonstrating each step of the Atlin assembly process. Before you begin work on your kit, please read the important information on this page.
If you are unsure about something, please post your question in the comment box on the relevant page – that is the fastest way to get help.
Atlin Kit Checklist
Do not use a knife to open your kit – you may damage the fabric.
Before beginning construction, identify the parts of your kit using the checklist below and then store the pieces in a place where they won’t get lost.
Please unpack your kit carefully – small pieces can be overlooked or misplaced.
Checklist:
- A letter, which includes your password to the instructional pages and videos. Do not discard!
- A large sheet of tube fabric in the color of your choice with shapes scored into it. The tube shapes are numbered 1 to 4, and all except tube 1 are marked L or R (left and right). The forward direction is indicated by an arrow on each piece. This fabric also contains four scored rectangles labeled A, B, C, and D (these are internal parts of the seat and backrest), as well as seven “reinforcing strips”, (5 cm / 2 inch-wide strips with pointy ends – you will use these when attaching the tubes to the floor). Ten circles with a diameter of 40 mm (1 5/8″) are also scored into the tube fabric; these are parts for the attachment points. If you ordered a multi-color kit then these parts will be scored into multiple fabric pieces instead of a single large sheet of colored fabric.
- Pre-scored black fabric sheet including parts for the inflatable seat, backrest, ten attachment points, and for mounting an airtight zipper.
- Pre-scored heavy black fabric for making the packraft’s floor, with alignment dots and a forward arrow marked in silver pen. This piece also contains ten pre-scored attachment point reinforcement parts. Note: This fabric is coated with heat sealable TPU on both sides.
- One heat sealable Boston valve (black, three parts)
- Two top-up valves for inflating the seat and backrest (flexible black valve stems and black+white valves)
- Five pre-scored seam strips (black fabric, approximately 2 m or 6′ long)
- Inflation bag fabric – lightweight ripstop fabric with no scored lines, approximately 0.9 x 1.5 m, or 3′ x 5′ (color depends on availability). Do not confuse this with the (optional) spray skirt fabric, which has lines scored into it.
- Inflation bag adapter tube – black rubber tube, 7/8″ (~2 cm) diameter & ~5 cm (2″) long
- Scrap fabric for heat sealing practice, making reinforcing strips, repairs, small accessories, etc. (this is all the fabric that is left over after you cut out the packraft pieces)
- Non-stick baking paper for mess-free heat sealing
- Airtight zipper + lubrication (optional). (Zippers are packed inside the folded floor fabric.)
Multiple kits in one order:
If you ordered multiple packraft kits, they will be packed together to minimize shipping costs. The fabric shapes are not the same for different packraft models/sizes – if you ordered two different size/model kits in the same color, mark every tube piece with the packraft model/size to avoid a mix-up.
- Note that each fabric sheet is labelled in one corner with letters and numbers indicating the packraft model/size:
- “2P” indicates 2-Person
- “A” indicates Atlin
- “S” indicates Skeena
- “T” indicates Telkwa
- “UL” indicates Ultralight
- “120” indicates the 120 cm / 47″ size
- “130” indicates the 130 cm/ 51″ size
- “133” indicates the 133 cm/ 52″ size
- “140” indicates the 140 cm / 55″ size
- “145” indicates the 145 cm/ 57″ size
- Example: the floor for a medium size Atlin (with a 133 cm/52″ long cockpit) will be labelled “A-133”
- Example: the tube fabric sheet for a yellow Skeena, 120 cm/47″ (small) size, will be yellow with “S-120” written in one corner.
Additional Items Required:
These items are required to assemble your kit but are not included:
- A heat sealing iron
- At least two small (1 oz / 28 gram) tubes of Seam Grip+WP or Aquaseal or Aquasure (don’t use “Seam Grip+SIL” silicone tent sealant)
- A bowl or other round object to iron over – ideally a purpose-made wooden form like the one shown in the Curved Seams section on this page.
- A few scraps of lumber or other heat resistant flat objects, one a few inches (~10 cm) long and one about 1 m or 1 yard long (exact dimensions aren’t important). You may find other small sizes/shapes useful as well.
- Masking tape
- Scissors (make sure they’re sharp!)
- A few small clamps or binder clips or paper clips
- A ruler or straightedge
- A permanent marker (silver Sharpie pens work well on black fabric)
- The ability to stream video instructions
Instructions Password
Due to a problem with a copycat website, access to most of the instructional pages and videos is now restricted to those who have purchased a kit.
Your password is in the letter that came with your packraft kit. Please do not reproduce the instructions or share your password. If you have ordered a kit and are waiting for it to arrive, feel free to contact me for your password so you can familiarize yourself with the instructions in advance.
If you want to view the instructions before deciding whether or not to purchase a kit, please view the old V2 DIY Packraft instructions, which are not password protected – the packraft design, assembly methods, and instructional videos have vastly improved since then, but the concepts and the style of instruction are the same. Instructions for assembling the inflation bag, seat, backrest, and back band are also not password protected (links below).
Tips for resolving password problems are posted here.
How to Avoid Common Mistakes
You are much less likely to make a mistake if you understand what you’re doing and why you’re doing it, so please familiarize yourself with the instructions before you start ironing packraft pieces together. It’s a good idea to watch all of the videos in the links below before you begin.
I can’t remake an instructional video every time someone asks a question, so the text below the videos is where I add clarification and emphasis in response to feedback from builders. If you only watch the videos, you may make mistakes that are warned about in the text, so before starting each assembly step, check for pictures and written notes below the video.
Atlin Assembly Steps:
Below are links to the instructions for assembling the packraft and its accessories. Please note the time estimates indicated at the top of each page – if you are working faster than these times, you’re probably not creating strong welds, so please do not hurry!
- Iron Preparation & Heat Sealing Practice If this is your first DIY Packraft, do not skip this step!
- Separate Fabric Pieces
- Mark & Label Fabric Pieces
- Inflation Bag Assembly
- Seat Assembly
- Backrest Assembly OR Back Band/Backrest Assembly (choose Back Band/Backrest Assembly if you want your backrest to double as a back band for more aggressive paddling)
- Packraft Assembly:
- Spray Deck Assembly (optional)
- Spray Skirt Assembly (optional)
Questions? Leave a comment below!
0 Comments