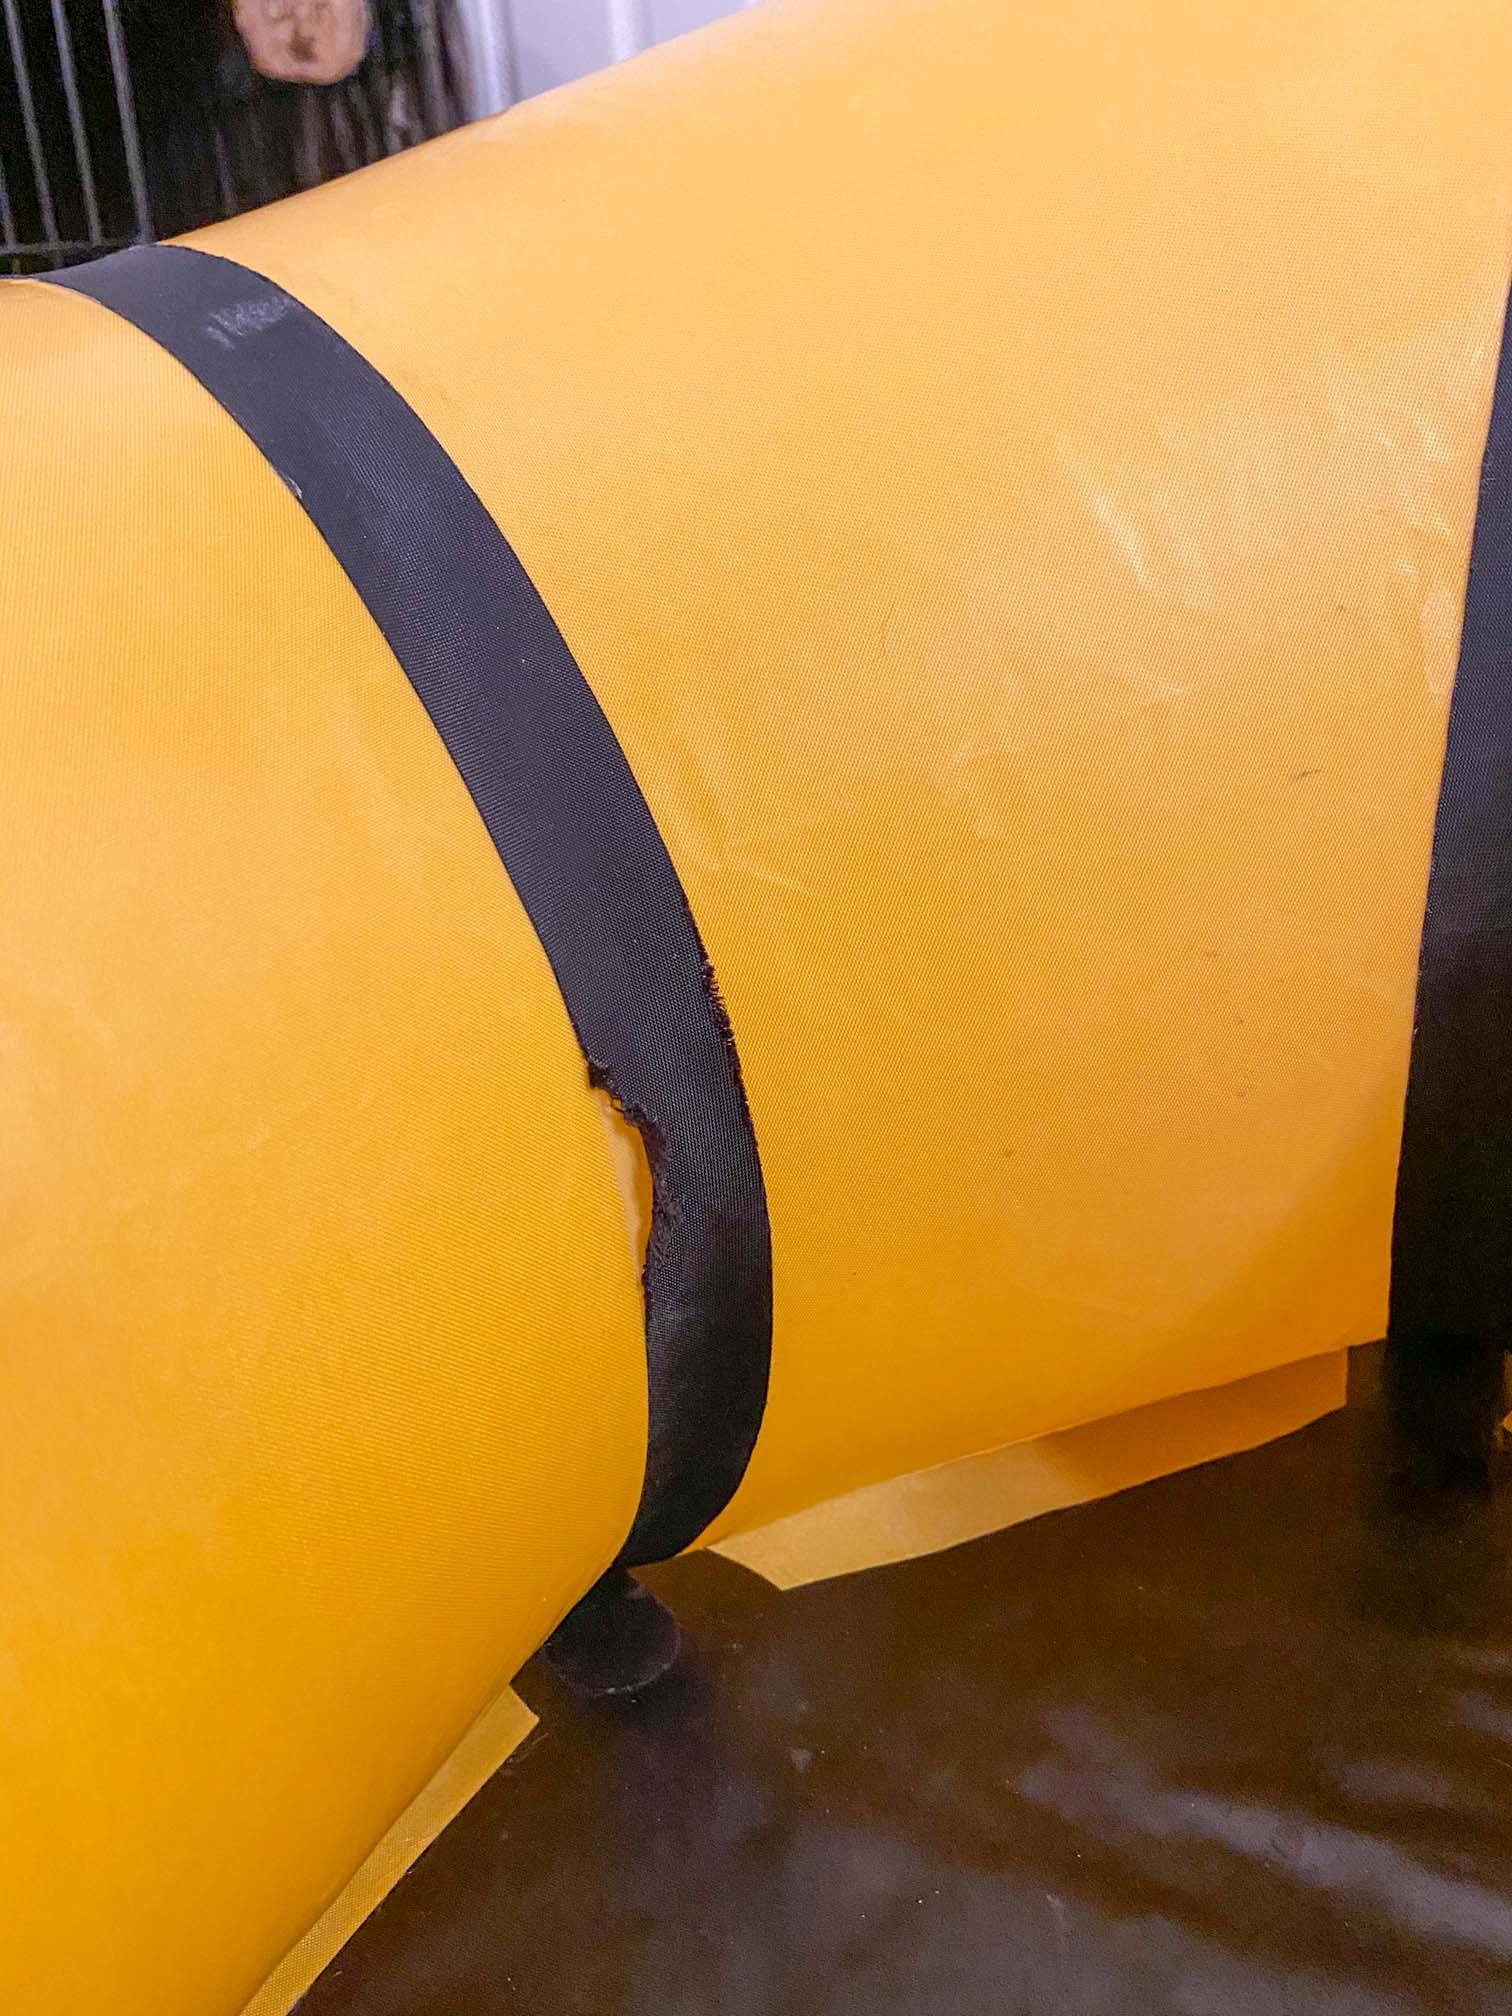
Your packraft’s seam strips will experience scrapes and abrasion, especially where they wrap under the floor, and possibly where your shoes rub against them. Coat high abrasion areas with Seam Grip+WP or Aquaseal+FD to ensure they won’t start to peel like the seam in the photo below (or to prevent it from getting worse). You don’t have to coat the entirety of each seam if you don’t want to.
Note: At least one DIY Packrafter has had a good experience with Seam Grip+FC. Never use Seam Grip+SIL silicone tent sealant on a packraft.
Personally, I usually coat just the part of the seam strips that are below the waterline (plus the part of the rear center seam that can’t be sealed from the inside unless a zipper is installed in the boat). Then I keep an eye on them over the months and years, and if the edges start to fray I consider applying sealant then.
Tips:
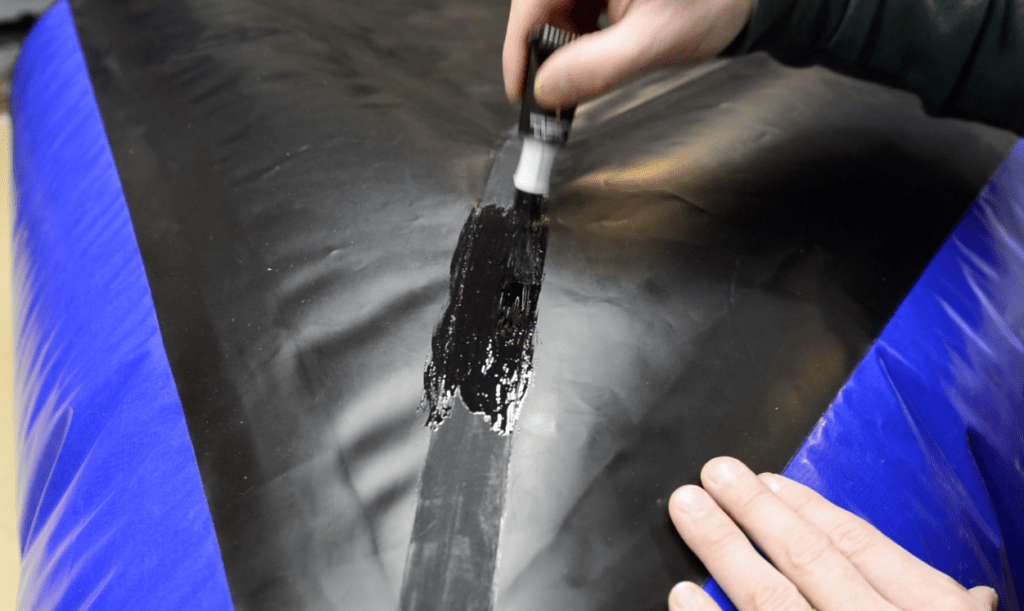
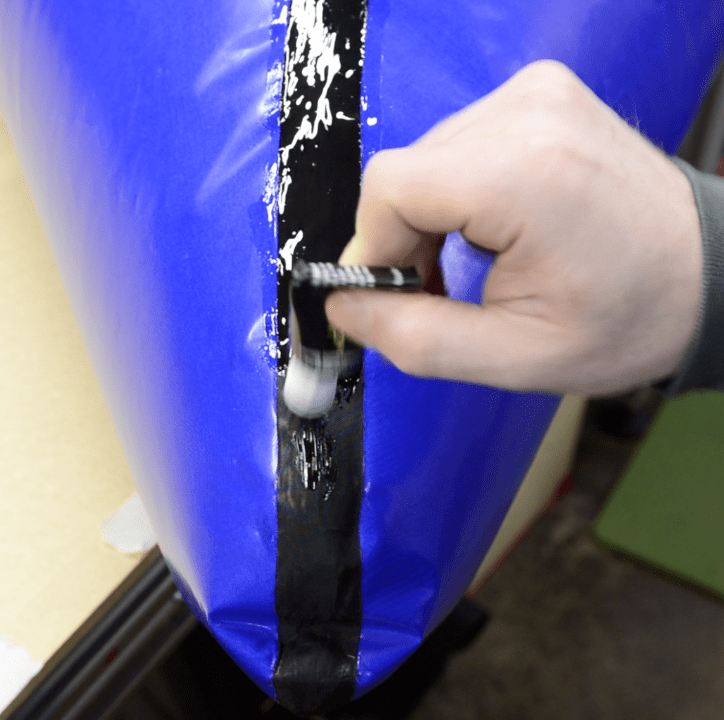
- It’s easier to apply sealant to an inflated packraft.
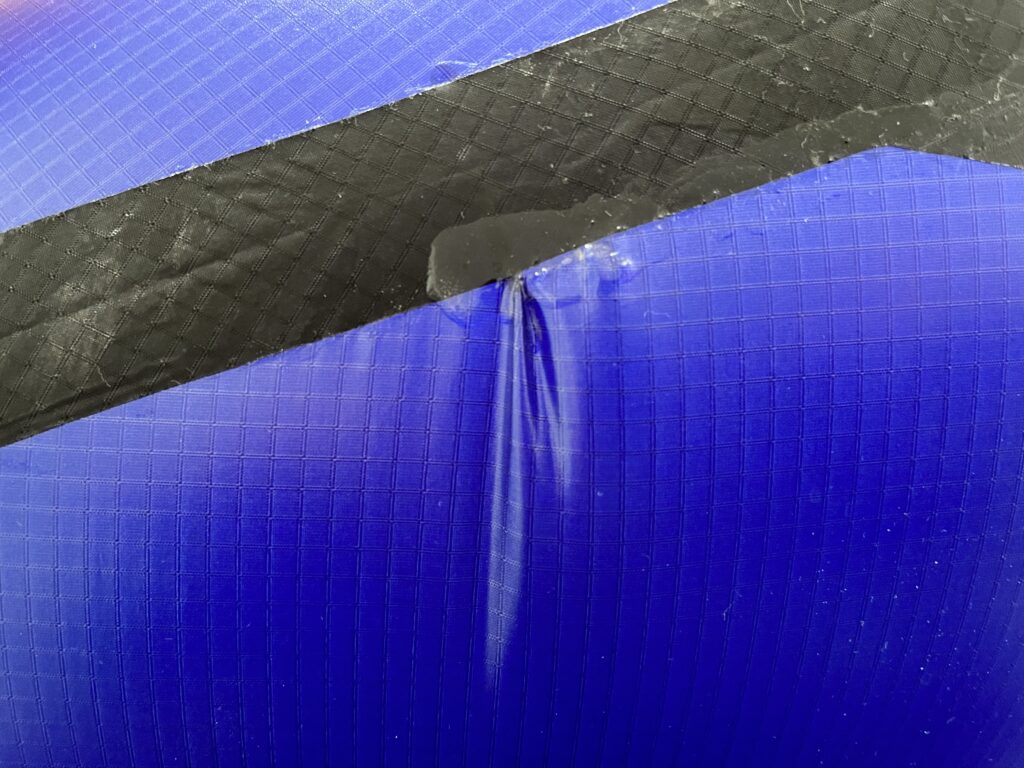
- Make sure the fabric is clean and free of soap or tape residue before applying the sealant.
- Spread the sealant a few mm past the edges of the seam strips (it won’t darken the fabric on the outside of the packraft).
- You can also apply the sealant to the reinforcing strips around the inside of the cockpit, if you like (though it’s not required). This will prevent them from soaking up any water.
- After applying sealant to areas where the tubes join the floor inside the cockpit (along and between the reinforcing strips), invert the packraft and suspend it by draping it over something so it is suspended by the floor fabric. This will pull the floor fabric away from the tubes and will allow the sealant to cure without them touching. After it’s dry, dust these areas with talc so the sealant won’t stick to itself.
- The sealant will feel dry and will be functional after about eight hours, but it takes several days for the sealant to cure to the point where it won’t stick to itself. If you allow the sealant to cure completely before use (leaving your packraft inflated for several days) then dust and debris won’t stick to it and it will have a nice glossy surface – at least until you scuff it up. If you need to roll up the packraft before the sealant can cure completely, rub some talcum powder on the surface of the sealant so it won’t stick to itself – note however that the talc will create a dull, matte surface on the sealant instead of a glossy sheen.
This page is shared between several instruction sets – please use the Back button to navigate back to the instructions for your kit.
Questions? Leave a comment below!
4 Comments
Luke · June 1, 2025 at 2:09 pm
Hello Matt,
Will the SeamGrip + FC for tents and tarp work for sealing, or must I acquire a different bottle? it’s not SeamGrip + SIL.
Matt (Admin) · June 1, 2025 at 3:35 pm
Hi Luke – great question! That must be a relatively new product because I haven’t noticed it before… I read the info about it online, and it looks like it *could* work great. I will try to buy some and test it myself, but if I were you I would test some on some scrap fabric to see how durable it is, and if it stands up to some serious rubbing, then I’d say go ahead. The problem with a lot of the sealants I’ve tried is that they don’t bond well to the packraft fabric so eventually they peel off, but the Gear Aid stuff has always been good (except for the stuff formulated for use on silicone). If you decide to try it out, please let me know how it goes, because a water-based sealant without fumes would be a great option. Cheers!
Luke · June 14, 2026 at 11:37 pm
Working my way through my second raft, I figured I’d say that the SeamGrip + FC worked great for my first one and I’m using it again!
Matt (Admin) · June 15, 2026 at 9:00 am
Thanks for the feedback, Luke! I’ve added that to the note above.