Note: this page is shared between several different instructions sets. In the video I demonstrate on an Atlin kit; in the pictures I demonstrate on an Ultralight kit. You’ll notice that the steps are ordered slightly differently in the video compared to the pictures – either method works.
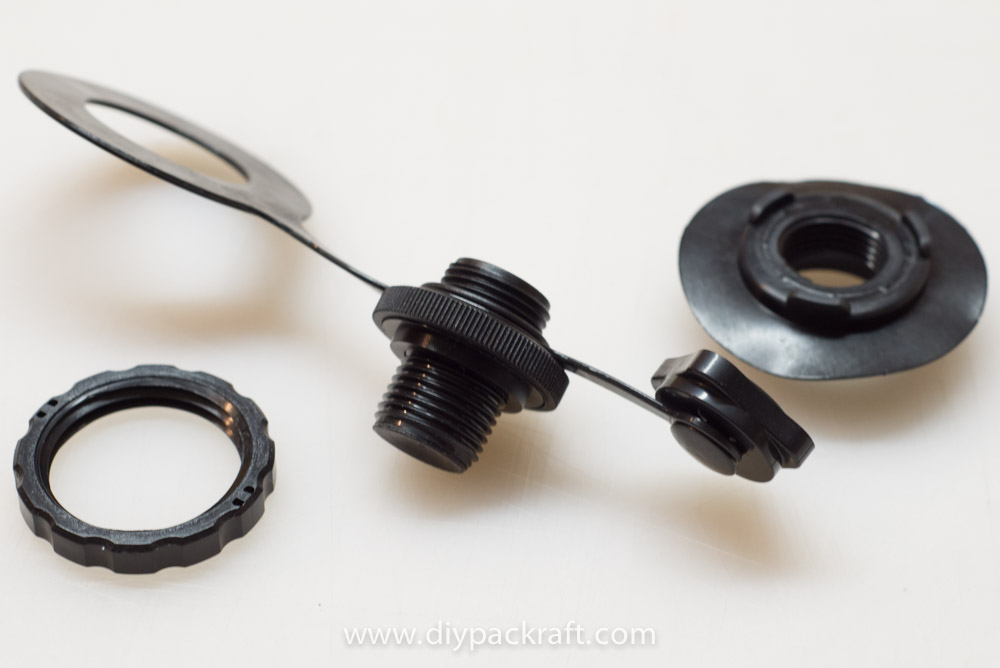
The heat sealable Boston valve has three parts: a knurled retaining nut (left), a check valve stem with keeper ring and cap attached (center), and a threaded flange (right). The threaded flange (here shown upside down) is the part that will be permanently installed in the packraft.
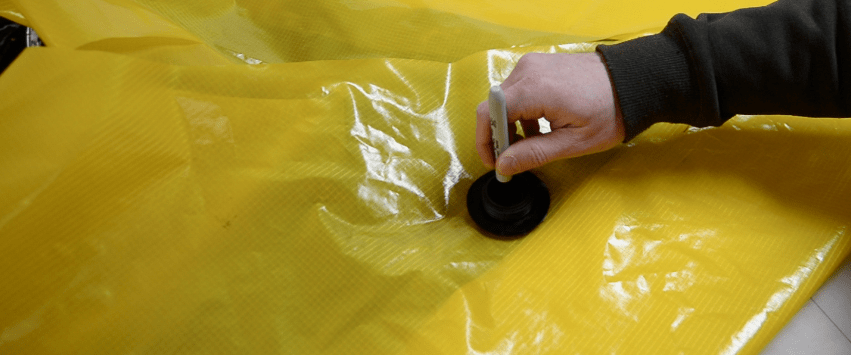
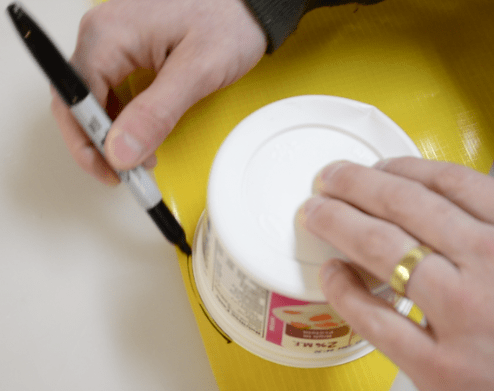
Place the Boston valve flange where you want to install it and mark the fabric through the center with a pen. For the Ultralight DIY Packraft pictured, this spot is about 15 cm (6″) from the rear-center seam and 60 cm (24″) from the tip of the stern (the part of the tube piece where the edge has the tightest curve).
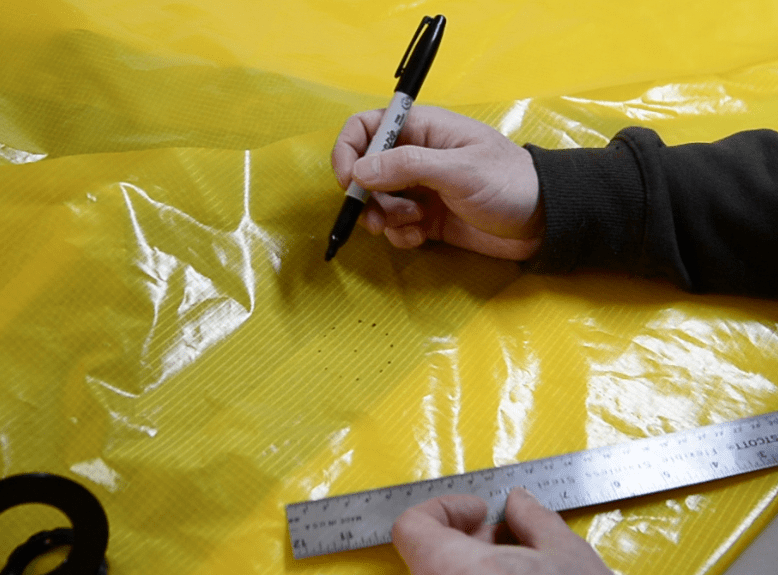
Mark a 4 cm (1 9/16″) circle around the point. Tip: you can simply trace around the inside of the valve’s retaining ring to mark this circle – thanks, Ken!
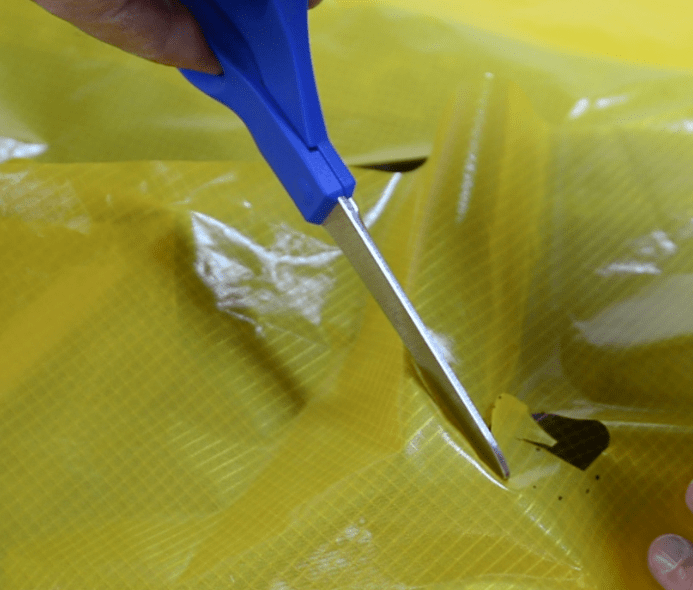
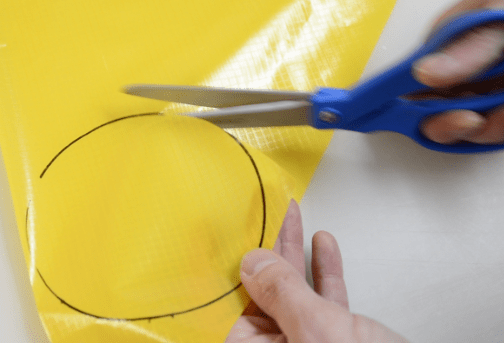
Cut out the circle.
Test the fit of the valve in the hole. If it forces the fabric to stretch and wrinkle, enlarge the hole.
Important: Take a moment to make sure the valve is oriented correctly before you begin heat sealing (see the image below). It’s possible to unweld it if you seal it in upside down, but it’s much quicker to get it right the first time!
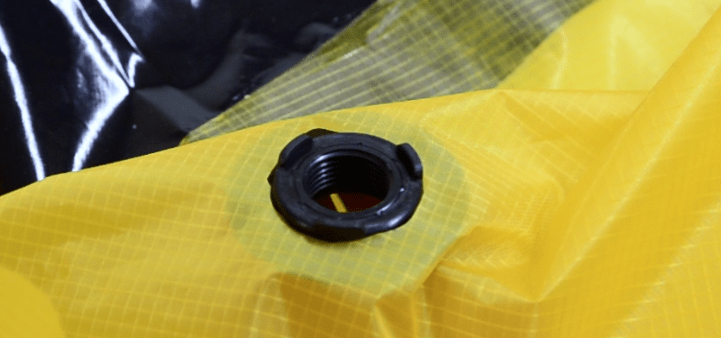
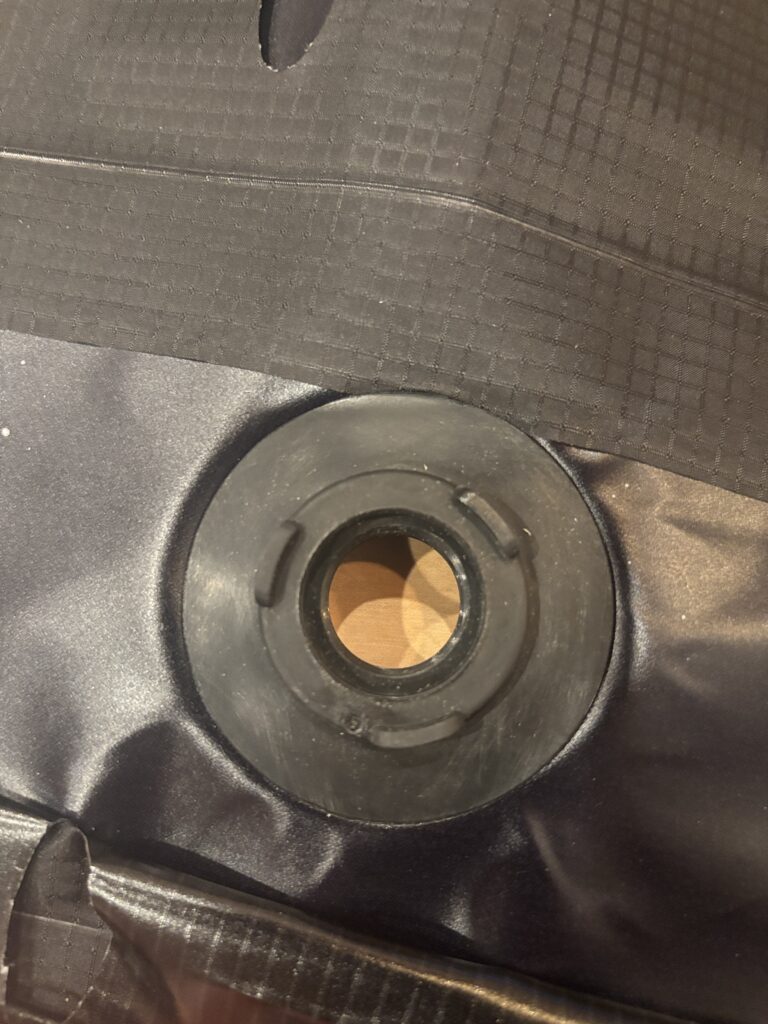
From the inside (non-TPU side) of the tube fabric, seal the valve flange in the hole, as shown. Note the three raised bumps – they should be on the inside of the packraft.
Flip the fabric over to expose the threaded side of the valve flange.
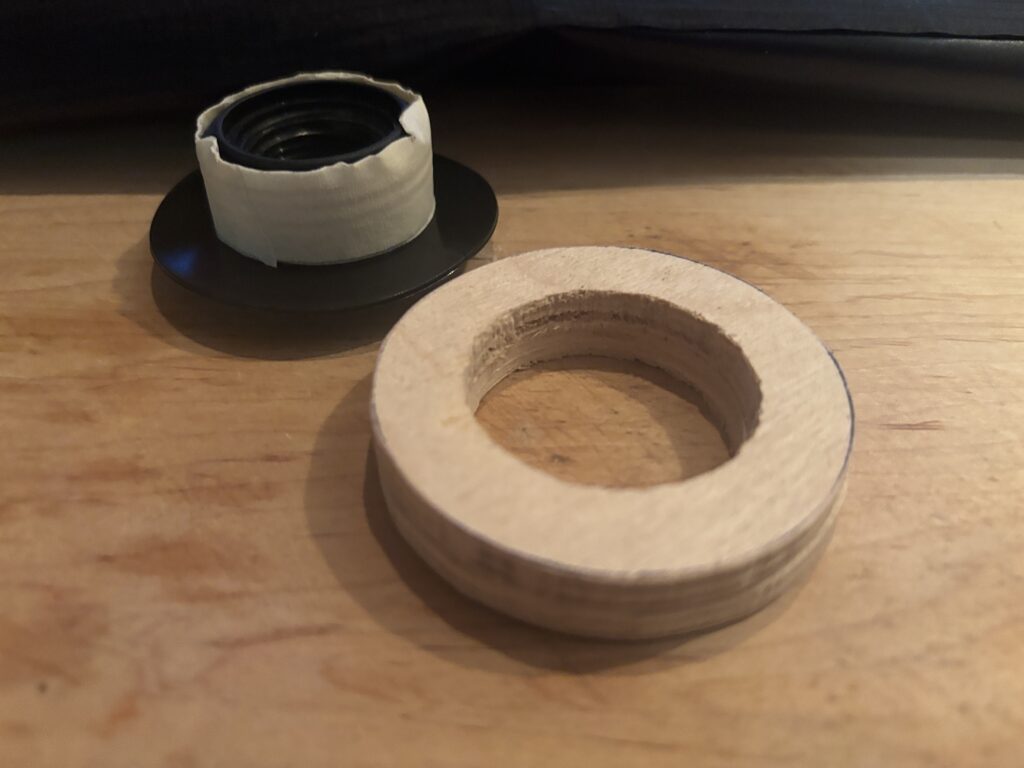
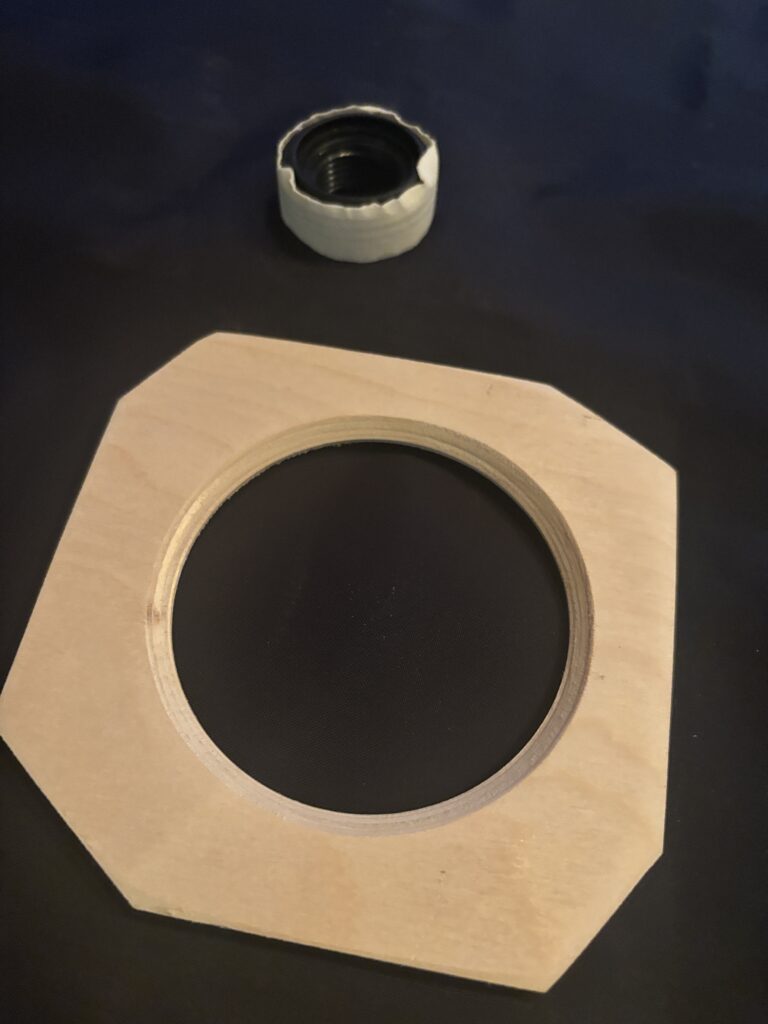
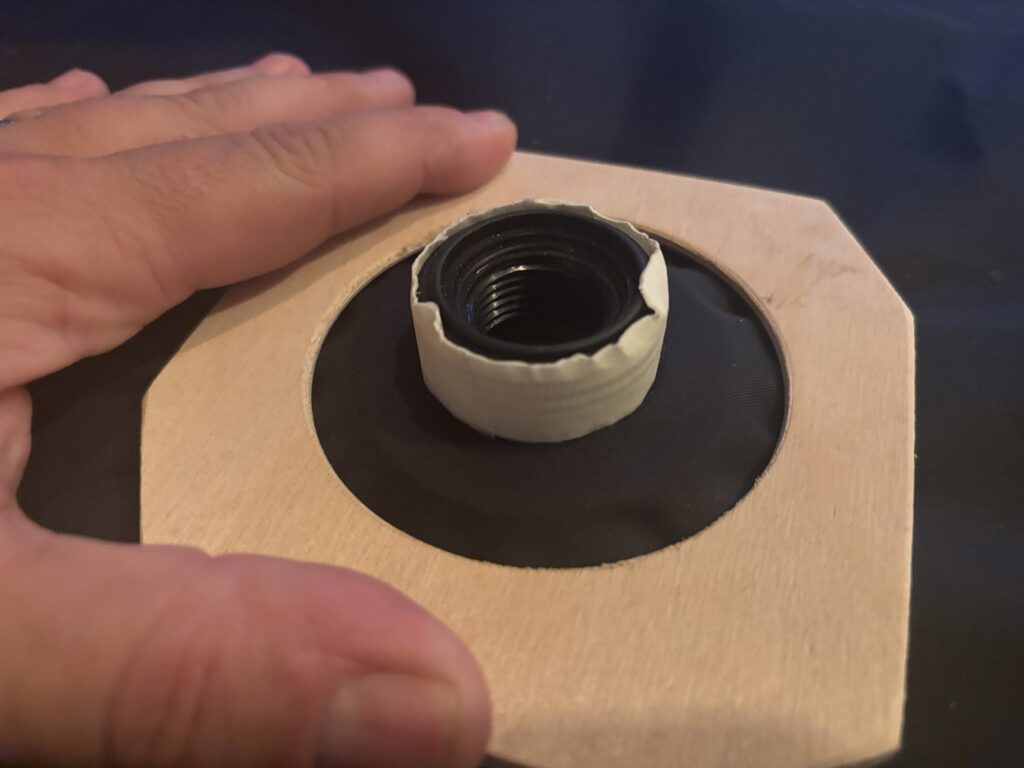
If you have woodworking tools and some scrap plywood or MDF you can make a form to help you install your Boston valve. Nicolas Schneiter sent me these photos and said, “It makes it really easy and almost impossible to accidently damage the surrounding material.” Excellent idea! (Note that this photo sequence shows an installation with the TPU on the inside of the inflatable, unlike a packraft which has the TPU on the outside.)
Installing a Boston valve in an inflatable that has the TPU layer on the inside instead of the outside.
Mark a circle on a piece of scrap fabric approximately 12 cm (4.5″) wide. (As of 2022, this fabric ring is pre-scored in your kit.)
Cut out the circle on the inside of the pen lines so the pen marks won’t appear on your packraft.
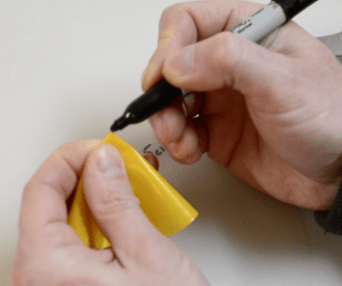
Fold the disc in half twice to form a point and mark it with a pen (this is the circle’s center).
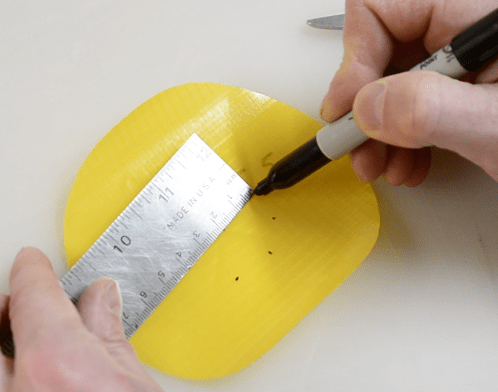
Mark a 4 cm (1 9/16″) diameter circle around the center point. Again, you can trace the inside of the valve’s retaining ring to do this.
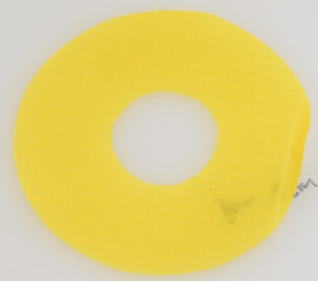
Cut out the 4 cm circle to make a fabric ring.
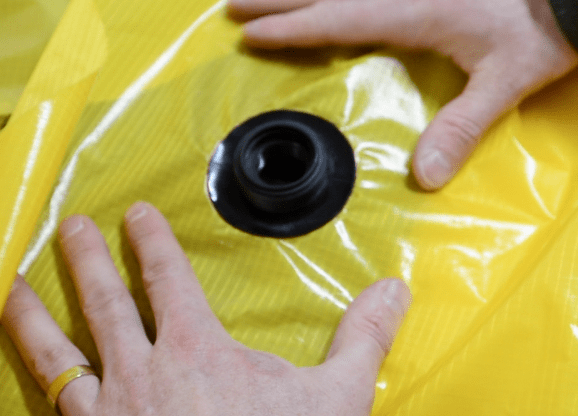
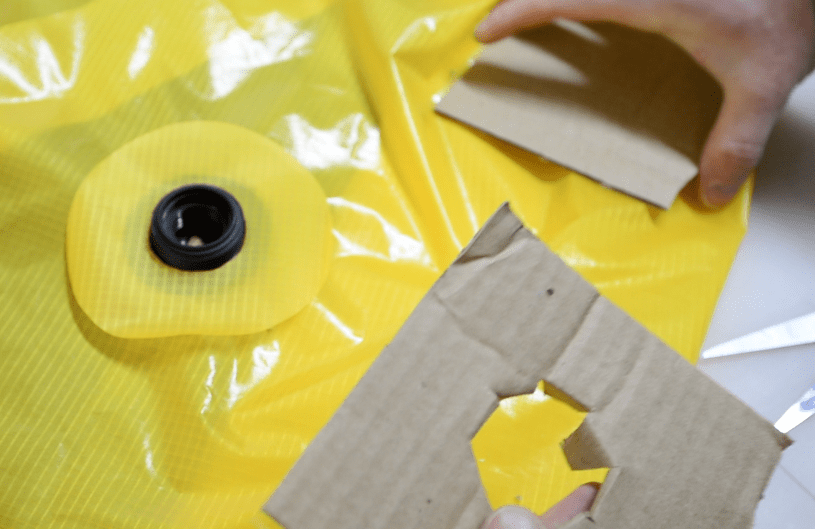
Place the fabric ring over the valve flange (on the outside of the fabric tube), TPU side down. Cut a hole in a scrap of cardboard and place the cardboard under the valve so you can heat seal the fabric ring to the tube fabric without melting the TPU on the floor below.
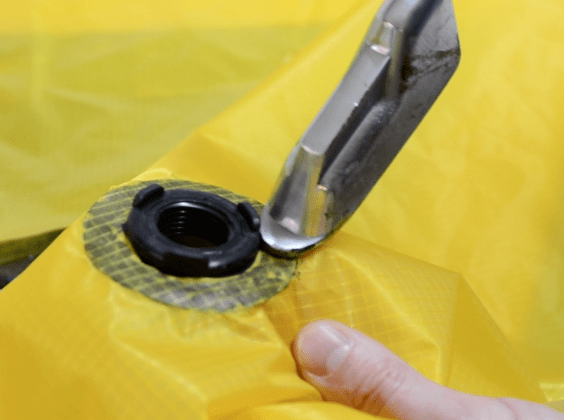
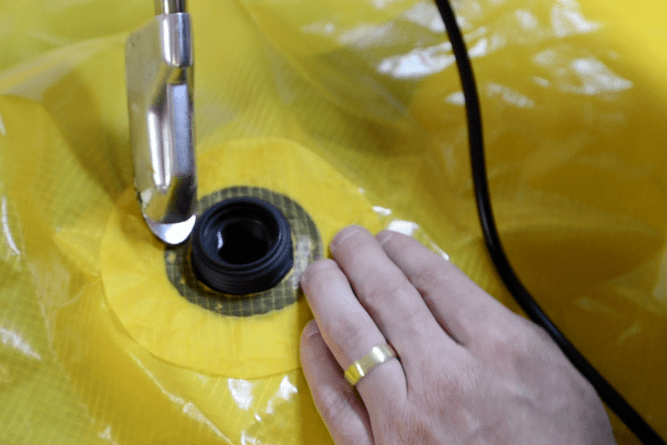
Heat seal the fabric ring to the valve flange, being careful to avoid melting the valve’s threads.
Heat seal the fabric ring to the tube fabric, working outward from the center to the edge to prevent air from being trapped.
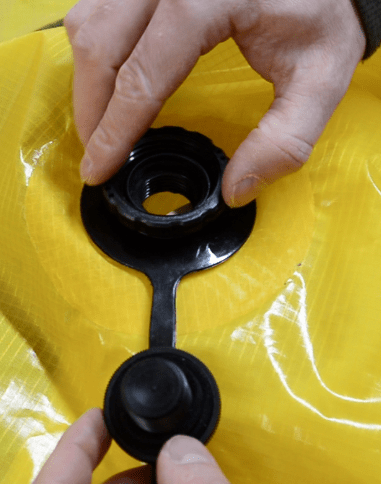
Slip the keeper ring over the valve threads and then screw on the knurled retaining nut.
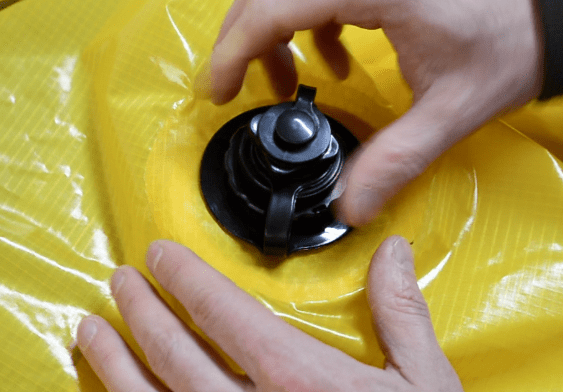
Screw the valve stem into the flange. Tip: Because it is fairly easy to cross-thread the soft plastic threads, I always turn the valve counter-clockwise until I feel the threads drop into place before I begin to screw it in.
Optional: To increase airflow through the check valve portion of the Boston valve, you can remove the circular silicone flap and then drill out the five air holes to make them larger; then you can insert the silicone flap back in place. Only do this if you understand how the check valve works and are comfortable using a drill on this relatively fragile plastic.
Sorry, I’m not aware of anywhere that sells the valve components separately.
Fan Z
· May 12, 2019 at 7:02 pm
Matt, I plan to buy your Boston valves and TPU material to make sponsons (air bladders) of my folding kayak.
You indicated the size of your Boston Valves to be 5*7*7 cm. If you refer to photo #4 on your product page, that 7cm is the widest width of flange, correct? How wide, in cm, is the 2nd widest (protruding) flange on photo #4?
I have to follow the pattern of my original sponson and its width is 7.5cm. Original protruding flange is 3cm wide, though wider protruding flange should work, as long as it is narrower than 7cm. I just want to make sure your Boston Valves can fit my pattern.


6 Comments
Jesse Poulin · October 16, 2020 at 2:19 pm
Hi Matt, What model is that metal heat-sealing tool? Where can I purchase it?
Matt (Admin) · October 16, 2020 at 2:22 pm
It’s the one described here: https://www.diypackraft.com/construction/tools/
Tony MILLWARD · August 23, 2020 at 4:34 am
Where can I purchase the knurled retainer ring I have one that has broken
Regards Tony Millward
Matt (Admin) · September 3, 2020 at 9:07 am
Sorry, I’m not aware of anywhere that sells the valve components separately.
Fan Z · May 12, 2019 at 7:02 pm
Matt, I plan to buy your Boston valves and TPU material to make sponsons (air bladders) of my folding kayak.
You indicated the size of your Boston Valves to be 5*7*7 cm. If you refer to photo #4 on your product page, that 7cm is the widest width of flange, correct? How wide, in cm, is the 2nd widest (protruding) flange on photo #4?
I have to follow the pattern of my original sponson and its width is 7.5cm. Original protruding flange is 3cm wide, though wider protruding flange should work, as long as it is narrower than 7cm. I just want to make sure your Boston Valves can fit my pattern.
Thank you very much.
Matt (Admin) · May 13, 2019 at 8:46 am
It’s about 4 cm wide. Cheers!