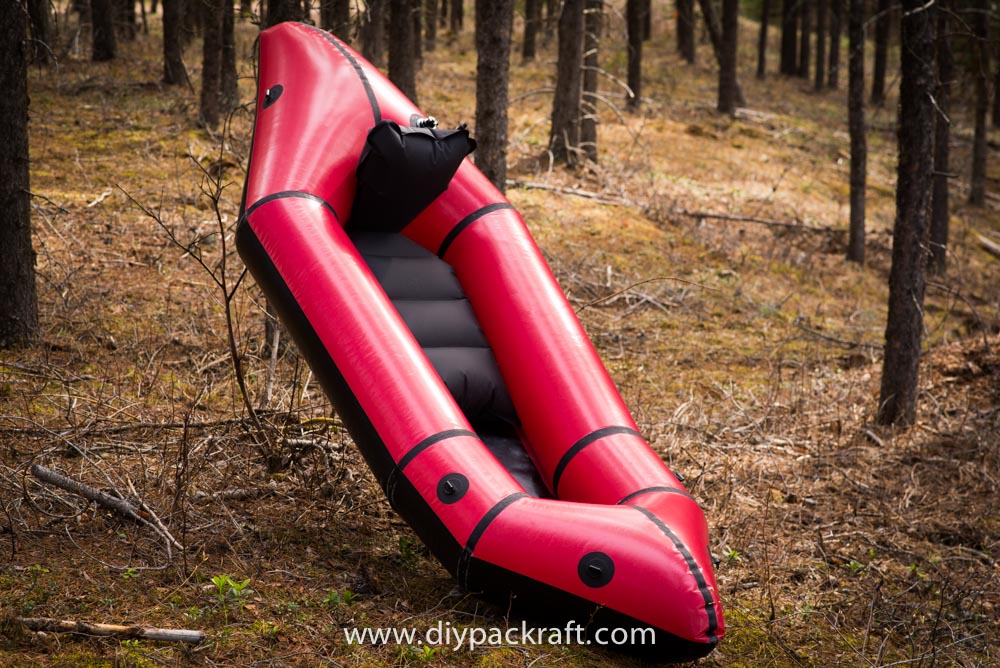
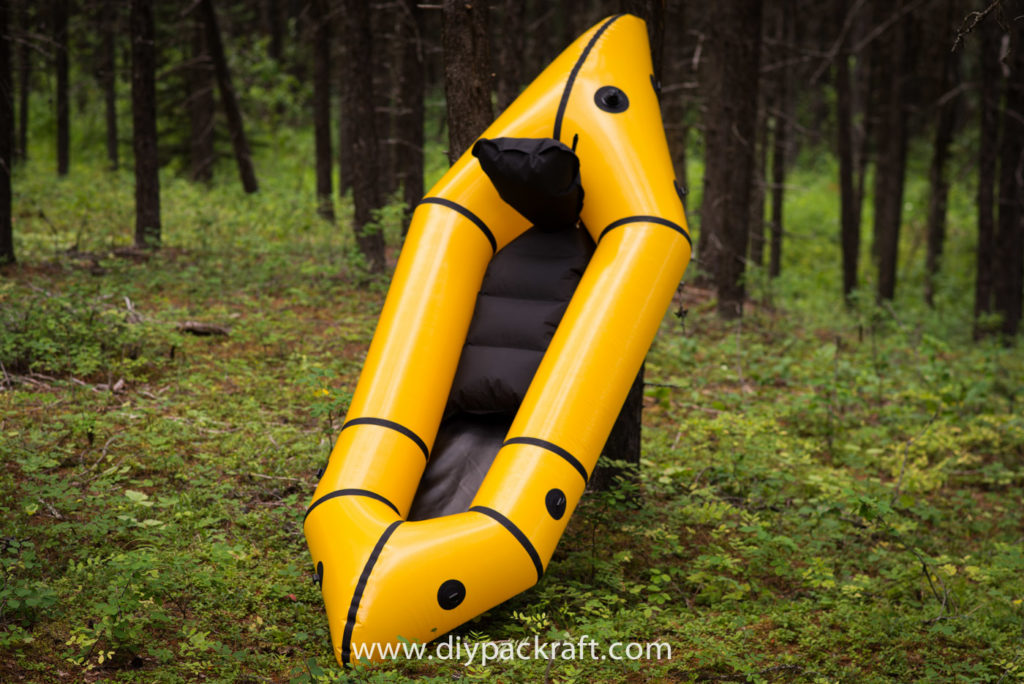
The procedures for assembling the Telkwa and Skeena kits are the same. To avoid confusion, differences in the fabric shapes are noted where necessary.
Kit Checklist:
Note: Do not use a knife to open your kit, as you may damage the fabric.
Before beginning construction, identify the parts of your kit and place the pieces someplace where they won’t get lost. Please unpack your kit carefully, as small pieces (like valves) can be overlooked when wrapped in fabric and/or packing materials.
Each kit includes:
- A letter including your password to the instruction pages and videos. Do not discard!
- Pre-scored 250 GSM fabric in the color of your choice for making the packraft’s tubes (numbered 1-4, L & R for left and right), with the forward direction indicated by an arrow. This fabric also has three scored rectangles (A, B, and C) for making the seat baffles
- Pre-scored black 250 GSM fabric for making the inflatable seat top and bottom and ten attachment points
- Pre-scored heavy black fabric for making the packraft’s floor, with alignment dots and a forward arrow indicated in silver pen. This piece also contains ten pre-scored attachment point reinforcement parts. Note: This fabric is coated with heat sealable TPU on both sides – one side with a glossy finish, the other side matte.
- One heat sealable Boston valve (black, three parts)
- Two top-up valves (flexible black valve stems and black+white valves)
- Five pre-scored seam strips (black fabric, approximately 2 m or 6′ long)
- Inflation bag fabric (lightweight red or black ripstop fabric, approximately 0.9 x 1.5 m, or 3′ x 5′)
- Inflation bag adapter tube – black rubber tube, 7/8″ (2 cm) diameter & approximately 5 cm (2″) long
- Scrap fabric for heat sealing practice, making reinforcing strips, repairs, small accessories, etc. (left over after cutting out the packraft pieces)
- Non-stick baking paper for mess-free heat sealing
- Airtight zipper + lubrication (optional). (Zippers are packed inside the folded floor fabric.)
Before You Begin
In addition to the items included in your kit, you will need:
- A heat sealing iron
- Two small (1 oz / 28 gram) tubes of Seam Grip+WP or Aquaseal or Aquasure (don’t use “Seam Grip+SIL” silicone sealant)
- A bowl or other round object that you can iron over
- A couple scraps of lumber or other heat resistant flat objects, one a few inches (~10 cm) long and one about 1 m or 1 yard long (exact dimensions aren’t important)
- Masking tape
- Scissors
- A few small clamps or binder clips or paper clips
- A ruler or straightedge
- A permanent marker (silver Sharpie pens work well on black fabric)
- The ability to stream video instructions
Important: If you take good care of your packraft it can have a long lifespan and withstand hundreds of cycles of packing and unpacking; however, this repeated stress will cause the seams to separate if they’re not properly welded in the first place. Proper heat sealing technique is the foundation every DIY Packraft is built on, so it’s essential to familiarize yourself with this page and practice heat sealing before you begin assembling your packraft:
DIY Packraft Skeena & Telkwa Kit Instructions
Please familiarize yourself with the instructions before you begin – you’ll be much less likely to make a mistake if you understand what you’re doing and why.
Note: Be sure to review the pictures and written notes on the instructions pages – not just the videos. I can’t re-edit a video each time someone asks a question, so the text is where I add clarification and emphasis in response to feedback from builders. If you only watch the videos, you may make mistakes that are warned about in the text.
Note: Due to an issue with a copycat website, access to the following pages is limited to those who have purchased a kit. Your password for these pages is included in the letter packed with your kit (it is not the same as your Forum password). Please do not reproduce the instructions or share your password. The techniques are similar to those used in the V2 DIY Packraft instructions, which are not password protected, but the packraft design, assembly methods, and instructions have been improved.
Before assembling the packraft itself, you may want to build confidence by completing your inflation bag and seat/backrest first:
- Inflation Bag Assembly
- Backrest for those who don’t intend to also use it as a back band, or
- Back band/backrest
- Seat
Below are links to the instructions for assembling the packraft. Please note the time estimates indicated at the top of each page and plan accordingly. If you are working faster than these times, you’re probably not creating strong welds, so please don’t hurry!
Tip: When watching the videos in the links below, you can press the arrow keys on your keyboard to scrub back and forth. Also, if you click on the gear icon in the video player you can change the playback speed.
Practice Proper Heat Sealing Technique
Backrest OR Back Band/Backrest (choose Backrest if you don’t intend to use it as a back band)
Step 1 – Separate & Identify Fabric Pieces
Step 2 – Seal Tubes 3R & 3L to Floor
Step 3 – Add Tube Pieces 2R & 2L
Step 6 – Apply Seam Sealer to Forward Seams
Step 8 – Install the Inflation Valve
Step 8.5 – Install a Seat Attachment Point
Step 10 – Inflate & Test for Leaks
Step 11 – Apply Sealant to Outside of Seams
Step 12 – Tie-Downs & Attachment Points
Questions? Leave a comment below!
14 Comments
Sam · January 23, 2022 at 9:23 pm
Hi Matt, any thoughts on retrofitting self-bailing valves on the floor?
Matt (Admin) · January 24, 2022 at 9:04 am
Yes, you can read them in the FAQ: https://www.diypackraft.com/faq/self-bailing-floor/
Robert · September 21, 2021 at 4:51 am
Hello,
I am in Germany. People seems to use Helaplast and a hardener and eventually a thinner to glue things to their packraft.
Here is the german techincal sheet https://www.unitec-helmsdorf.de/produktinfo/ib/pdf/IB_pi_helaplast.pdf
Apparently, Helaplast can be also welded as it is some kind of diluted TPU. In comparison, Aquasure/Aquaseal seems to be intended only for quick repair. The advantage it that it would be cheaper to obtain.
Is people using this instead of Aquasure for packraft builds heard of ? Should I even try it ?
Matt (Admin) · September 21, 2021 at 2:51 pm
I am not familiar with that product, but if you try it, test it on scraps of fabric before using it on your packraft. I have tested many different adhesives on the DIY Packraft fabrics and some seem okay at first, but then they peel off over time. If other people have had success with it as an adhesive on their packrafts, however, there is a good chance it will work as a sealant.
Robert · March 21, 2022 at 12:21 pm
So, I tried Helaplast, with and without hardener, with and without solvant.
The result is that it is a poor sealant. It works ok on flat surface with TPU, but is somehow spreading too thin and not penetrating leaks as good as Aquaseal in more complex spots. I did redo most of my work with Aquaseal, especially because as a beginner I had lots of leaks at the floor to tube junctions.
Matt (Admin) · March 21, 2022 at 3:51 pm
Thanks for telling us, Robert. It’s too bad it did not work out.
Simon · August 11, 2021 at 2:33 pm
Hi Matt. Do you have any suggestions for smoothing out the folds in the materials before cutting out? Its travelled half way around the globe so some well established creases are to be expected. I’m a tad paranoid that I’ll make a mess from the off when cutting out over the folds. Thanks.
Matt (Admin) · August 11, 2021 at 4:25 pm
Hi Simon, yes, you can iron the fabric with a clothes iron at a low temperature – just make sure to test it on some scrap fabric first to make sure it won’t melt the TPU.
Duncan · July 27, 2021 at 1:42 am
Could you please clarify, are the re-inforcement strips used for the seat baffles supposed to be the ones that are pre-scored on the heavy black floor TPU? Or are they supposed to be made from scrap fabric?
Matt (Admin) · July 27, 2021 at 10:34 am
The reinforcing strips for the seat baffles should be cut from the scrap fabric surrounding the packraft’s tubes. Thanks for this question – I will try to clarify this in the instructions.
Jeff · March 1, 2021 at 7:46 am
I assume the “scrap fabric” in the Kit Checklist is just the leftover fabric after you separate all the pre-scored pieces? As in, there’s no separate piece of scrap fabric?
Matt (Admin) · March 1, 2021 at 8:12 am
Yep, that’s right – I’ll clarify that above.
Thomas Snyder · August 26, 2020 at 6:55 pm
Hello, will the Silicone tent sealant Seam Grip work?
Matt (Admin) · September 3, 2020 at 9:05 am
I don’t think so, as it’s formulated to stick to silnylon, which is very different from other plastics.