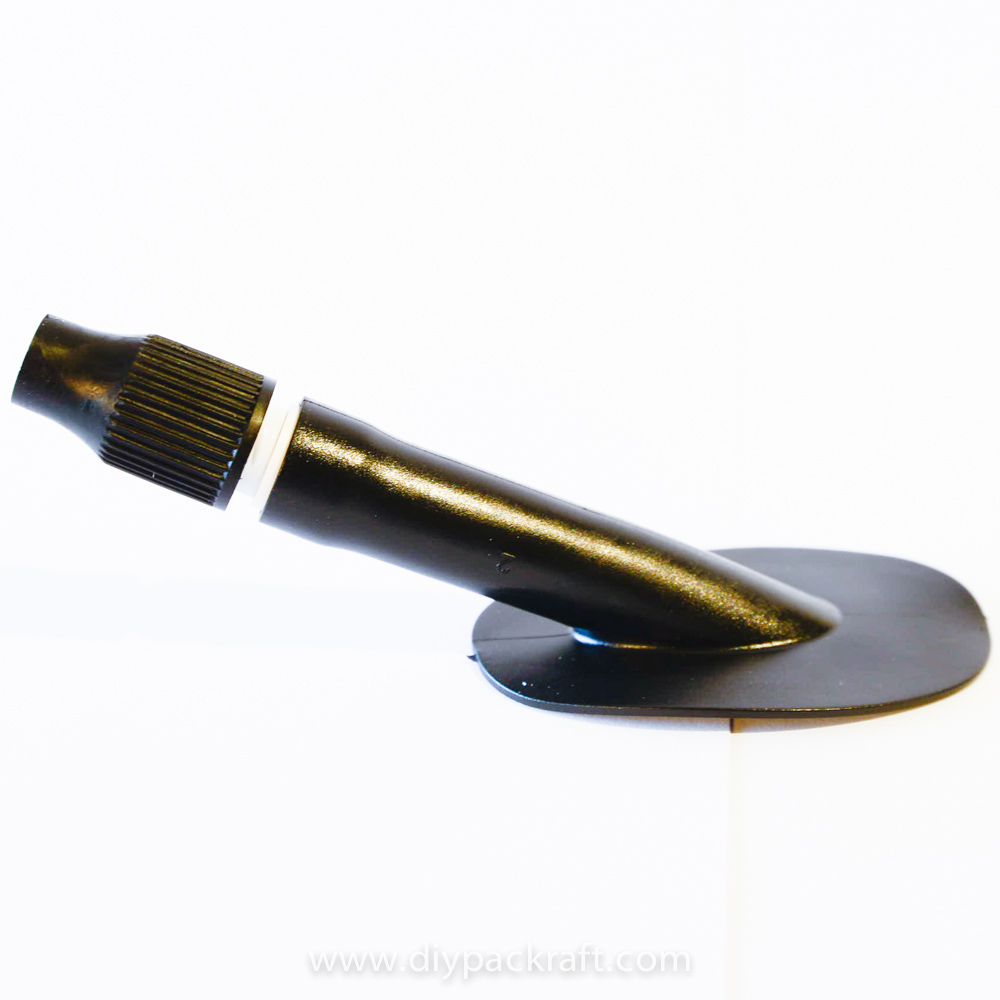
Two top-up valves are included with your Skeena/Telkwa DIY Packraft kit – one for the seat bottom, and one for the backrest. The Boston valve in the packraft includes a one-way valve, so adding a top-up valve to your packraft isn’t necessary (you can open the Boston valve and add air through it while on the water), but you may prefer to install a top-up valve in your packraft anyway, so they can be purchased separately.
If you do want to install a top-up valve in your packraft, follow the steps on this page:
Skip to a different step:
Skeena/Telkwa Instructions Overview
Step 1 – Separate & Identify Fabric Pieces
Step 2 – Seal Tubes 3R & 3L to Floor
Step 3 – Add Tube Pieces 2R & 2L
Step 6 – Apply Seam Sealer to Forward Seams
Step 8 – Install the Inflation Valve
Step 10 – Inflate & Test for Leaks
Step 11 – Tie-Downs & Attachment Points
- Optional – Install a Top-Up Valve
Questions? Leave a comment below!
0 Comments