Note: These are instructions for an old version of the DIY Packraft seat (V3). If you have a kit that is newer than a V3 (e.g. Skeena, Telkwa, 2-Person, Ultralight, etc.) then this is not the right page for you! Please access the correct seat instructions through the instructions page for your packraft model.
To avoid mistakes, be sure to read and understand these instructions fully before you begin.
Note: the ultralight (40D) seat is made in this demo video and in the pictures below. The standard (210D) seat kit is the same, but the fabric is thicker and somewhat less pliable. Video and pictures show an early version of the seat, without tie-down points.
Step 1 – Identify Kit Parts
Each 210D (standard) seat kit includes:
- One small valve or top-up valve. (The small valves are being phased out.)
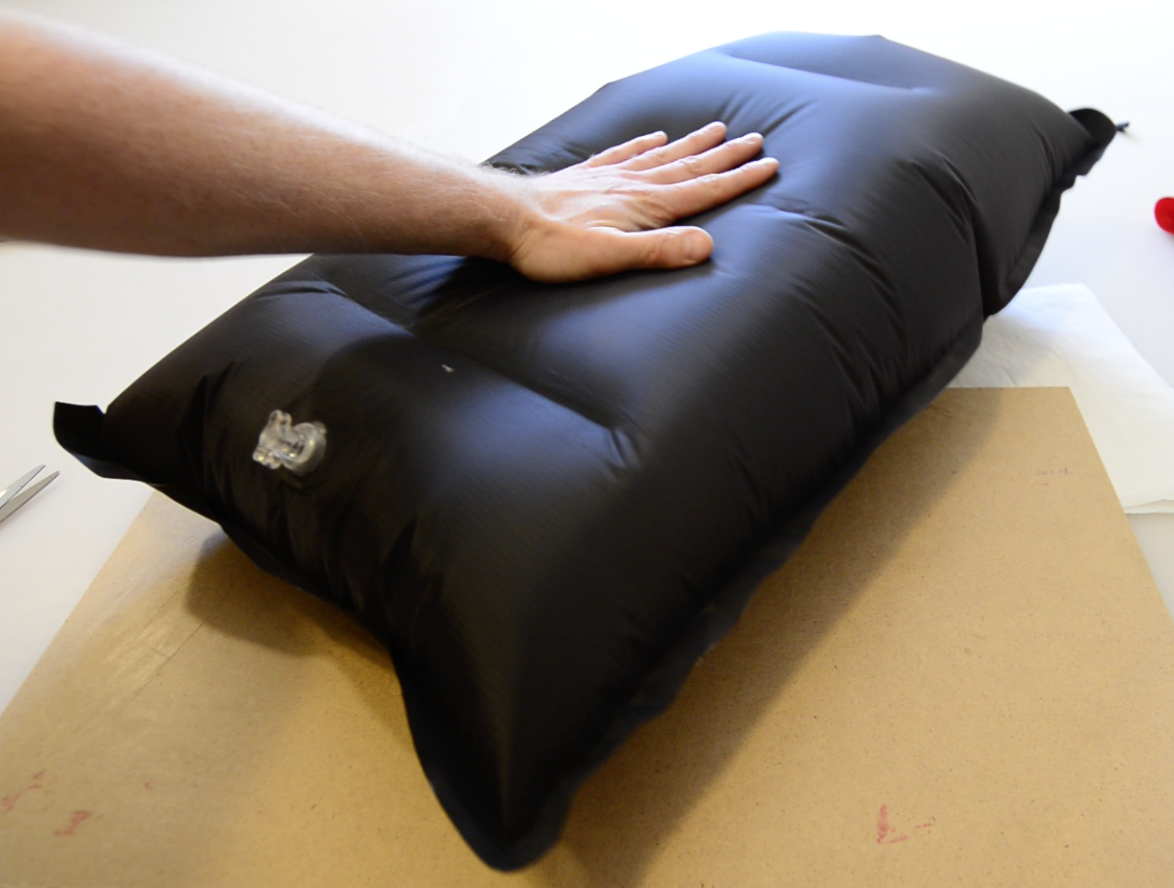
- Three pre-cut rectangles of 210D fabric for making baffles. These will bridge between the top and bottom of the seat to make a flat shape when inflated, as in a camping mattress. We will call these rectangles baffles A, B, and C.
- Pre-cut top and bottom piece(s) of 210D fabric – early versions of the seat kit had separate top and bottom pieces; newer versions have a single piece that will be folded over along the dashed line shown above to make the top and bottom. A 2 cm (~3/4″) wide hole is cut in the top piece to fit the included valve. If your kit is one of the newer ones including a top-up valve instead of a small valve, you will need to enlarge this hole slightly (see below).
- Fabric scraps for reinforcing the heat welds.
Each 40D (ultralight) seat kit includes:
- 40D fabric with the shapes marked in pen, ready to be cut out with scissors.
- One small valve or top-up valve (the small valves are being phased out).
Step 2 – Separate and Label Fabric Pieces
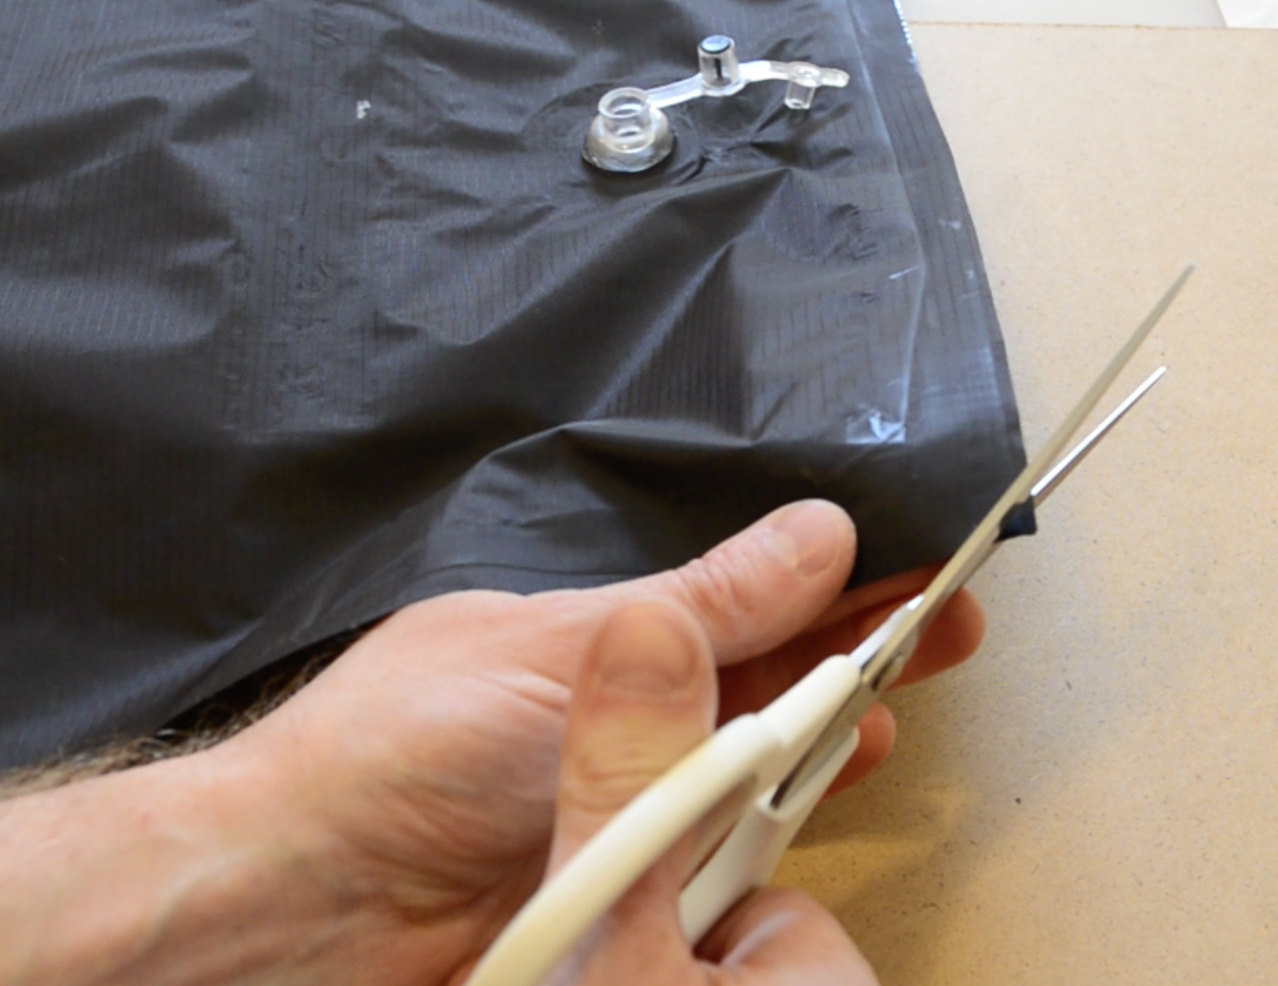
Use scissors to separate the seat pieces from the surrounding scrap material in any areas that aren’t fully cut.
You may wish to label baffles A, B, and C to differentiate them and indicate the top and bottom of each piece. (You can use a permanent marker, because these will be invisible from the outside of the seat.) Identify the baffles as follows:
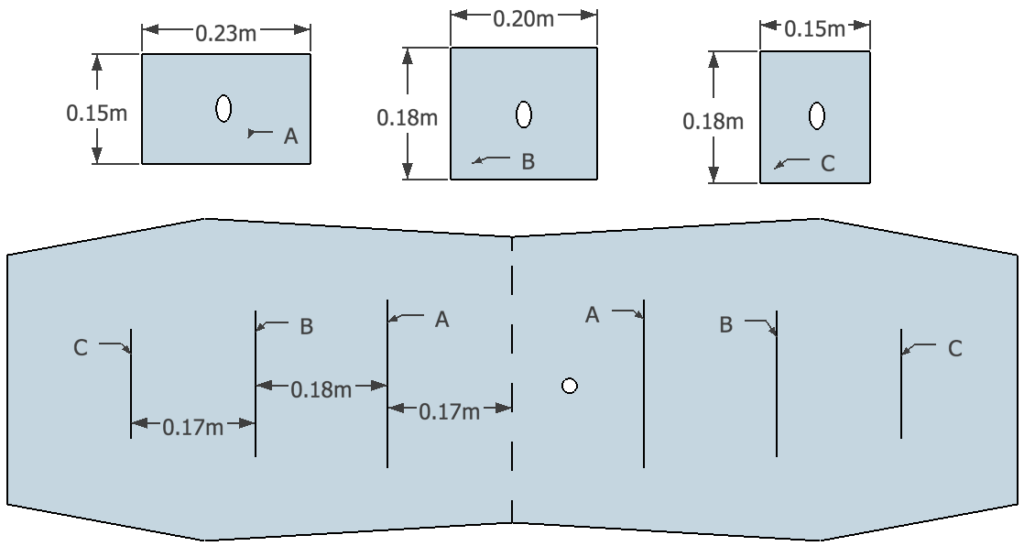
- Baffle A measures approximately 23 x 15 cm (9 x 6″) and the long edges will be attached to the top and bottom
- Baffle B measures approximately 20 x 18 cm (8 x 7″) and the long edges will be attached to the top and bottom
- Baffles C measures approximately 15 x 18 cm (6 x 7″) and the short edges will be attached to the top and bottom
If you like, you can reduce the weight of the seat by a few grams if you cut holes in the baffles, but the more material you remove from the baffles, the less the seat will keep its shape.
Step 3 – Mark Baffle Locations on Top and Bottom
Lay out the seat top and bottom piece(s) on your work surface with the TPU coating side up.
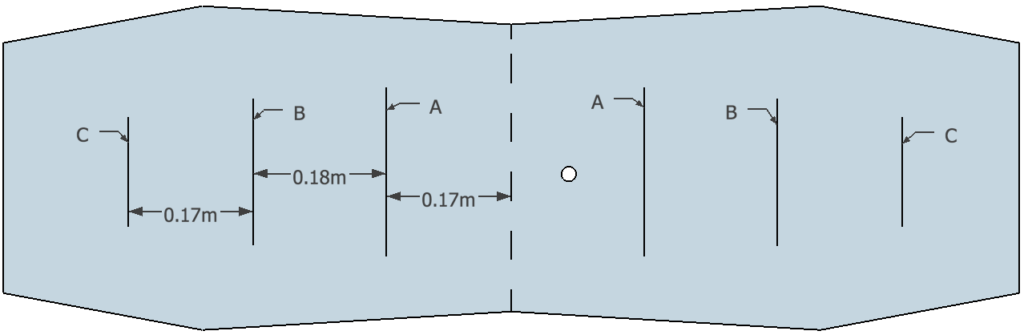
Use a pen to mark the location of the baffles on the TPU sides of the top and bottom pieces, as in the diagram above. Note that the positions do not have to be exact, so do not spend a tremendous amount of time marking the locations – a single dot will do, if you feel comfortable “eyeballing” the position from that.
Step 4 – Install the Valve
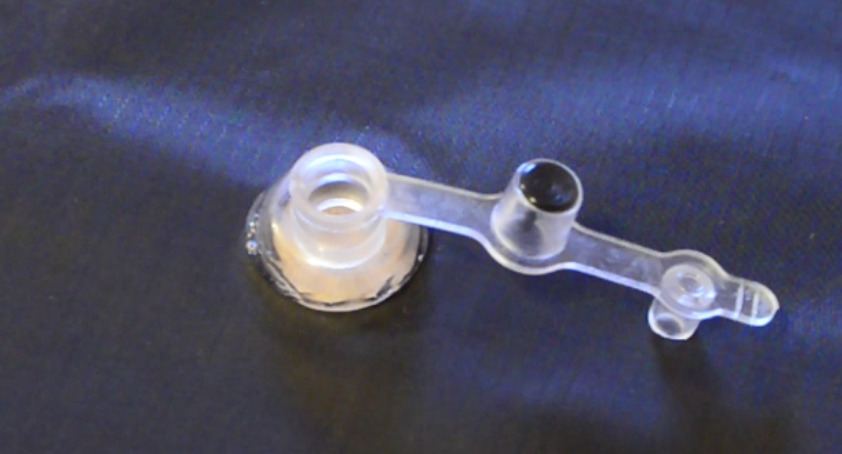
Note: If your kit includes a top-up valve instead of the small valve shown, follow the installation procedure shown here instead. You will need to elongate the valve hole in the seat top slightly to fit the valve stem. The top-up valve should be oriented with its long axis parallel to the long axis of the seat so it will be between your legs when you sit on the seat.
Before sealing baffles in place, the inflation valve should be installed. (It’s possible to install the valve after the seat has been sealed up completely, or at any later stage, but it’s easiest to do while you still have access to the inside surface of the seat top.)
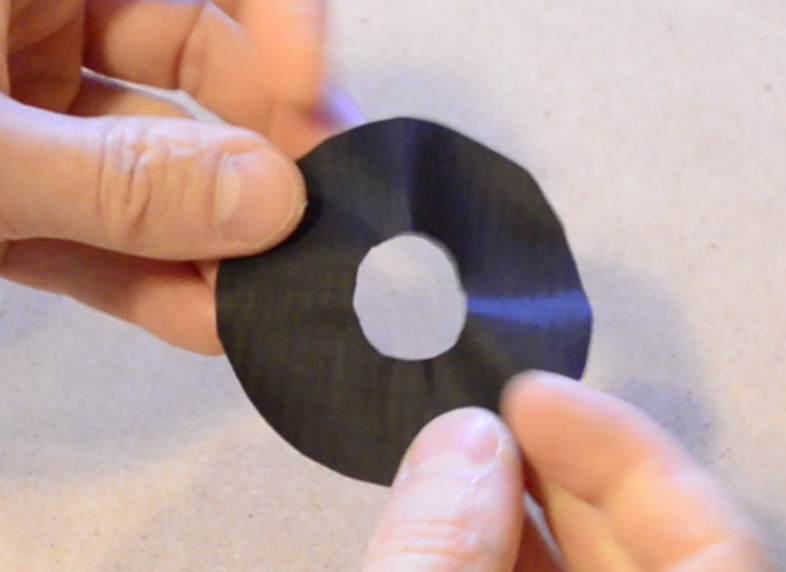
Cut a circle of scrap fabric roughly 7 cm or 3″ in diameter, and then make a hole in the center approximately 1.5 cm or 3/5″ in diameter, as below.
If your kit includes a small valve, apply glue such as Aquaseal to the top and bottom of the valve’s flange, taking care to make sure there are no gaps in the glue.
Note: If your kit includes a top-up valve instead of a small valve, no glue is required here because the valve stem is heat sealable.
Being careful to avoid making a mess with the glue, press the bottom of the valve’s flange to the TPU side of the fabric ring, and then insert the top of the valve through the 2 cm hole in the seat top. Press the seat top down around the valve’s flange to ensure the glue will form an airtight bond around the valve, and then allow the glue cure (overnight is best).

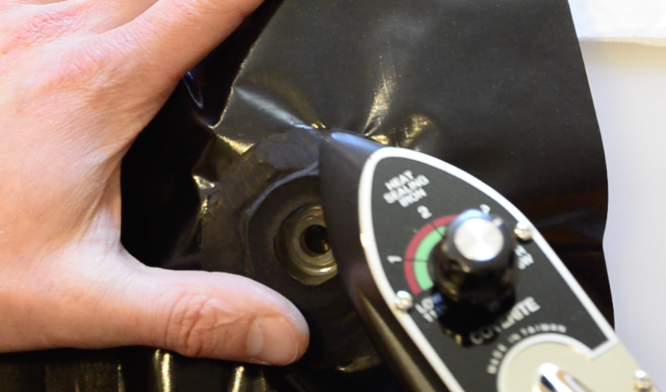
After the glue has cured, seal the fabric ring to the seat top with your iron (around the valve flange).
Step 5 – Bond Baffles to Top Piece
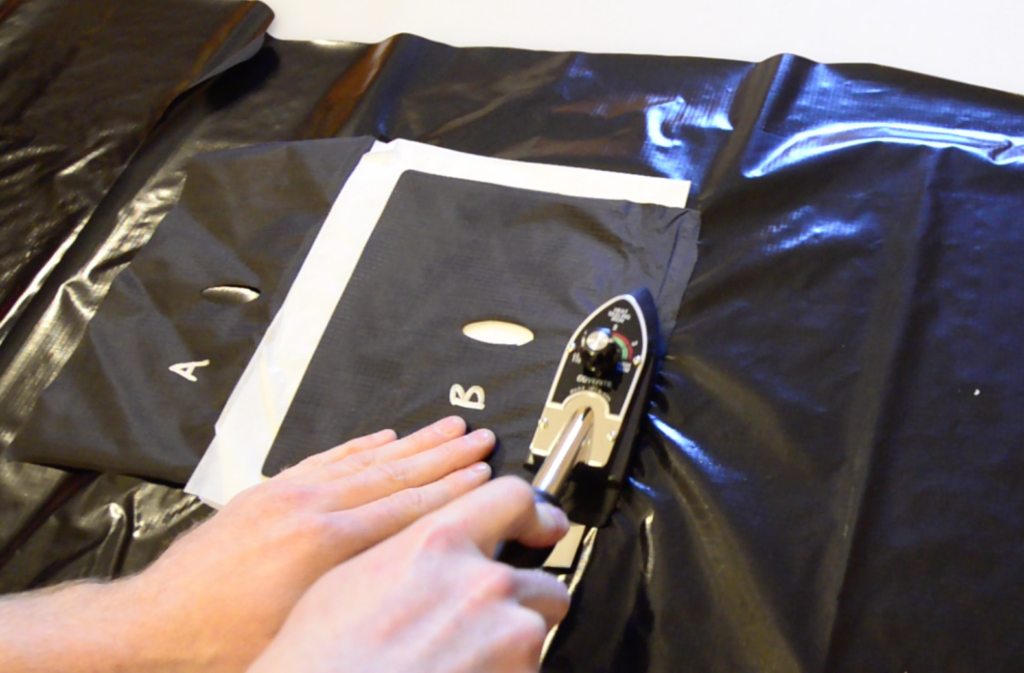
Align one long edge of rectangle A in the position you marked. Note that the baffle must be oriented so the unsealed free edge hangs towards the fold between the top/bottom piece (the fold line is indicated by a dashed line in the diagram near the top of this page).
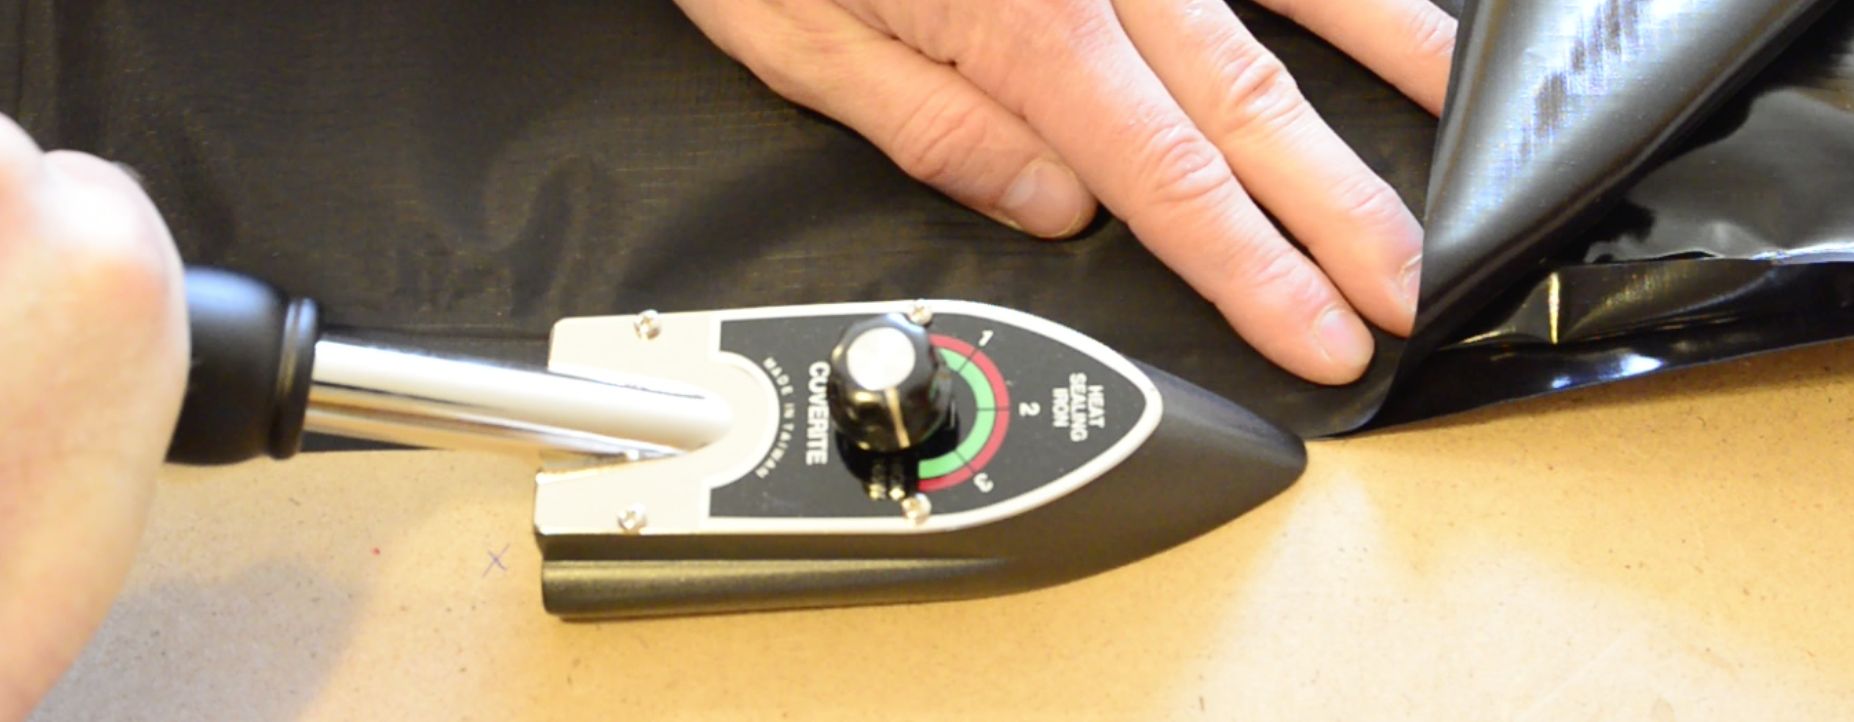
Use the edge of your iron to seal an area approximately 1 cm or 1/2″ wide near the edge of the baffle piece. Press firmly to make a strong bond. Don’t bother trying to seal it perfectly all the way to the edge of the fabric, because this joint will be on the inside of your seat so it won’t be visible, and you could compromise the airtightness of the fabric if you accidentally melt the TPU surface on the larger piece. (If you do happen to melt an area you didn’t intend to seal, simply patch it by heat sealing a small scrap of fabric over the hole.)
To avoid accidentally bonding more of the baffle to the seat top, place piece of parchment between the area you do not want sealed (fold the parchment paper in half a few times to increase its thickness to slow the heat transfer through it).
Seal rectangles B and C in the same way as you bonded rectangle A. It is very important to keep all three oriented in the same direction with the free-hanging part of the baffles pointing the same way – if you do not, it will be difficult to seal them to the bottom piece!
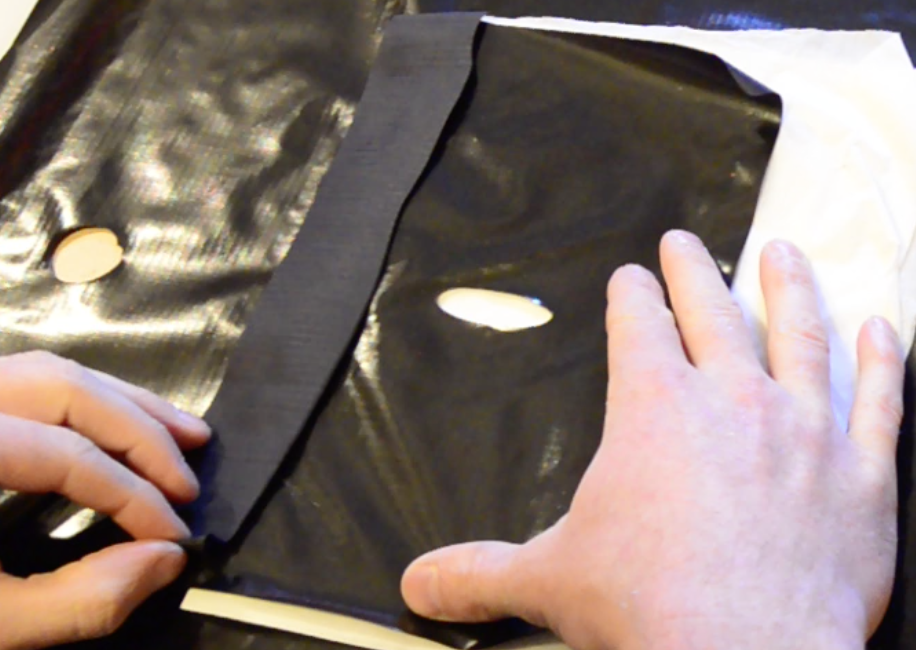
Fold back the baffles and cut some scraps of fabric to seal on the other side of the joints to increase their strength, as below.

Step 6 – Bond Baffles to Seat Bottom
Because it would be too difficult to add reinforcing strips to the joints after the baffles are sealed to both the top and bottom of the seat, first seal reinforcing strips to the bottom of the seat, taking care to orient them so the TPU side will face the TPU side of the corresponding baffle.
Add reinforcing strips for baffles B and C, making sure to orient them the same way.
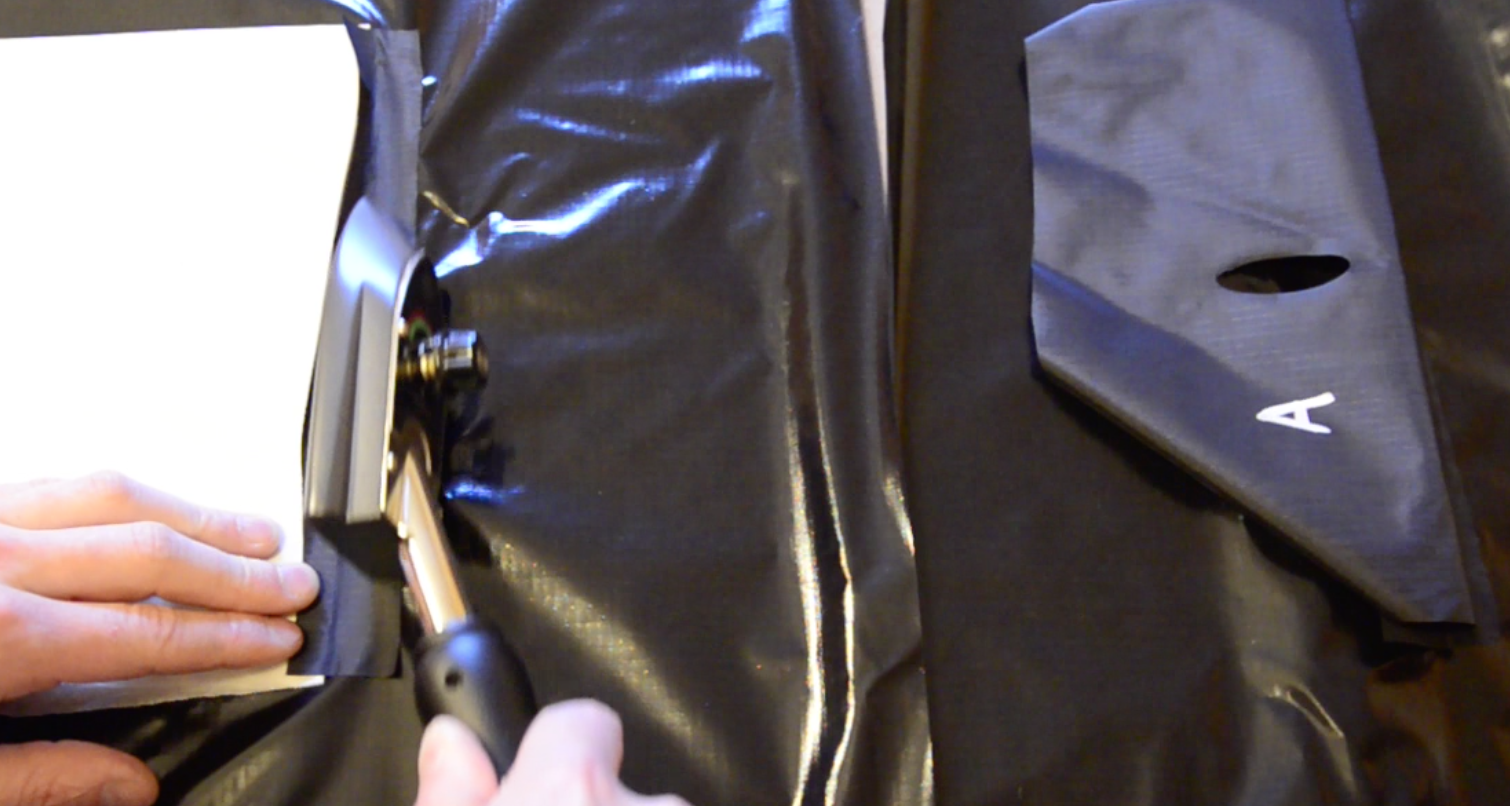
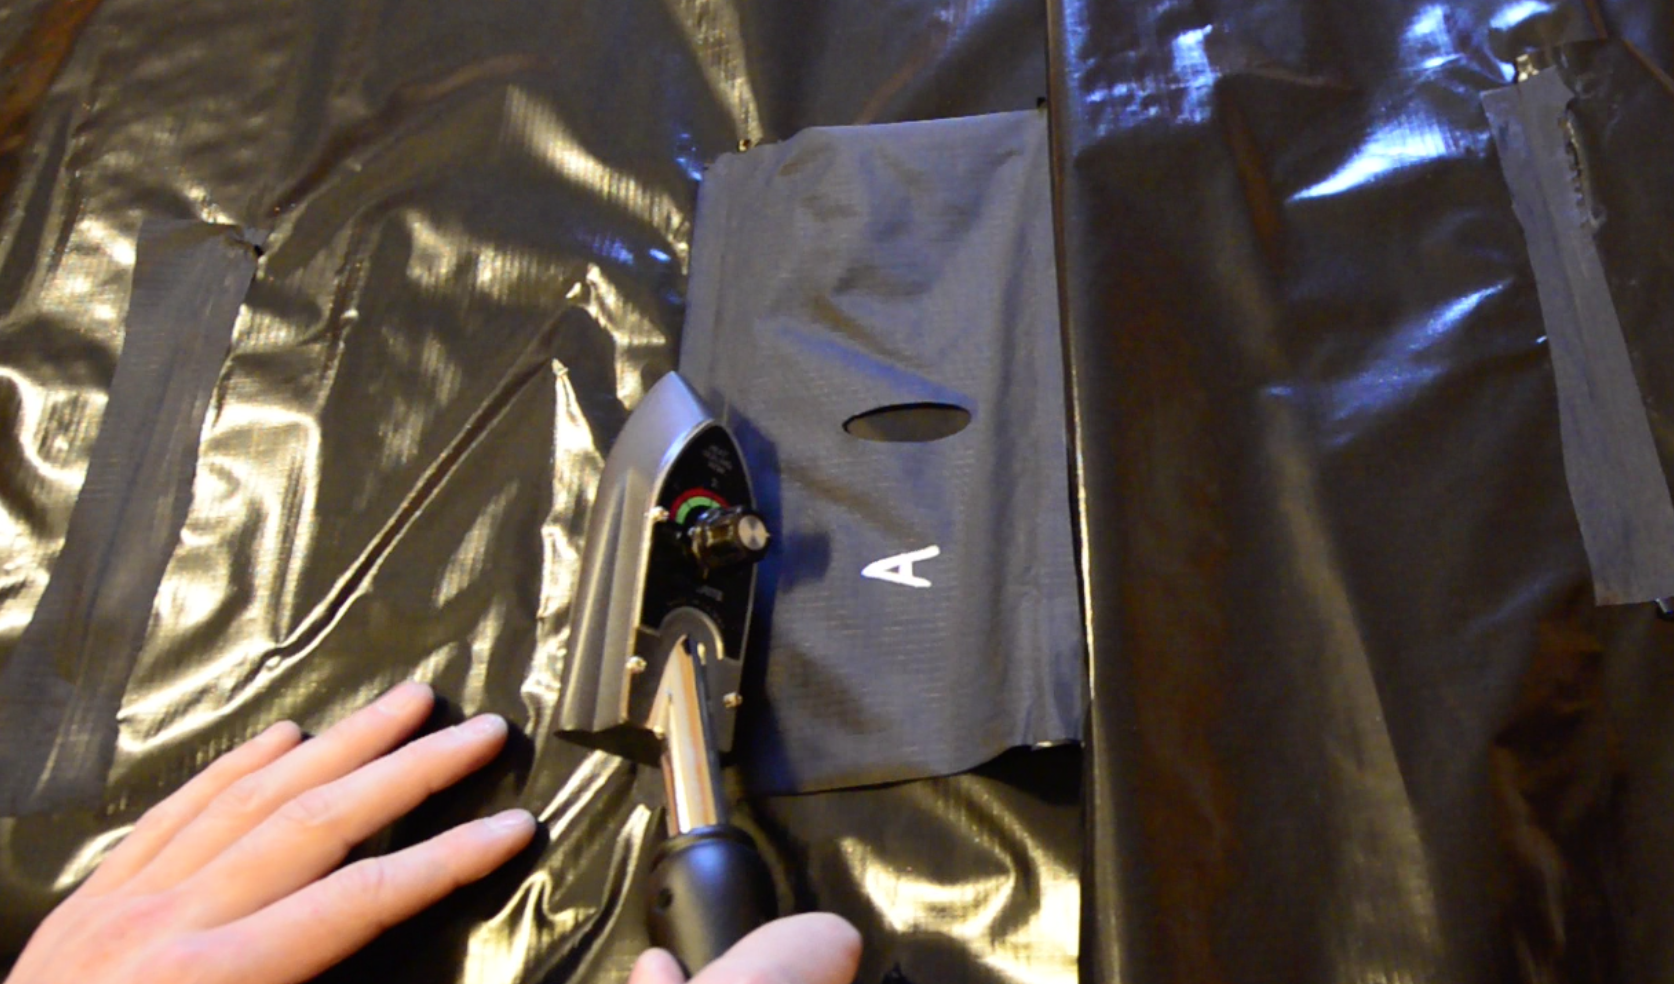
After the reinforcing strips have been added, fold back the reinforcing strip for baffle A and use the edge of your iron to bond the free edge of baffle A to the seat bottom piece and the reinforcing strip at the same time, as in the picture below.
Do the same for baffles B and C; then the three baffles will be attached to both the top and bottom of the seat.
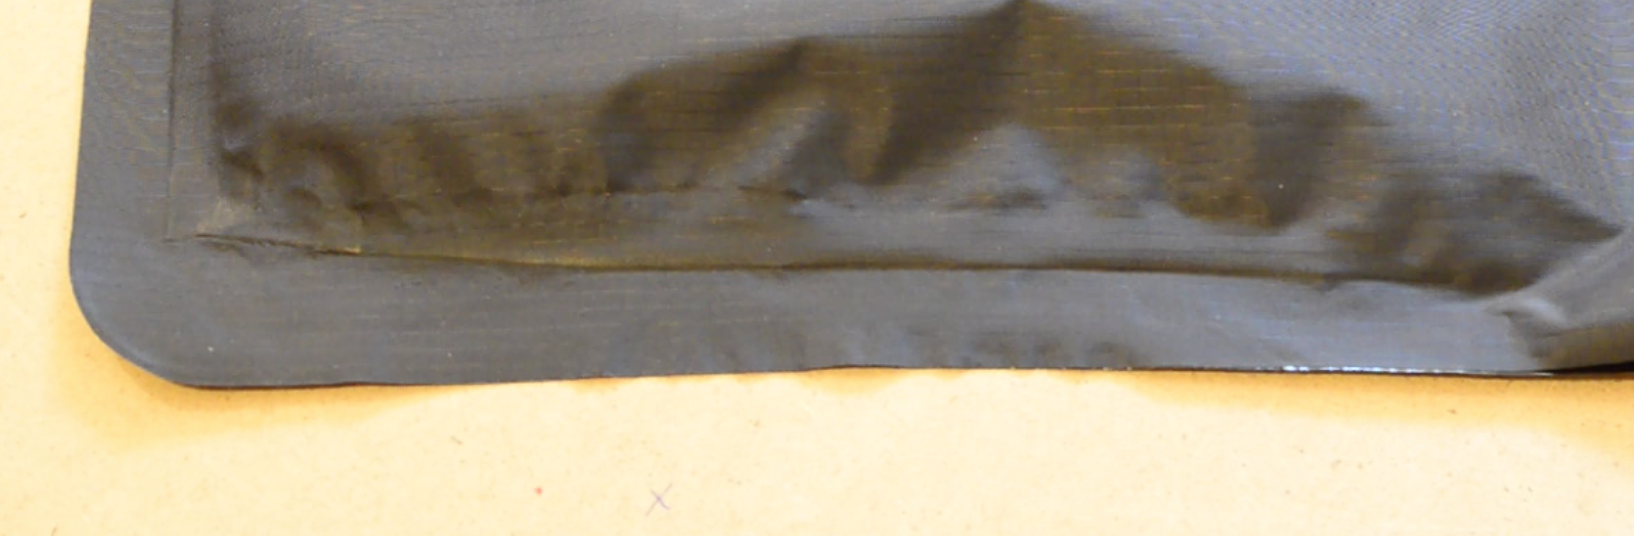
Step 7 – Seal the Seat’s Perimeter
Cut several fabric scrap strips 2-3 cm (1″) wide and bond them around the perimeter of the bottom of the seat, as shown below, so they can fold over to bond to the top piece later. The center of the strip (i.e. the fold) should be approximately 1.5 cm from the edge of the bottom piece, and only the inner part of the strip should be bonded to the bottom piece.
Note that you can use several short reinforcing strips to make up a side – it doesn’t have to be one long piece per side.
Joints between these strips need not be airtight, as the airtightness of the seat will come from sealing the top of the seat to the bottom – these reinforcing strips merely keep that airtight joint from peeling apart under pressure.
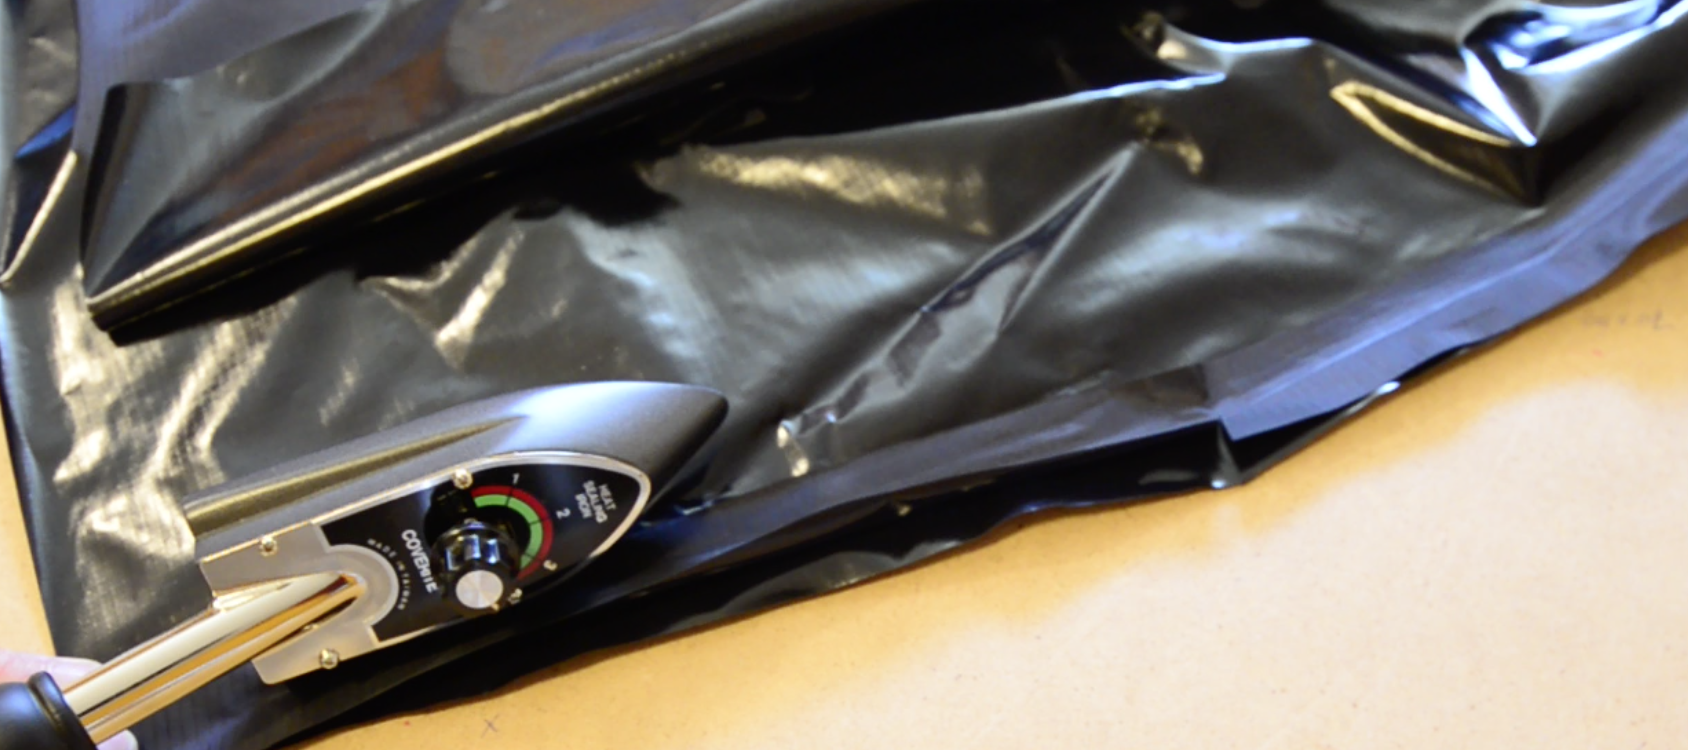
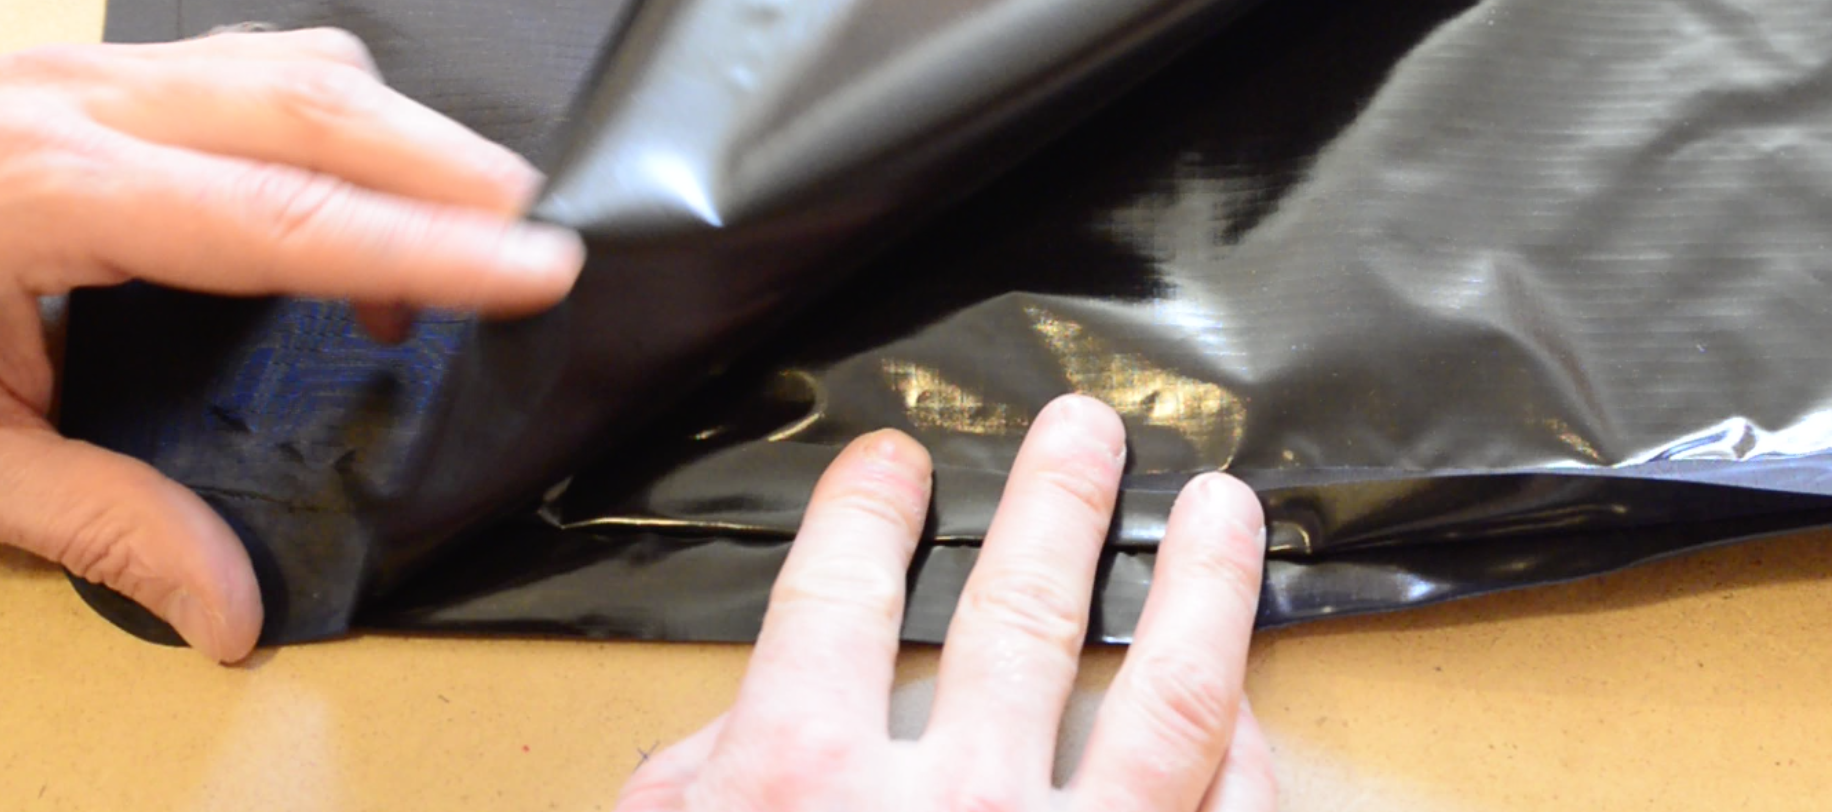
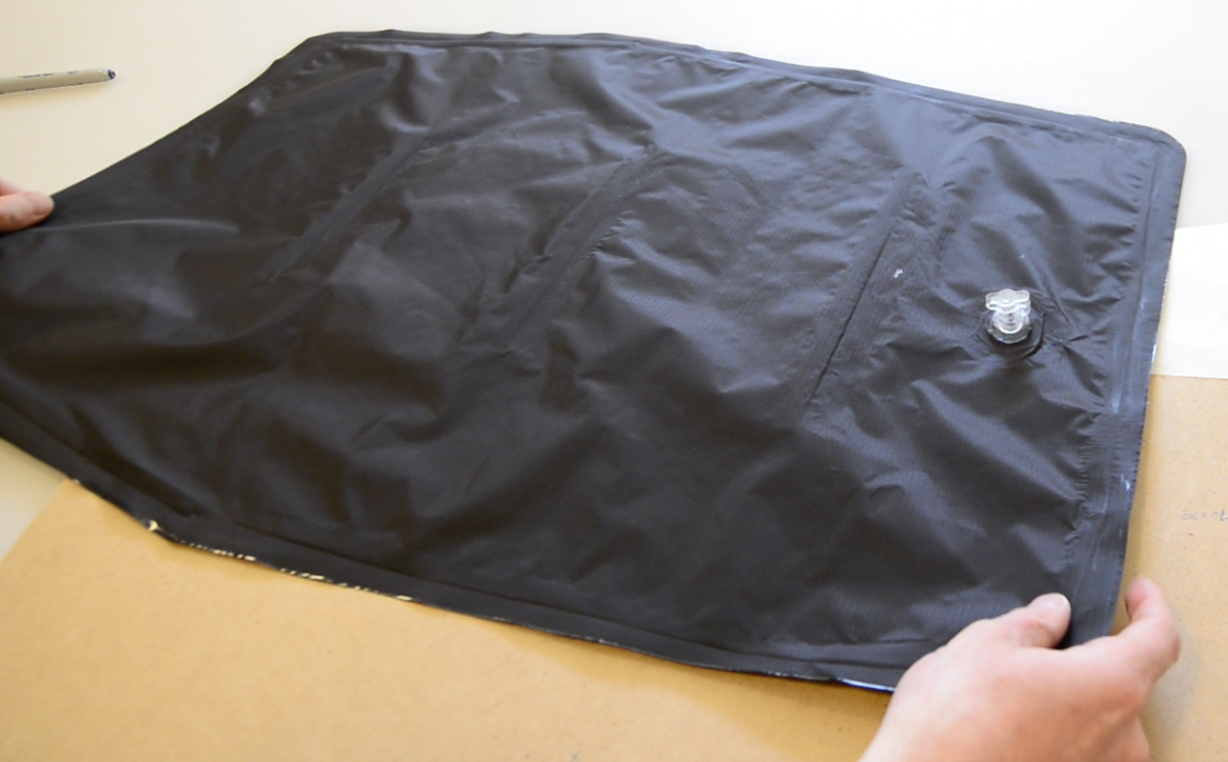
Fold a section of reinforcing strip over so the TPU side is facing up and align the edge of the top piece with the bottom piece. Heat seal the top piece to the bottom piece and the reinforcing strip. Repeat this procedure all the way around the perimeter of the seat. (If your top and bottom pieces are connected, you do not need to seal the fold.)
Not pictured here are the tie-down tabs (semi-circular “ears” extending from the sides of the seat). Before sealing these areas together, insert a small piece of scrap packraft floor material (420D or 1000D fabric with TPU on both sides) between the top and bottom tie-down tabs. By sealing this heavy-duty fabric between the tabs you’ll create a reinforced area that you can tie to (make a circular hole with a hole punch or drill so it’s less likely to tear).
If you have questions, please leave a comment below!
18 Comments