Check out Gary’s pictures and writeup below – thanks, Gary! –Matt
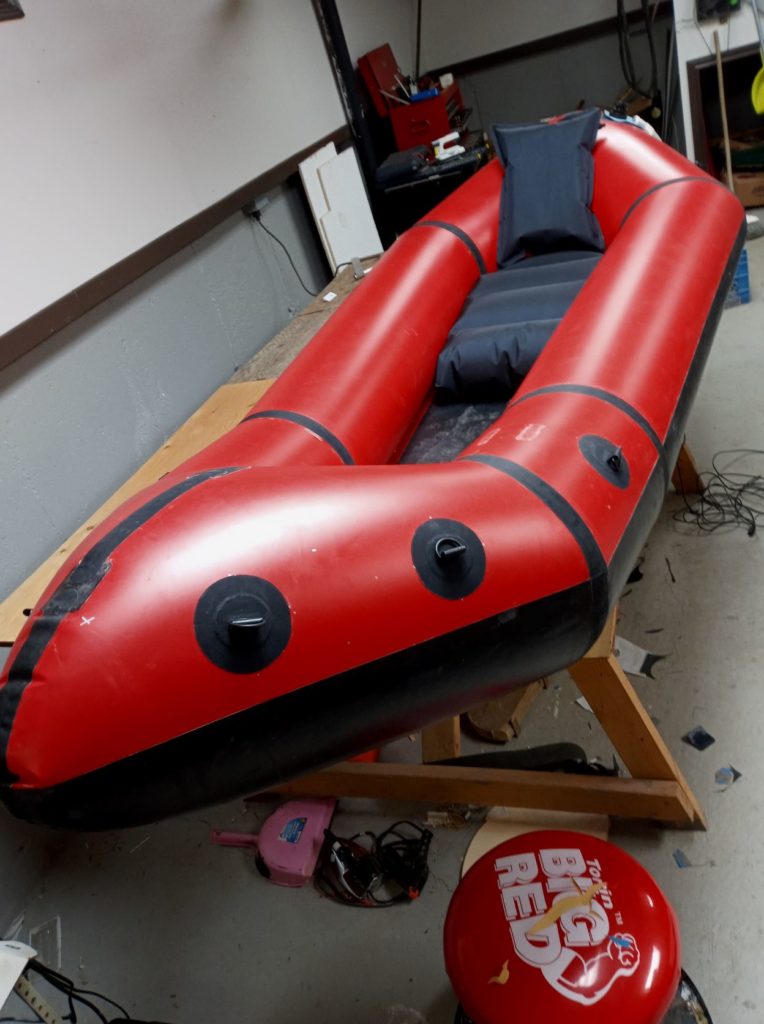
I finished my Telkwa and I can say the patterns were very accurate and it went together well and the error didn’t cause me any grief [I made a small mistake when scoring Gary’s floor material and we communicated about it before he began assembling his kit]. As you pointed out, when doing seams it is possible to end up with a mismatch if you aren’t careful about how you drape the material as you work. I also think there is enough stretch in the material that one can unknowingly be incrementally stretching one side of a seam resulting in a mismatch at the end. It is a challenging project and I didn’t get good at it until the end. I’m thinking of doing another, now I have the skills to make a really clean one.
I found it very helpful to draw a pencil line about 1 1/2 inch down the seam from where I had just stopped sealing. Then iron the 1 1/2 inch up to the pencil mark, and a bit beyond for overlap, then draw a new pencil mark 1 1/2 inch along repeat etc. This prevents missed spots and also prevents ironing over a spot that is already hot from just being done causing overheating. I found myself losing track of where I had ironed until I started doing this. The pencil marks rub off completely.
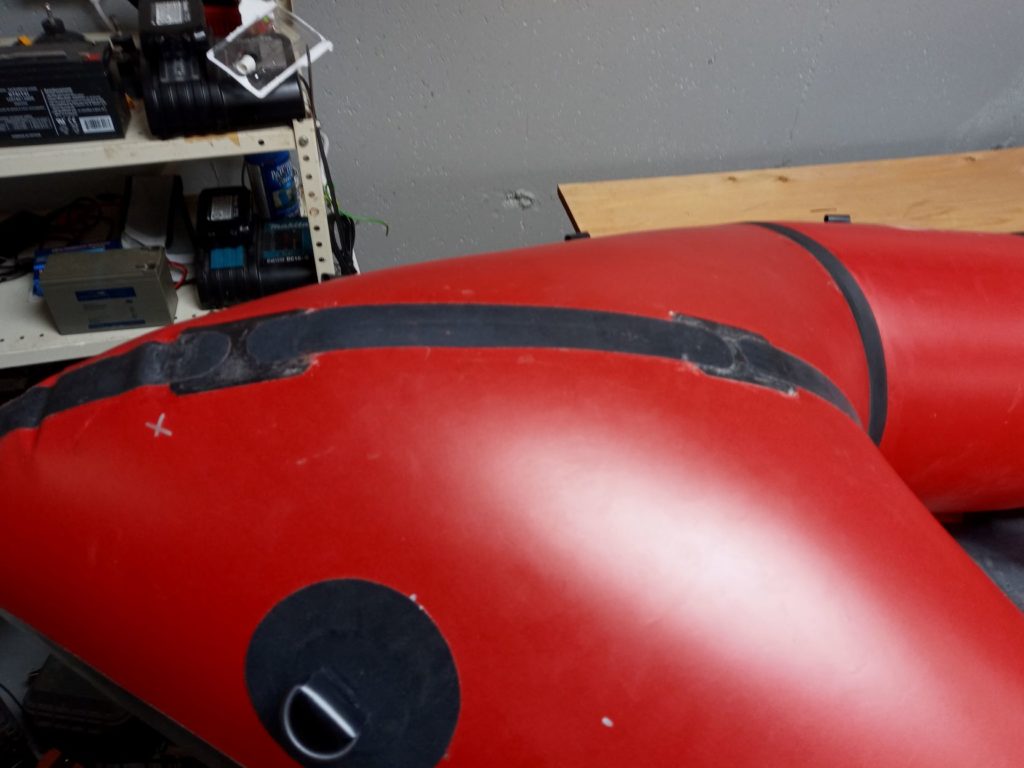
I was worried about being able to close the bow and stern tips seam, especially since I don’t have a zipper so I decided to do the front and back seams in three pieces. You’ll see I used some floor material to make splice points that allowed me to leave open slits to be sealed last. I found this made the bow and stern seam much more manageable as I could access the inside. I guess if one had a zipper they would only have to do this in the front. Also, I taped the slits shut, inflated the raft and checked for leaks before sealing completely. I wanted to be able to fix leaks from the inside if needed. I was lucky….absolutely no leaks, so I removed the tape and did the final seam work. I used about one and a quarter 1 oz tubes of aqua seal WP. I think the three part seam method is a very good way for a first timer who is uncertain about being able to do the bow and stern and is worried about leaks. You also don’t have to go nuts with Aqua Seal out of fear of only having one chance. This is also good practice for having to cut into the raft to do a major repair!
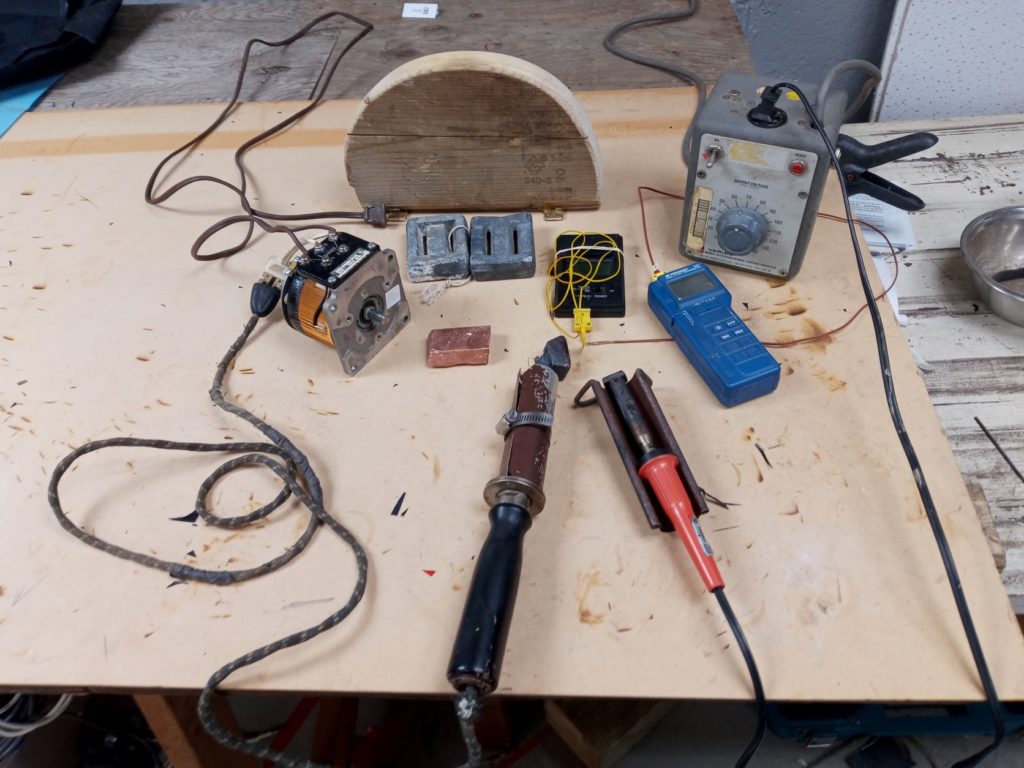
I was more concerned about getting a good weld than cosmetics so I did get some heat distortions here and there but that’s OK. I experimented a lot. I show a picture of my tools. I amazingly found someone five minutes from my house selling copper ingots that I used to make a foot that I drilled, tapped and screwed to my big soldering iron. The smaller soldering iron has a 3/4″ by 1/2 inch copper block TIG welded to the tip making a great tacking and detail tool. I used the variable transformer to control the heat. It would take about 45 minutes for the irons to settle. As I worked I would constantly press the irons onto the thermocouple reader sensor against my table looking to get to 400 degrees F after five or six seconds and never exceeding about 415 after 12 seconds. The blue reader is expensive but the smaller brown thermocouple reader is an Aliexpress unit that is very good and less than $10 and I recommend it. Scuba diving weights are among my favorite tools and are very helpful. I have two more extra variable transformers but they really need to be put into a case. They are very useful and I use them a lot in front of a non automatic car battery charger for foam hot wire cutting.
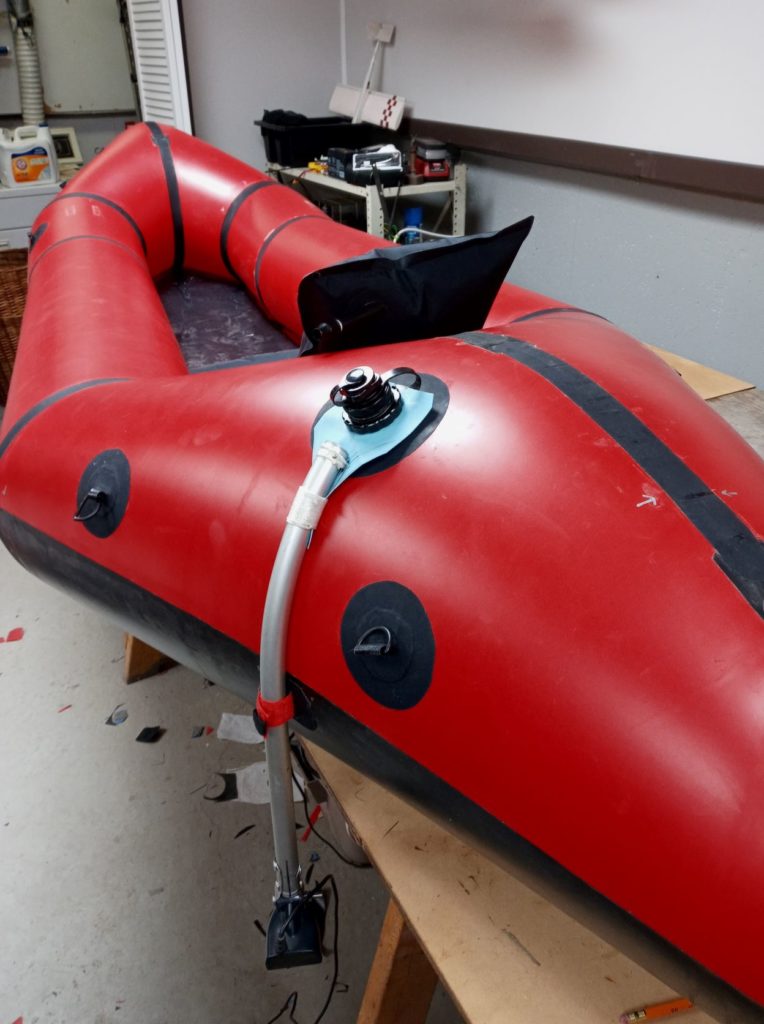
I have to have a fish finder in any boat I have and I scratched my head on how to mount a transducer. The picture [below] speaks for itself. The blue material is “crazy carpet” but Dollarama has thin kitchen cutting boards that would be better as it’s a little thicker. The blue piece works like a plastic bread bag tag. I back off the boston valve threaded ring, put the blue piece in place and tighten the ring. I made a small anchor point to seal to the raft at the water line and use a velcro zip tie also from Dollarama.
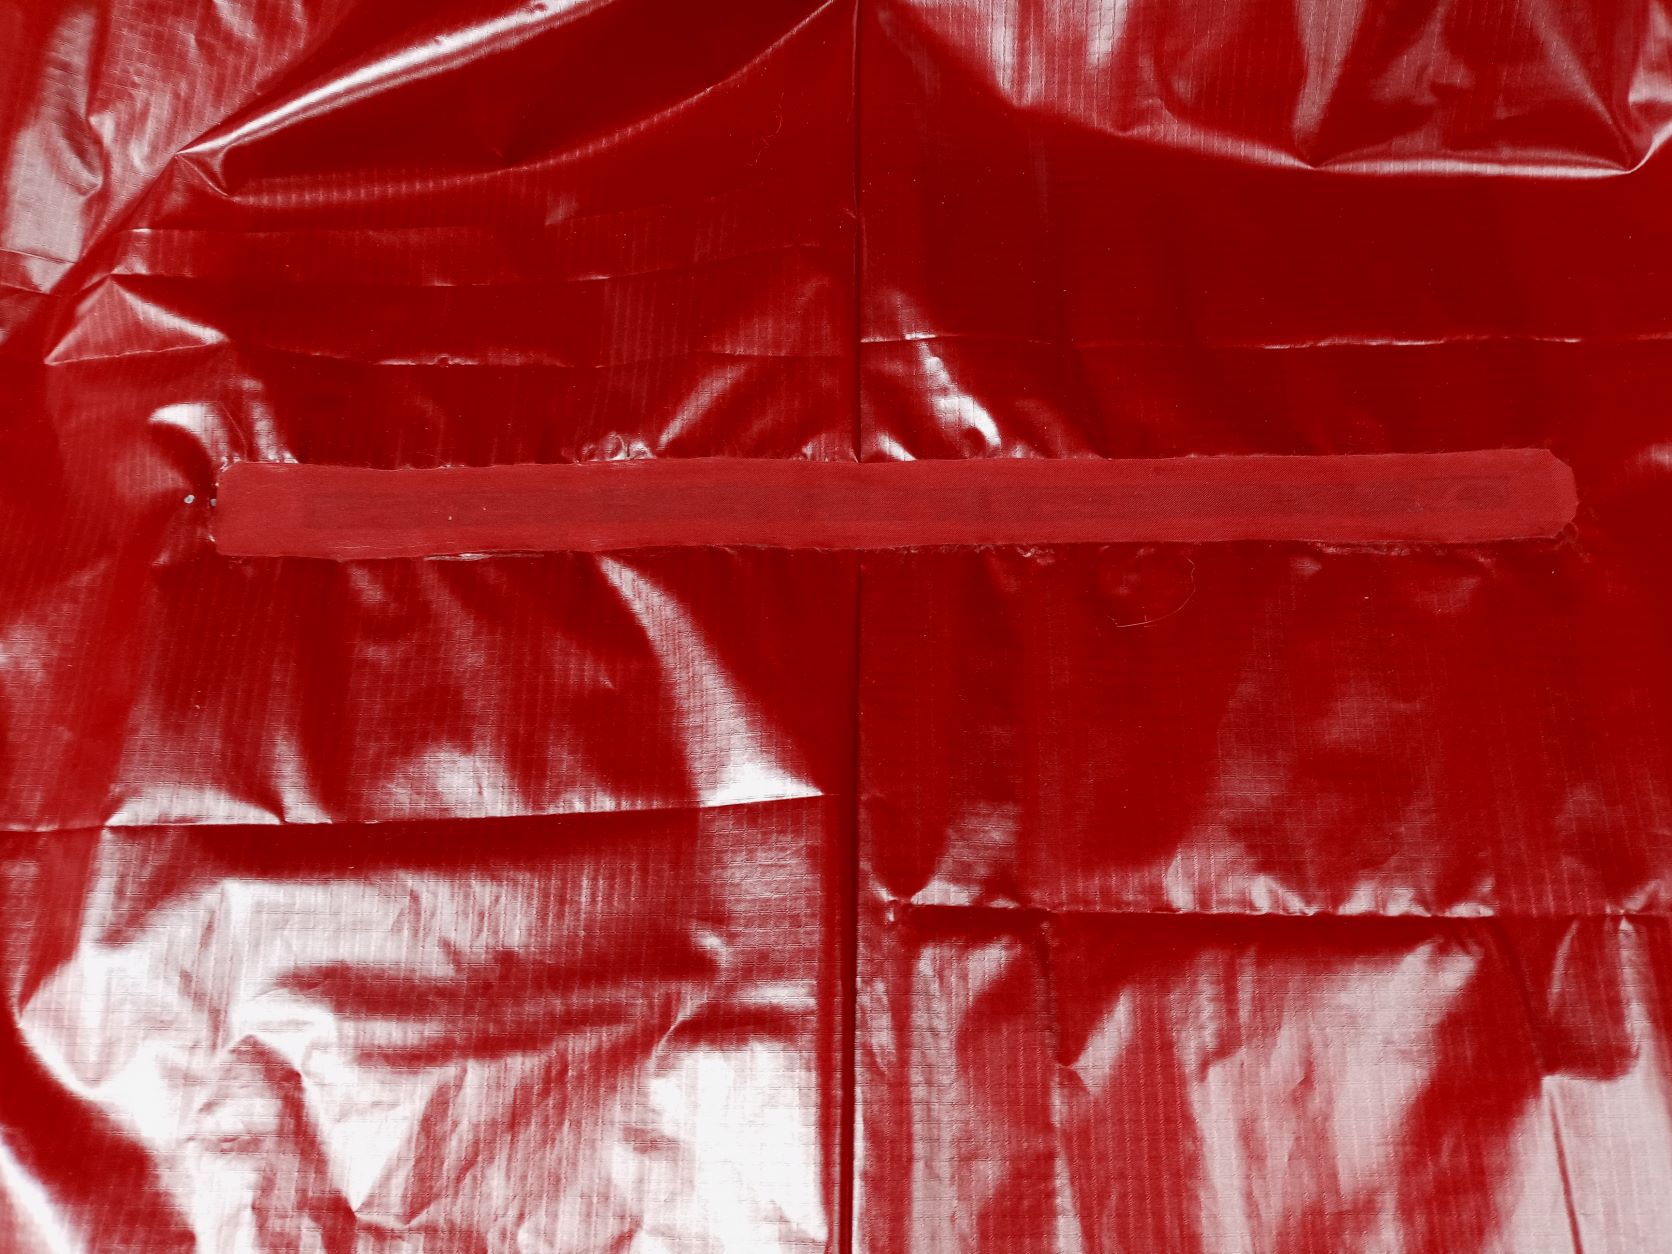
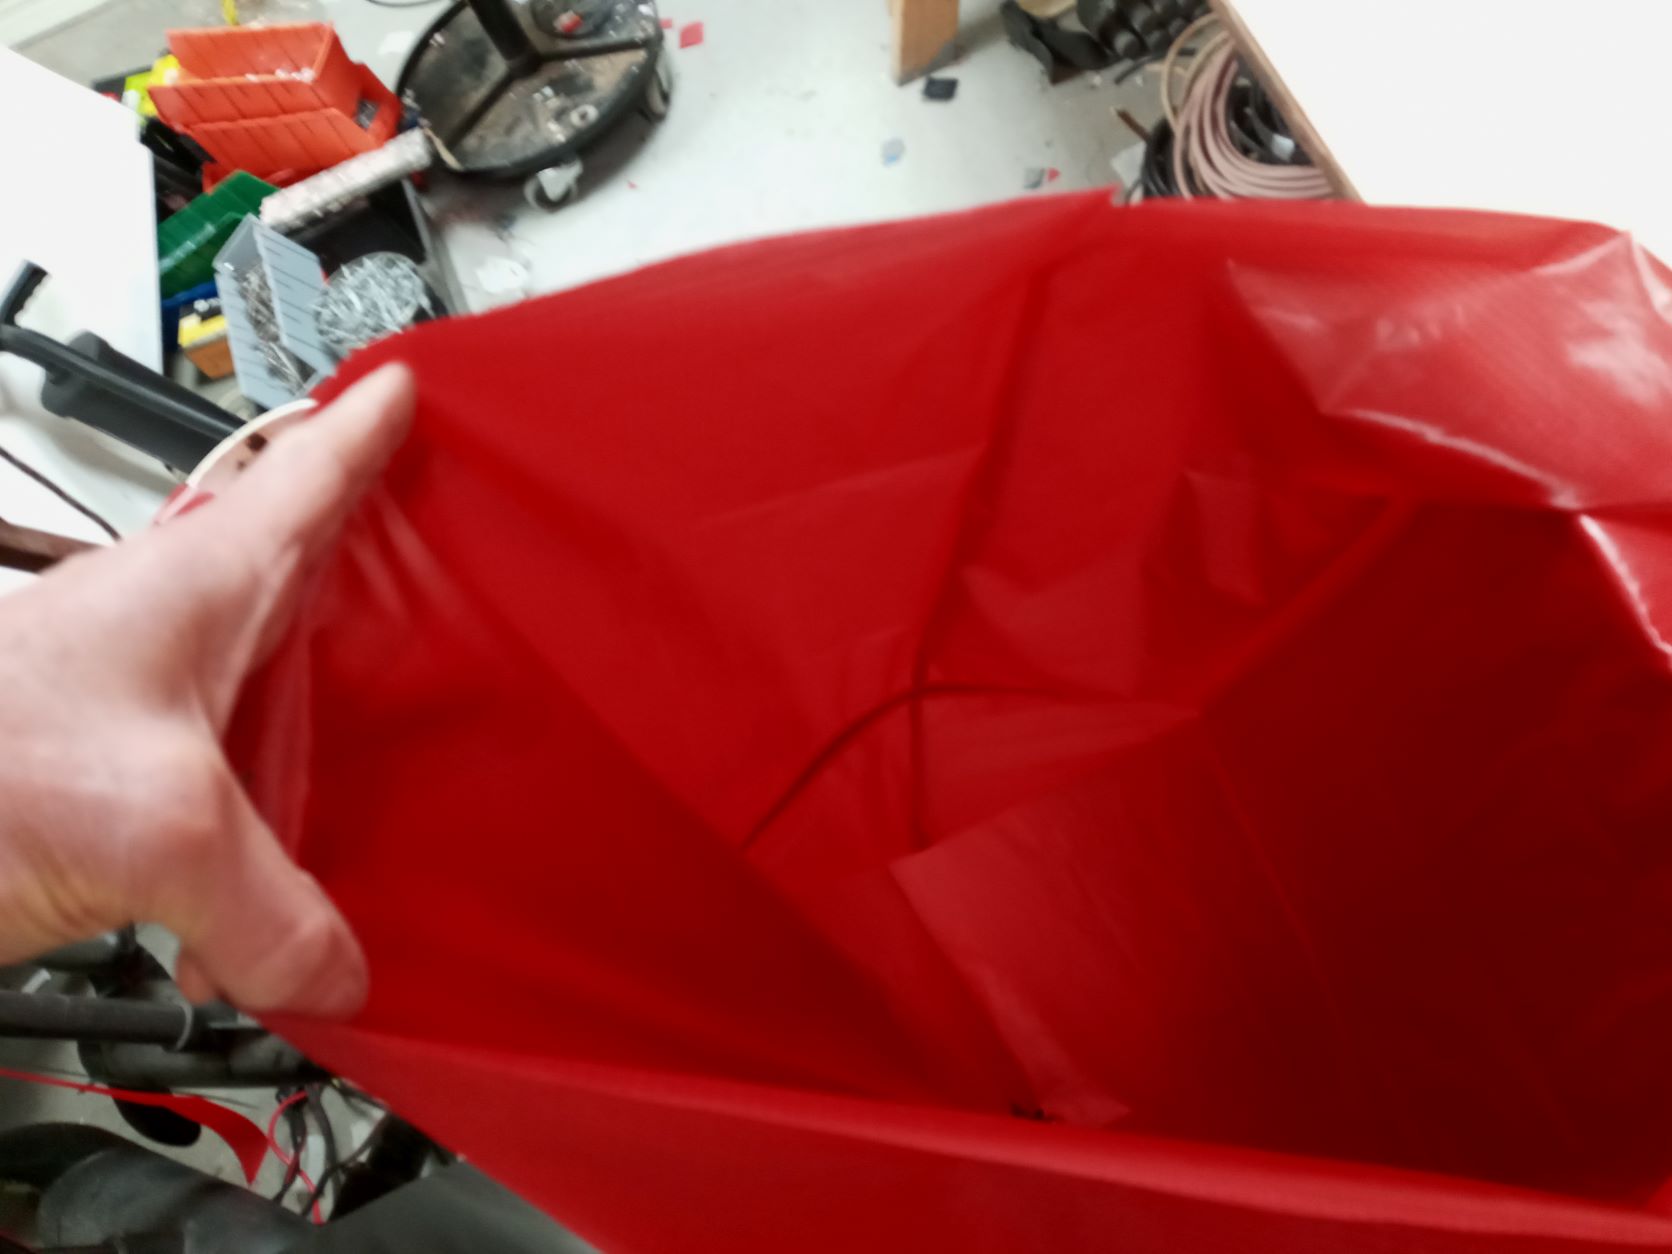
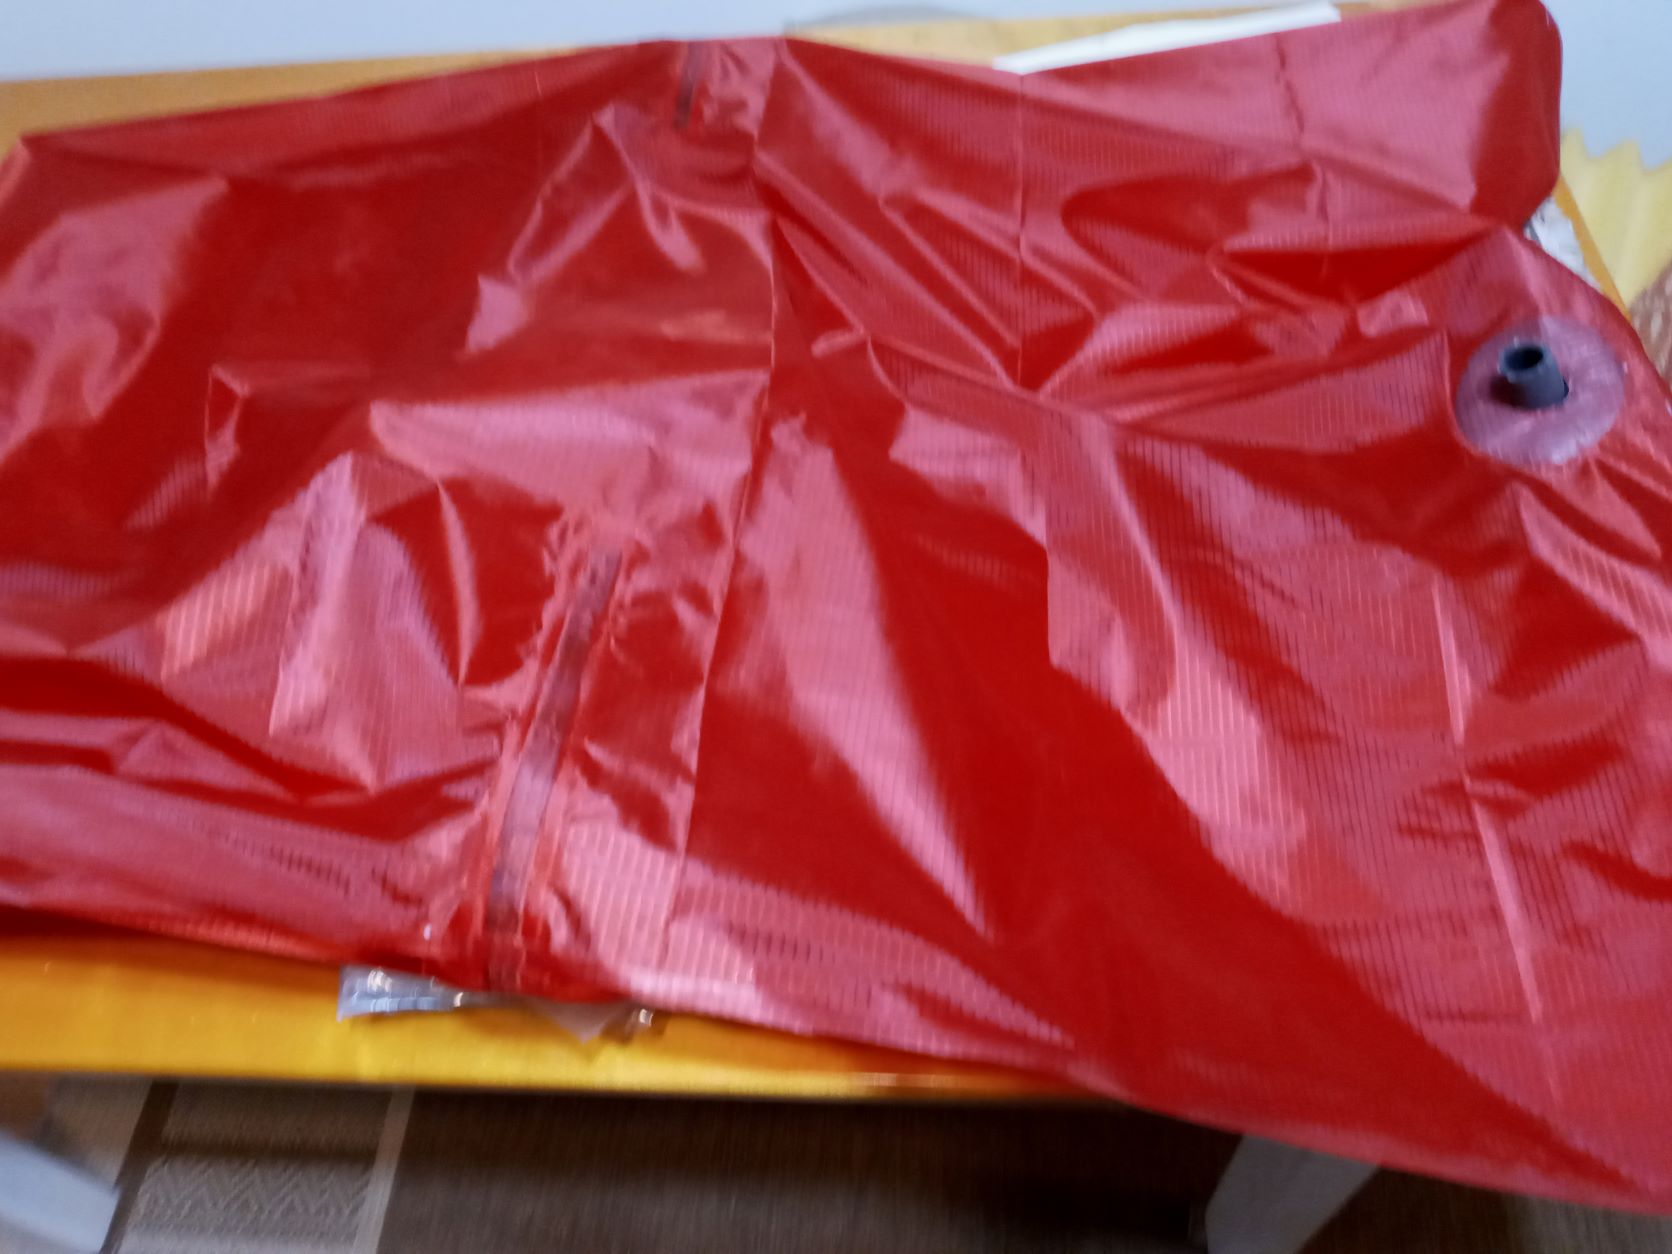
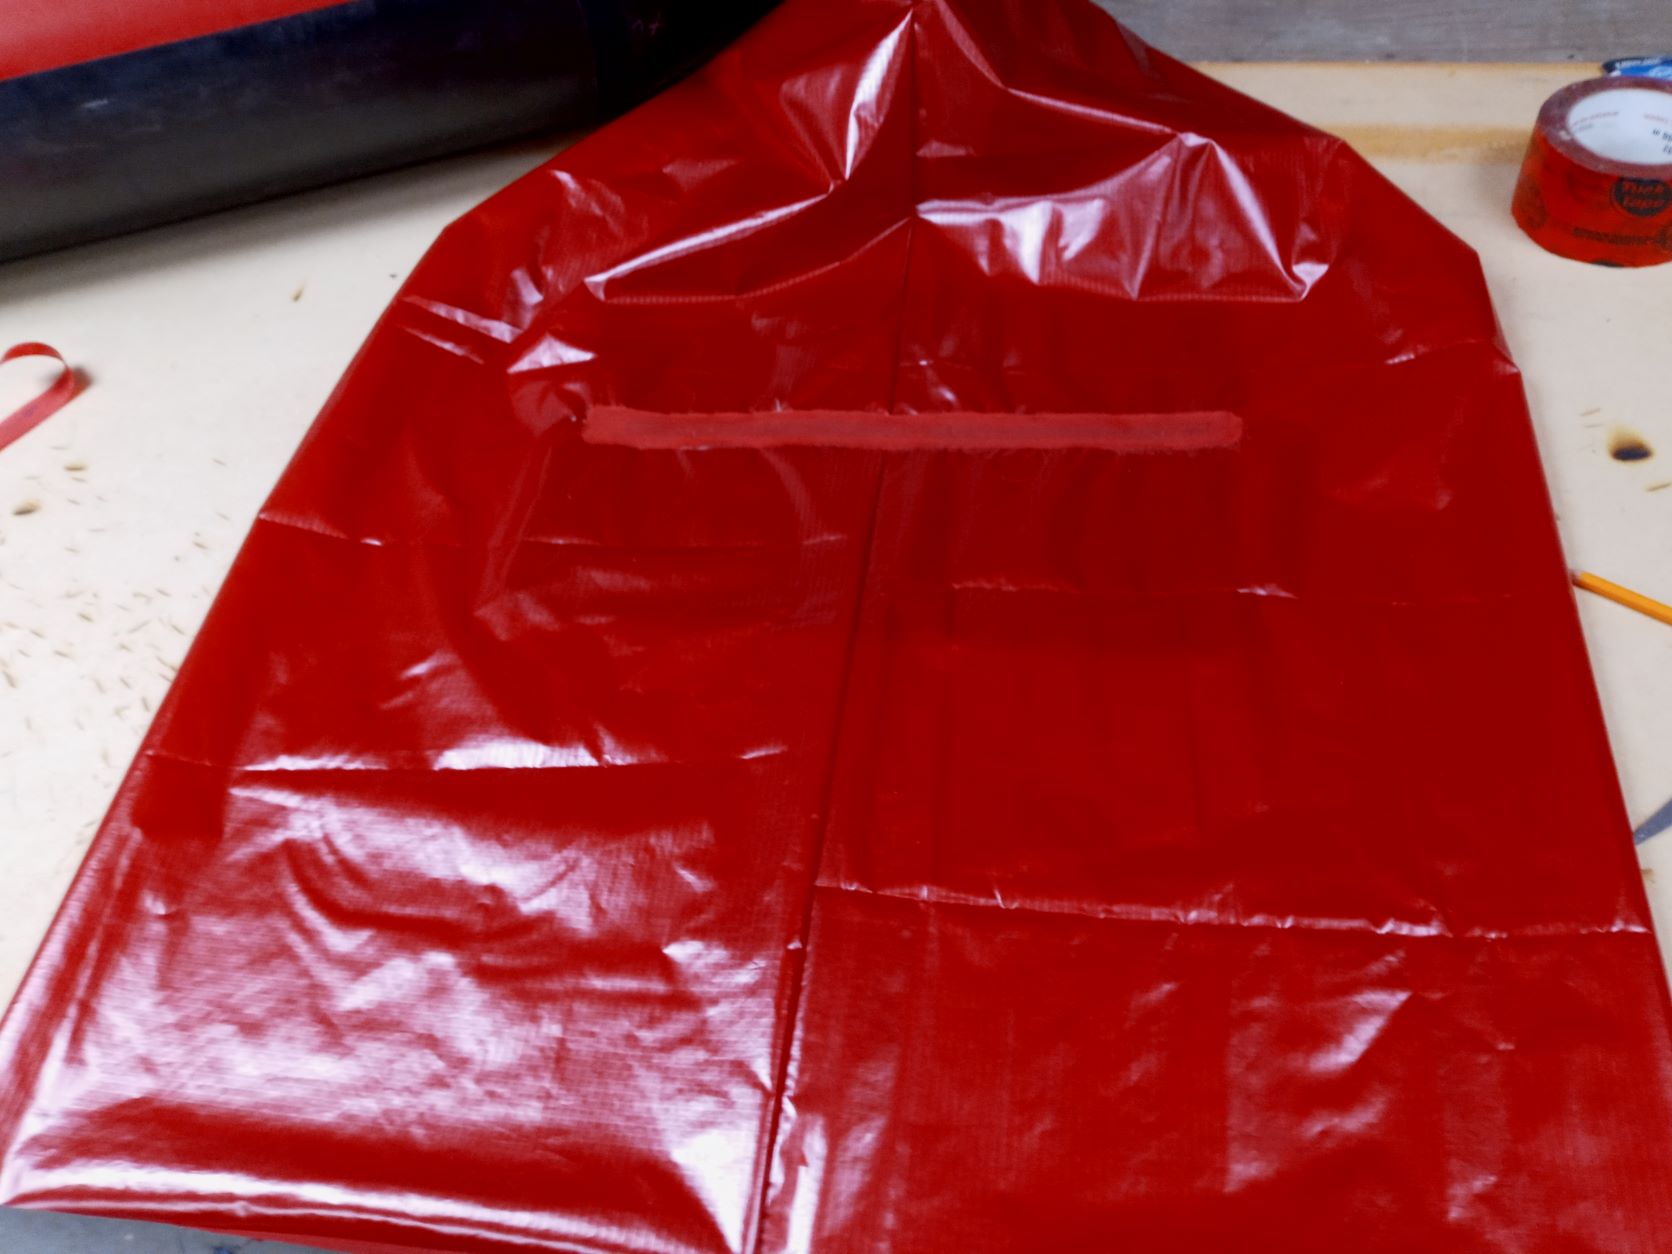
Inflation bag: I added 3/8″x 14″ strips of floor material covered in strips of tube material to act as battens to hold the bag in an open position. I find that with these battens I don’t have to scoop as the bag opens up naturally and I simply gather the top and squeeze. It’s important to put the strips perpendicular to the bottom seam, ie; such that it resists the bag laying flat:
This has been a good project and I can’t wait for the ice to melt in Ottawa and Nova Scotia!
Thanks, for the very innovative ideas, Gary!