(This page is under construction.)
Introduction & Disclosure
These are the actual items I used on my 30-day, 775 km (481 mile) Vancouver Island traverse. I considered each item carefully and I purchased all of them with my own money. As a “professional” in the outdoor industry I received a discount on the Outdoor Research products (a few items of clothing). By telling you I received a discount from OR I am violating the terms of the Pro Deal agreement, so if they read this they will terminate my account, but I’m okay with that – I will never review a product without disclosing potential conflicts of interest. Other than that, I am not associated with any of the brands in any way and I will not try to make money by inserting affiliate links here or anywhere else.
Click Here to View Full Gear List (Spreadsheet)
Backpack
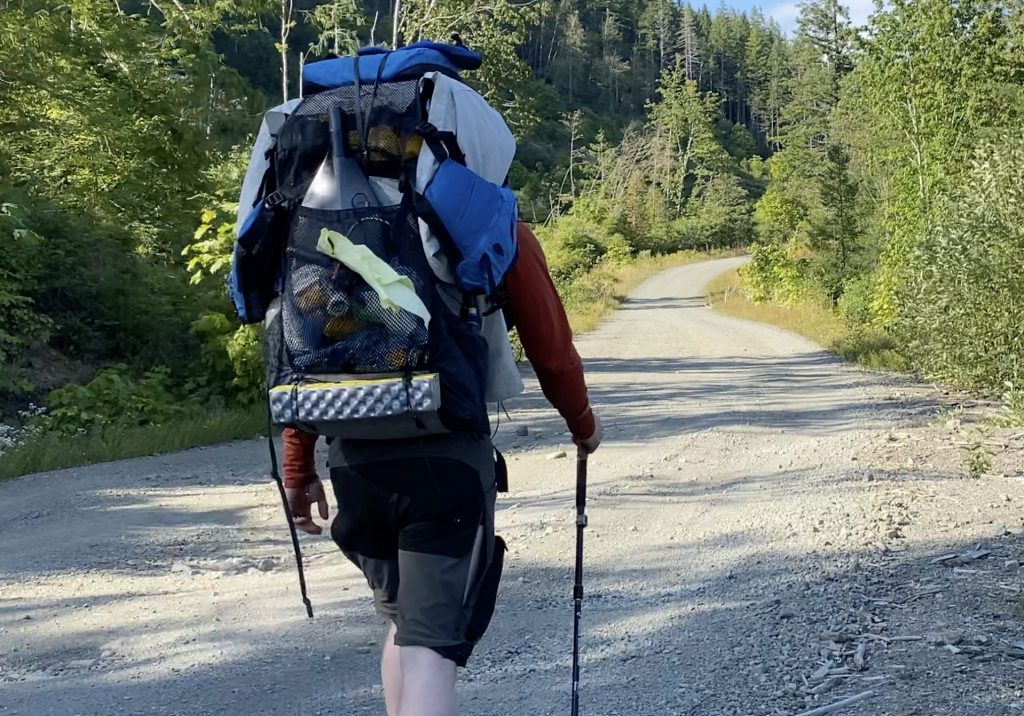
Brand: Zpacks
Model: Arc Blast (a 55 litre pack made from Dyneema composite fabric with a carbon fiber frame)
Size: Medium
My Rating: 7/10
Bottom line: Definitely not a perfect backpack, but I’m not sure if there’s anything else available with comparable features and load carrying capacity at such a light weight.
Pros:
- Light weight – 655 grams (1.44 lb) with optional shoulder pouches and belt pouches attached
- Reasonably comfortable up to about 15 kg (30 lbs)
- Reasonably durable for such a lightweight pack, even for bushwhacking (though I did rip the mesh back pocket).
- Water resistant (but definitely not waterproof)
- Very adjustable straps, including shoulder strap height, load lifters, belt angle, etc.
- Air gap between your back and the pack for ventilation
- Large stretchy mesh pocket on the back is very useful
- Large side pockets for water bottles, paddle shaft pieces, tripod, etc.
- Side compression straps hold long items like paddle pieces and tripods securely in place
- Roll-top closure adapts to large and small loads
Cons:
- Very expensive (I paid $425 USD plus shipping for the pack including shoulder pouches and belt pouches)
- Not a great fit – I have an average build and I find the shoulder straps to be a bit too far apart and not contoured to fit my body so the sides dig in a bit
- Chest strap system needs to be redesigned – it pulls on the shoulder straps, folding them inward
- The thin cords that attach the shoulder pouches and hip pouches to the pack eventually start to cut through the webbing loops on the straps
- Arms rub slightly against shoulder pouches as you walk – could cause chafing if you hike in short sleeves
- Arms rub badly against hip belt pockets if you swing your arms naturally as you walk – I moved the pockets forward from their normal location to avoid this very annoying flaw
- Minimal lower back padding – be careful with heavy loads
- There are holes in the bottoms of the side pockets to allow water to drain out, but they must be in the wrong place because when I turn the pack upside down after a heavy rain, water pours out of the pockets
- The mesh around the padding on the shoulder straps and belt is fairly abrasive compared to other packs I have owned and it caused my clothing to pill/fray
- Side pockets are not quite wide enough to hold whitewater-style paddle blades (but the blades do fit inside the pack or in the mesh back pocket)
Navigation App
App name: Gaia GPS (“pro” version) for iOS and Android
Price: Try the pro version for free for three months using this link: https://www.gaiagps.com/premium/?PROMO=DIYPR (I don’t get a kickback or anything – I just asked them for a discount code to share with you because I really like the app and want to pass it on.) If you decide you like it too, after the three months you can find a discount code online to get five years for $120 USD (i.e. $2 per month).
My rating: 8/10 – excellent, but there’s always room for improvement
Bottom Line: Excellent resource for route planning (on a desktop web browser) and navigating (on a smartphone). I have used handheld GPS units for decades, but now that phones contain GPS chips there is no reason to buy a dedicated GPS unit (other than for satellite communications – see my Garmin inReach Mini review below)
Pros:
- Does everything a handheld GPS unit can do, and more, for zero weight and with a much better screen (your phone)
- Automatically syncs everything between your phone and the online database, so you can plan routes on your computer and they show up on your phone, and then you can record tracks and waypoints on your phone and they show up on your computer
- Pro version includes dozens of vector and raster map layers, including topographic maps (metric or imperial), multiple satellite imagery layers, roads, Backroads Map Books (in Canada), slope angle shading, bedrock geology, historical wildfires, etc., etc.
- Frequently updated with new map layers (mostly focused on the USA though)
- You can share your routes publicly online or keep them private
- Works in airplane mode if you download the map layers to your phone before leaving wifi/cell service area (the GPS chip does not require a network connection to pinpoint your location accurately if you enable it in airplane mode in your phone’s settings)
- Minimal phone battery drain, even when recording a track
- You can import tracks and waypoints from other apps or other people
- The interface is pretty intuitive
Cons:
- Subscription cost (it’s pretty cheap compared to a handheld GPS unit though!)
- No 3D map view on desktop or phone (unlike Google Earth, for example)
- When choosing a map area to download to your phone, you can only select a rectangle with north-south, east-west boundaries, so if your route is NW to SE (for example), you end up with a lot of unnecessary data stored on your phone (or you have to select lots of little rectangles to cover your route).
- Some map layers contain outdated information or don’t differentiate between roads that used to exist and roads that currently exist
- Phones are less rugged than handheld GPS units, so it’s more likely to break (either way, you should always carry a backup paper map and know how to use it)
- When creating routes, they automatically snap to roads and trails, but not to rivers or other water bodies (i.e. it’s not optimized for paddlers)
360 Action Camera
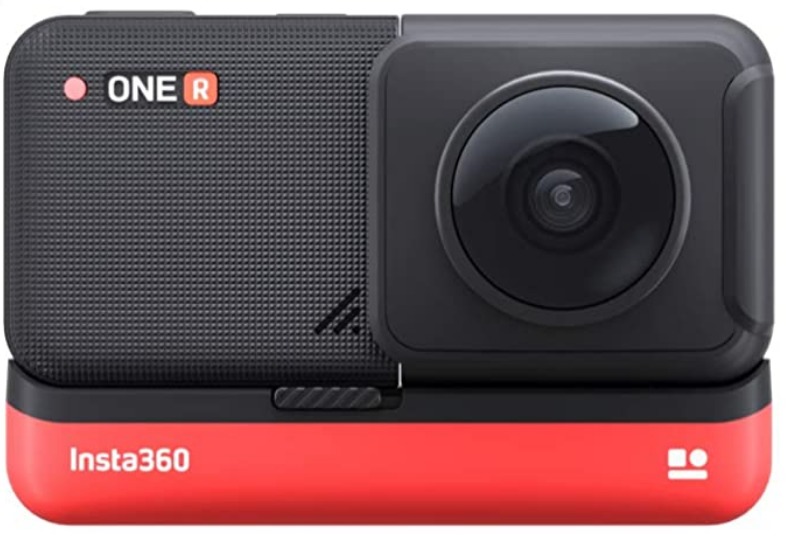
Brand: Insta360
Model: One R
My rating: 6/10
Bottom Line: Allows you to capture a very interesting, drone-like perspective with an “invisible” selfie stick, but the video quality isn’t great, the camera shuts off suddenly sometimes, it doesn’t work with some memory cards (in spite of them being fast enough, according to their specs), the audio is horrible, condensation forms inside the lenses, and the post-processing workflow is very time-consuming.
Pros:
- Captures a third-person 360-degree view, allowing you to start recording and forget about it and then frame the shot later
- Excellent video stabilization
- Waterproof
- You can swap out the dual-lens 360 module for a regular 4k lens to make it equivalent to a GoPro
Cons:
- Battery life isn’t great
- Condensation sometimes forms inside the lenses, creating blurry images
- Post-processing workflow is a nightmare
- The stitch line between the two lenses is noticeable
- Low dynamic range
- Small touch screen is sometimes difficult to navigate
- Voice control rarely works
- Audio quality is terrible
- Color rendering isn’t great
- Horizon line drifts sometimes
Camera
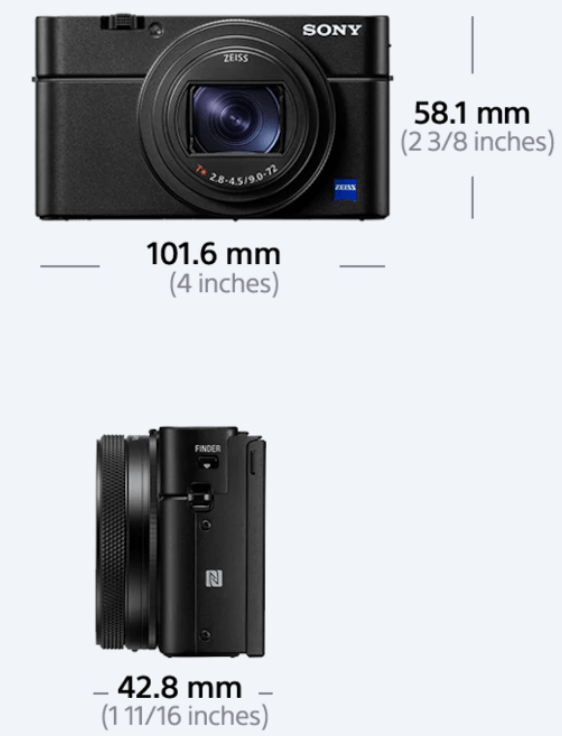
Brand: Sony
Model: RX100 vii
My Rating: 8/10
Bottom Line: The best compact camera for photography and video in 2020.
Pros:
- Lightweight and compact
- Sharp 24-200 mm equivalent, f2.8-4.5 lens
- 8x optical zoom
- Excellent autofocus
- 1-inch sensor
- Noticeably better video than even the best smartphones
- 4K, 100Mb video
- 120 frames per second 1080p slow motion video
- Good dynamic range
- Good low-light performance
- Spare batteries are very cheap and light
- Rear touchscreen flips up to be viewable from above or from the front
Cons:
- No weather sealing
- No neutral density filter or filter attachment (though you can add one)
- Very expensive
- Video stabilization isn’t amazing
- Slow motion isn’t 4k
- Battery life is maybe one hour of video
- Lens isn’t wide enough for vlogging or long enough for distant wildlife
- Screen isn’t bright enough in some sunny situations
- Subject tracking autofocus doesn’t work when recording 120 fps
Tent
Brand: Zpacks
Model: Plexamid
Bottom Line: A very light tent for one shorter person
Pros:
- Extremely lightweight 417 grams (14.7 oz), excluding trekking pole and stakes
- DCF construction (Dyneema Composite Fabric) is strong and light
- Roomy enough to store gear inside
- Tall enough to sit up inside
- The vestibule doors can be left open for ventilation without allowing rain in
Cons:
- Very expensive
- Condensation is difficult to manage
- Does not include stakes or a pole
- Not long enough. I’m only 174 cm (5′ 8.5″) tall and I have difficulty keeping my head and feet from touching the walls, so my quilt gets wet from condensation (even with all the guy lines staked out)
- Carbon fiber stays built into the peak can break if not packed properly. (Zpacks has replaced these with titanium stays, but they are heavier.)
- Takes a long time to set up compared to most tents (about ten minutes)
- If it’s not set up perfectly, rain and/or condensation can flow into the tent
(To be continued…)
12 Comments
Iain · May 31, 2021 at 1:00 pm
Superb info thanks – very well presented! Epic trip and vid too!
Matt (Admin) · May 31, 2021 at 1:31 pm
Thanks – I’m glad it’s useful!
Ted Chevron · May 7, 2021 at 5:31 am
Hi, great video shooting and music selection!!!
Please, share more about your gear.
water stuff: you seem to be using your paddle as a trekking pole. What brand is it?
Which shoes did you use for water or while hiking?
Matt (Admin) · May 7, 2021 at 8:31 am
Thanks! There’s a link to my full gear list near the top of this page. Cheers!
Immo · February 19, 2021 at 12:35 pm
I have really enjoyed the daily movies!!! Thanks a lot! But if you want to go on with the gear talk – feel free 🙂
Matt (Admin) · February 19, 2021 at 3:09 pm
Thanks! I will add more here and maybe make a gear video when I have more time 🙂
Craig Monroe · April 3, 2021 at 4:57 pm
What PFD did you use? Is it an inflatable?
Matt (Admin) · April 4, 2021 at 2:08 pm
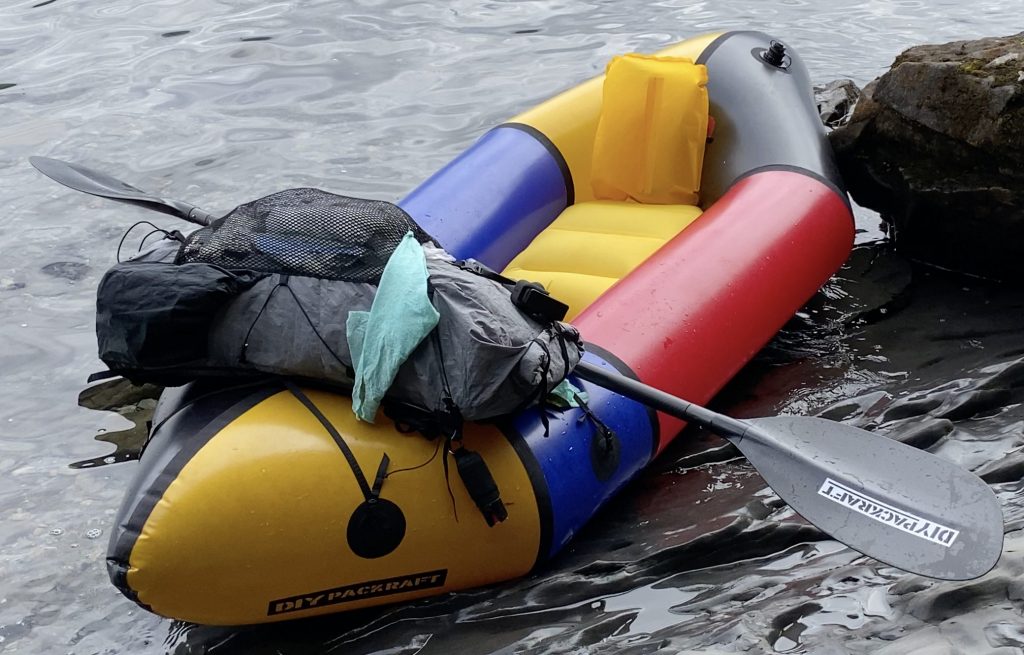
I used an inflatable one of my own design for most of the trip, and I used an Astral V-Eight for one of the longer ocean sections.
Uncle Fred · November 4, 2020 at 8:59 pm
I tried this backpack before. I think this pack is intended for shorter duration trips. It’s just not that comfortable for longer excursions. After trying numerous higher end packs. I finally settled on a Six Moons Fusion. If sized correctly, I found this pack very comfortable, especially if loaded down. Still, I made all kinds of modifications to it. The biggest one is redesigning the side pockets to be larger and have a shock cord closer on them.
Matt (Admin) · November 5, 2020 at 7:22 am
Cool – I’ll check it out. Thanks!
Андрей · November 4, 2020 at 2:47 am
Hello! Tell me, did you use a quadcopter when shooting? If so, which one? The video shows that something flies and shoots a video)
Matt (Admin) · November 4, 2020 at 7:59 am
Hi! No, I used a 360 degree action camera with an invisible selfie stick. You can see the shadow in some shots.