This video demonstrates how to assemble the seats.
The seats for the 2-Person DIY Packraft are simple inflatable pillows designed to raise the paddler to a canoe-style paddling position. They’re unstable when used outside of the packraft, but when constrained by the packraft’s tubes they do not roll around. You can adjust the height and comfort of the seat by adjusting the amount of air inside.
Assembling the seats is relatively uncomplicated and is a good place to start your 2-Person DIY Packraft project after practicing the heat sealing technique and dialing in your iron’s temperature.
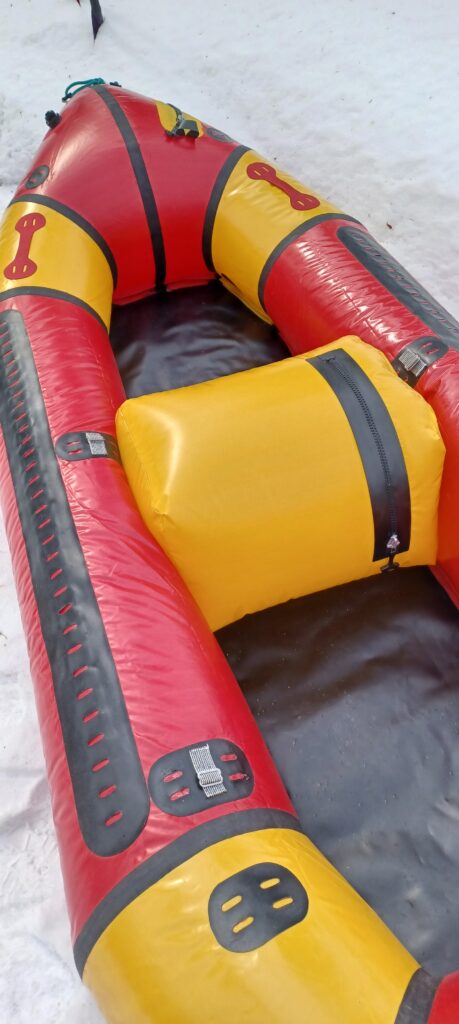
Here a yellow seat is shown with a TIZIP MasterSeal airtight zipper added for internal storage. Thanks to Bruce Campbell for the photo.
To assemble the seat, watch the video above and/or follow the steps below.
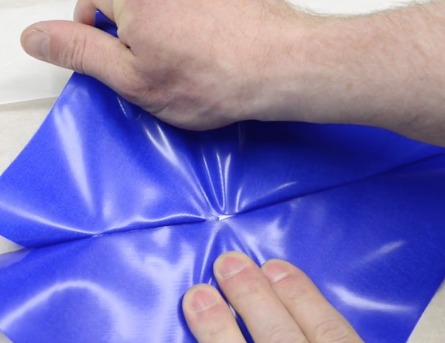
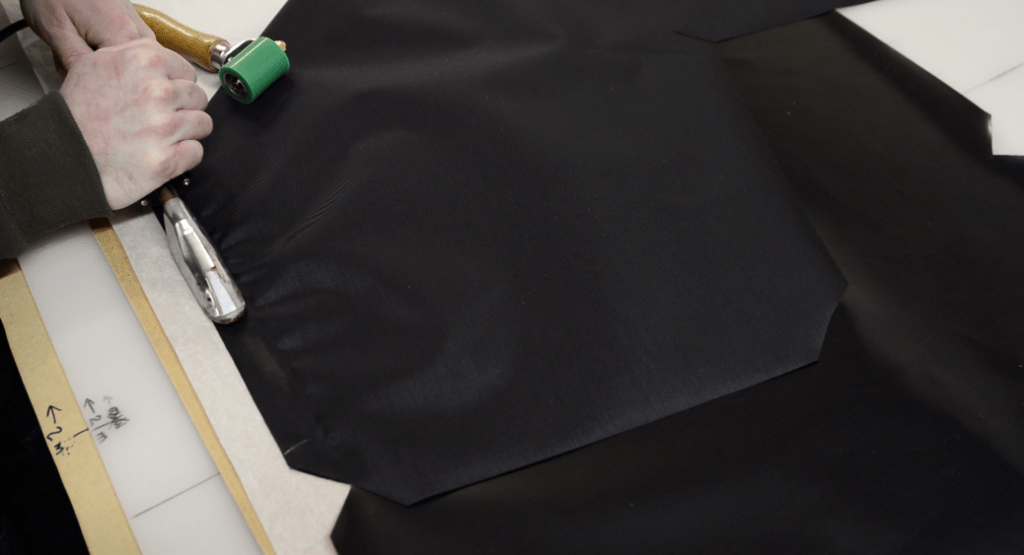
Note: The tabs on the edges of your seat pieces are slightly narrower than the ones shown in the video above. I recommend drawing a line and/or using a straightedge to guide your iron in a straight line between the corners in order to prevent leaks from forming when the seat is inflated – see image below:
This picture demonstrates why it is important to seal the edges of the seat together in straight lines: if the edge of a weld is not straight, all of the inflation force will be focused on small areas instead of being distributed along the entire length of the weld, and the airtight TPU layer might peel and break, as shown here.
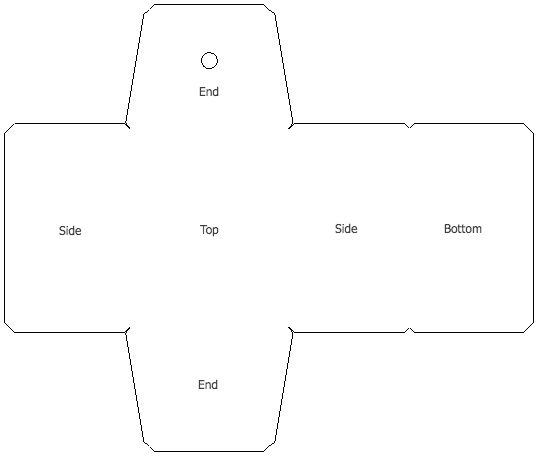
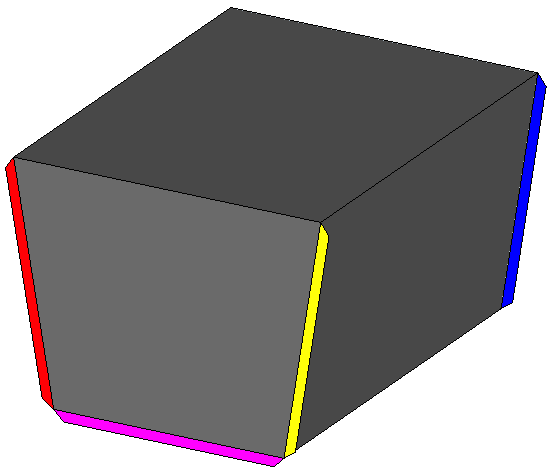
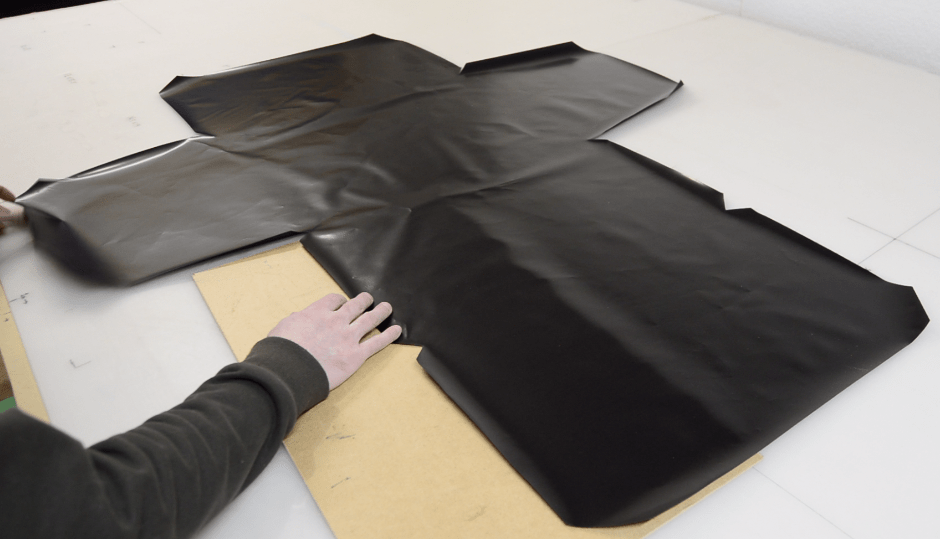
Seat pattern, not to scale. The seat is constructed from a single piece of fabric that is folded into a simple box. Start by separating it from the scrap fabric with your scissors.These diagrams make it look a bit complicated, but it’s really very simple. The pattern has a trapezoidal tab extending from each edge that will be heat sealed to a corresponding tab on another edge. In this image, the matched tabs are color coded; each pair of tabs that are the same color will be sealed together. You can label the tabs if you find this confusing.When the 2D shape is folded into a 3D shape, the matching colored tabs all fit together. The yellow and magenta tabs are hidden on the other side of the model – you can see them in the image below. (Before it’s fully closed up, the seat is pulled inside out so the tabs are on the inside.)Rear view.
Clear as mud? Let’s get started.
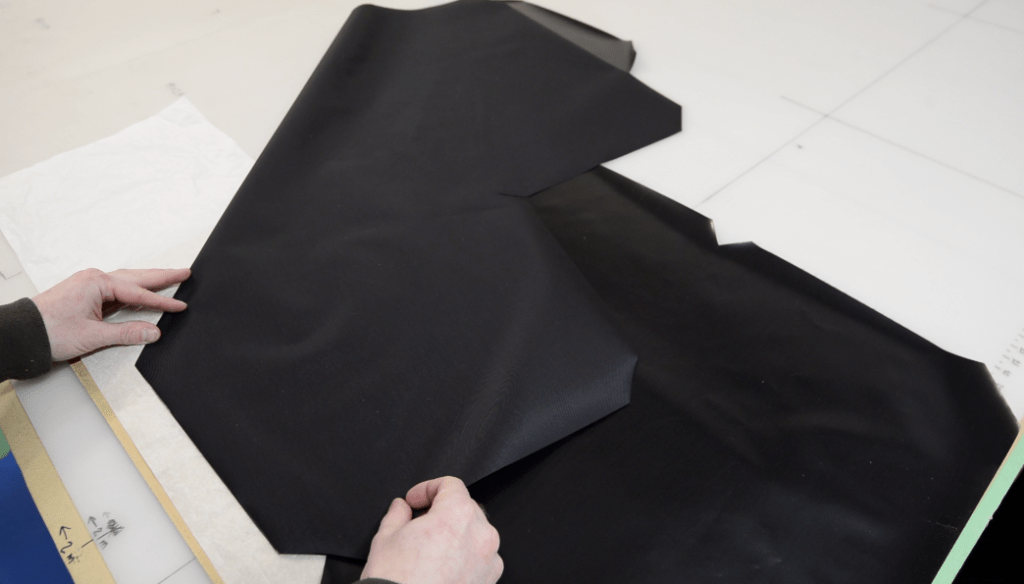
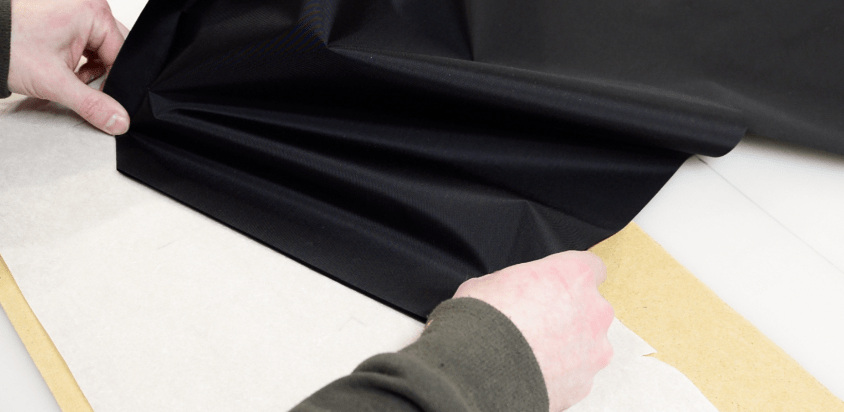
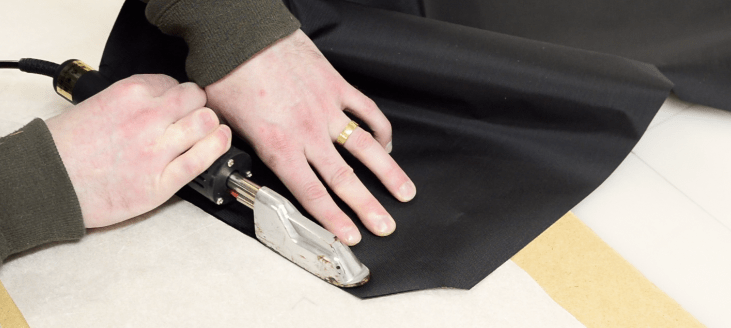
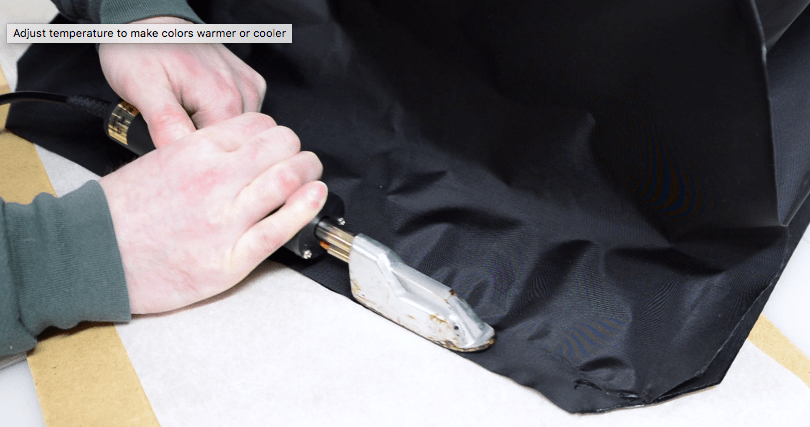
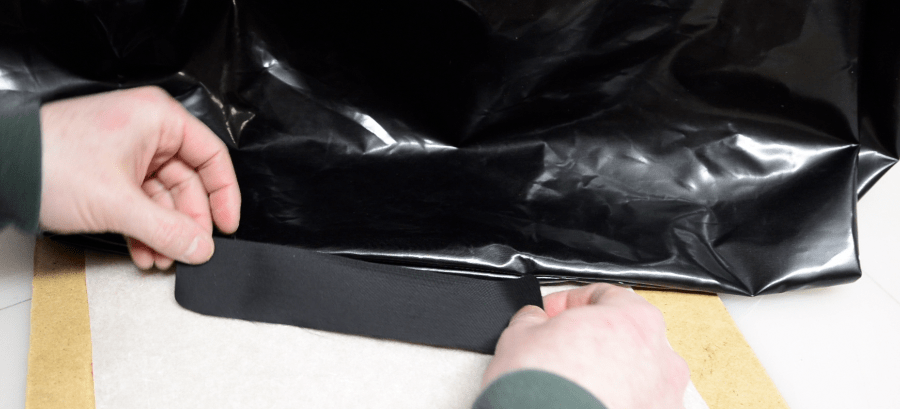
Start by laying out the cross-shaped fabric with the shiny TPU side up. Fold one arm of the cross over so the adjacent tabs line up, one on top of the other. You will always be joining tabs together that are already right next to each other – if their corners aren’t already touching each other, don’t weld them together.Use your heat sealing iron to first tack the tabs in place, and then seal them fully together.
Note: As mentioned above, the tabs in your kit are slightly narrower than the tabs in the video and pictures shown here. Rather than aligning the edge of the iron with the edge of the fabric, draw a straight line and/or use a straightedge to ensure your welds are straight.
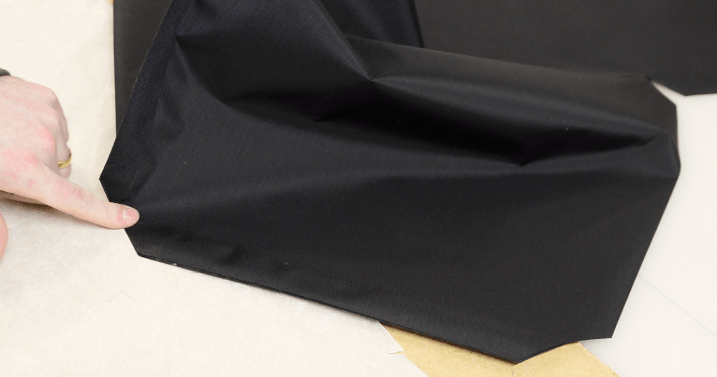
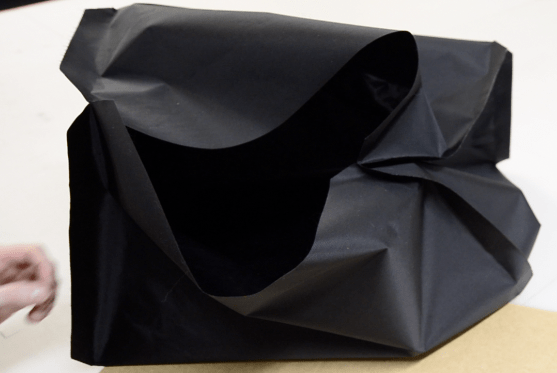
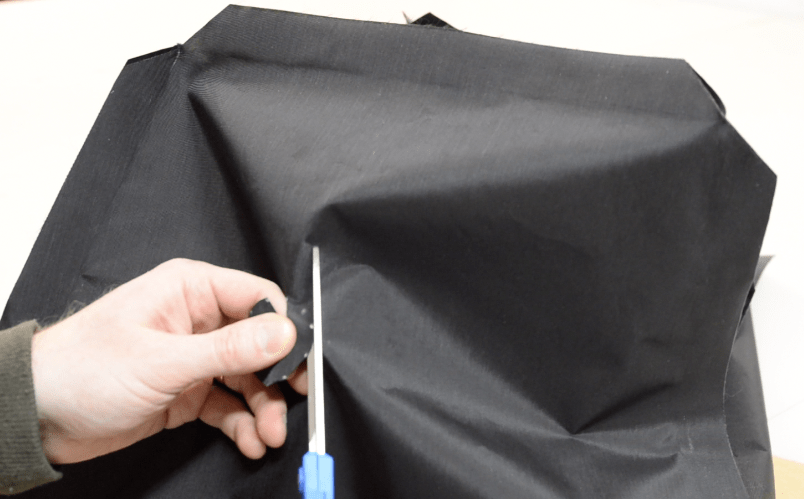
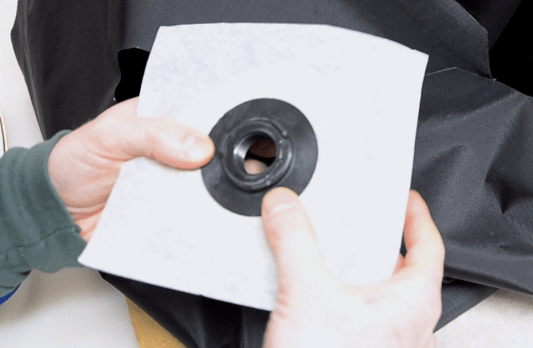
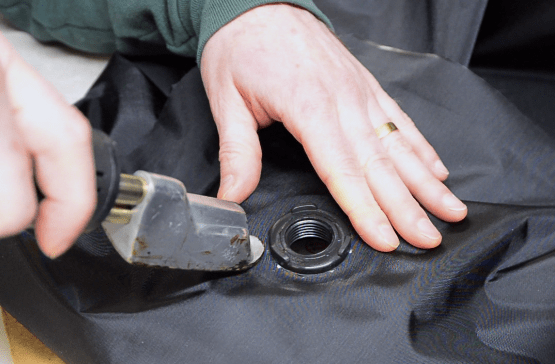
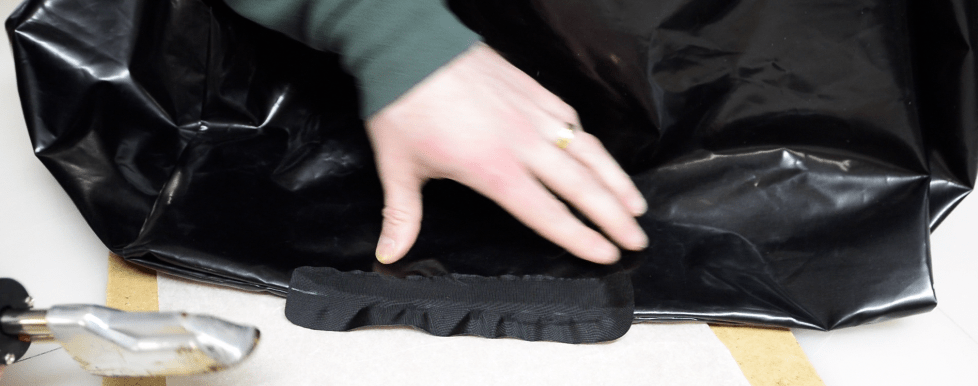
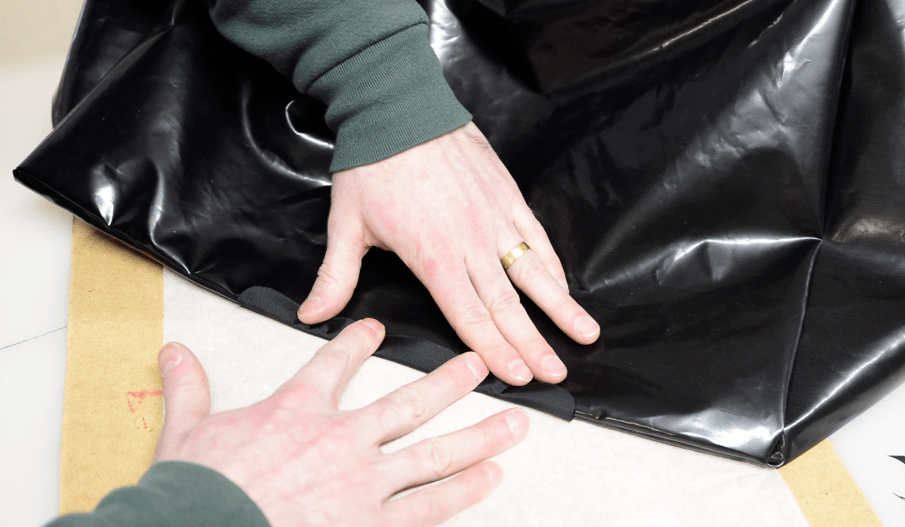
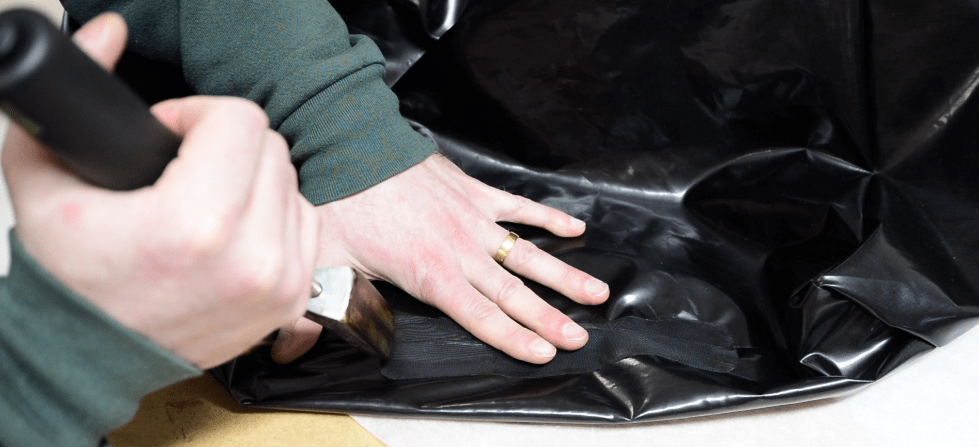
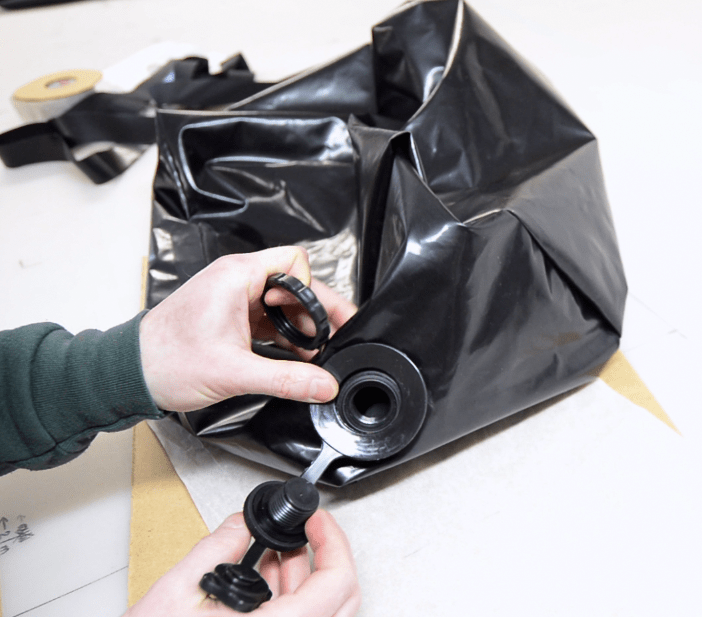
When that’s done, rotate the top part of the fabric clockwise so that the next two tabs line up, and seal them together too.Sealing the second pair of tabs together.Before moving on, make sure there’s no gap left unsealed at the corner (under my finger in this picture). You can iron it to about 5 mm (1/4″) from the edge here to ensure it won’t leak.Seal two more adjacent tabs together, and so on, until just one edge is left unsealed.If you haven’t already done so, remove the 4 cm diameter circle of fabric that is scored into one end of the seat. To make a stable base to press against when you iron the fabric to the Boston valve, use a piece of cardboard with a hole cut in it, and place it on top of a roll of tape or toilet paper. Cover the cardboard in parchment paper so the fabric won’t stick to it if your iron goes beyond the edge of the valve’s flange. Place the valve in the hole so the flange sits flat on the parchment paper.Place this stack under the hole in the fabric. Make sure the valve is oriented so the threaded side is pointing down and the part with the three raised bumps is pointing up. Seal the fabric to the valve’s flange.Now let’s work on the last edge. Seal it about a third of the way in from each end, leaving a gap long enough to fit your hand through, then check to make sure all the corners are sealed shut before reaching in through the gap to pull the seat right side out (TPU side out). If in doubt, you may want to apply some Aquaseal to the corners and let it cure before turning the seat right side out.Since we can’t iron directly on the TPU side of the fabric, we have to seal that last gap with a separate patch of scrap fabric. (If you want to make the seams extra strong, you can seal patches across all of them in the same way.)Seal the patch to one side of the gap first.Flip the fabric over and fold the patch over onto the second side. Seal it in place.Make sure there’s an airtight seal where the patch covers the seam. Avoid ironing too long in one place or the TPU might melt on the underside of the fabric below. Assemble the Boston valve by slipping the large ring (under my thumb) over the threads and securing it with the retaining nut (held by my left index finger).
Inflate the seat with your inflation bag and test it for leaks.
Leaks?
It’s not uncommon for first-time builders to have leaks in their seats. If you find a leak when you first inflate yours, you can either iron a patch of fabric over it (being careful not to iron so long that you melt the TPU on the far side of the seat), or you can cover it with Aquaseal or Aquasure or Seam Grip+WP.
If the seat has multiple leaks along the seams, or if more leaks are developing over time and you want to stop that from continuing, it’s often best to coat all the seams with Aquaseal or Aquasure or Seam Grip+WP.
Tip: You will find this seat more comfortable to sit on if it is not fully inflated.
Tip: To avoid losing your seat on a windy day, seal an attachment point to it so you can tie it to your packraft.


12 Comments