Back to Step 5 – Valve Installation
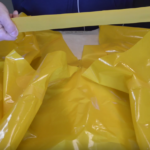
The final step in making your packraft tubes airtight is joining the front and back center seams.
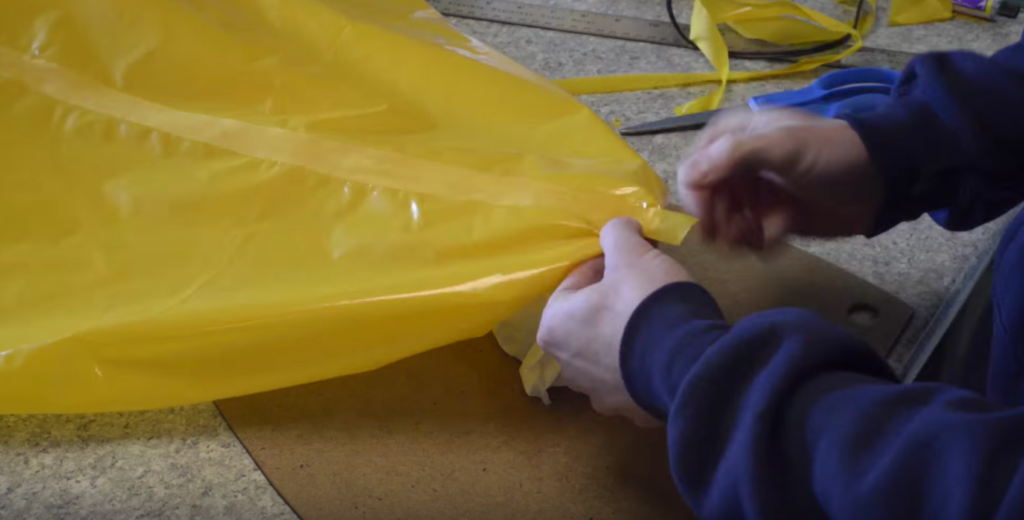
Start by laying out your fabric right way up with the front end of your packraft pointing towards you. Cut a strip of fabric at least 2 cm wide, and longer than the seam you will be bonding. Note that as with any curved seam, the wider you make this strip, the stronger the seam will be, but the harder it will be to seal it without creating wrinkles (because you will be bending a flat piece of fabric around a compound curve).
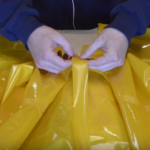
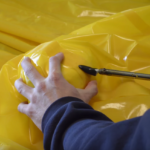
Orient the end of the strip under the inside end of the seam so that a short length (approximately 1 cm) will bond to the floor before it folds back to face the tubing fabric (TPU side to TPU side). Tack this end in place, and then place a piece of parchment paper under the seam and begin bonding the two tube pieces to the strip below. You will soon find it necessary to switch from a flat surface to your bowl from Step 3.
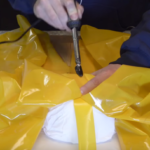
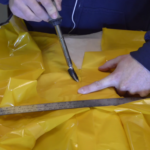
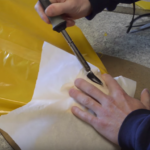
Eventually, as you get closer to the end of the seam, you will no longer be able to access it from the inside, so instead, place your bowl inside the tube and finish the seam by sealing it from the narrow strip side. You can place a piece of parchment paper between the fabric and your iron if you are worried about touching the TPU beside the strip.
To prevent the possibility of leaks forming where multiple pieces of fabric come together, such as where the tube meets the floor, you may want to place a dab of glue over the junction on the inside of the seam before you close it up completely.
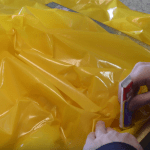
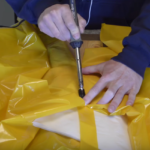
To finish off the seam, bond the strip all the way around so that it overlaps slightly with the floor. Depending on your fabric, this bond to the non-TPU side of the floor may be weak, so keep an eye on it after your first few times on the water; you may need to add some glue here. When that’s done, remove the bowl from inside the tube by sliding it out the far end.
Now that the front-center seam is done, it’s time to seal the rear-center seam – your last seam!
Begin it in the same way as the front center seam. Instead of wrapping a single thin strip all the way around this seam, you may find it easier to cut two strips and have them meet and overlap somewhat at the pointed stern. (Again, use a drop of glue here or anywhere else that you think could leak.)
Because the curves at the rear of the packraft are especially tight, you may need to use a smaller bowl as you get closer to the pointed tip. The bottom of this rear section is flat, so no bowl will be required there. Just make sure you remember to remove the bowl from inside the tube before it’s too late, or you’ll get to practice patching your packraft before you even get it into the water.
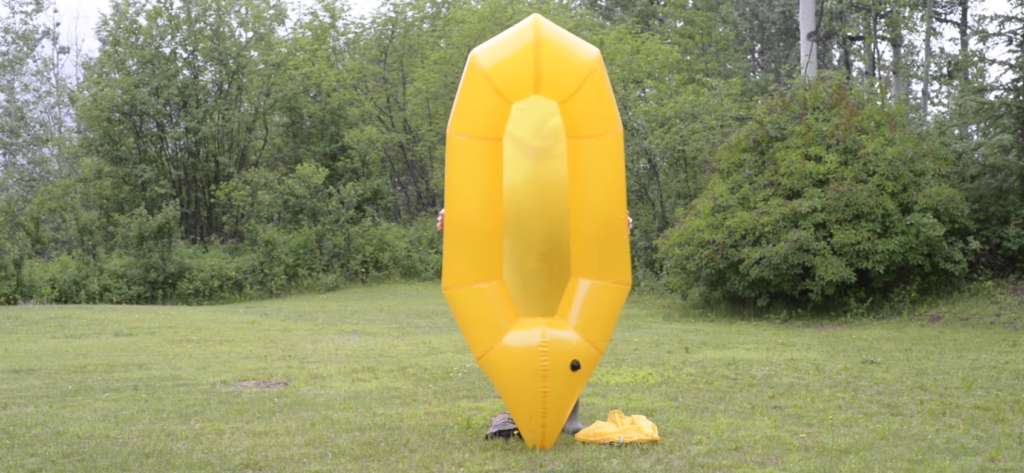
When you’ve finished your final seam, break out the Champagne, because you have just built yourself a boat!
If you find this site useful, please Like and Subscribe to my videos to help other people find it 🙂
0 Comments