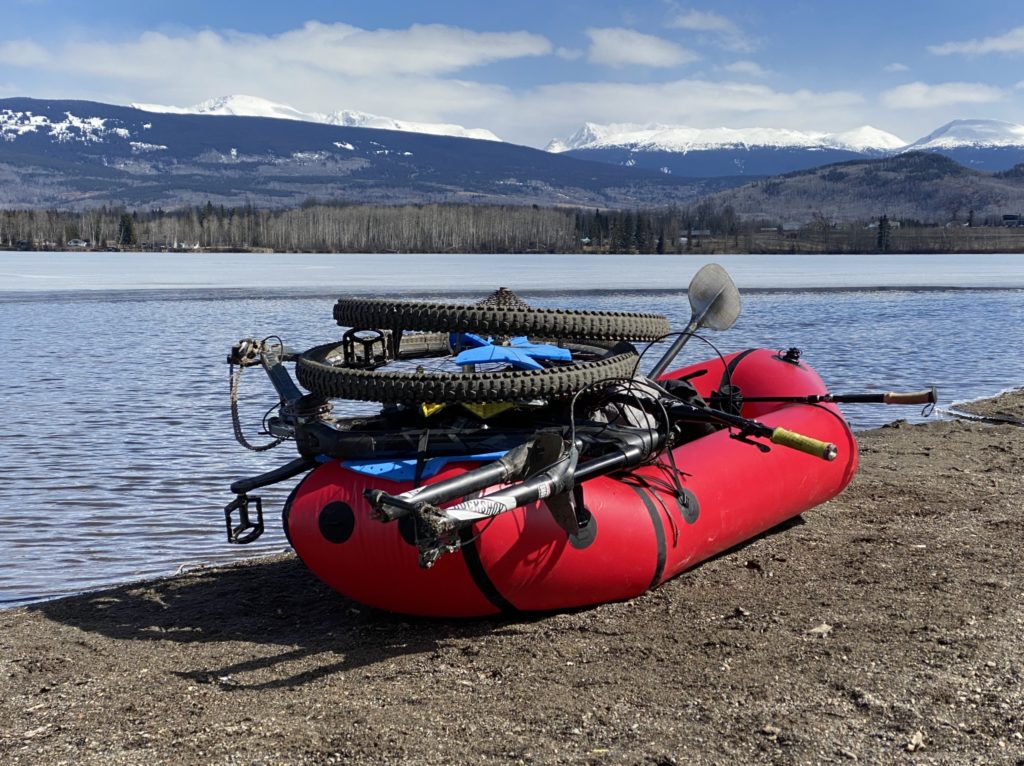
Bikerafting (carrying a packraft on a bicycle and then carrying the bicycle on the packraft) opens up new route possibilities and it’s also convenient for river runs because it eliminates the need for a long walk or vehicle shuttle.
All the DIY Packraft models except the Ultralight are suitable for bikerafting, but the Atlin is specifically designed for carrying large loads on the bow:

I haven’t tried bikerafting with a 2-Person packraft, but I wouldn’t recommend it for two people (there isn’t really enough room for two bikes), and it’s unnecessarily large for one person.
When planning for bikerafting, also consider the following:
- You should pad areas where angular parts of the bike will rub against the packraft, and where parts of the bike will rub against each other.
- Messing around with one long rope and a bunch of knots will waste a lot of time, so you’ll want a secure quick-release attachment method that works the same way every time (e.g. Velcro straps, webbing clips, line-locks, etc.).
- The bike will make the packraft top-heavy, so if you can store other gear inside the tubes by installing an airtight zipper, the packraft will feel more stable.
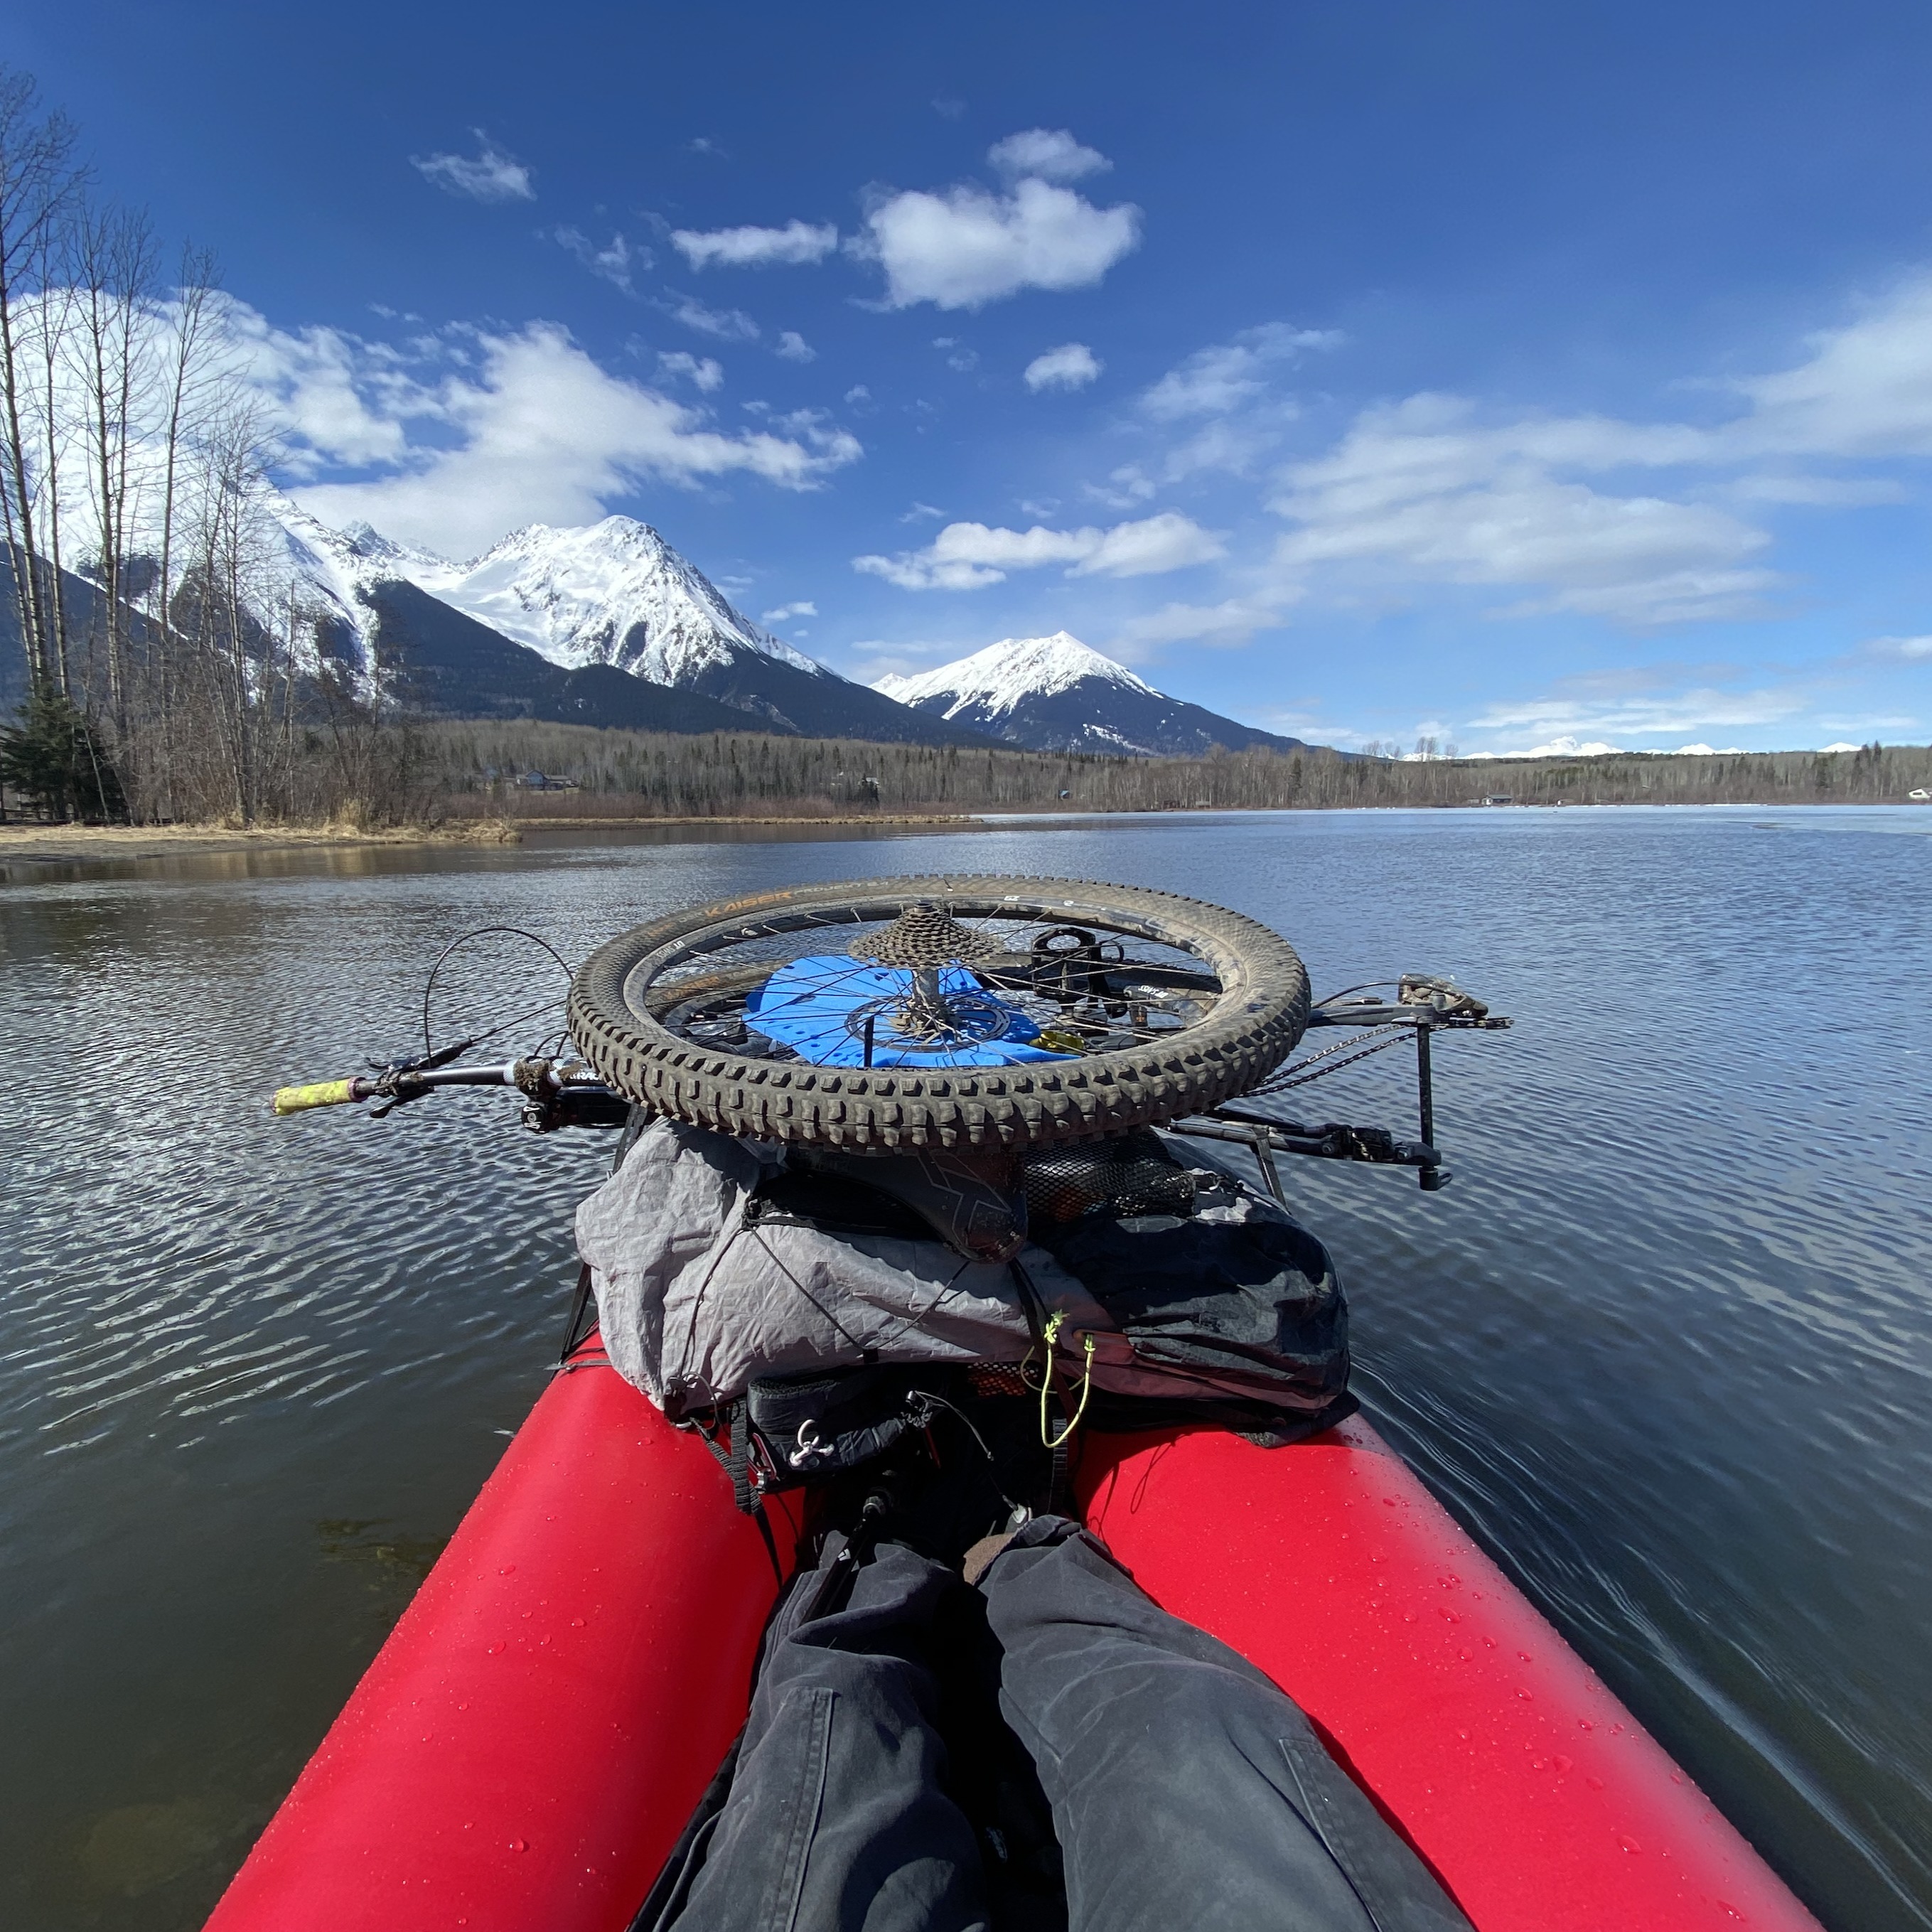
- Arrange your bike so it doesn’t interfere with your paddle stroke – this is easily overlooked as you’re packing, but becomes immediately apparent once you start paddling. Choosing a longer packraft makes this easier, as does stacking the bike’s wheels on top of its frame.
- Always be aware of the possibility of gear entrapment and drowning in case of a capsize. Mount a paddling knife on your PFD and eliminate entrapment hazards such as loose ropes, backpack straps, etc.
When it comes to securing the packraft, paddle, and PFD to a bicycle, most people use some combination of a rear rack and/or handlebar mount.
4 Comments
James Lumley · June 26, 2021 at 12:15 am
thank you this has helped a lot
Matt (Admin) · June 26, 2021 at 12:29 pm
You’re welcome!
AbMtnGuy · June 28, 2021 at 7:57 pm
Hi James. I’ve been bikerafting with a Telkwa (130 cm) for over a year, so far. The raft works very well with both mountain (29″) and fatbikes (27.5′). After much testing, my preference is to remove the front wheel and secure it to the custom D rings on the stern with a foam pad and a single Voile strap (32″) The rest of the bike sits on the forward tubes with the front fork extending beyond the bow. Both pedals stay on and a crank arm is strapped to to a chainstay to prevent movement and contact with the hull. I also have a DripDeck which prevents wear of the top of hull fabric and also keeps water out of the cockpit. I use a static-strap to secure the handlebar and fork at the “appropriate” position and, three Voile straps to secure the bike. As Matt mentioned the Ti-Zip makes this all possible. I’ve posted a few ideas here https://bikepackersfoundry.com/bikerafting-gear-list/ and here https://bikepackersfoundry.com/diy-packraft-construction-notes/ Cheers … Guy
Matt (Admin) · June 29, 2021 at 7:42 am
Great stuff! Thanks!