Home › Forums › DIY Packrafts › An improved tie down › Reply To: An improved tie down
The new 420D and 1000D two sided fabrics make fantastic tie downs including web plates, and D-ring points. I also used a 1.5 cm strip inside a fold on my inside tube to floor reinforcement strip, so I can punch holes in it and tie a separate floor to the raft.
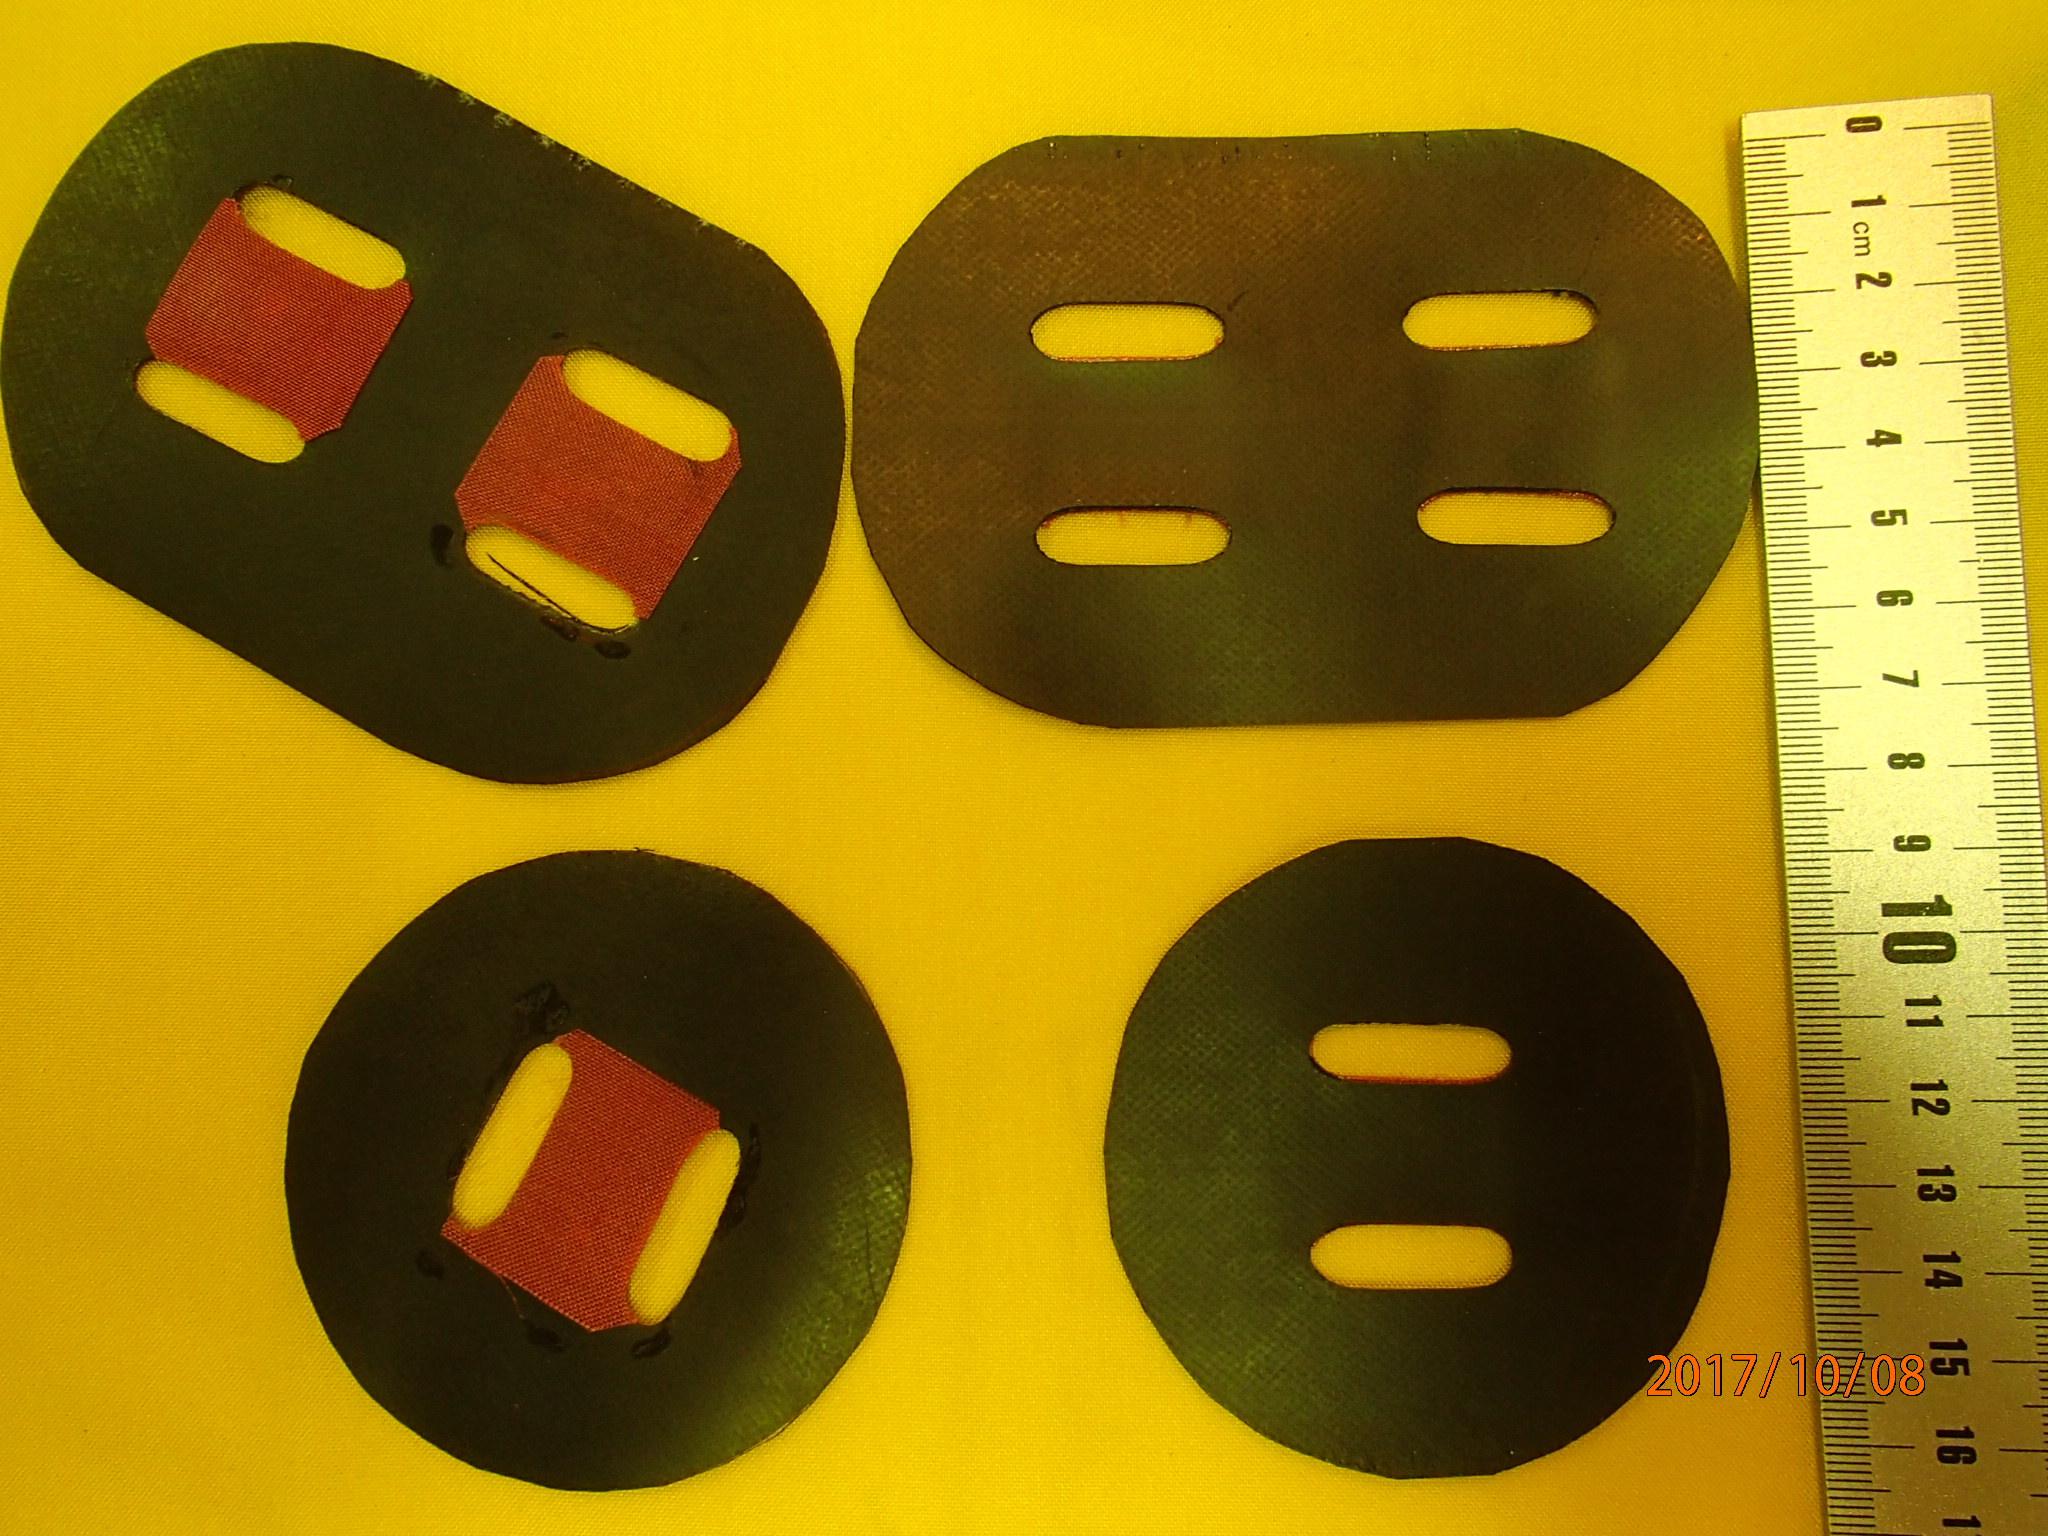
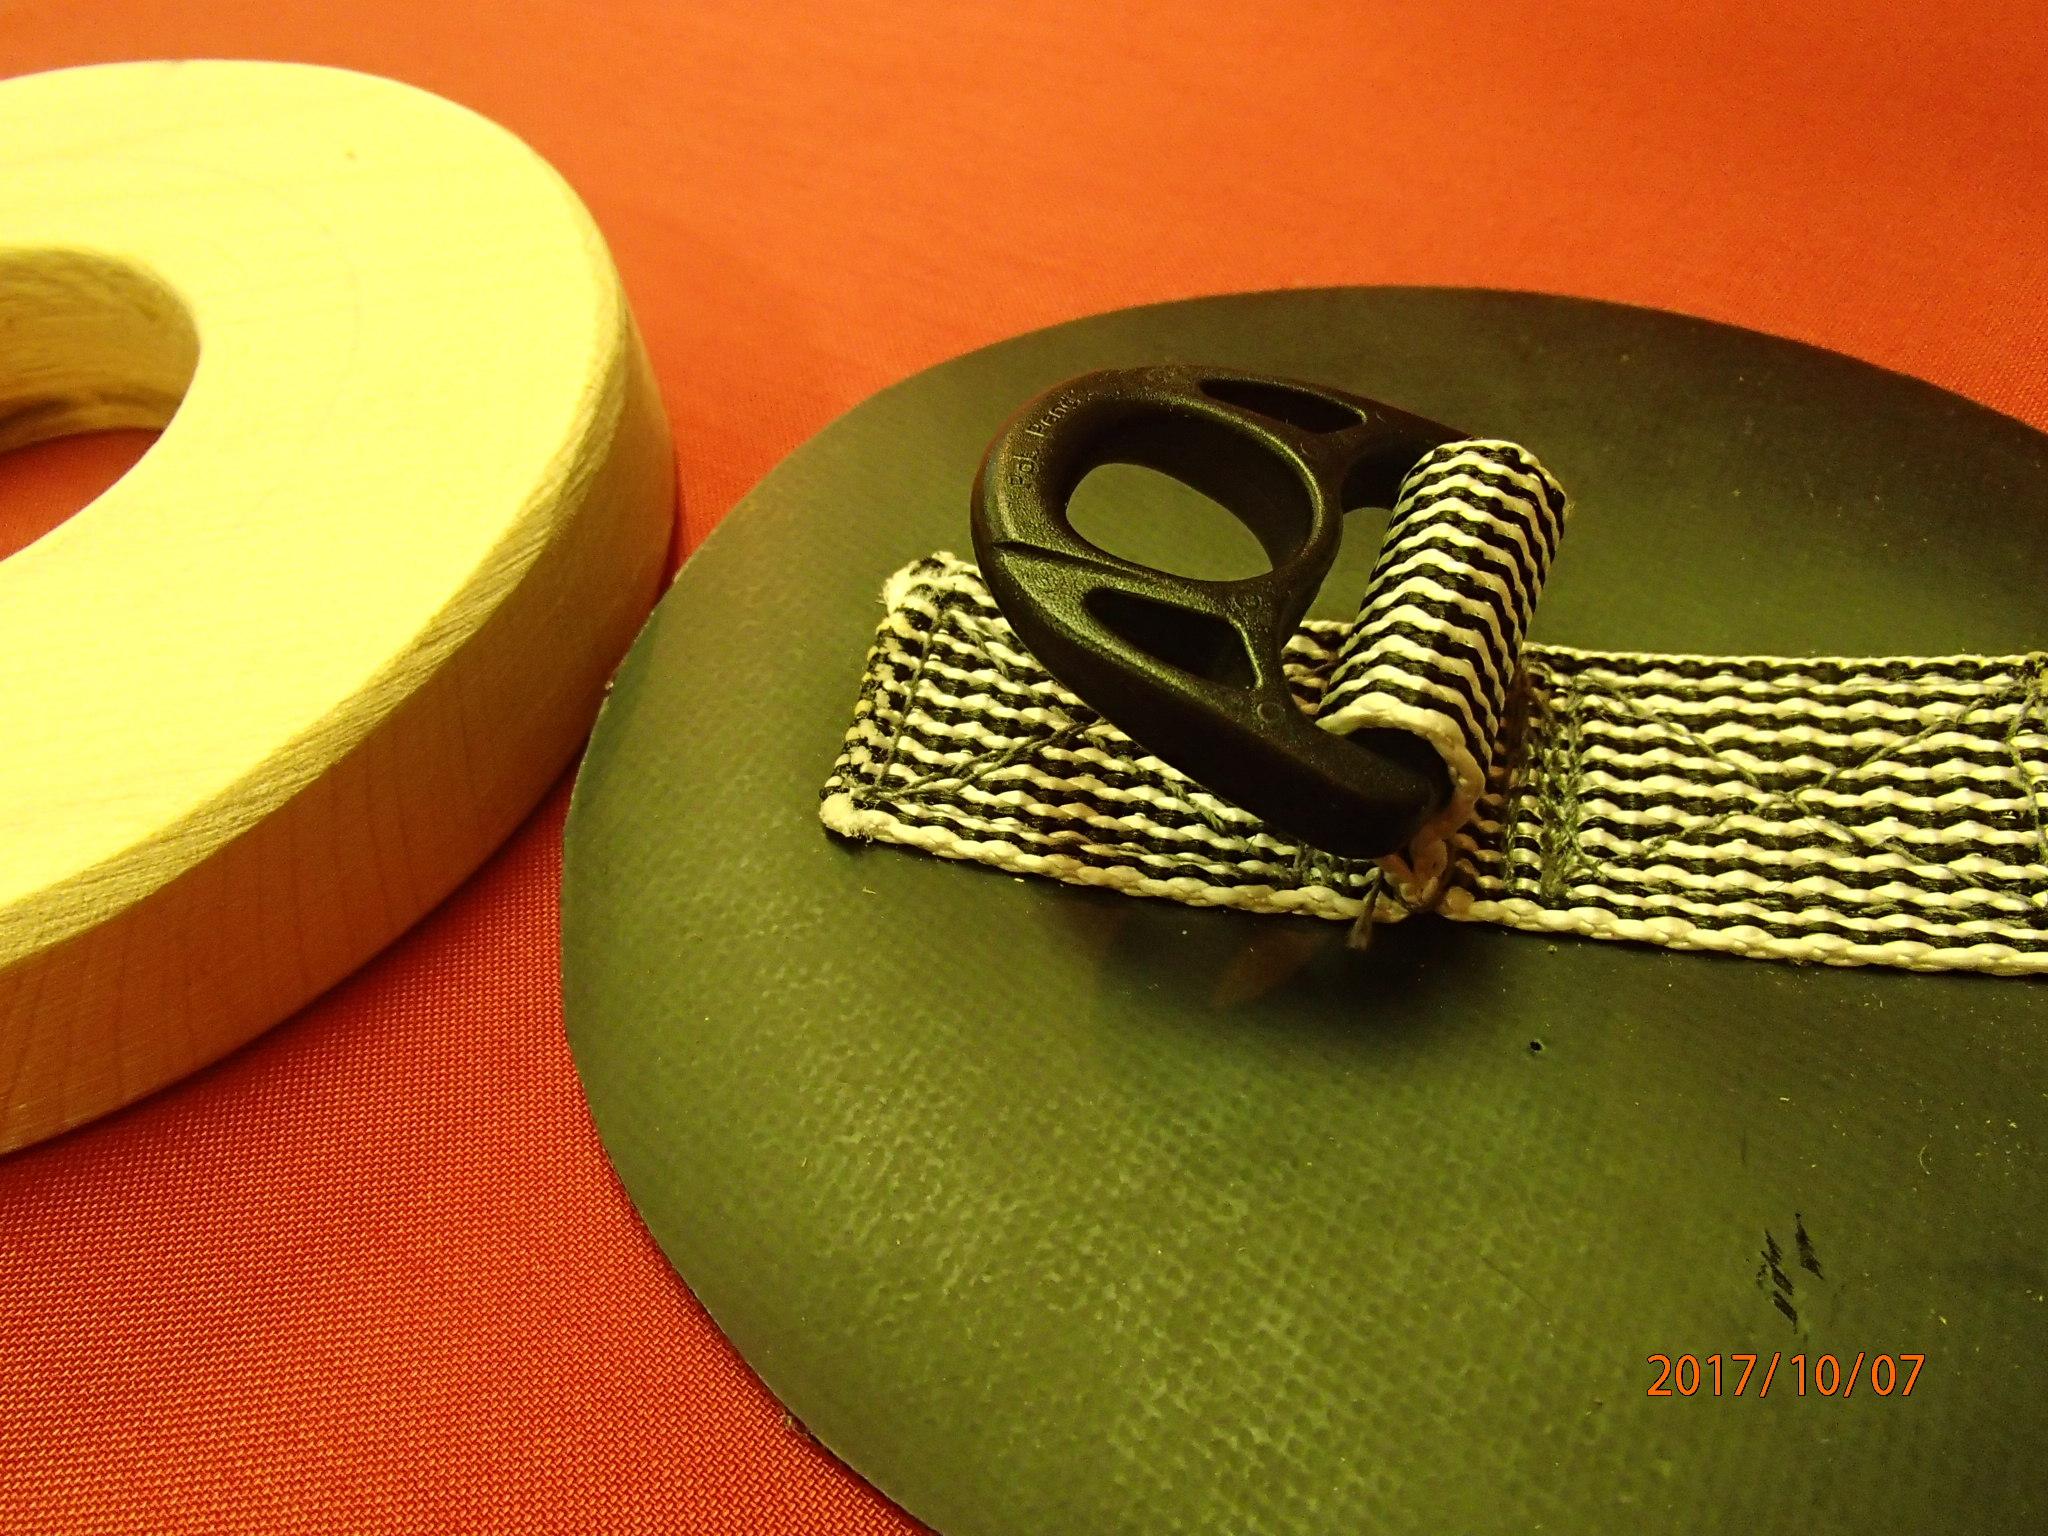
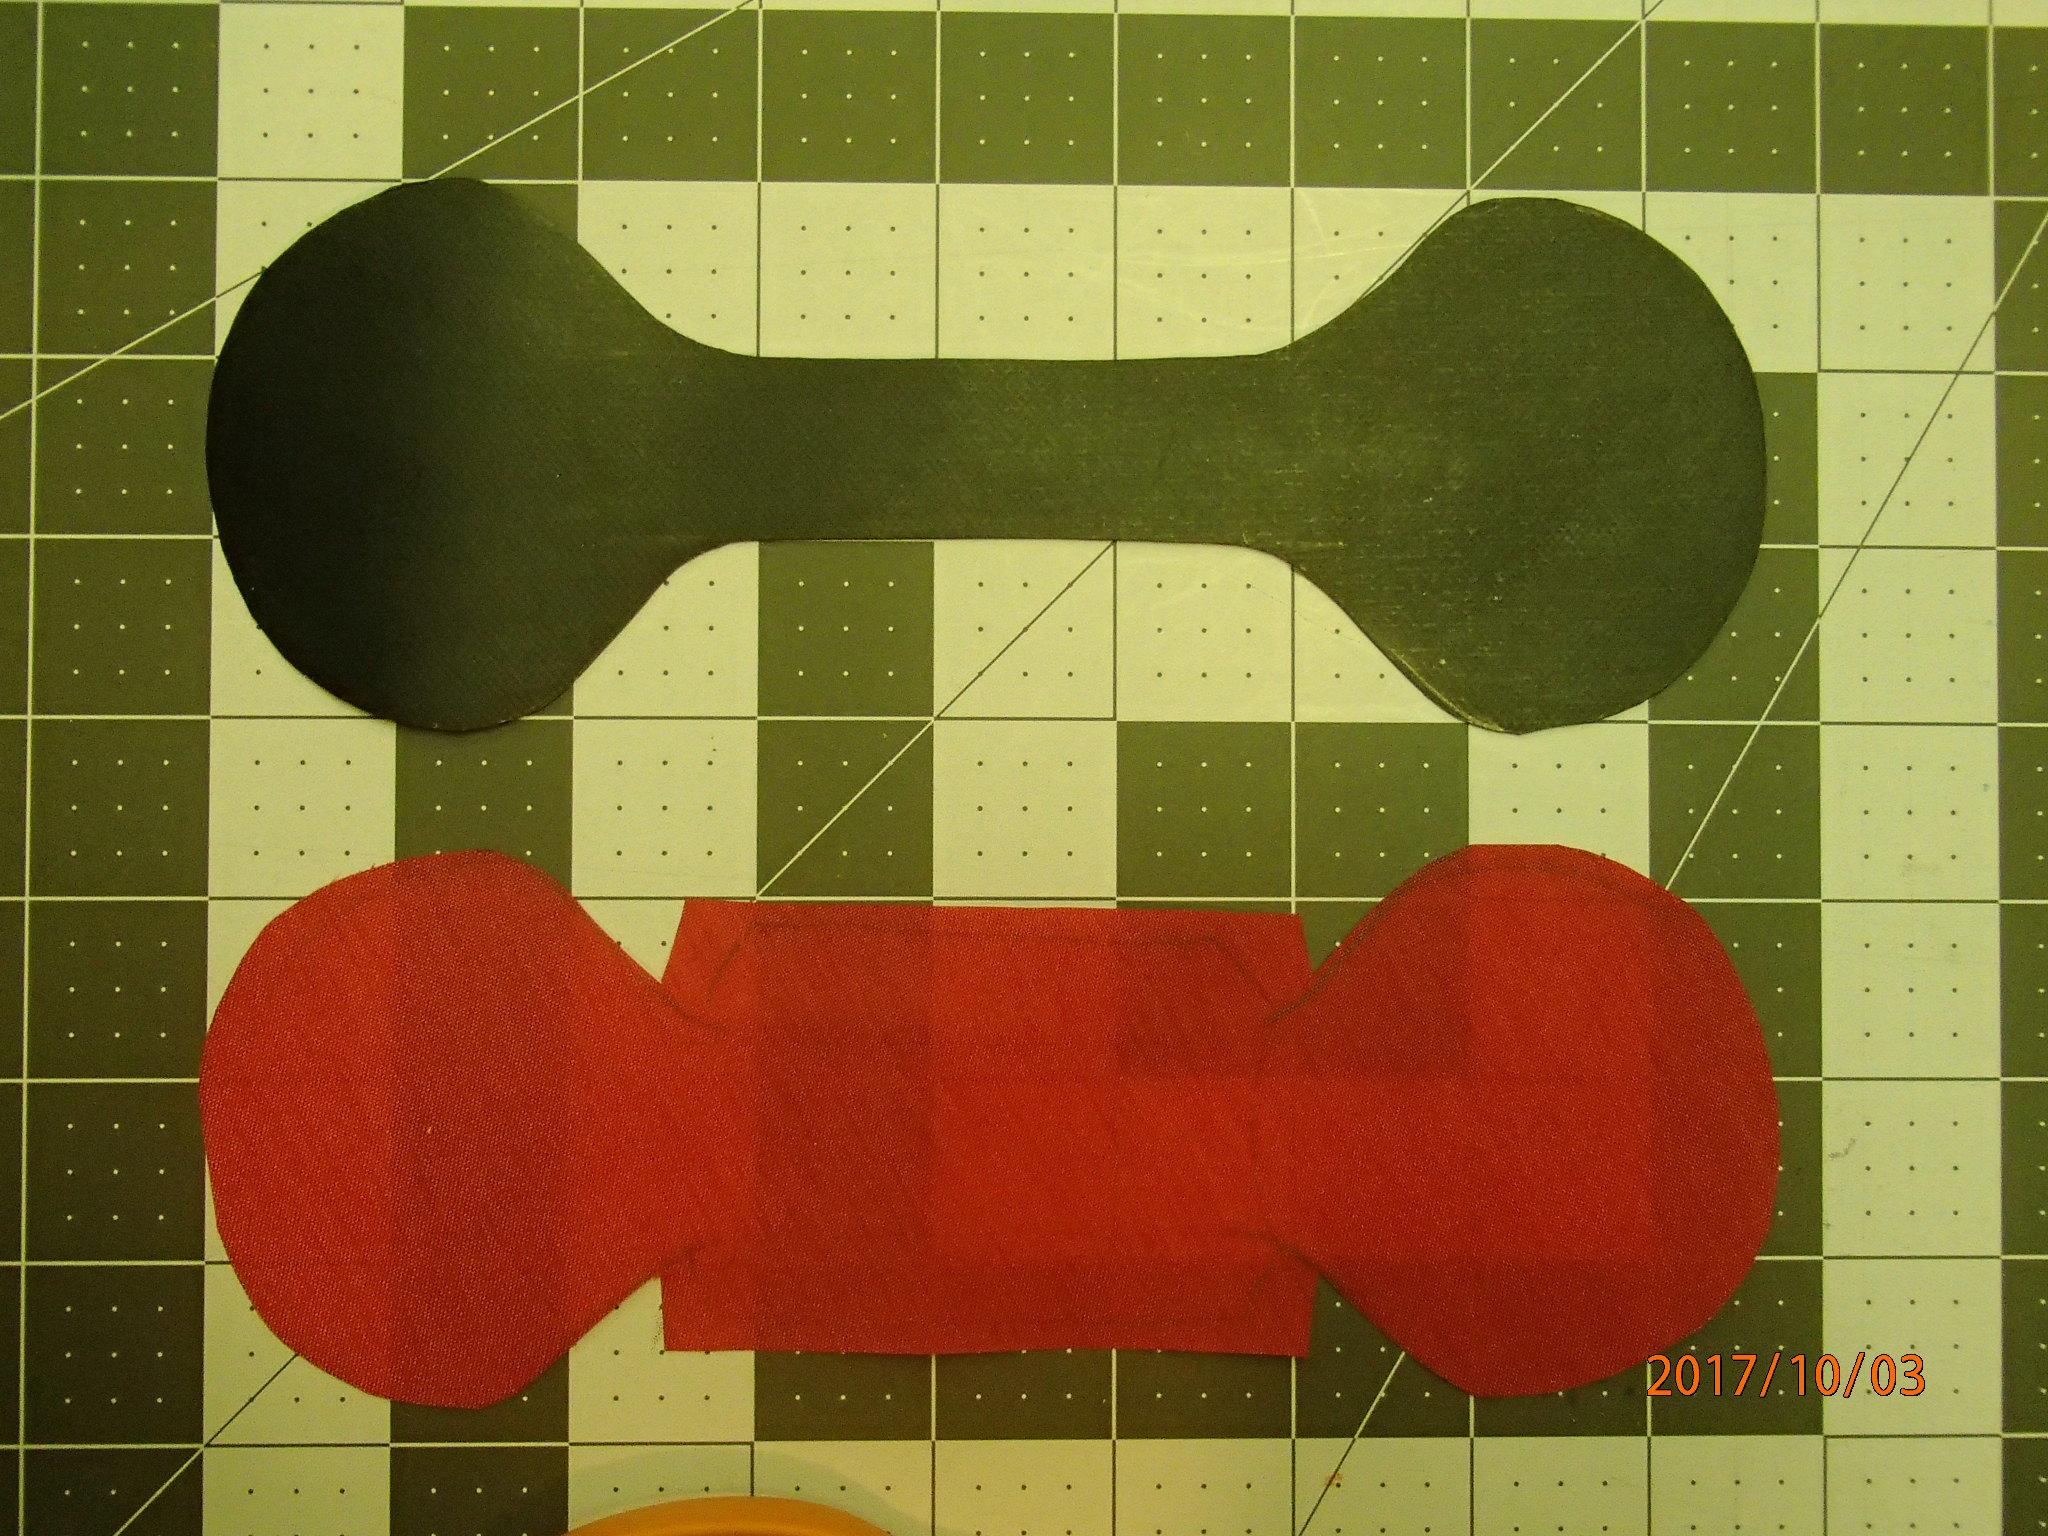
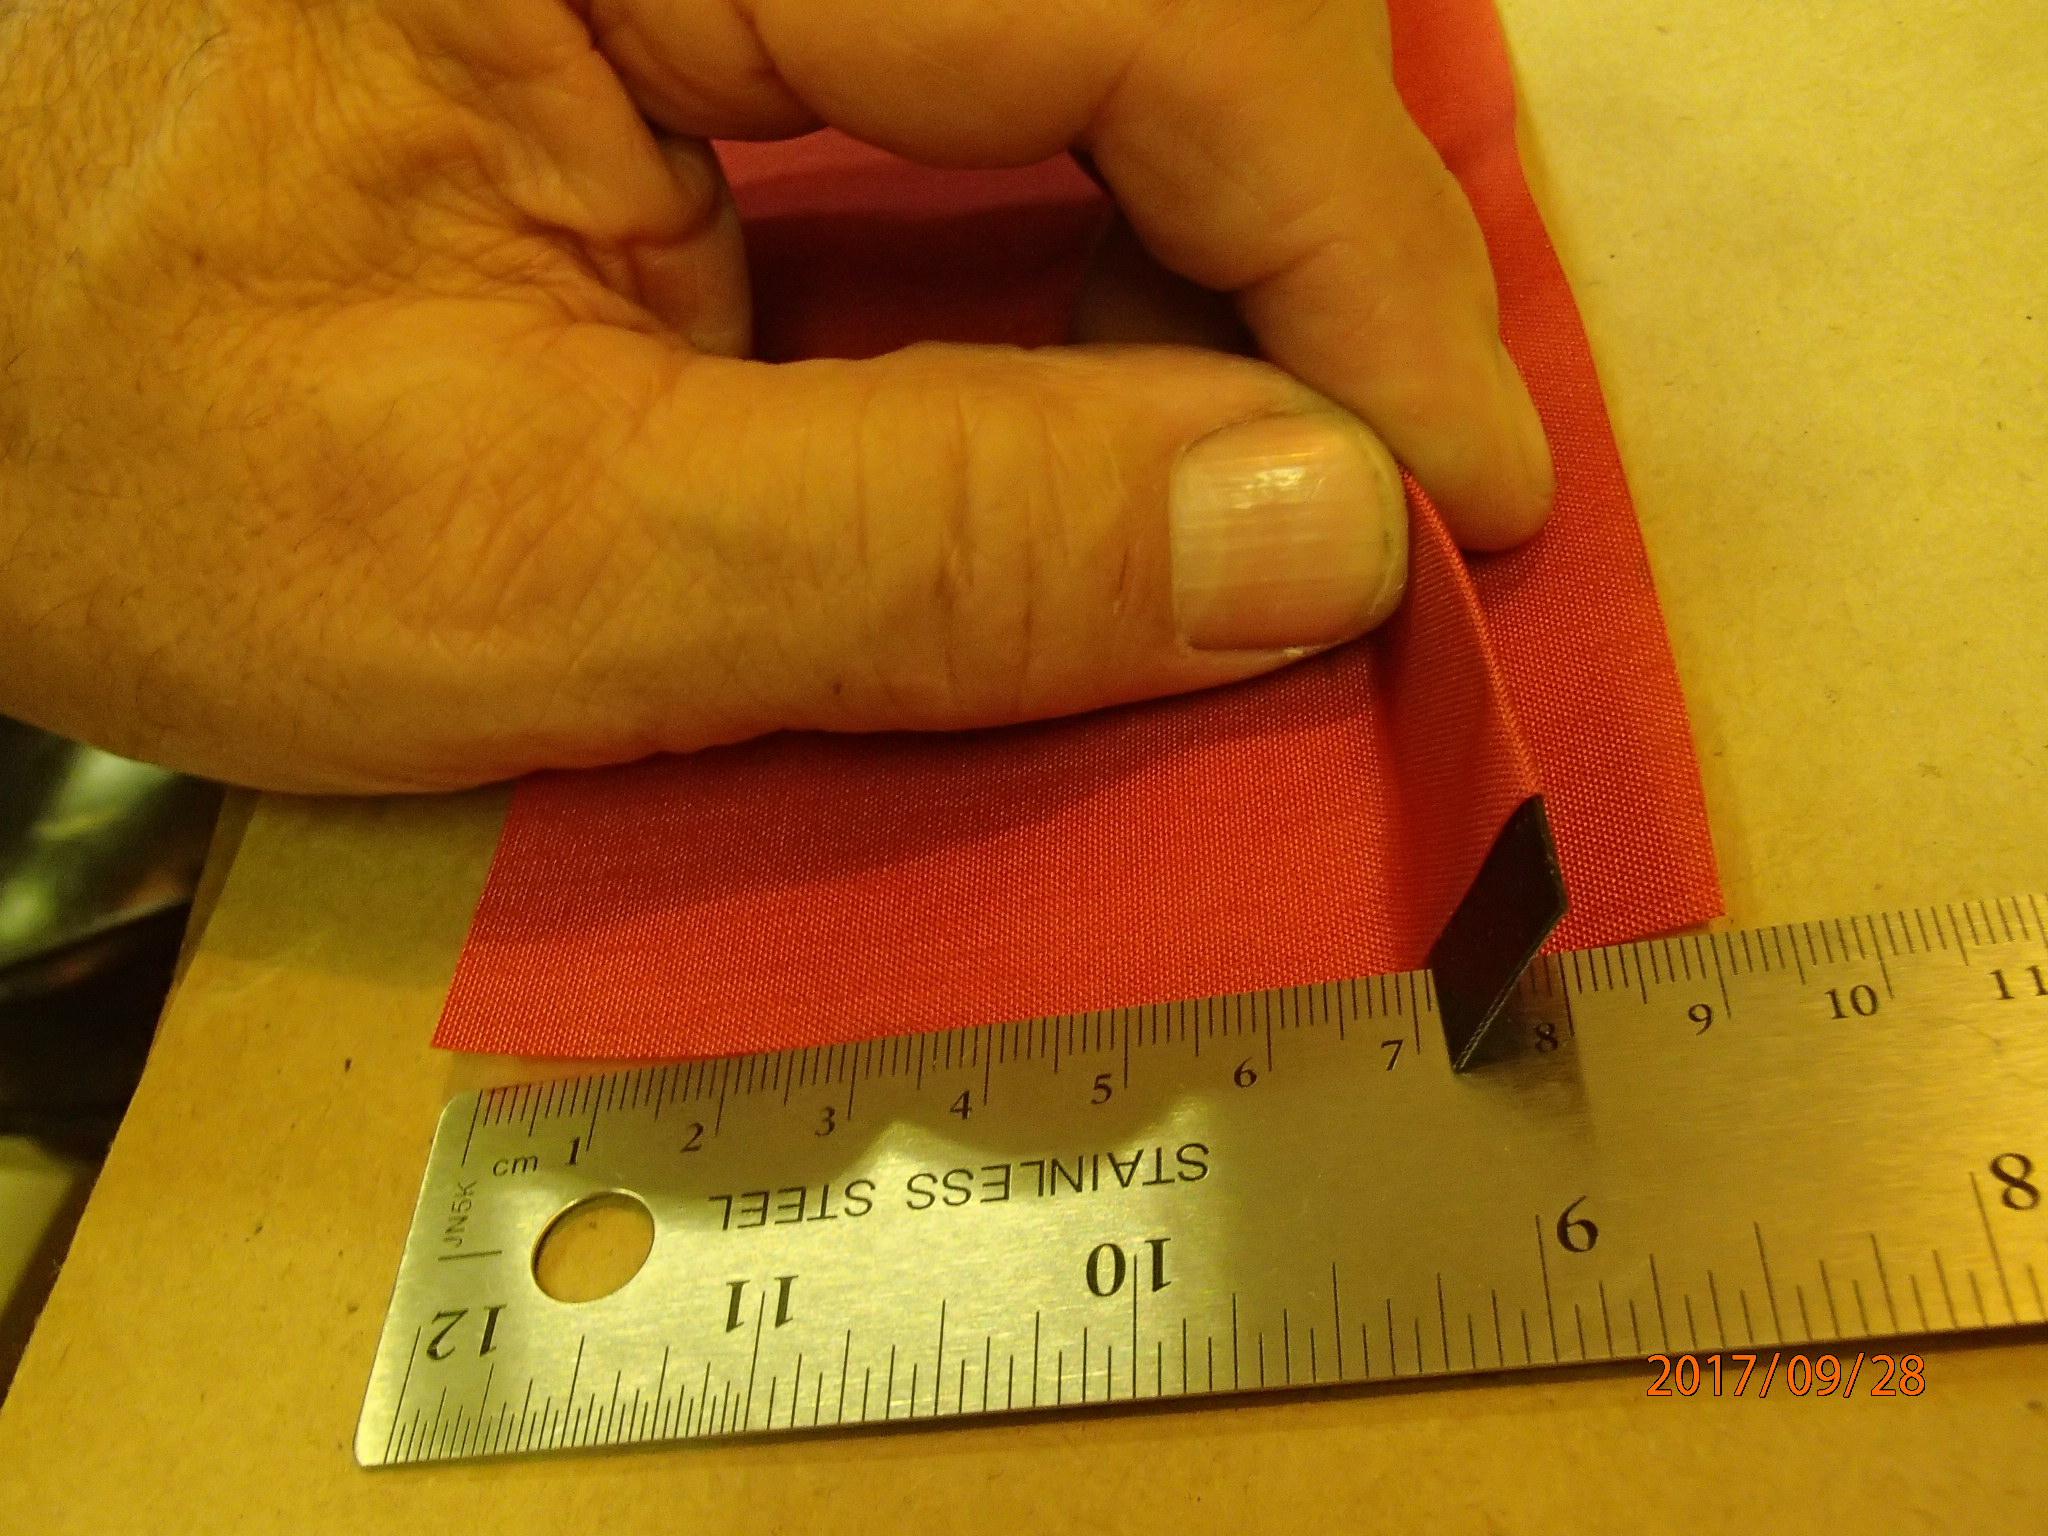
Simplest are webbing plates. I cut circles or ovals from either 420D or 1000D fabric, seal a small circle of one sided fabric on the inside (it prevents accidentally welding the center of the tab to the packraft) then I punch 2 oval holes (6mm x 25 mm) about 25 mm apart.
Round plates are easy to attach anywhere. Oval plates make great two-point seat back attachment points.
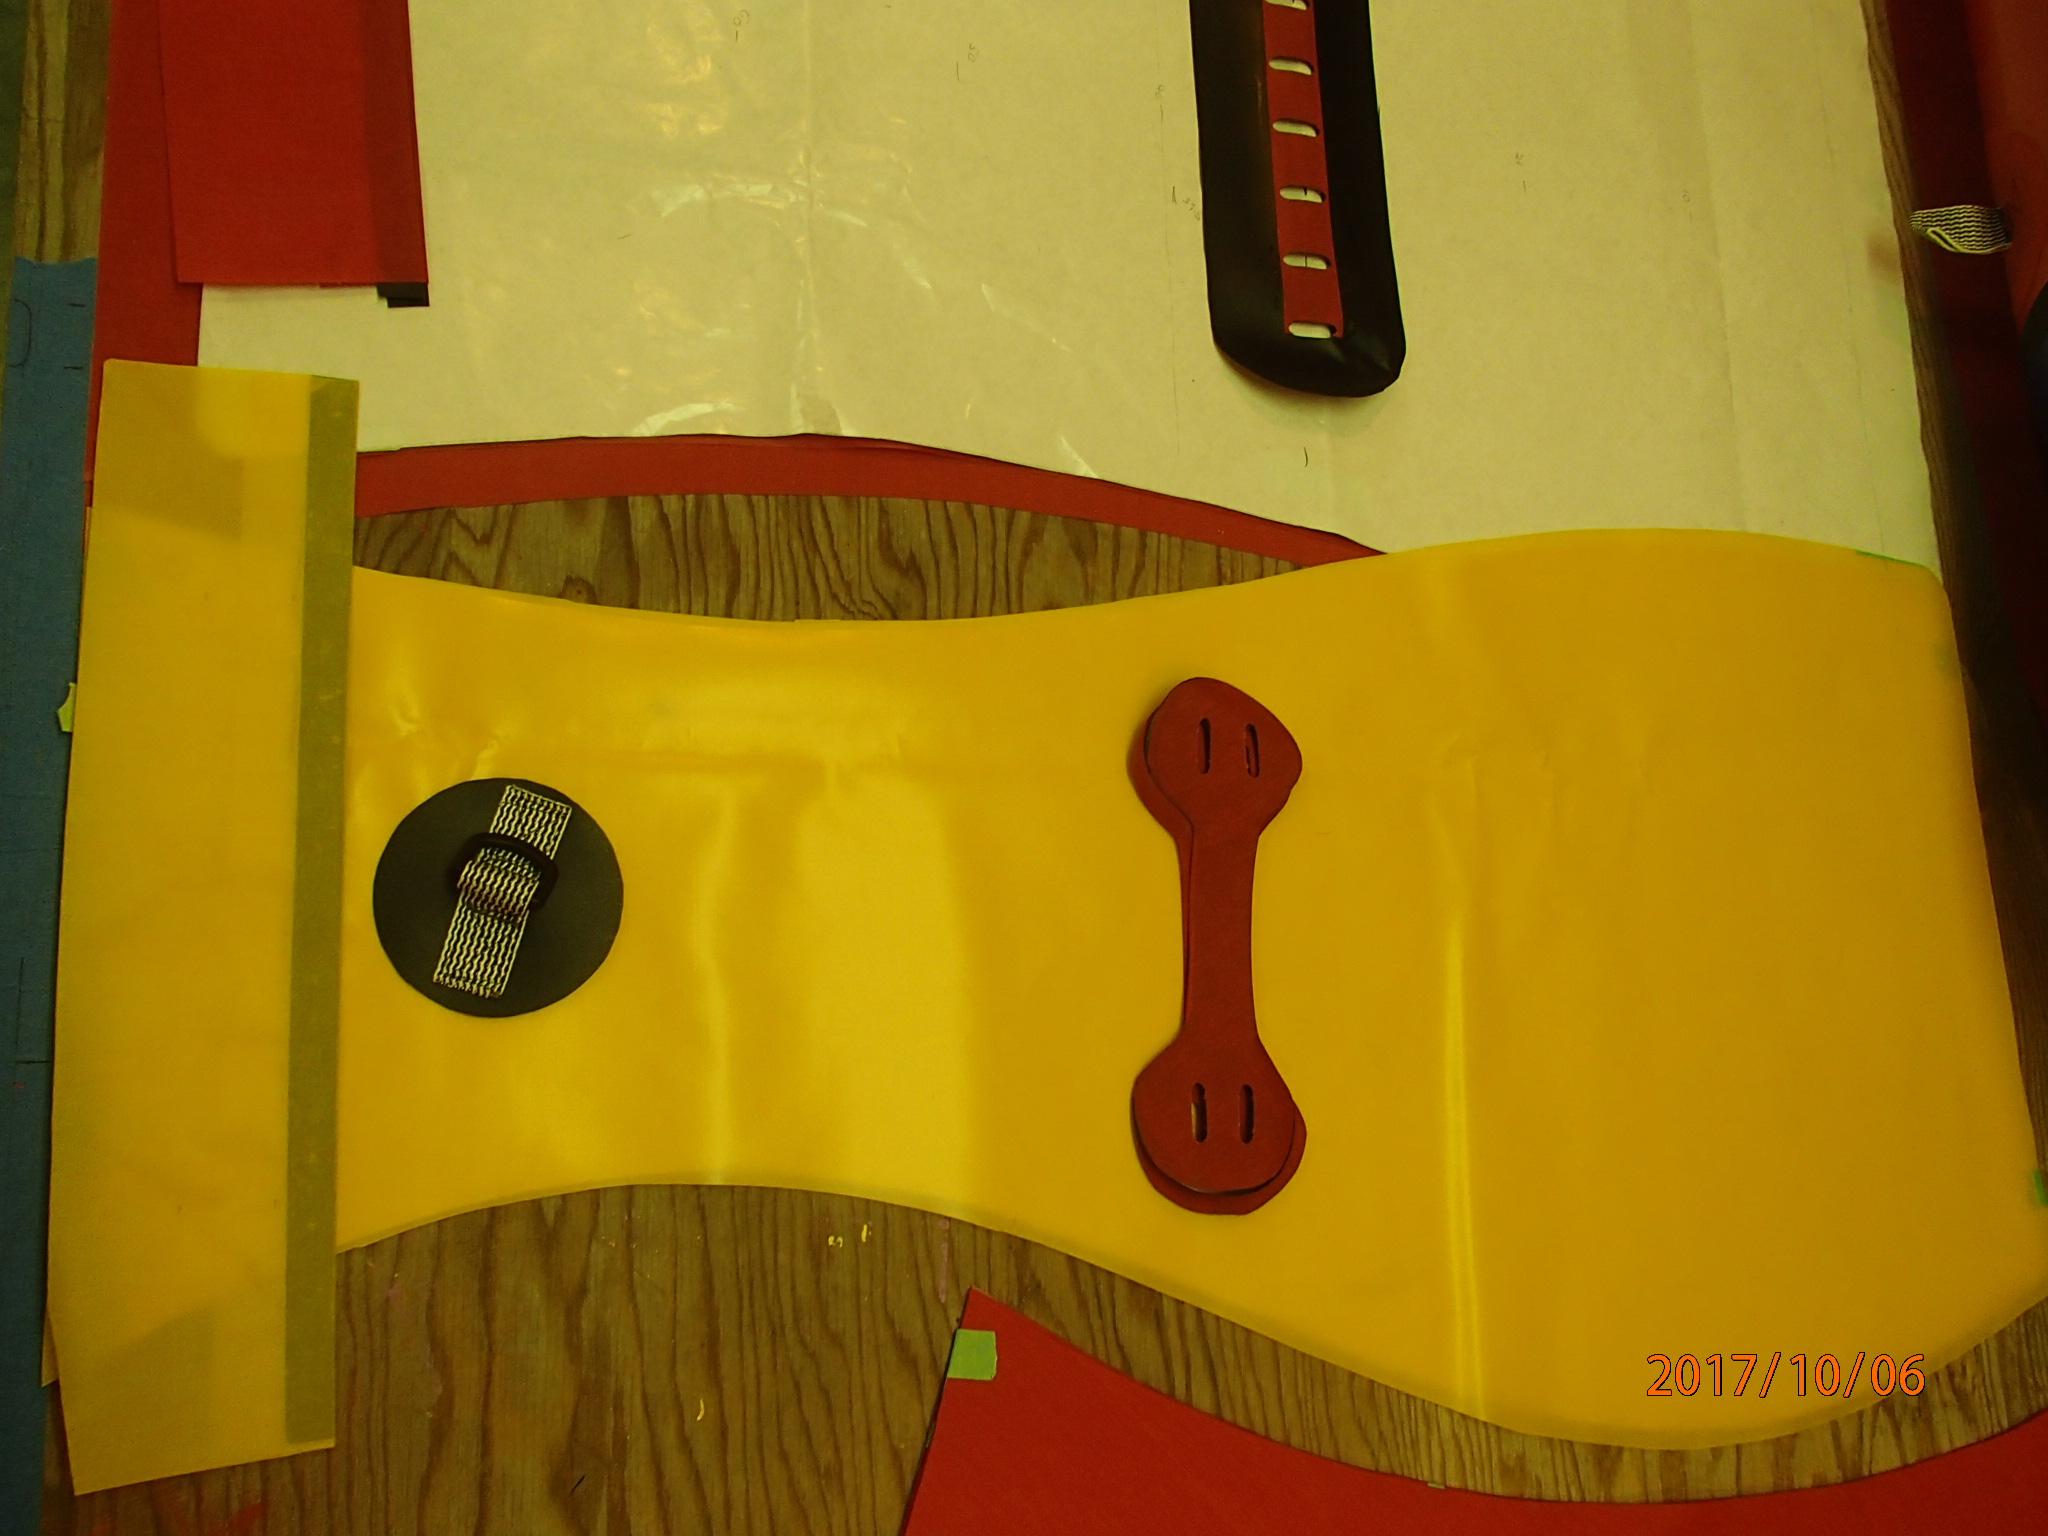
I also made long attachment strips for the top of my center tube.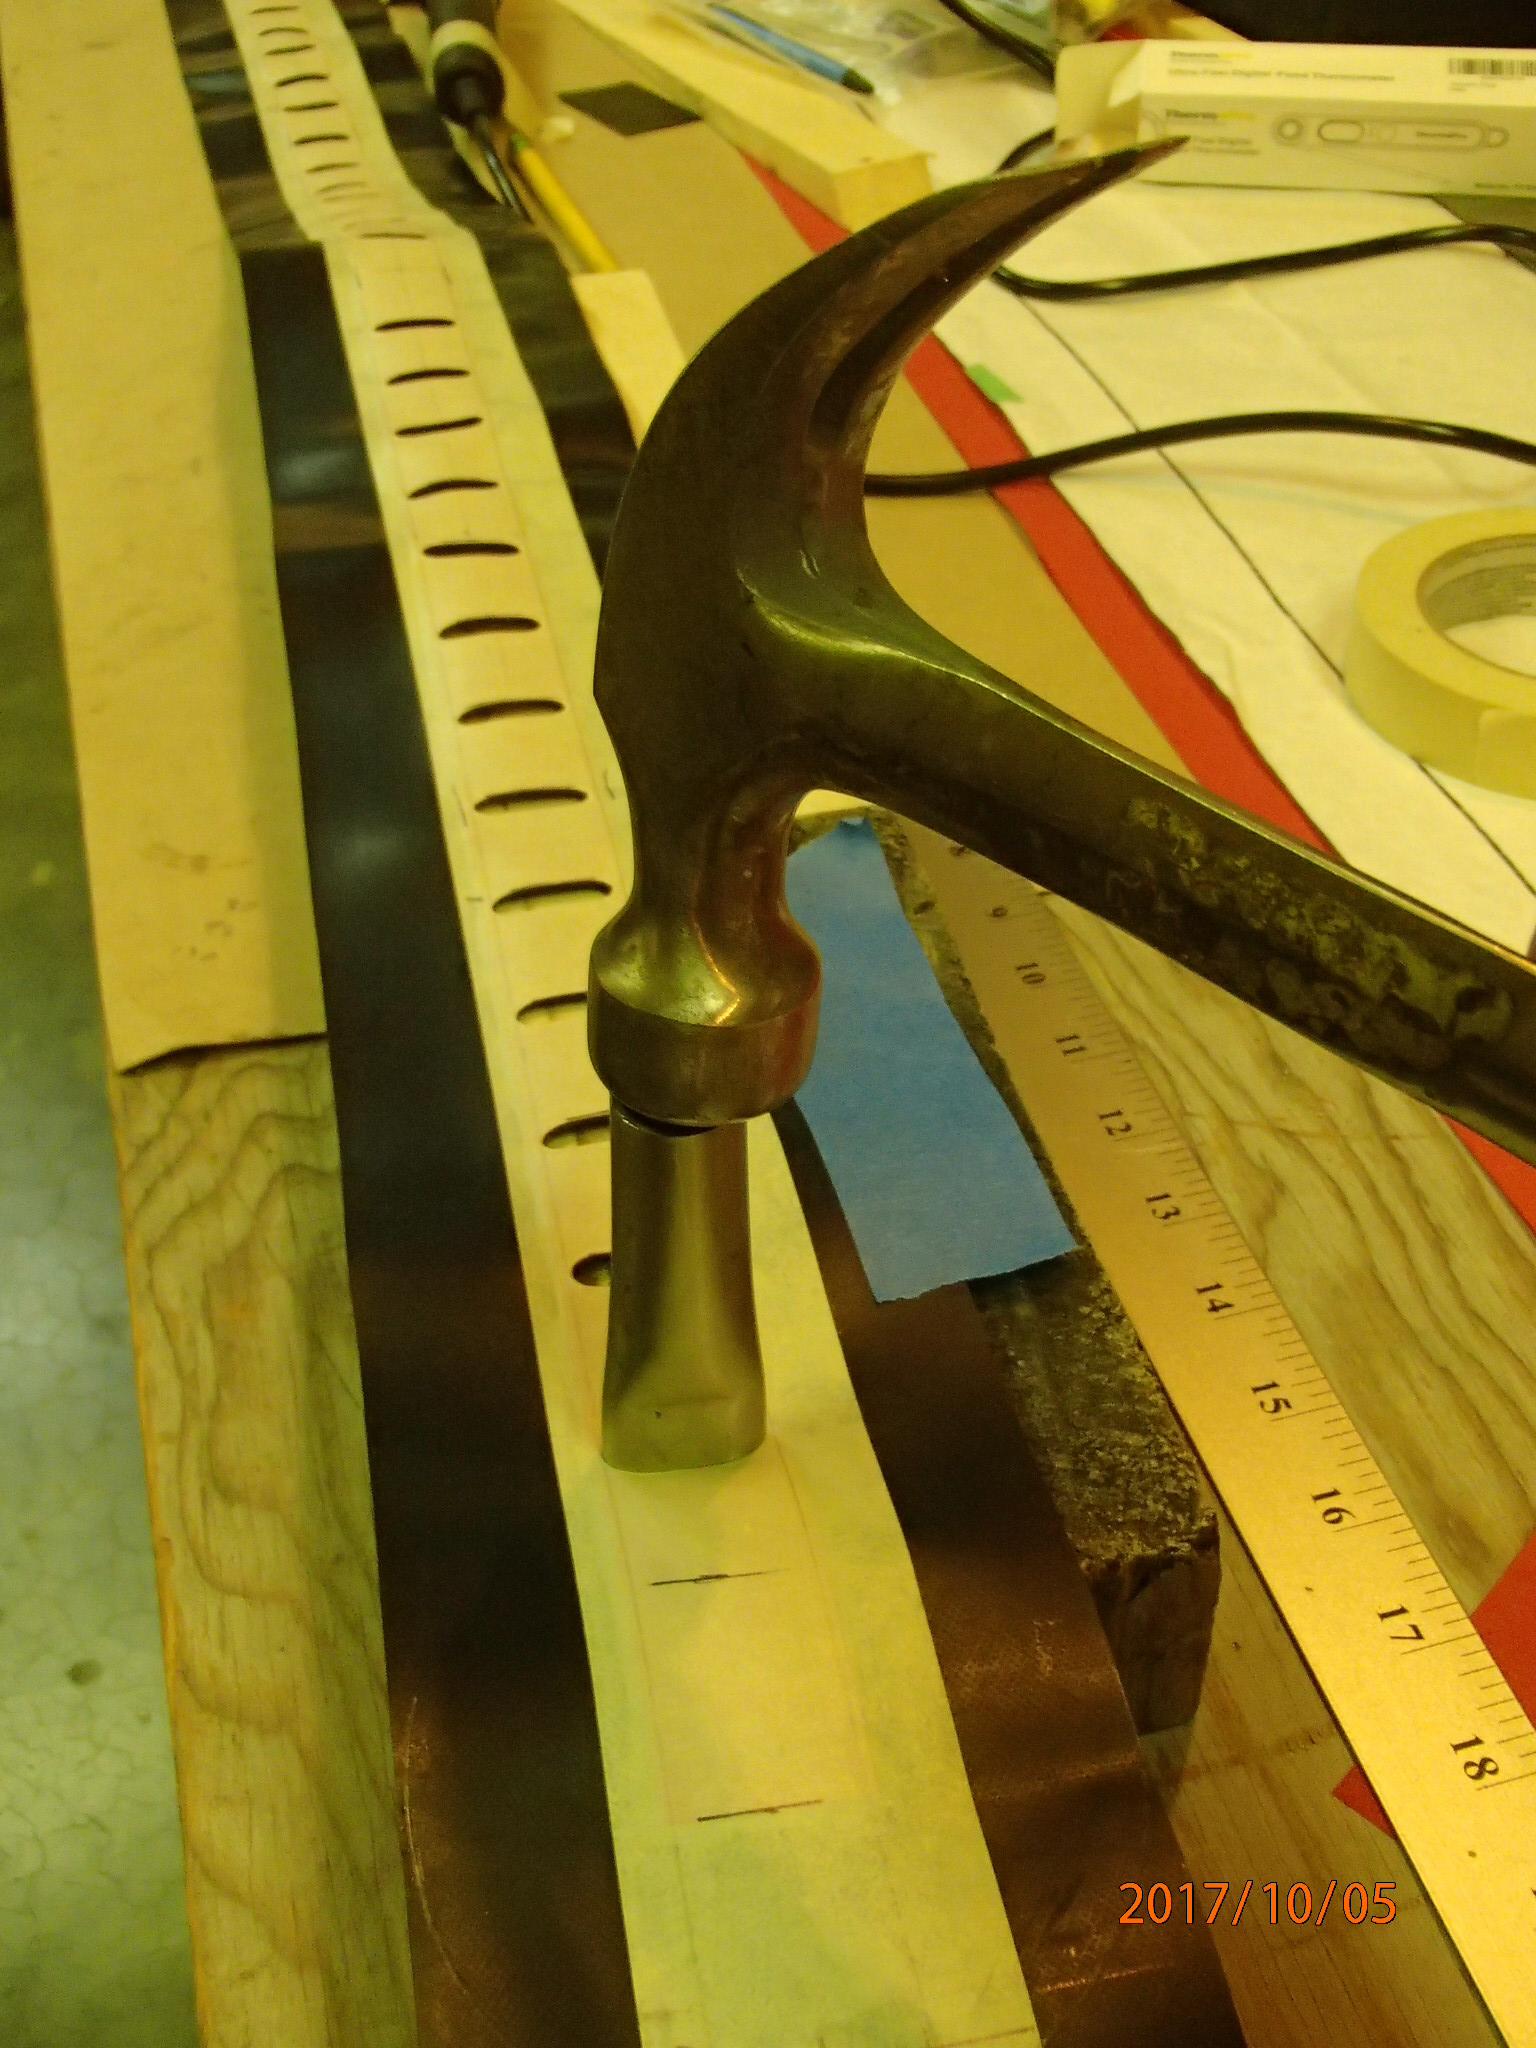
Another picture of the finished webbing strip laid out with an oval seat point and a round D-ring for a thigh strap.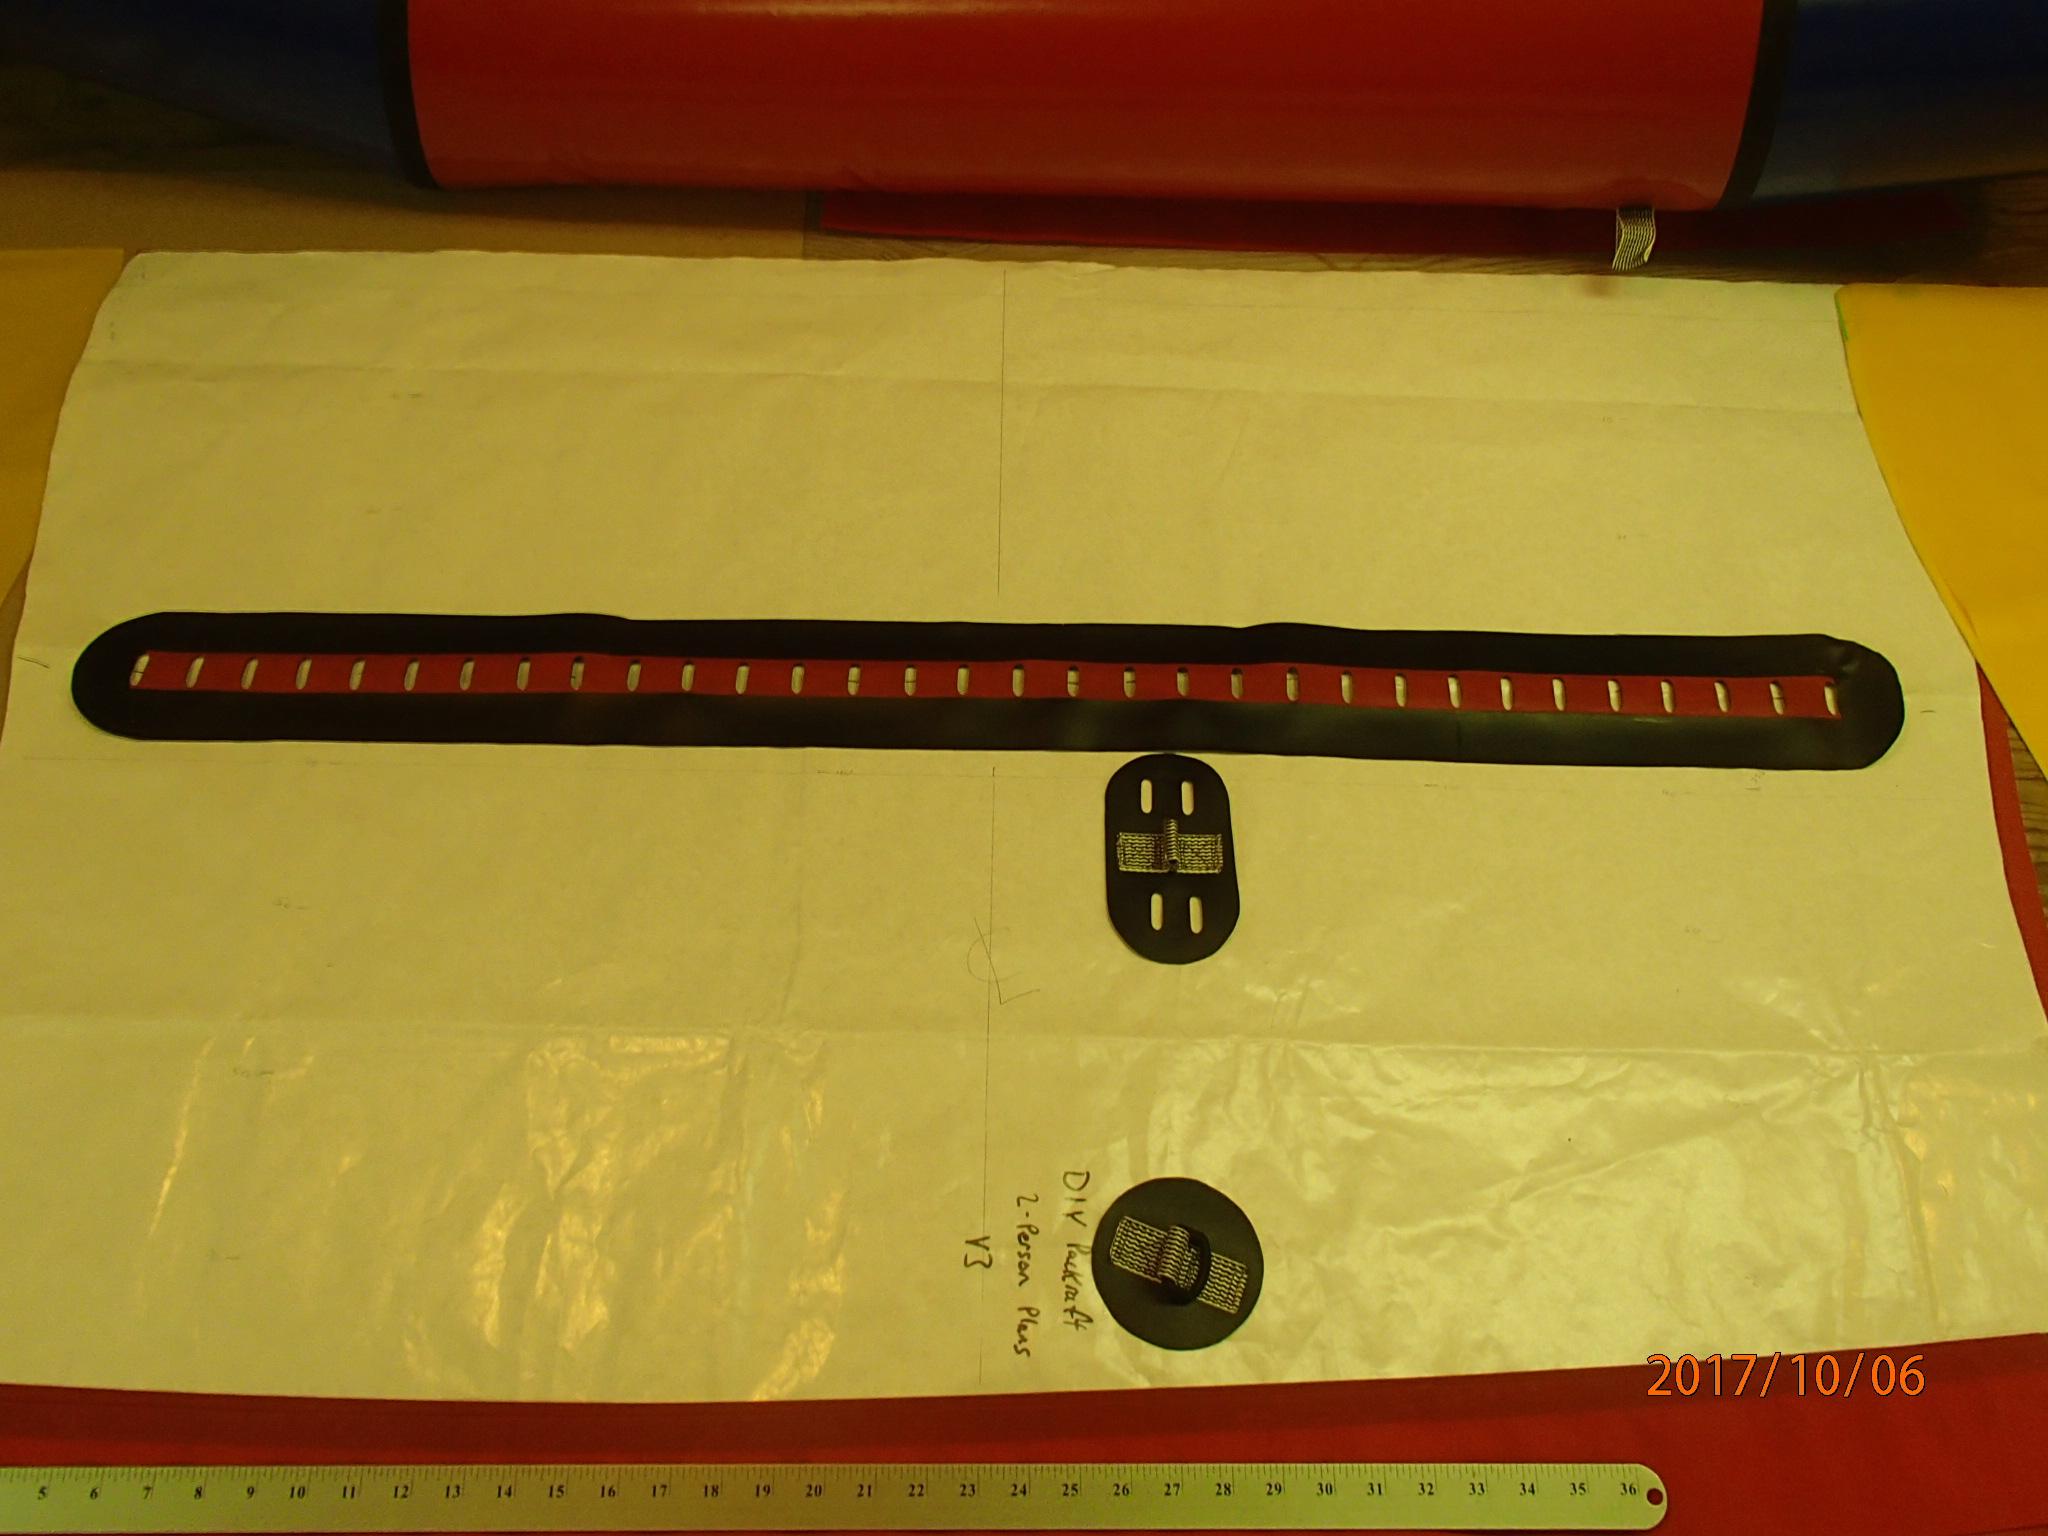
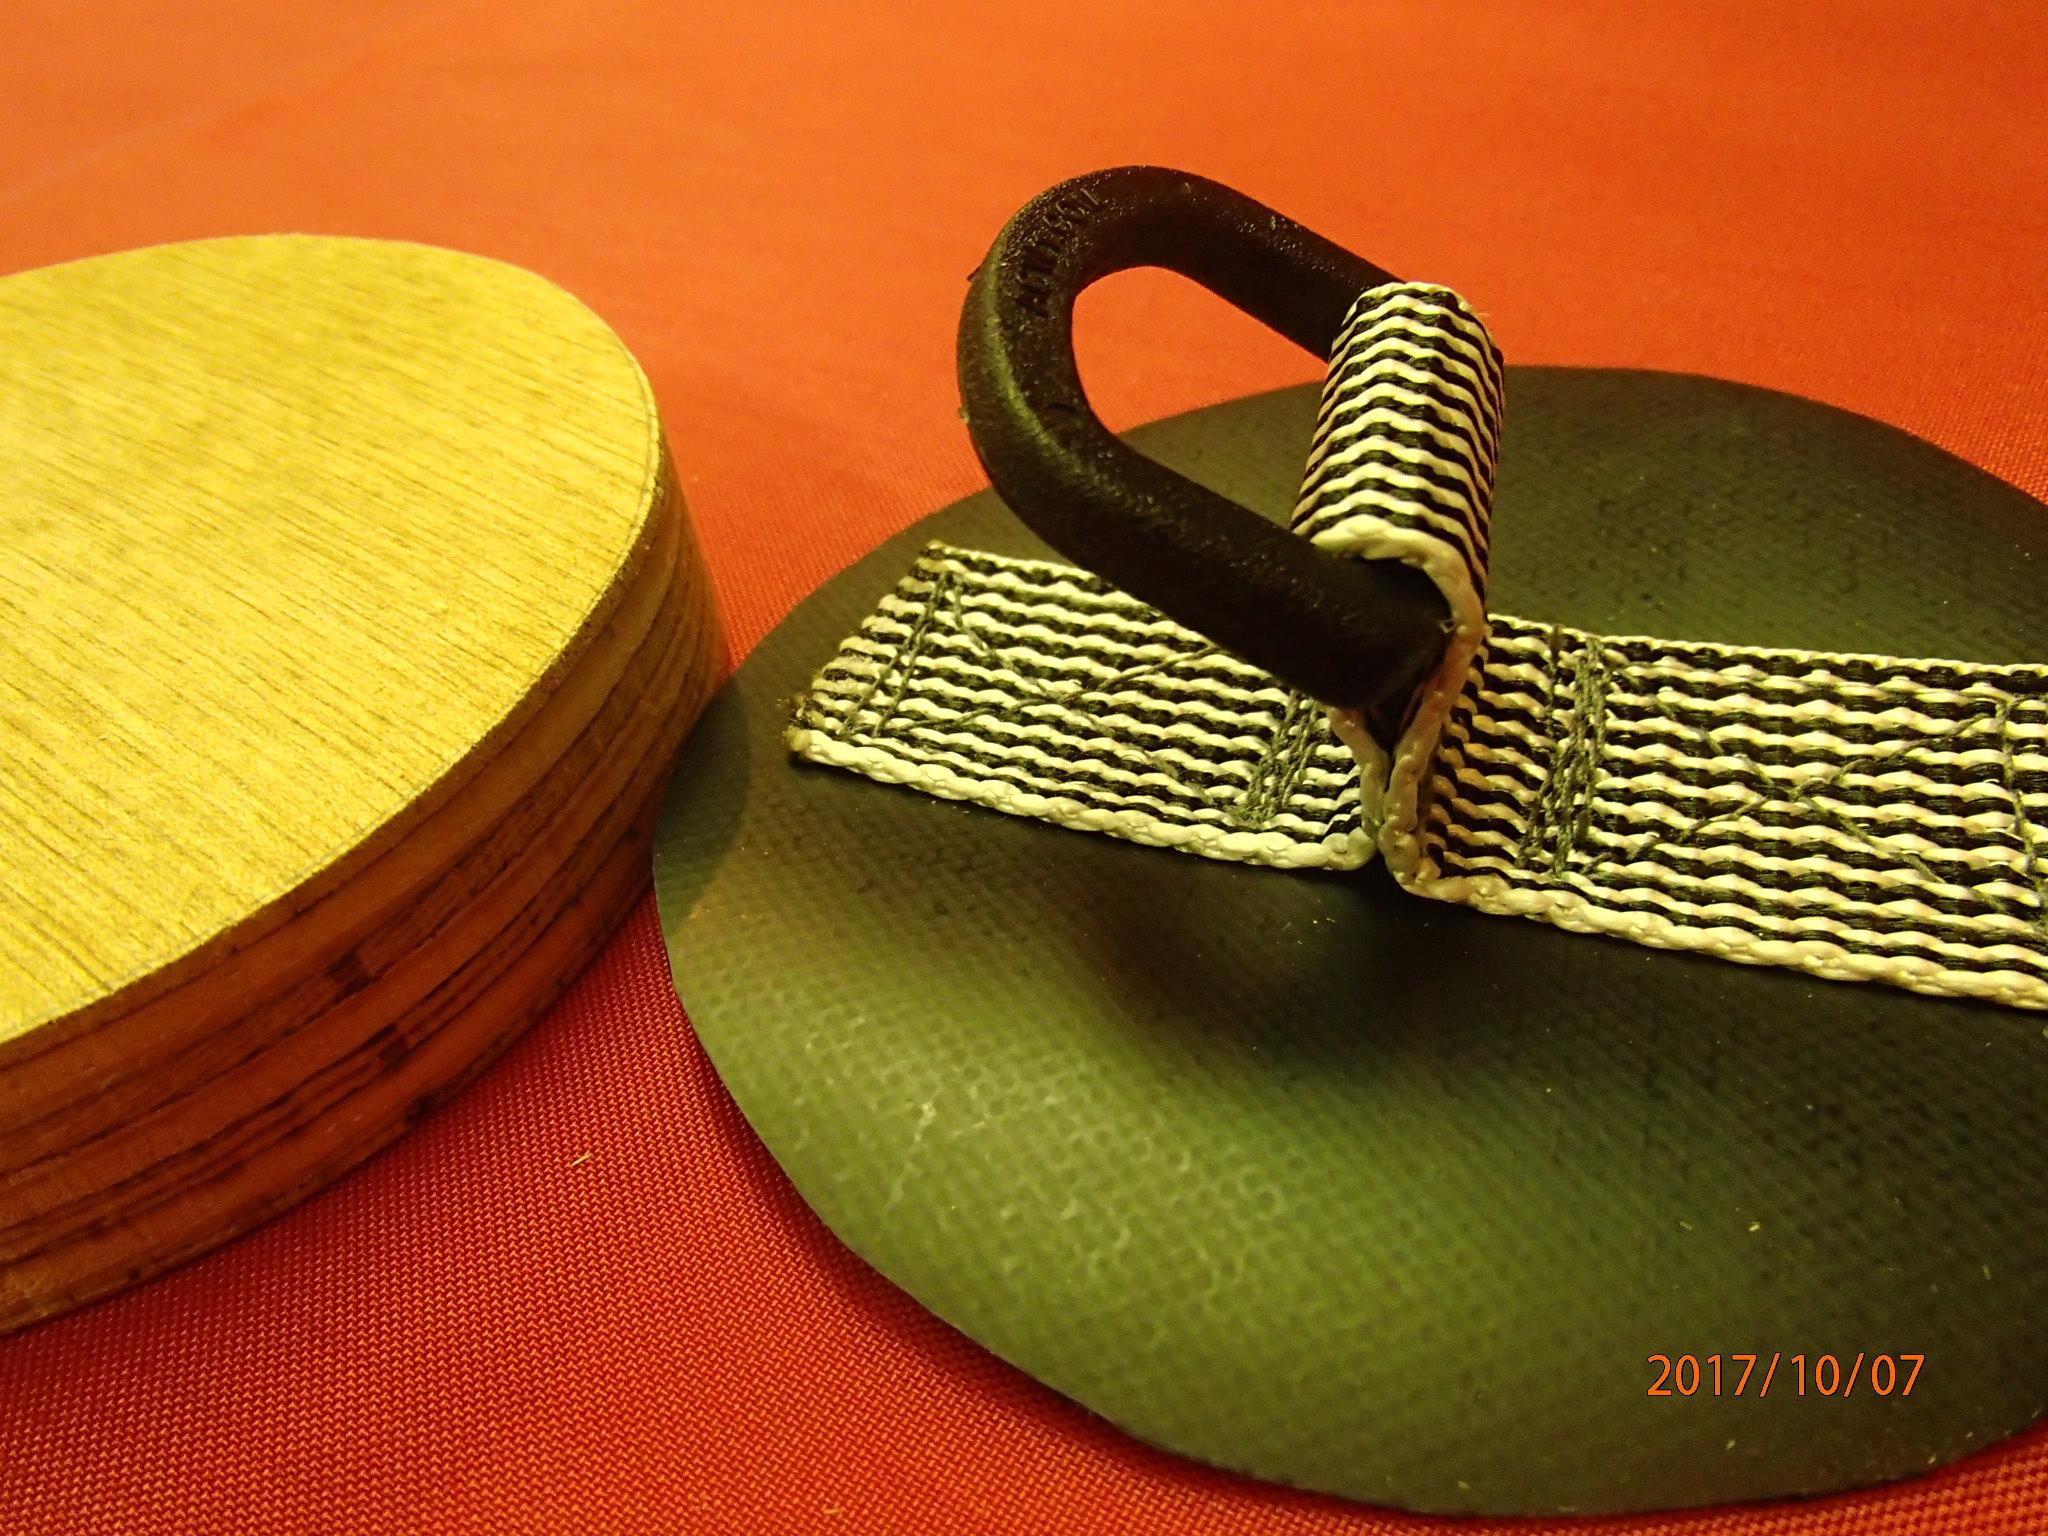
Sewing D-rings onto the 1000D fabric requires a solid sewing machine with steel internals. Better might be to take your patches to a local tent or shoe repair shop and have them sew polyester webbing on with plastic D-rings. I can recommend the sexy black and white Dyeema webbing from DutchGear.com.
I made heavier duty points to attach bow and stern grab loops a swimmer could hang onto in a rescue.
I also made one-piece grab lopps with 210D fabric cover to help a swimmer climb into a raft, of in my case provide a hold for a youngster in front of the tandem packraft.

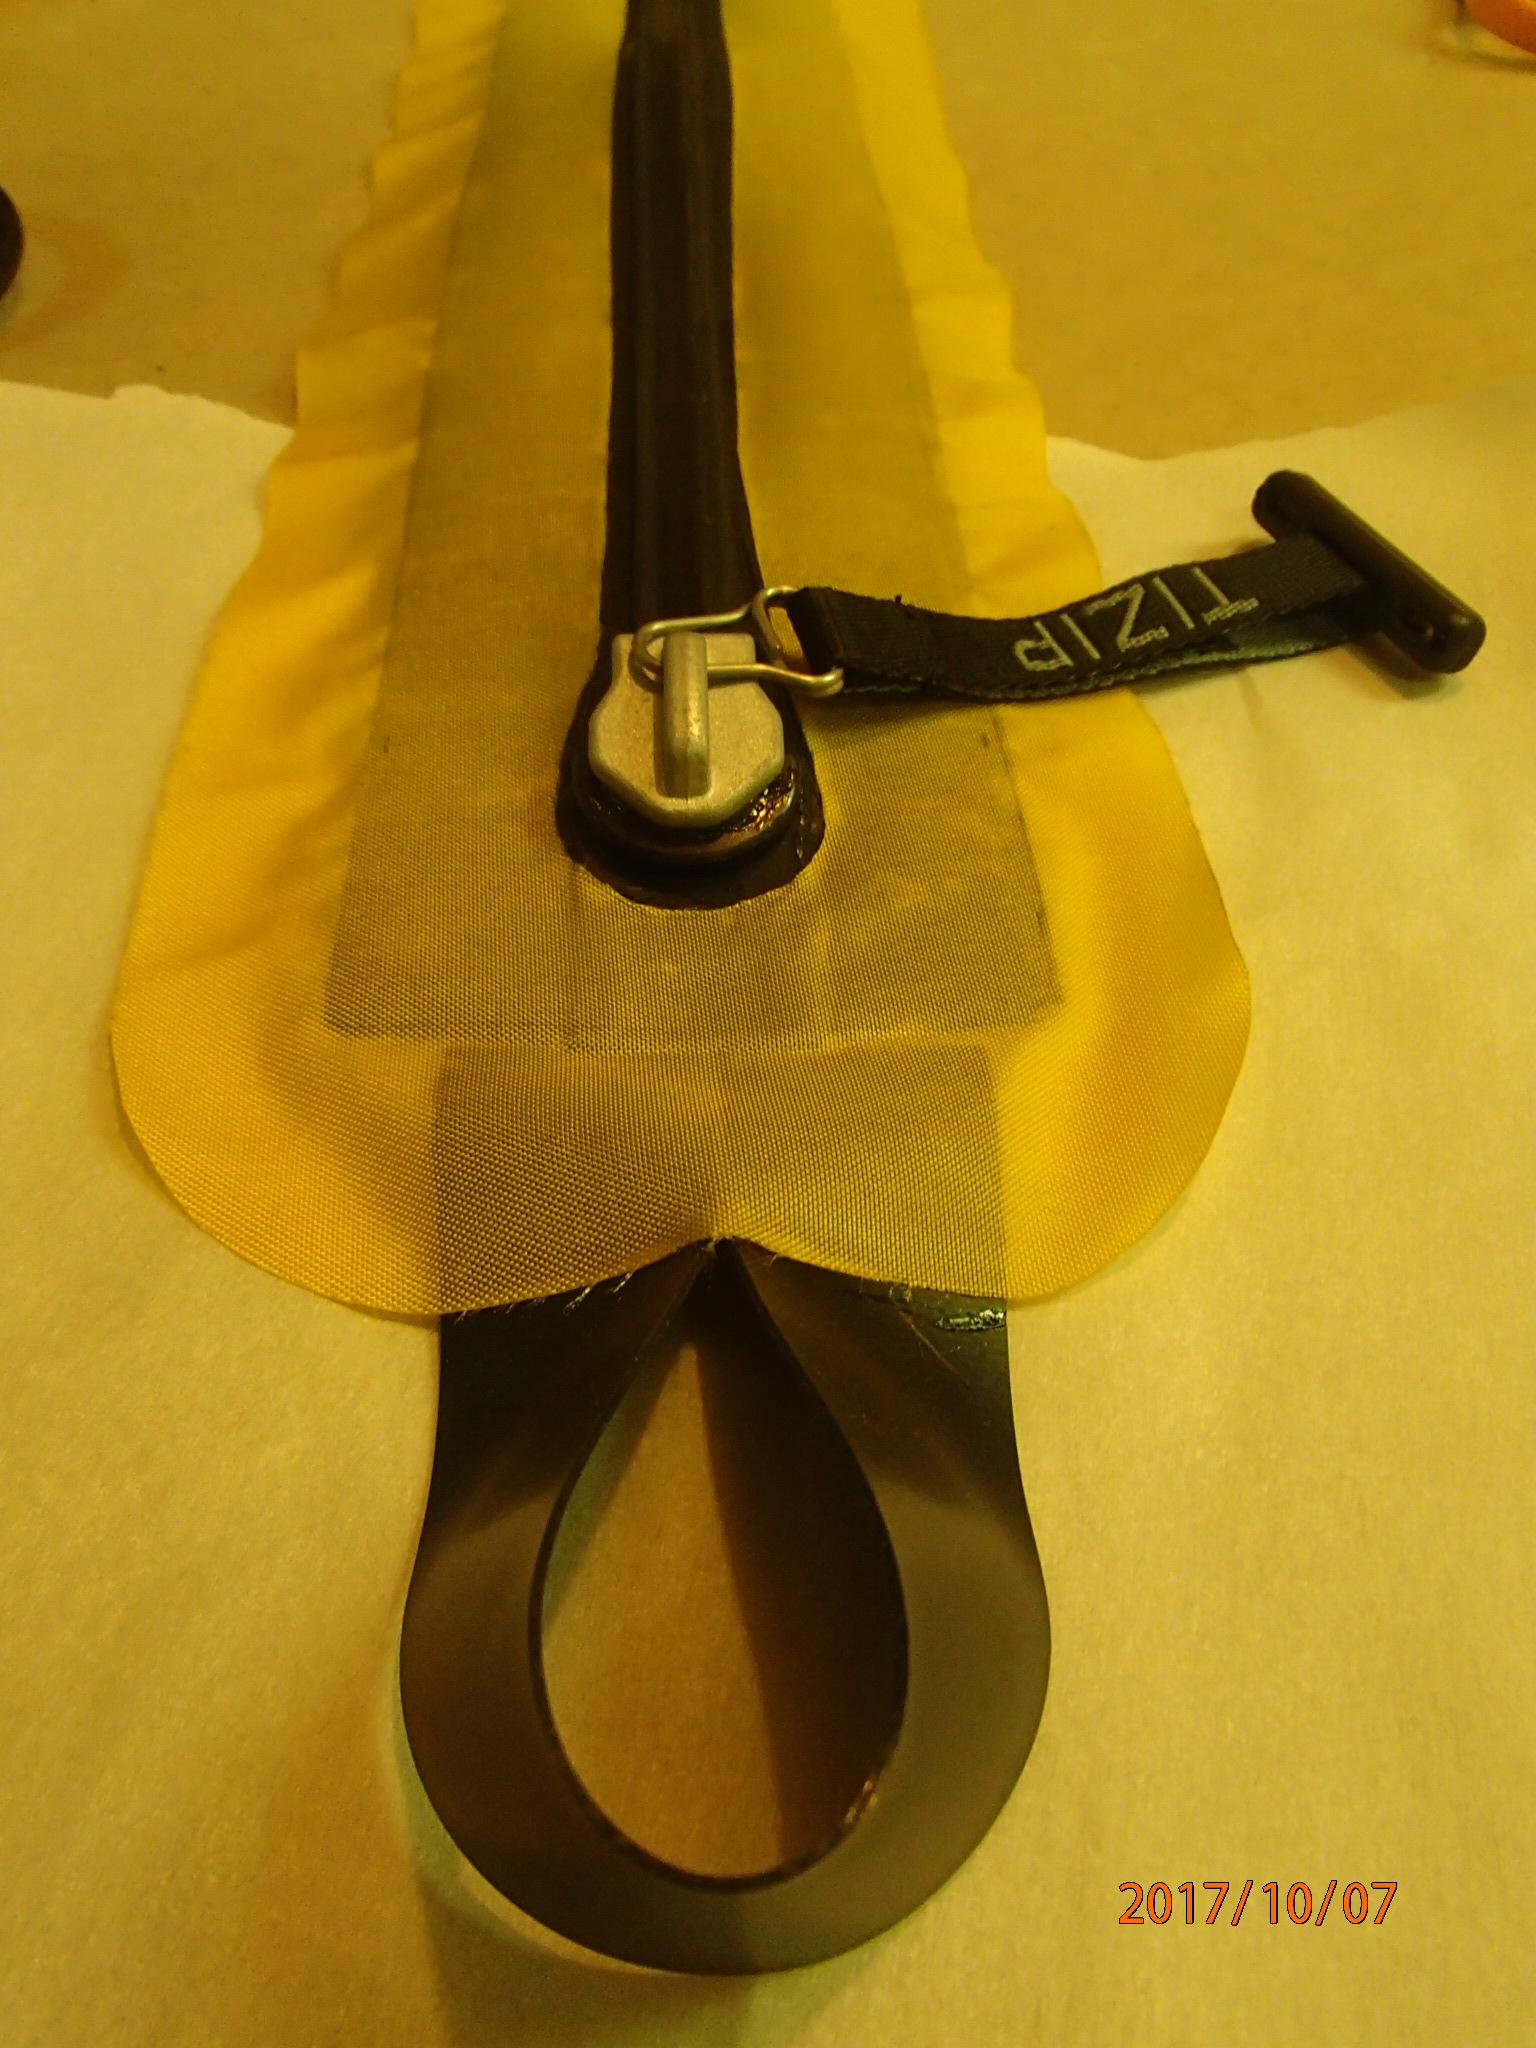
I made a simple zipper pull loop from a 20mm strip of two sided 1000D fabric. This gives one a solid tab to pull against when opening the zipper.
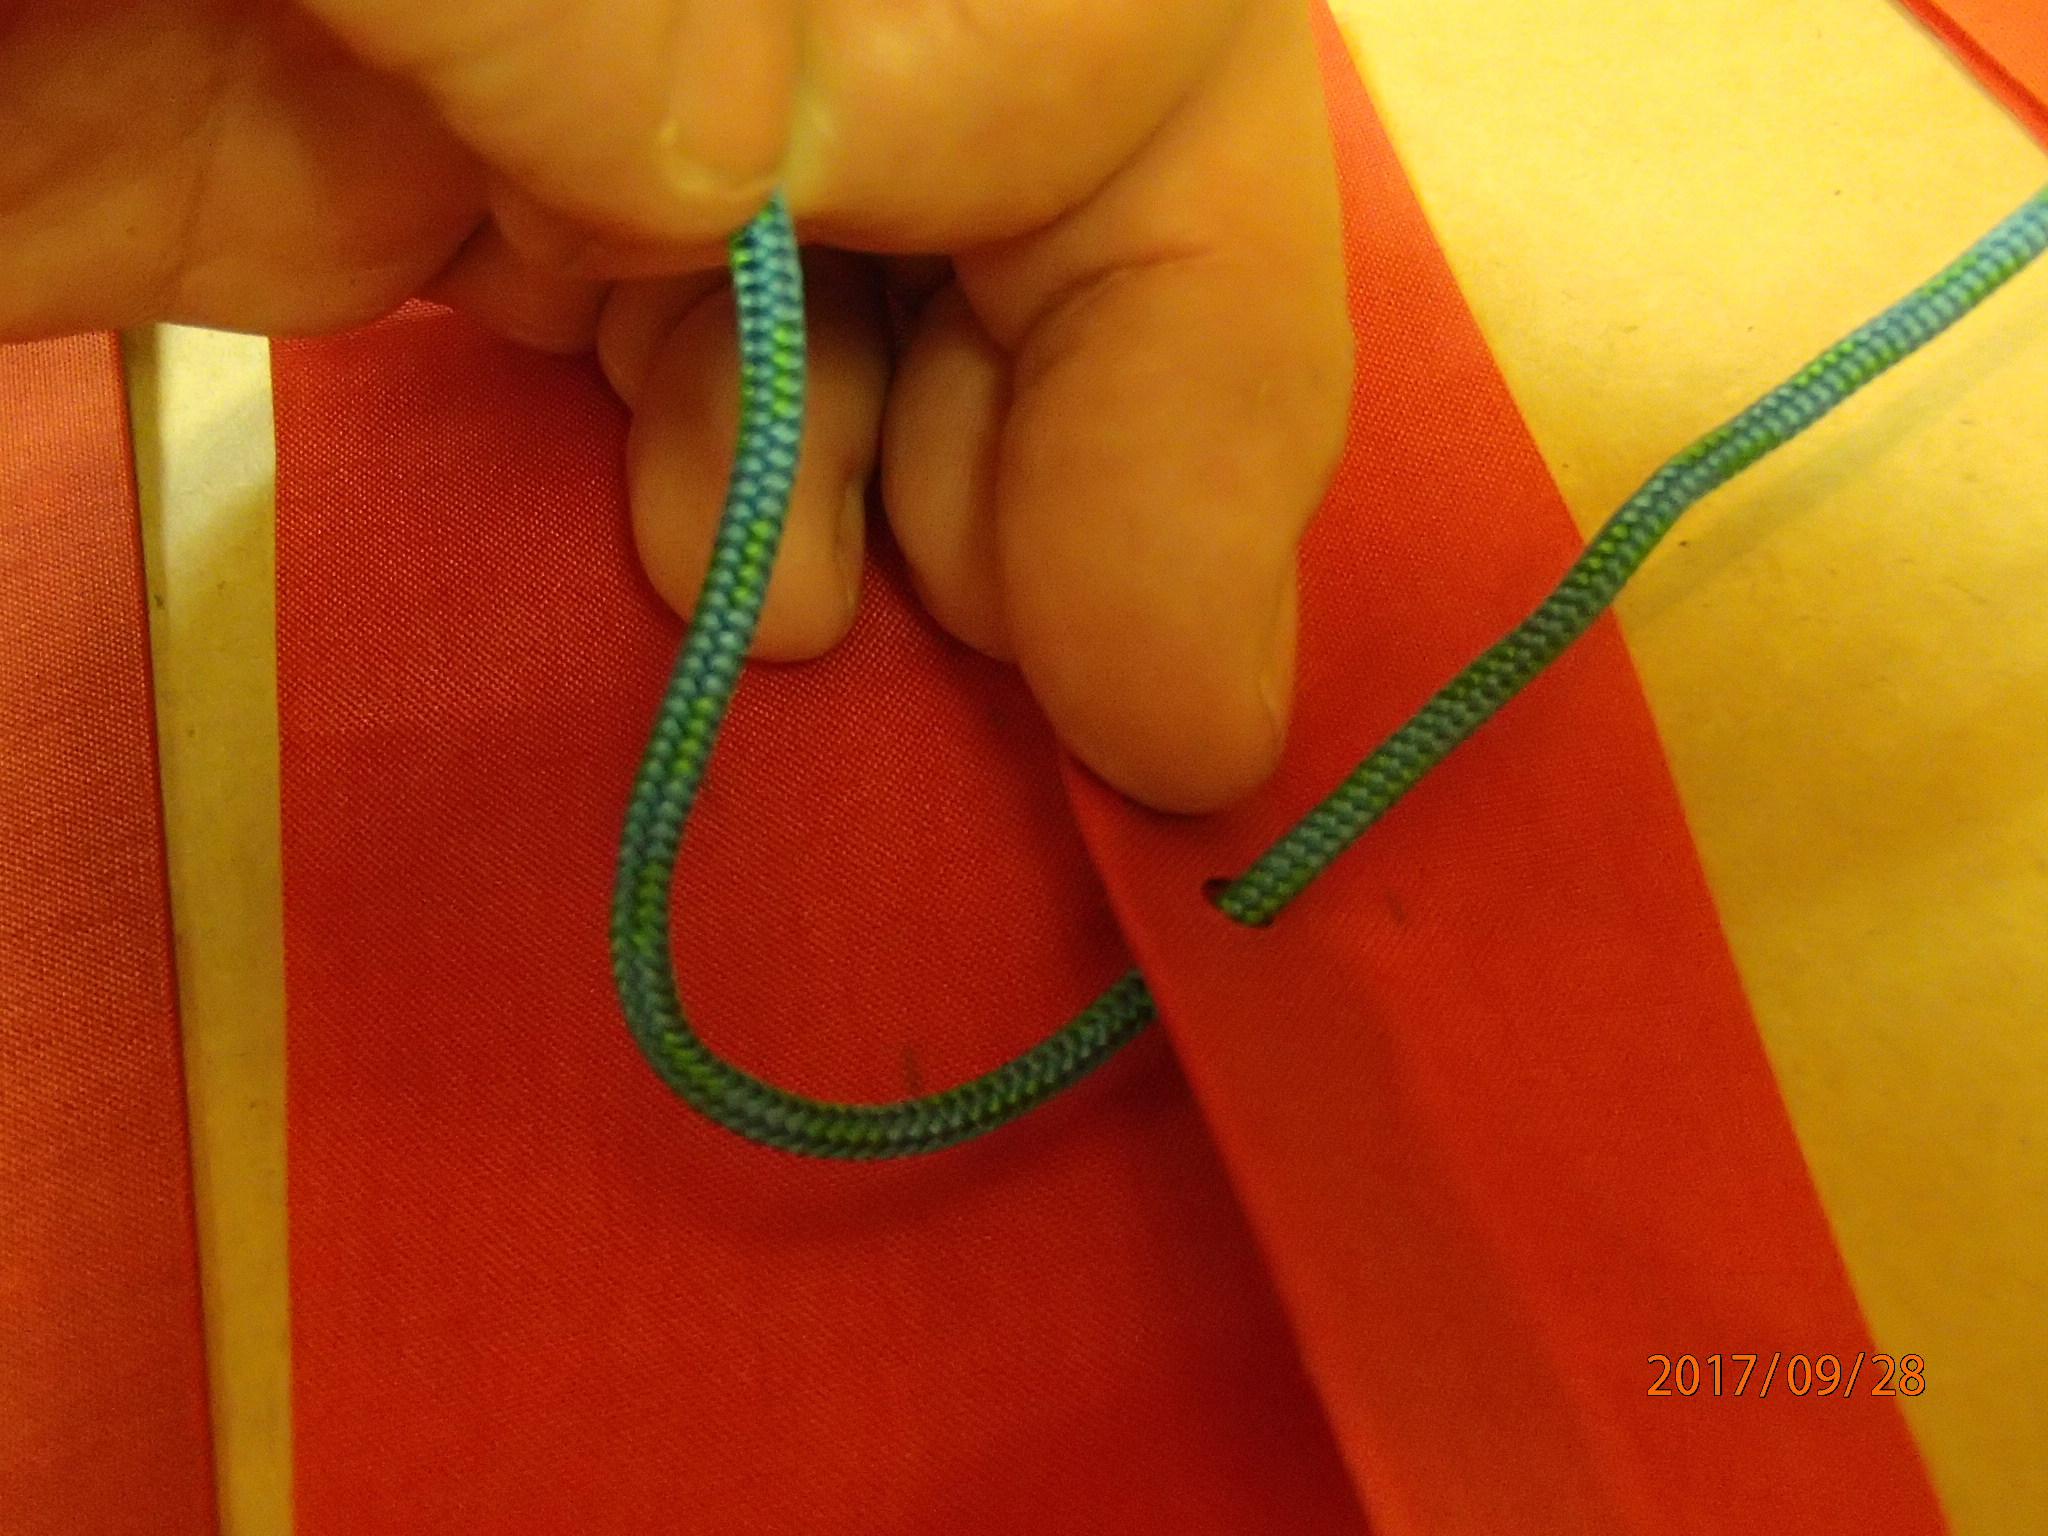
Other packrafters complain about their floor pad floating and floundering about when paddling in whitewater. I added a 15 mm strip of 1000D fabric inside a fold of the fabric I’m using to seal the inside of the tube to the floor. The 1000d fabric is tough enough to punch holes and weave cord to tie in a pad or a separate inflatable floor. It is so tough I couldn’t rip through it by hand.
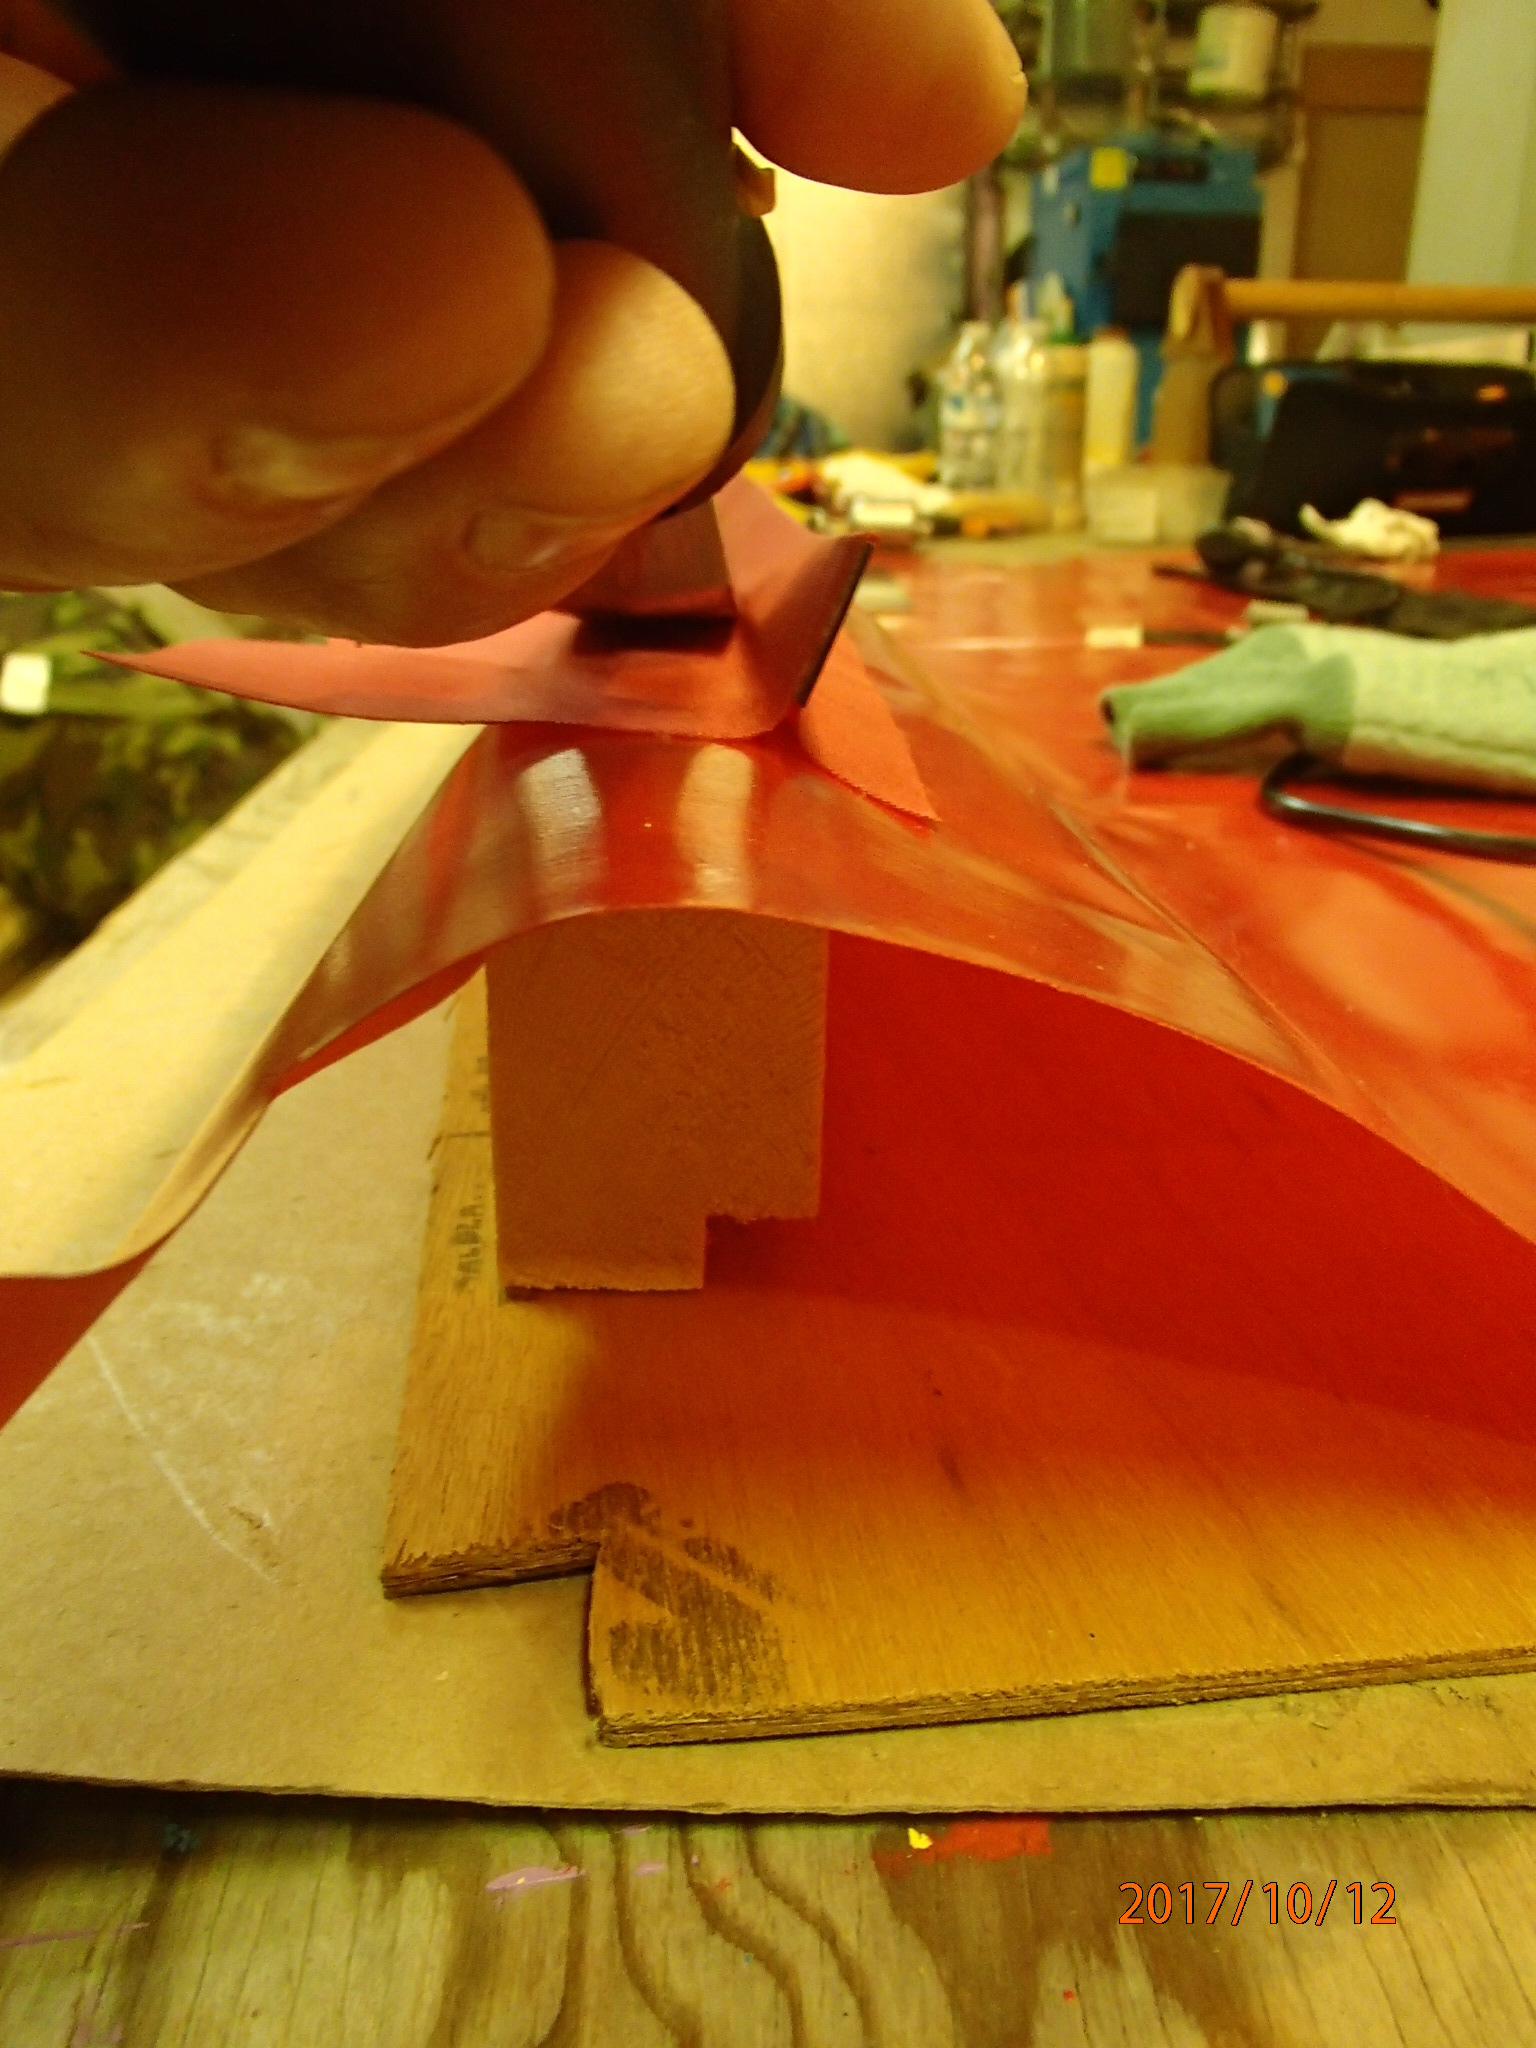
Mounting the inside tube to floor reinforcing strip to center tube 3.
Laying out attachment points with inflated raft to help determine placement.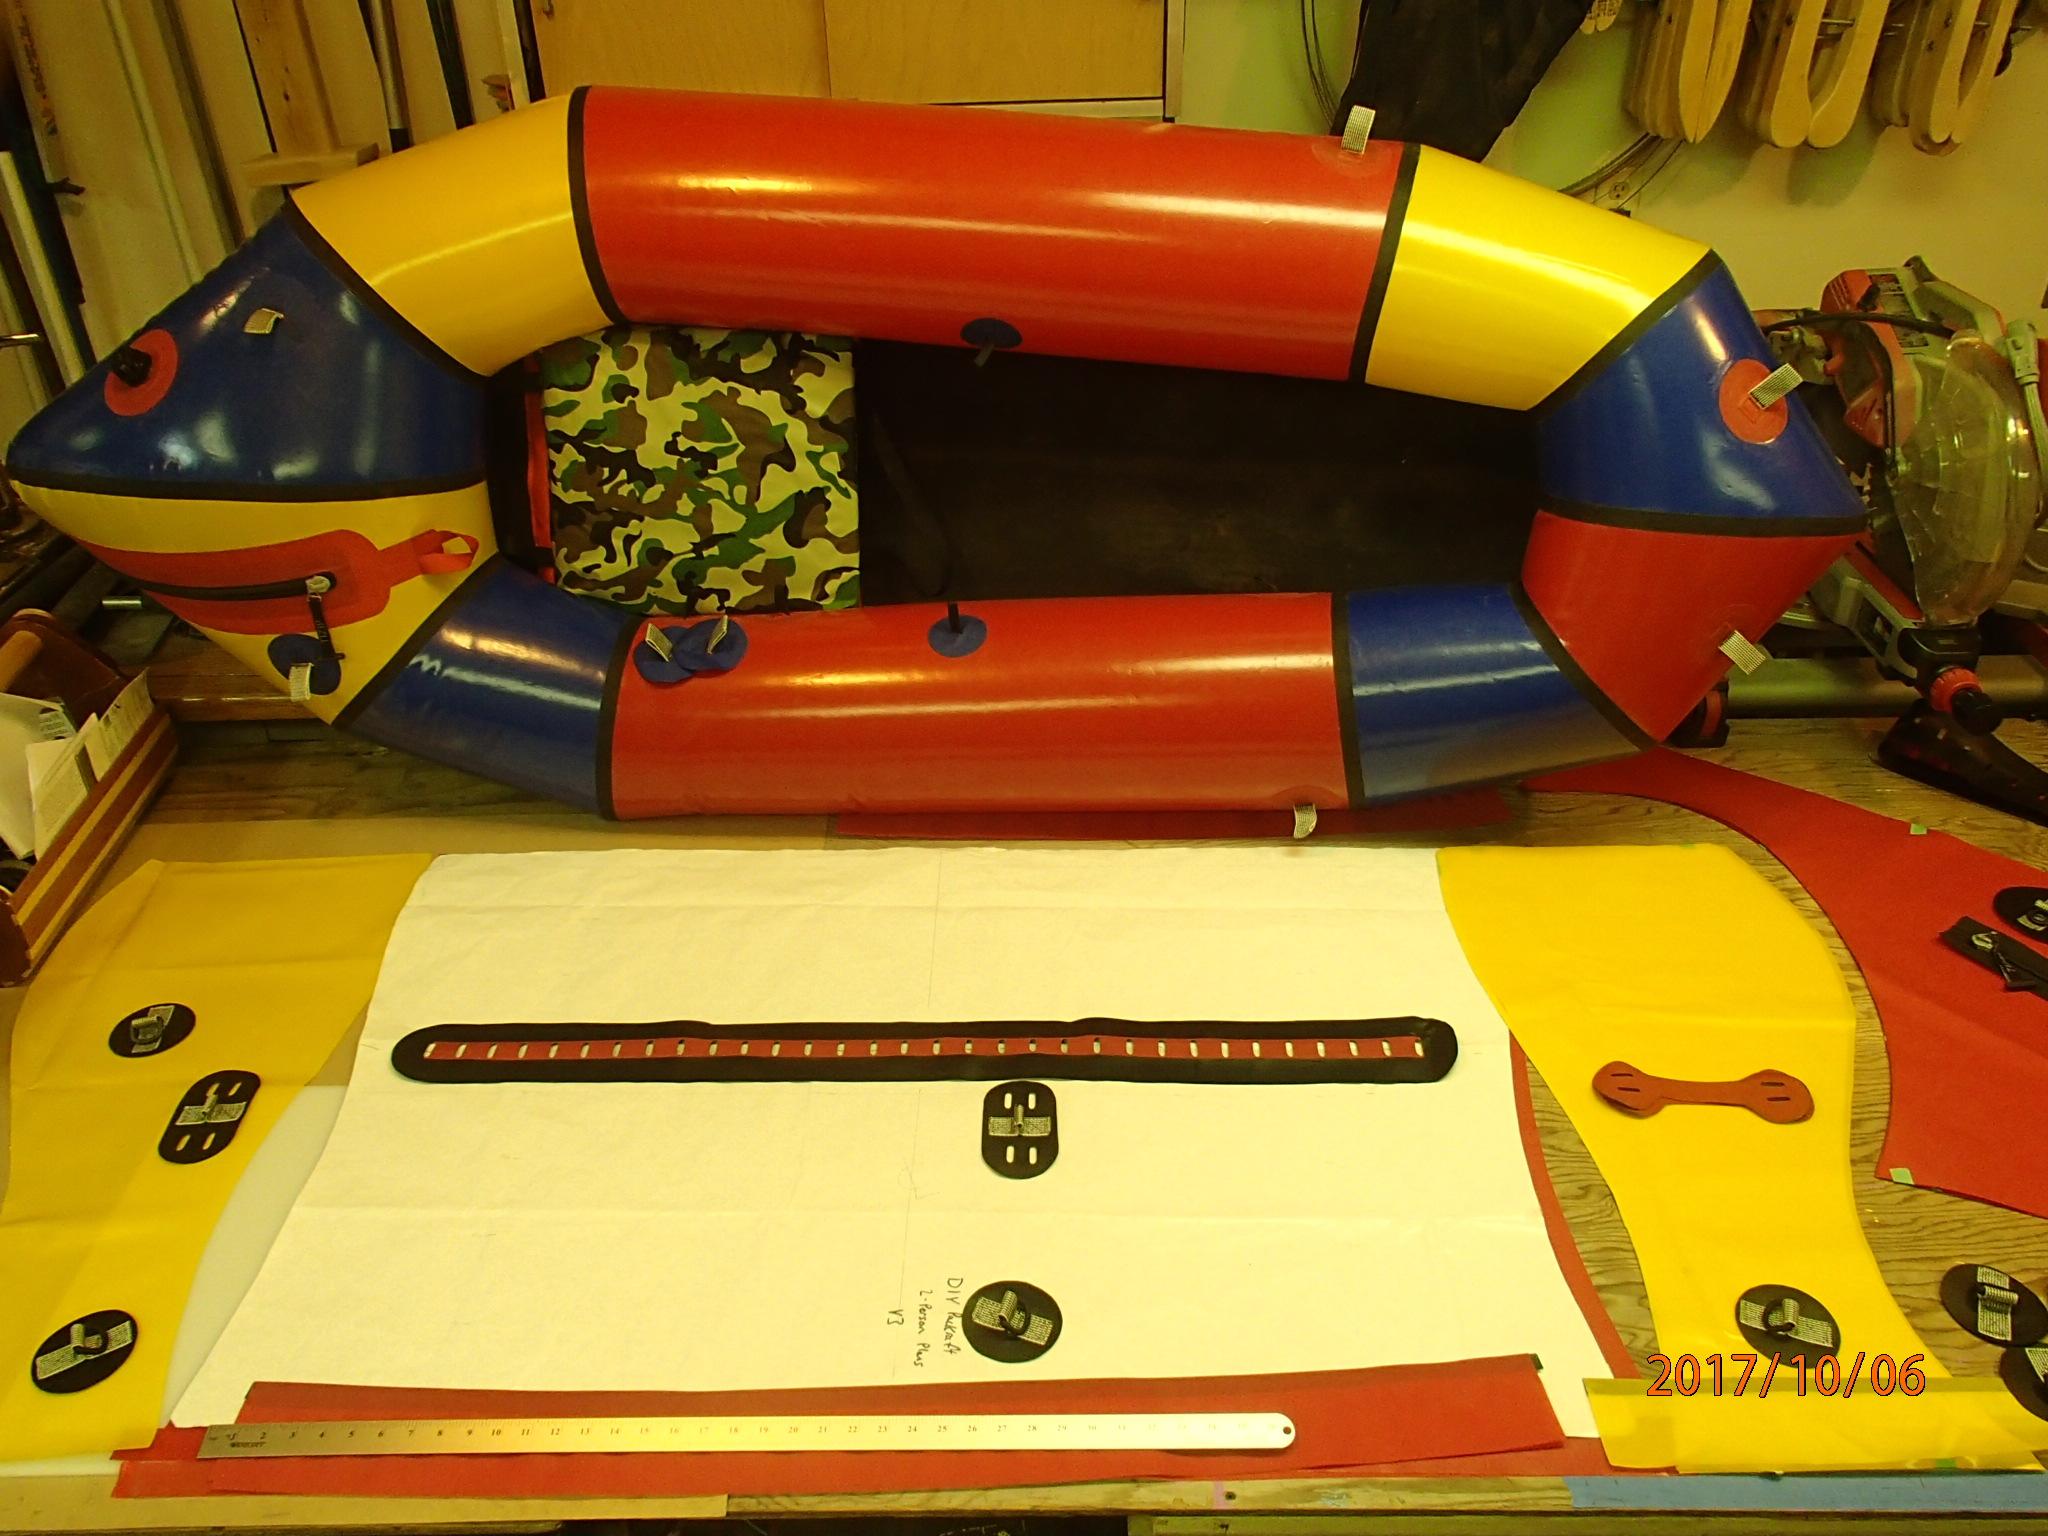
Outfitting takes time. I spent weeks working out what I wanted. Of course, I’d have to spend almost as much time if I went downtown and bought a “finished” raft – judging from the time others spend adding and tuning their outfitting.
Now I have to start assembling the raft! Wish me luck!