- This topic has 2 replies, 3 voices, and was last updated 4 years, 3 months ago by
 .
.
-
Topic
-
Concept: A double-wall, inflatable drybag you can slide through a TiZip and into your raft. You could make a single-wall bag with a zipper, but to my mind zippers are expensive and stuffing gear through them is awkward. Besides, we have all used simple roll down dry bags for decades, and they work just fine, but they can’t be inflated.
If you don’t feel the need to inflate your dry bag, skip the second layer and you have a fine duffel-style side opening drybag!
Inflating the gear bag is intended to fill the raft tube and keep your gear from shifting, presumably while doing advanced whitewater retendos in a monster hole, Ha! My approach is to make two lightweight 40D dry bags, place one inside and seal it to the outer bag. The outer bag has an inflation tube and tie-downs.
To fit my Large V2 Packfart tube, I made a wooden mold 10″ (254 mm) in diameter from scrap lumber. The mold was 1 1/2″ thick
Fabric: I cut 12 1/2″ (320 mm) circles of 40D fabric to fashion the bag ends. I wanted a bag 36″ long so I cut two sheets of 40D fabric, one 36″ x46″ and the second 36″ x 58″ wide (full fabric width). The shorter fabric is for the outer bag, while the longer sheet of fabric is for the inner bag.
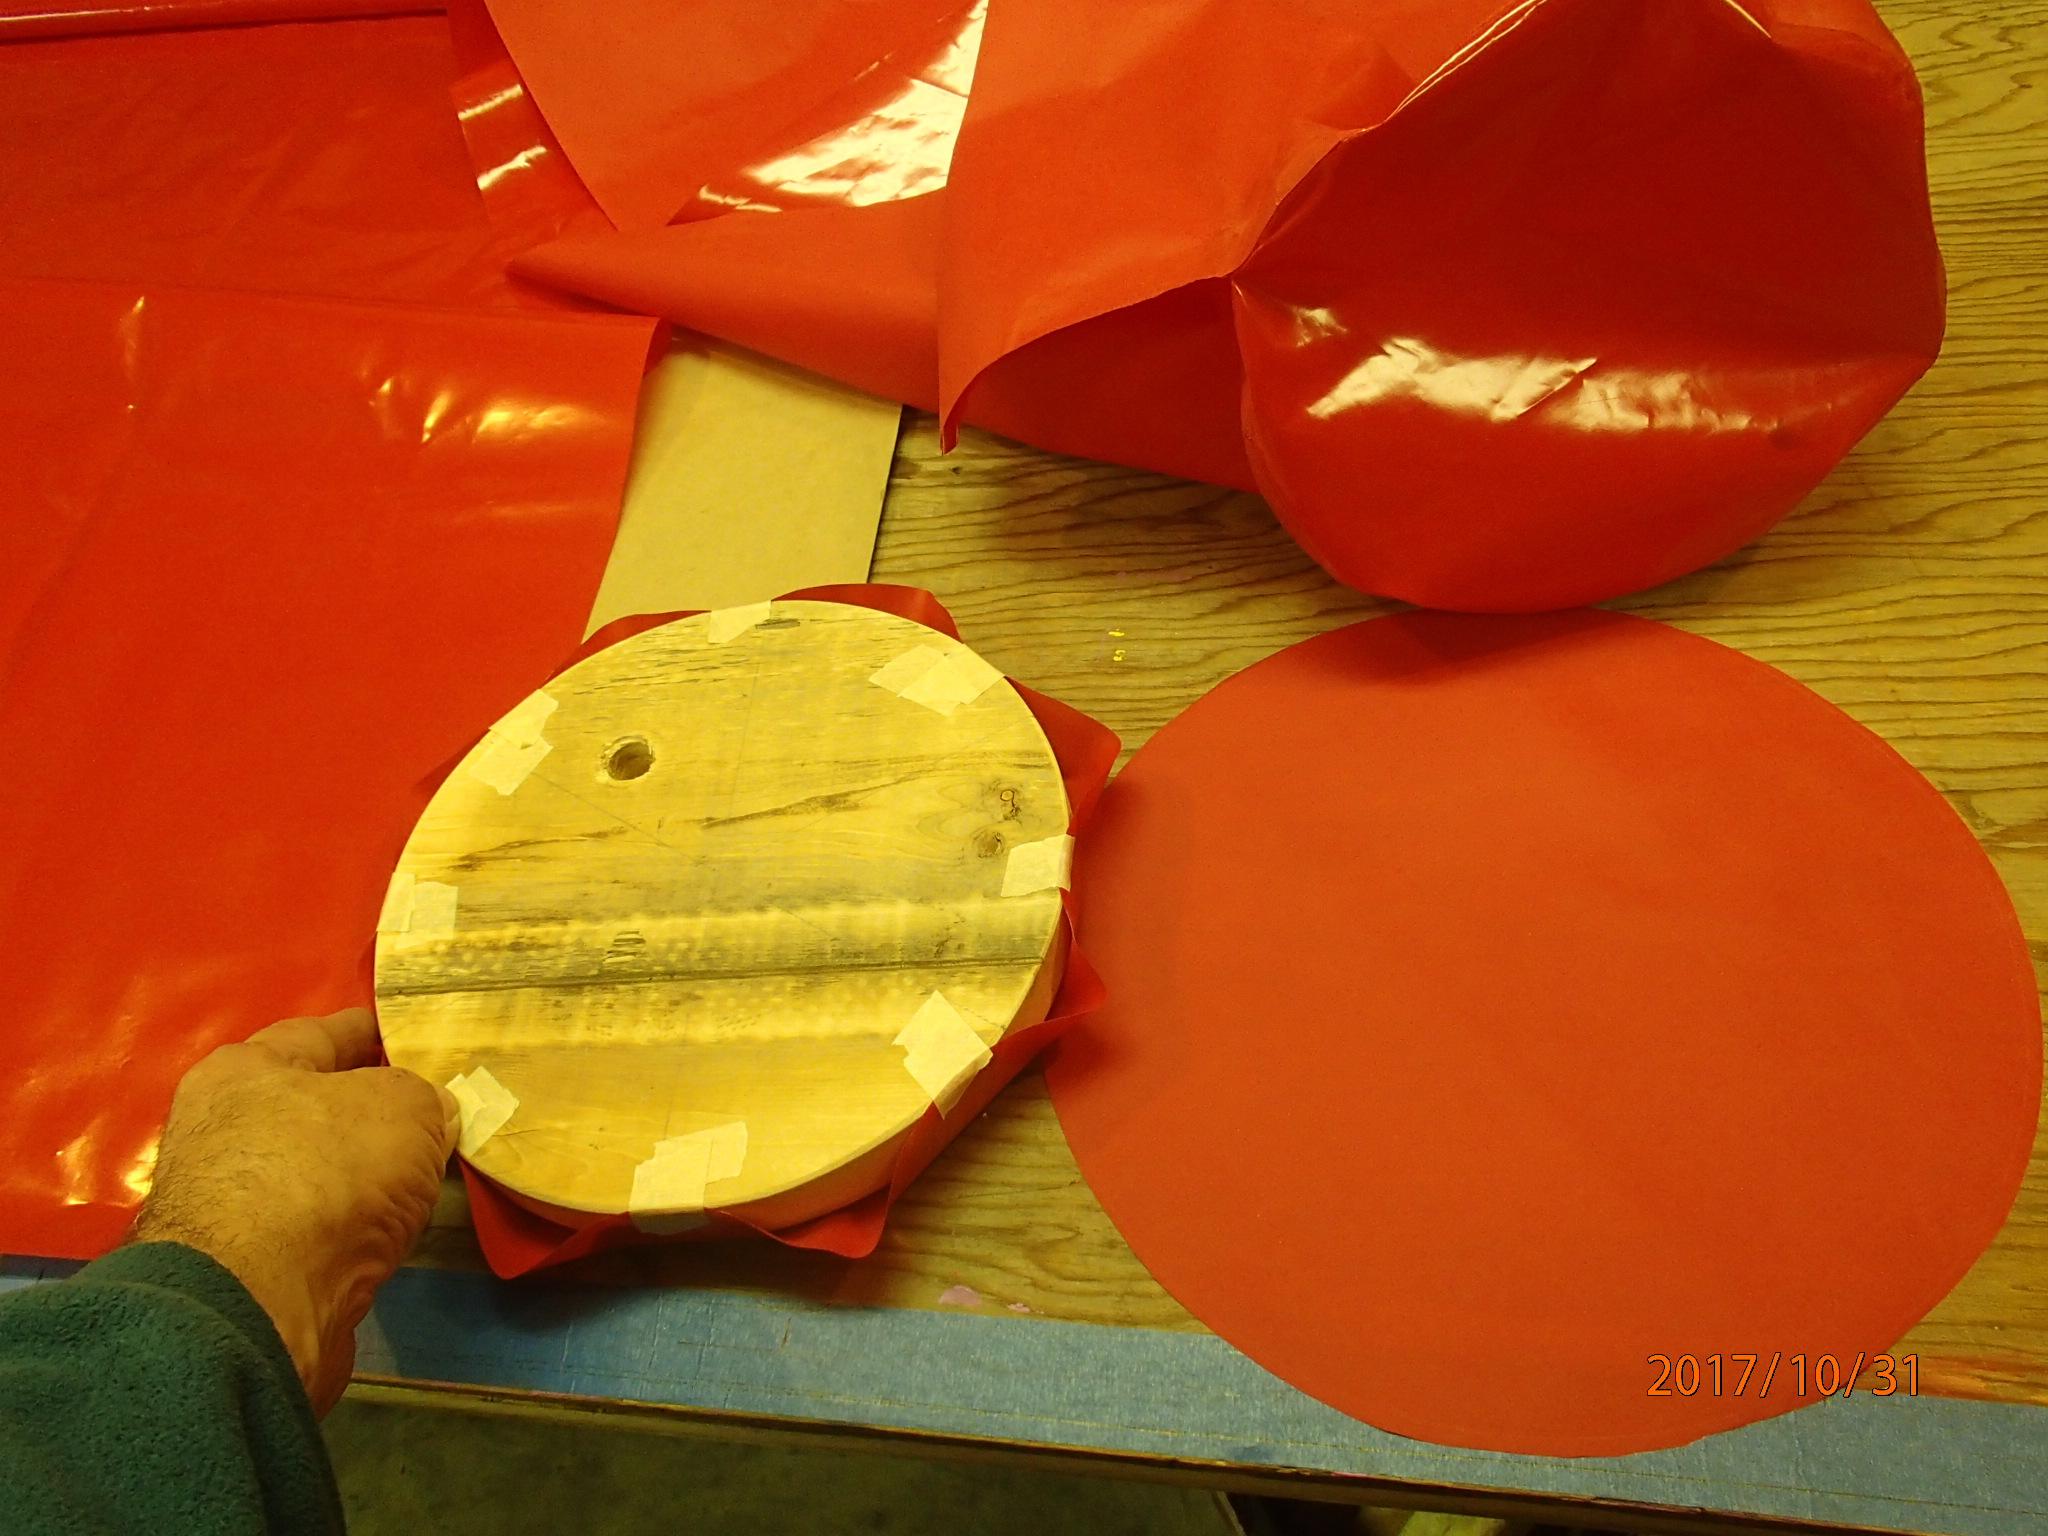
I taped the round fabric end around the wooden form, TPU side out. The I wrapped and centered the long dimension of a sheet of fabric around the form, TPU side in, keeping the folds or wrinkles in the underlying end fabric as evenly distributed as I could. I then sealed the sides to the end – and I found it necessary to take it apart and reverse the heat sealing process four times for each end to slowly get the fabric to shrink into place with fully sealed wrinkles.
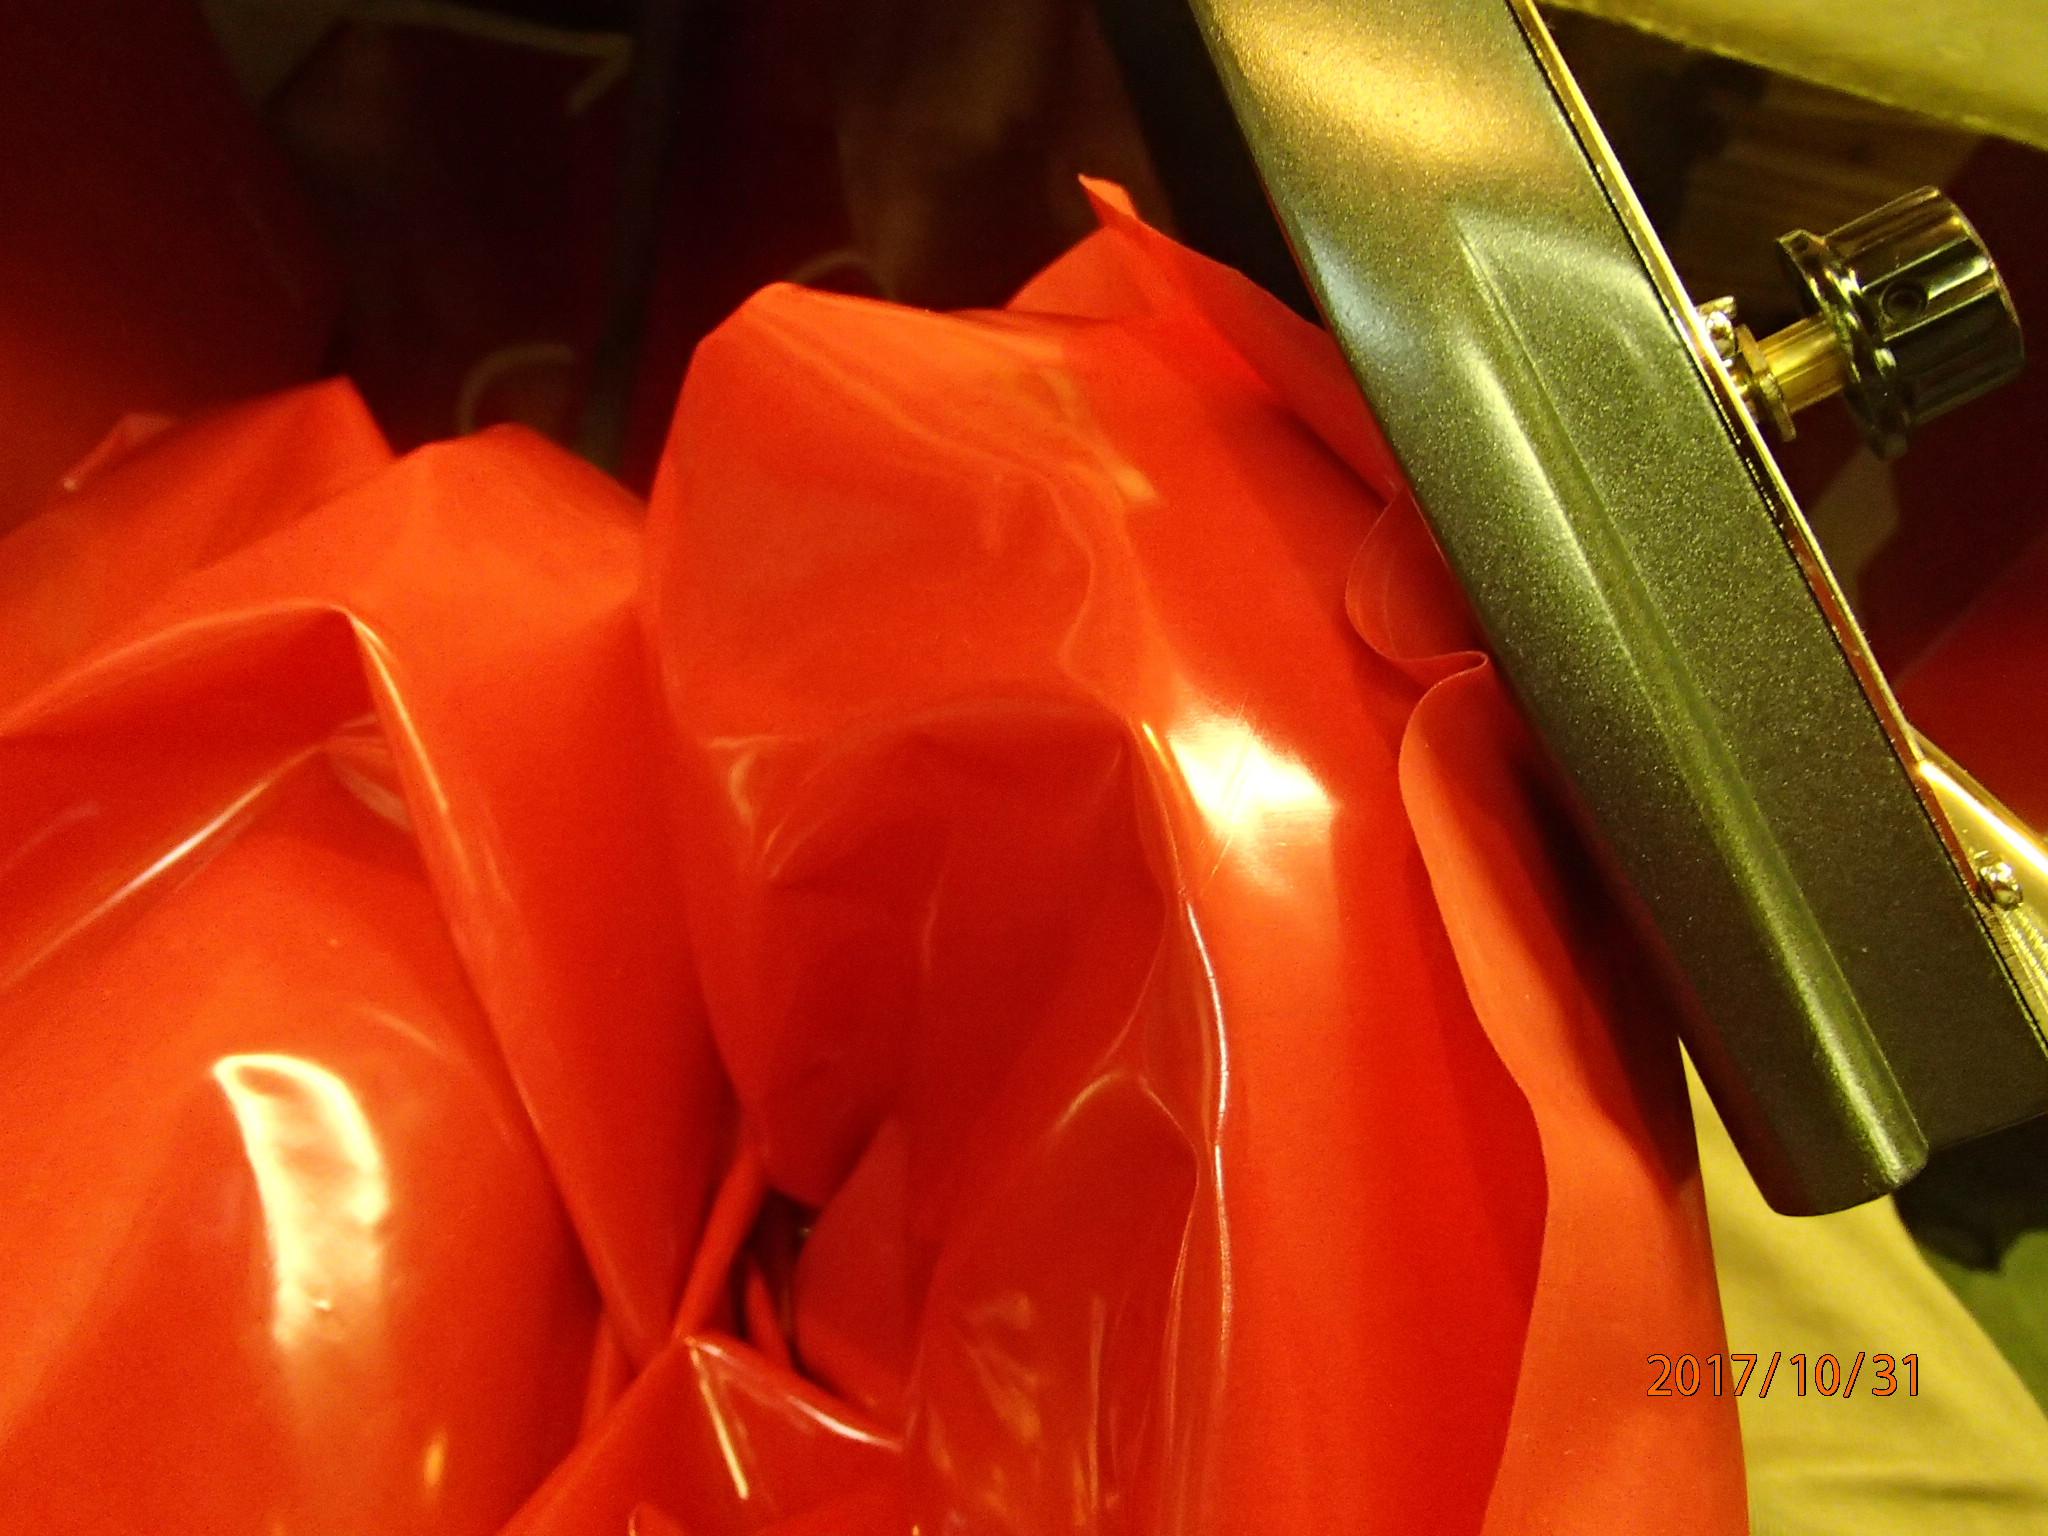
Yes, there are lots of wrinkles, but the thin 40D fabric shrinks a lot. Be sure the TPU coating fills any final wrinkles!
Repeat this for both inner and outer bag (4 – ends in all). Test the fit, with the inner bag having TPU out, and the outer bag having TPU coated side facing in.
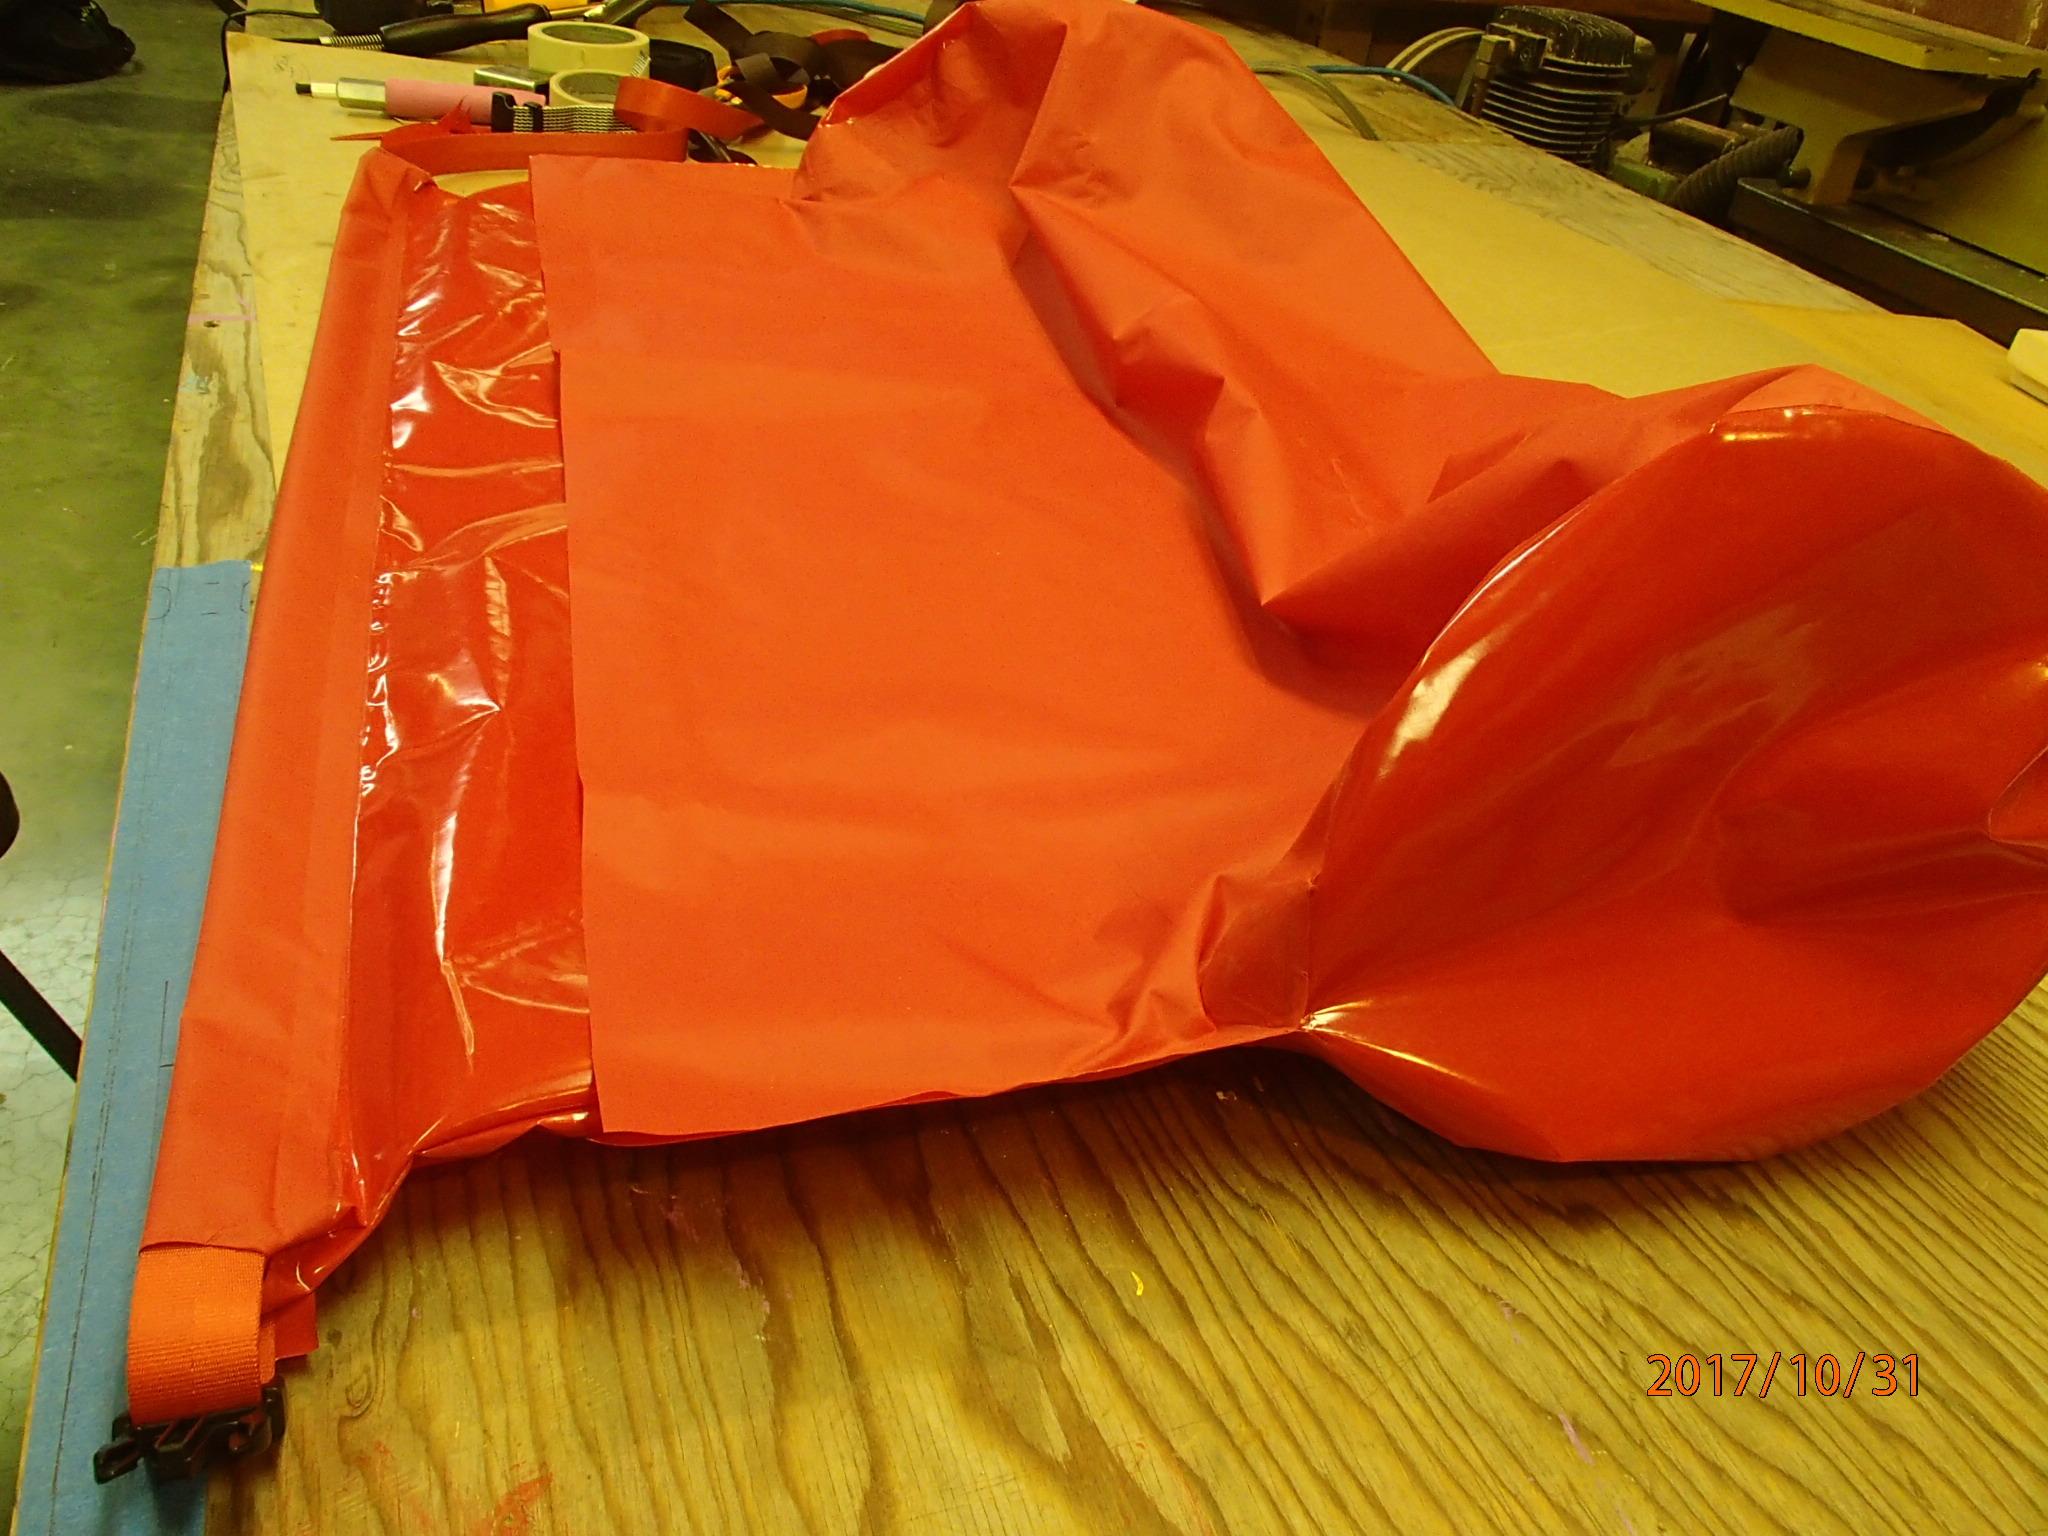
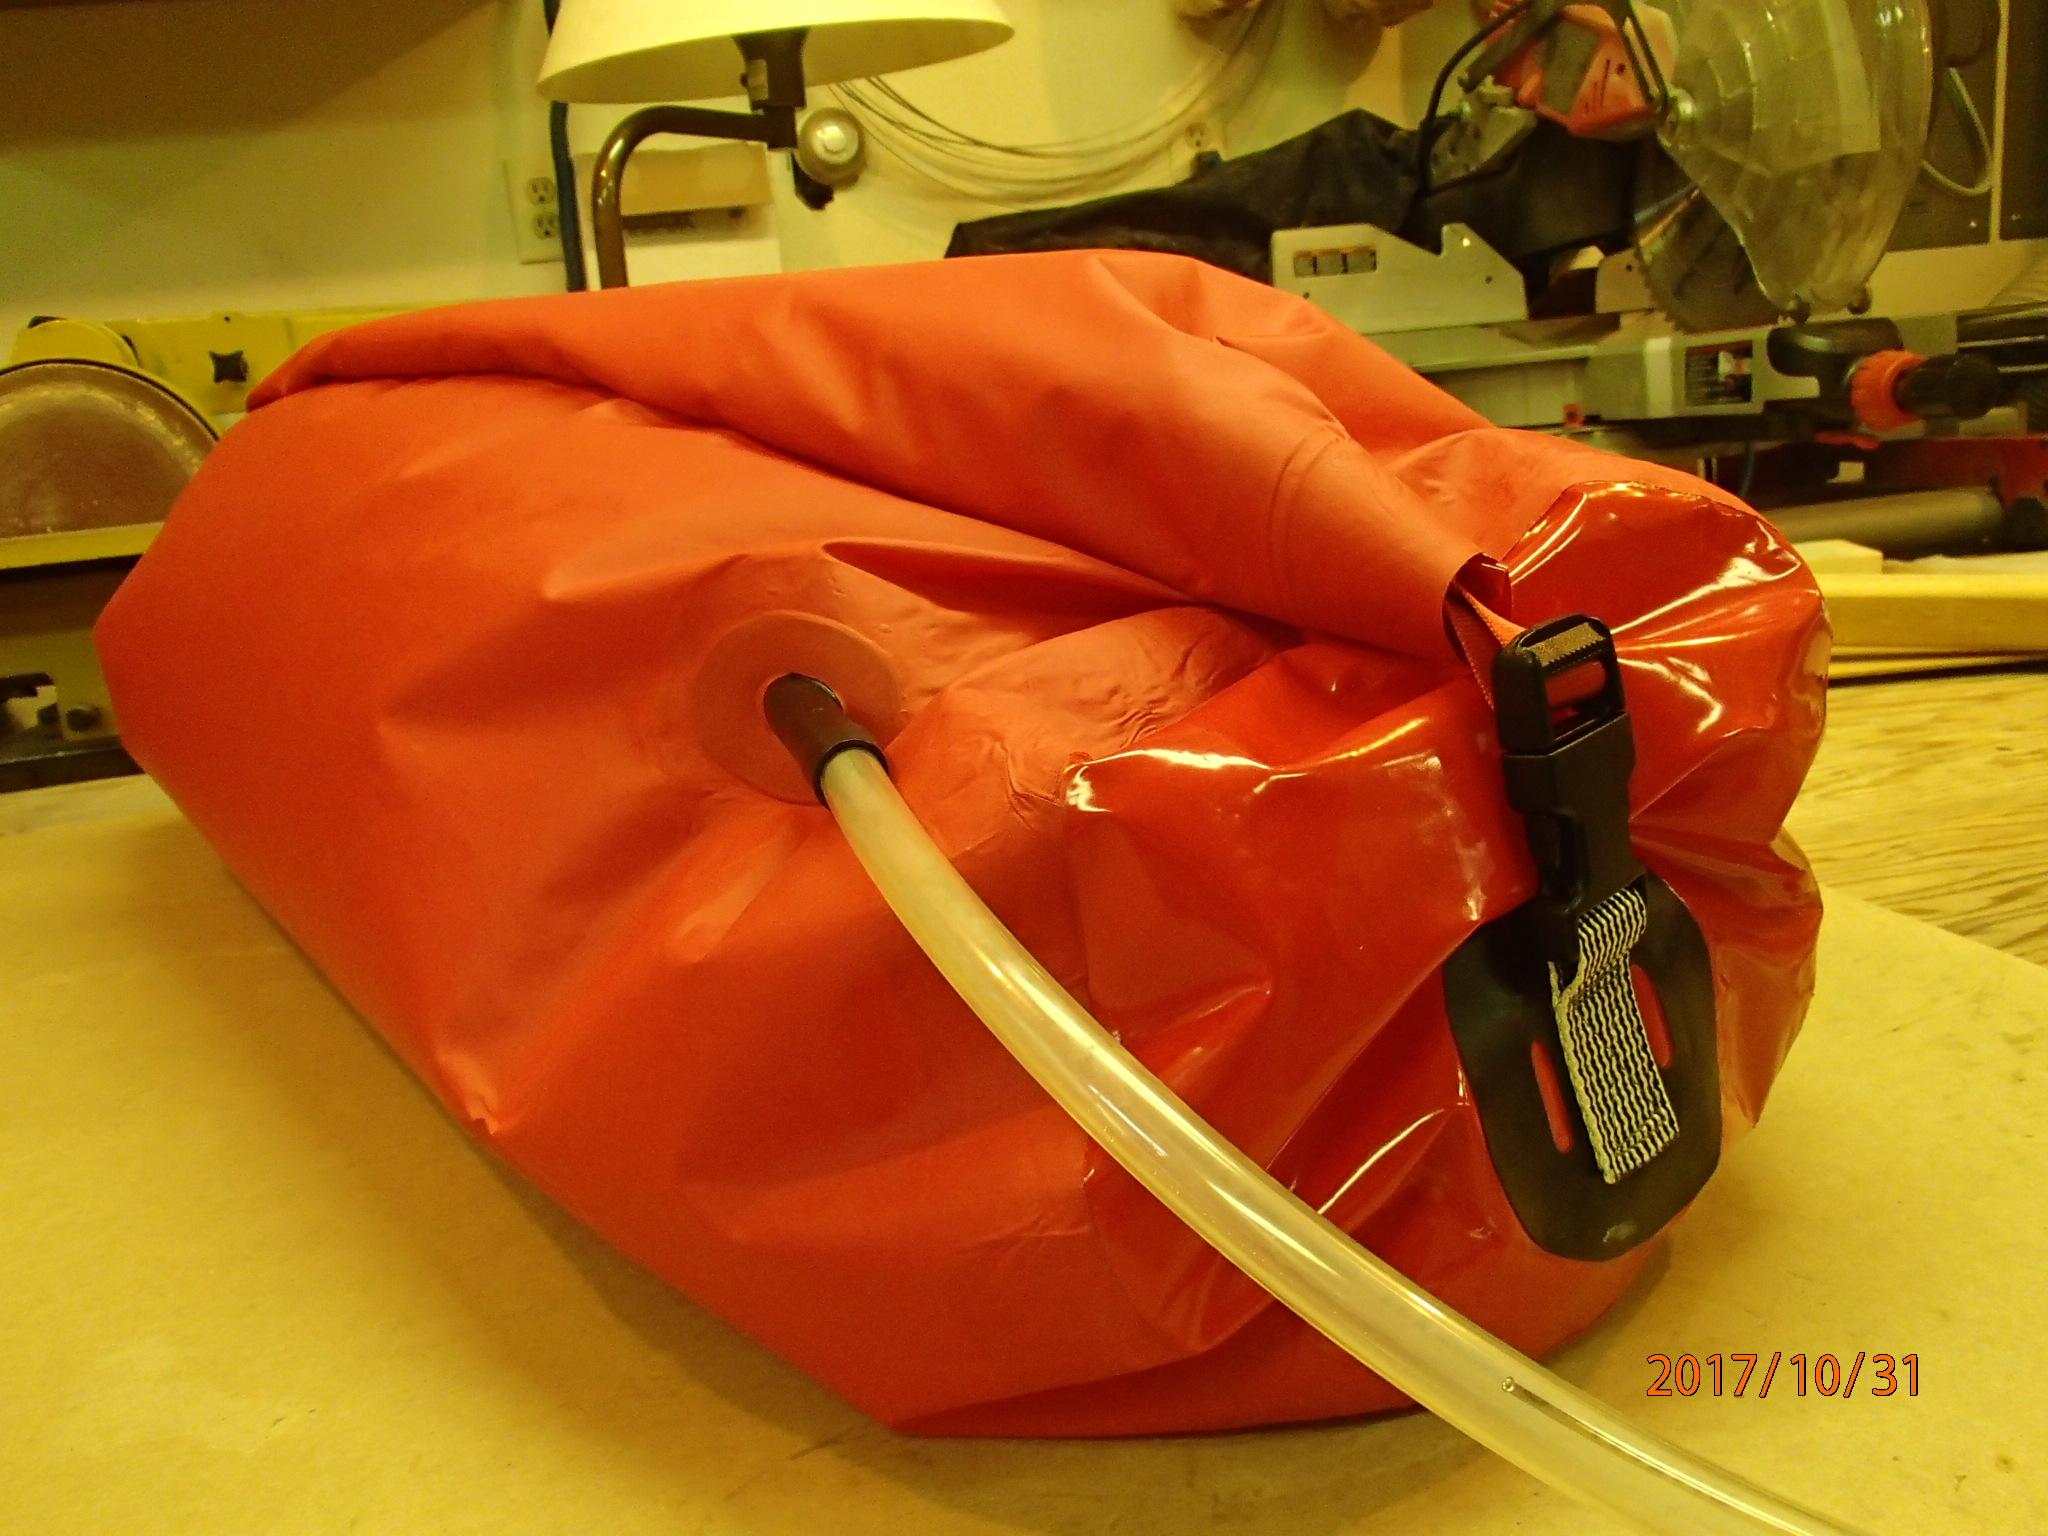
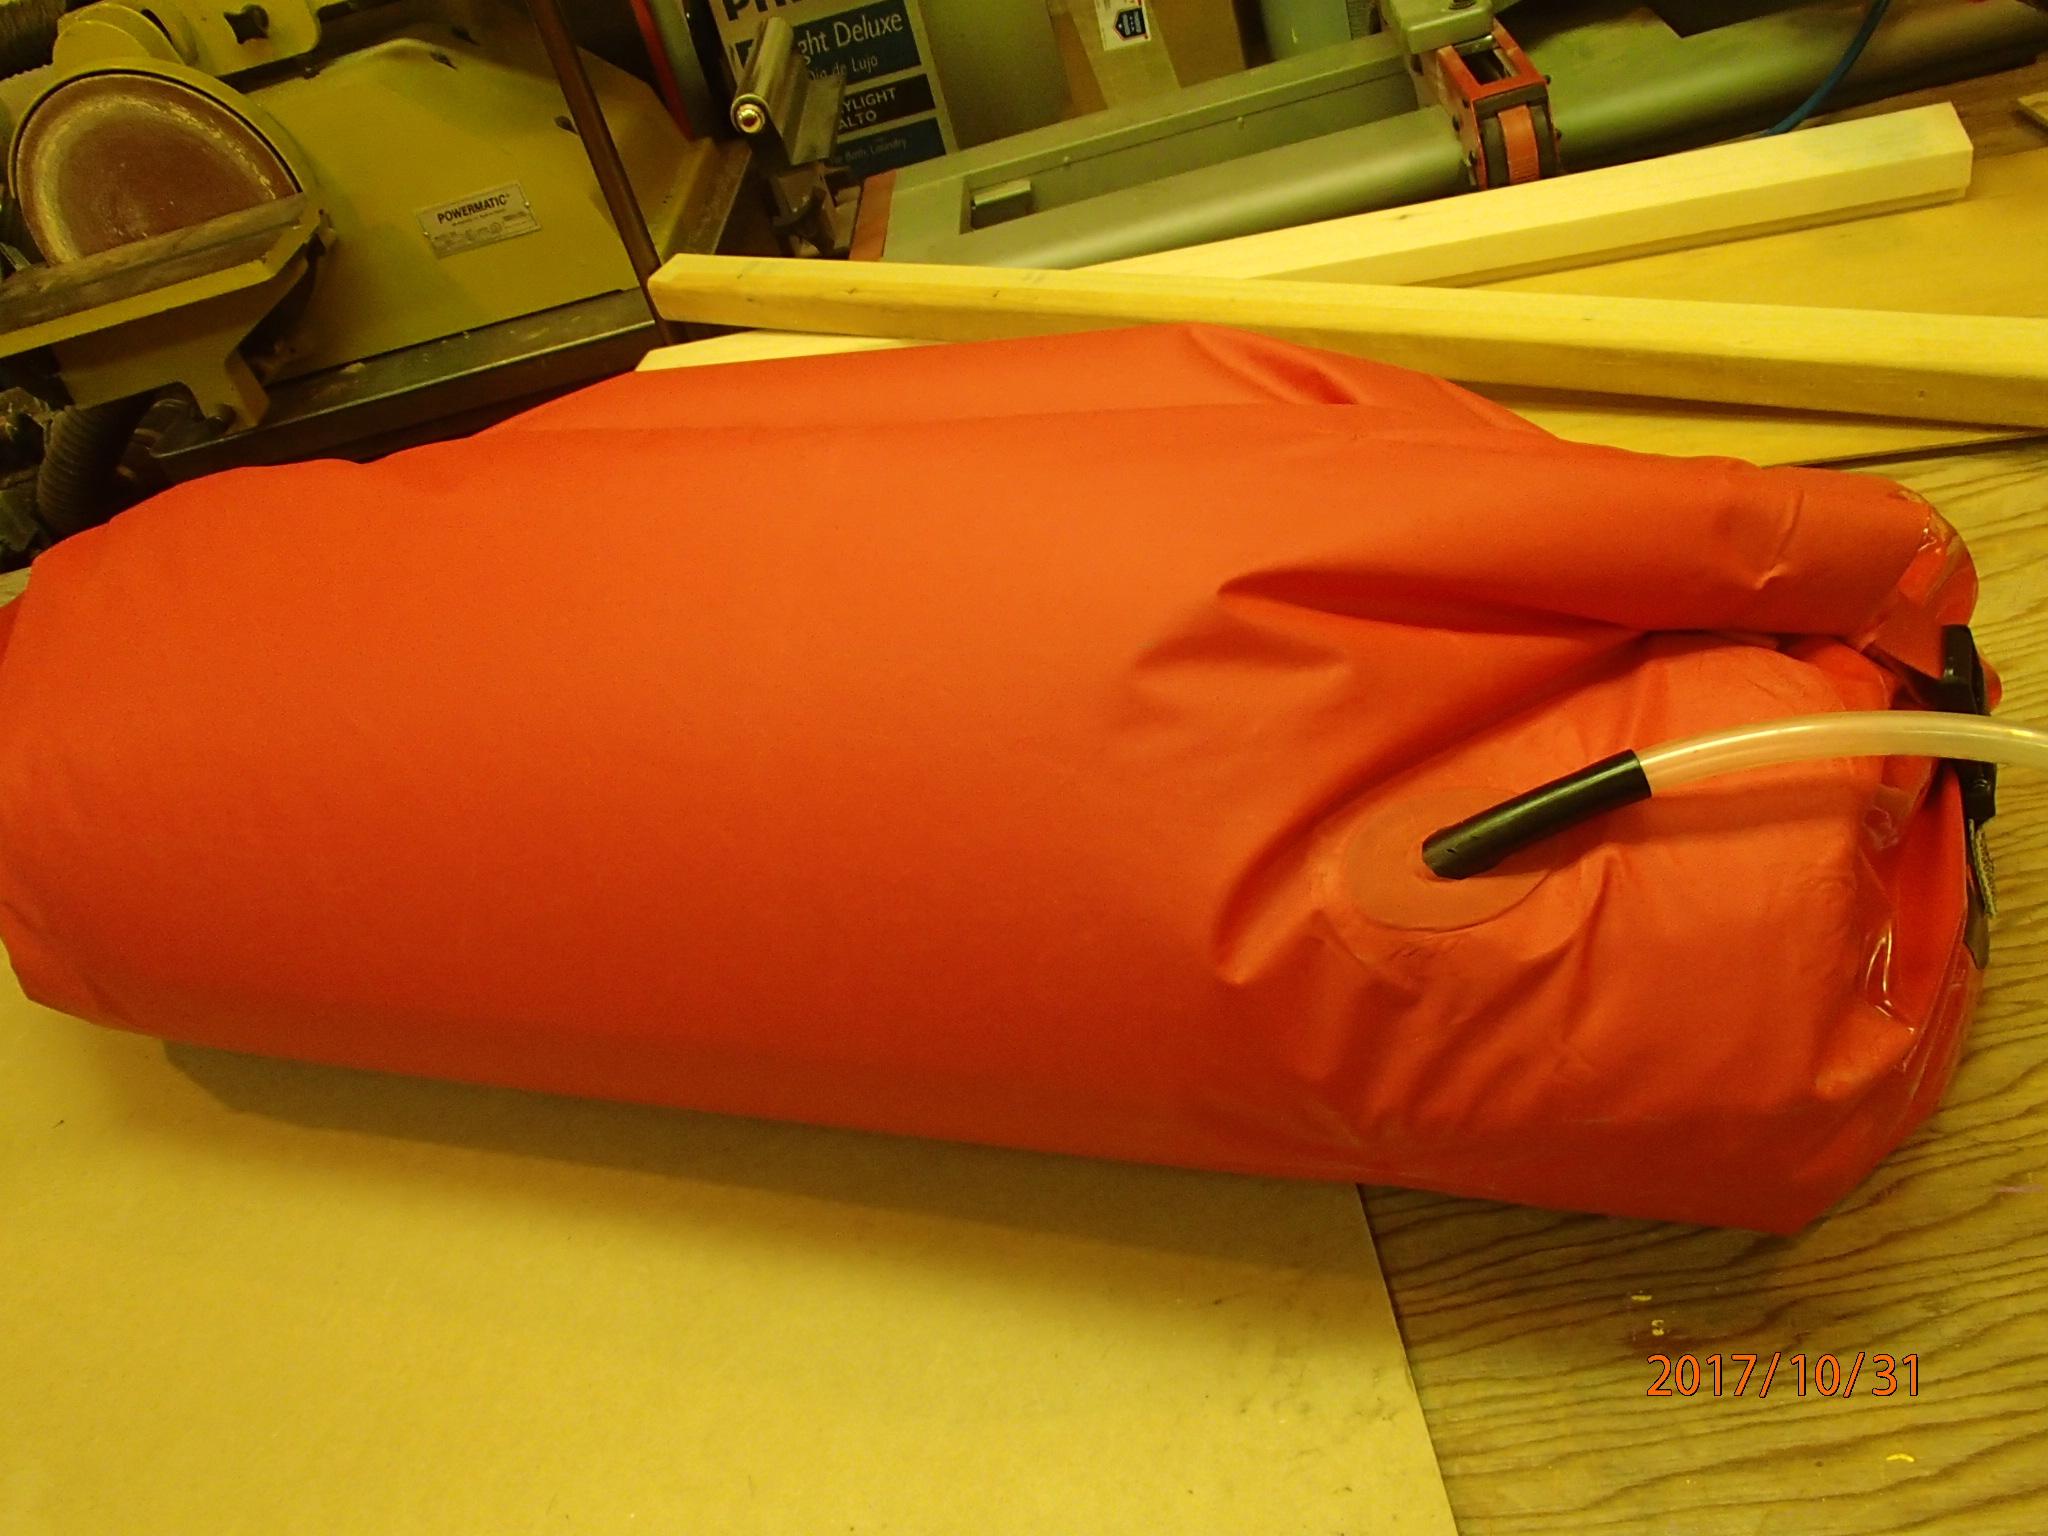
Heat seal attachment points with buckles at the ends of the outer bag. Heat seal the inflation tube below the roll-up flap.
I fashioned an attachment point from 420D two-sided fabric. If you look closely you can see the black patch not only has webbing stitched to the patch, but also two slots I can slide a piece of webbing or cord thru to use as tie down points, if needed.
Then, after double checking seams, fit, and everything else, heat seal the outer bag to the inner bag!
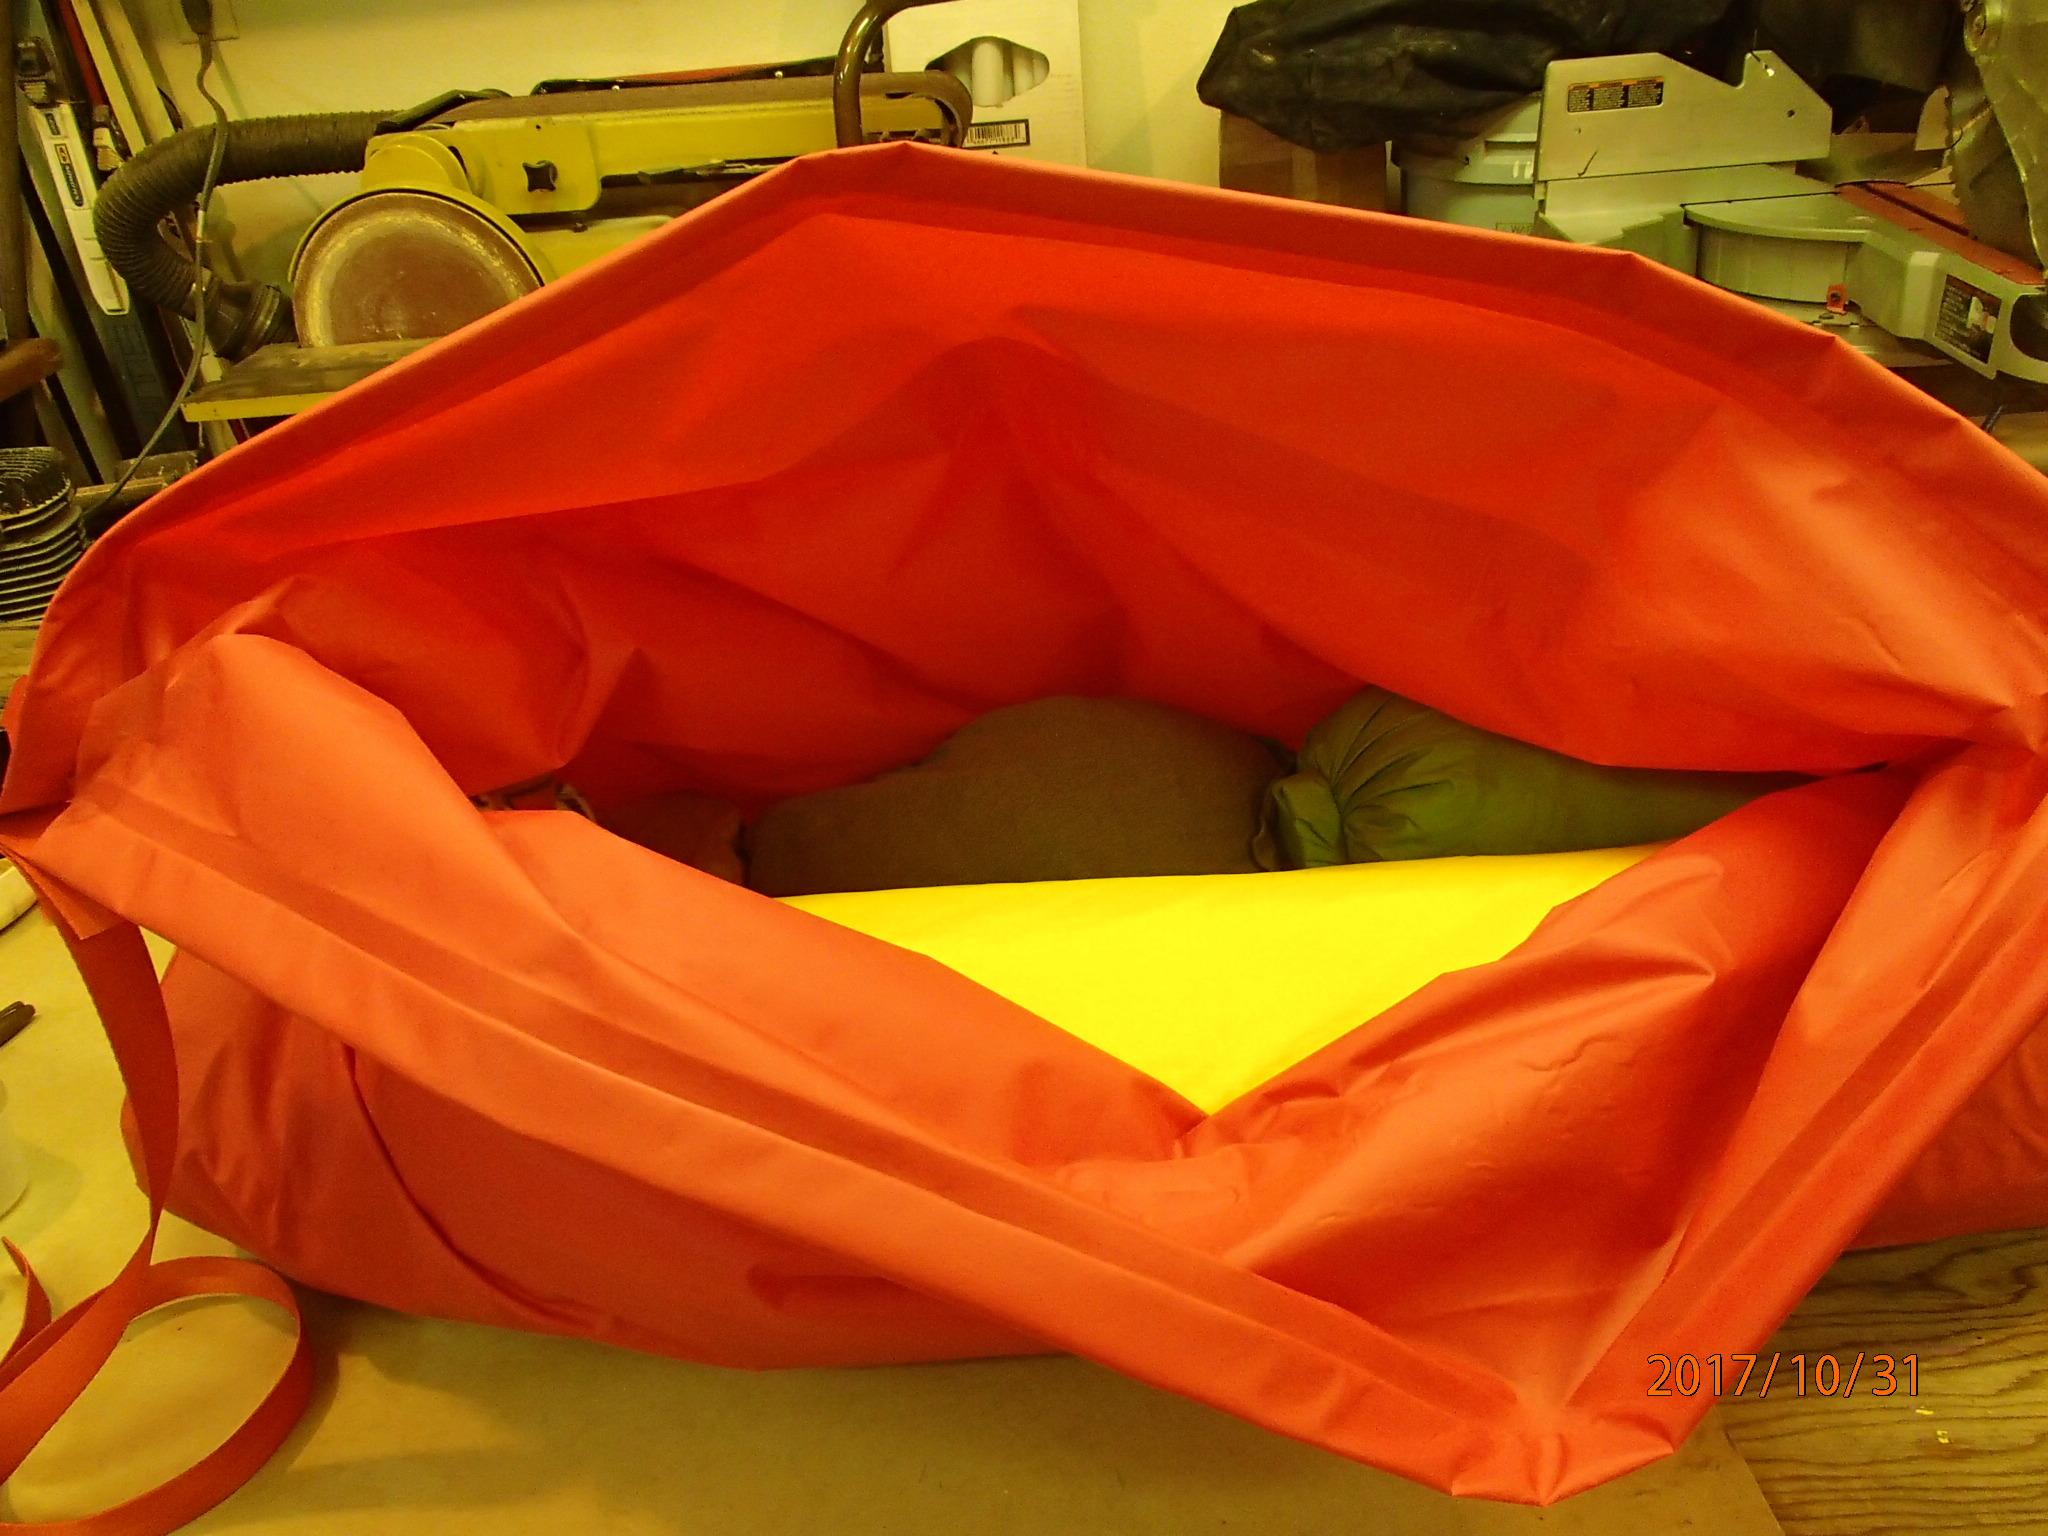
The long opening creates an easy-filling bag. Once filled, roll down and clip the top to the ends. Put it into your raft and inflate in place!
I hope you find this to be of value. There are a couple points – like the seam for the inverted inner bag – that I didn’t capture in photos. Perhaps as I make a second bag I’ll remember to take a picture. Can’t have only one!
Oh, and no, I don’t think one needs a super water tight dry bag for use inside an airtight raft! Ha! But the inflation of the inner bag to hold it in place seemed worthy. Plus the double wall 40D fabric still hardly weights anything!
Please be sure to keep mud, sand, silt, and all that fine detritus we find of the riverbank out of your air-tight TiZip zipper! The 40D is easy to wipe clean before you jam it into your raft!
Bruce
Fairbanks
- You must be logged in to reply to this topic.