- This topic has 9 replies, 5 voices, and was last updated 6 years, 7 months ago by
 .
.
-
Topic
-
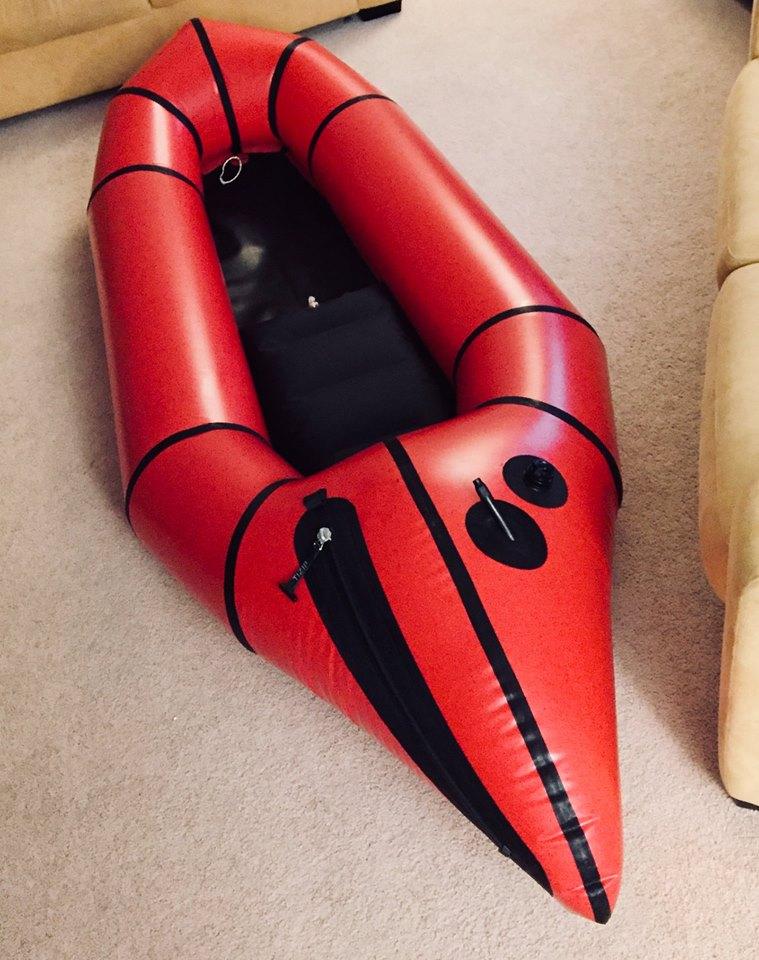
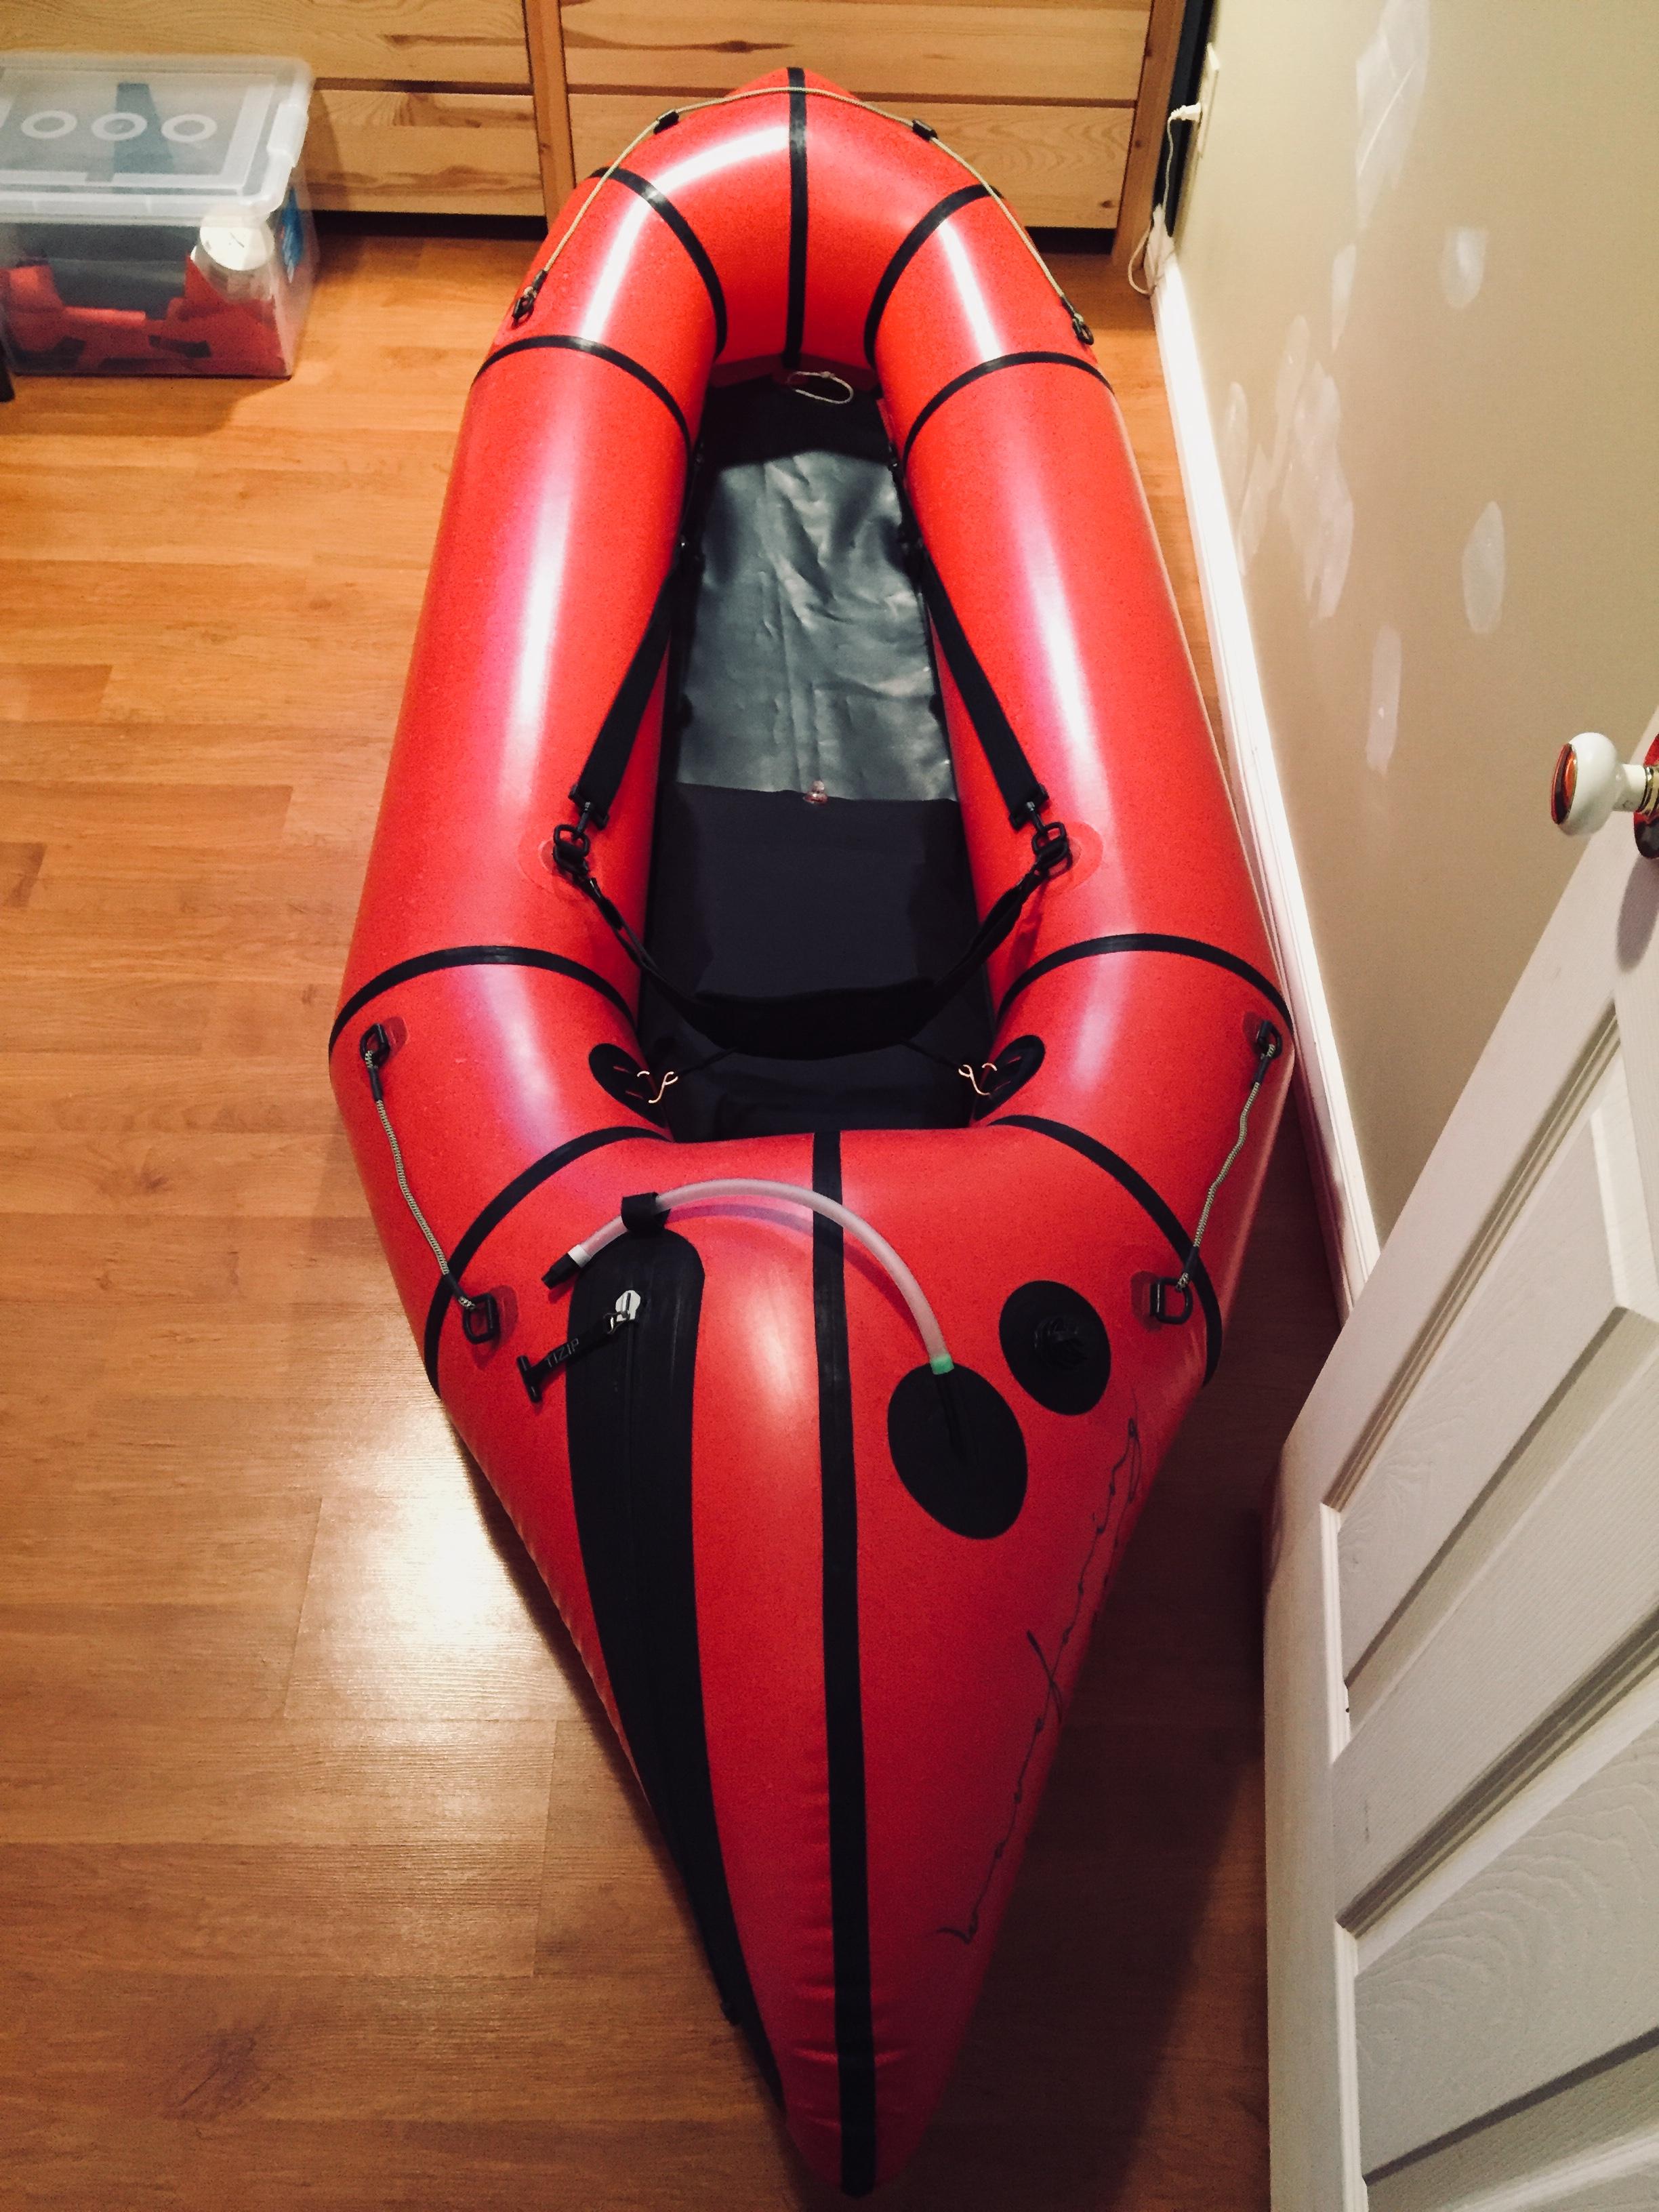
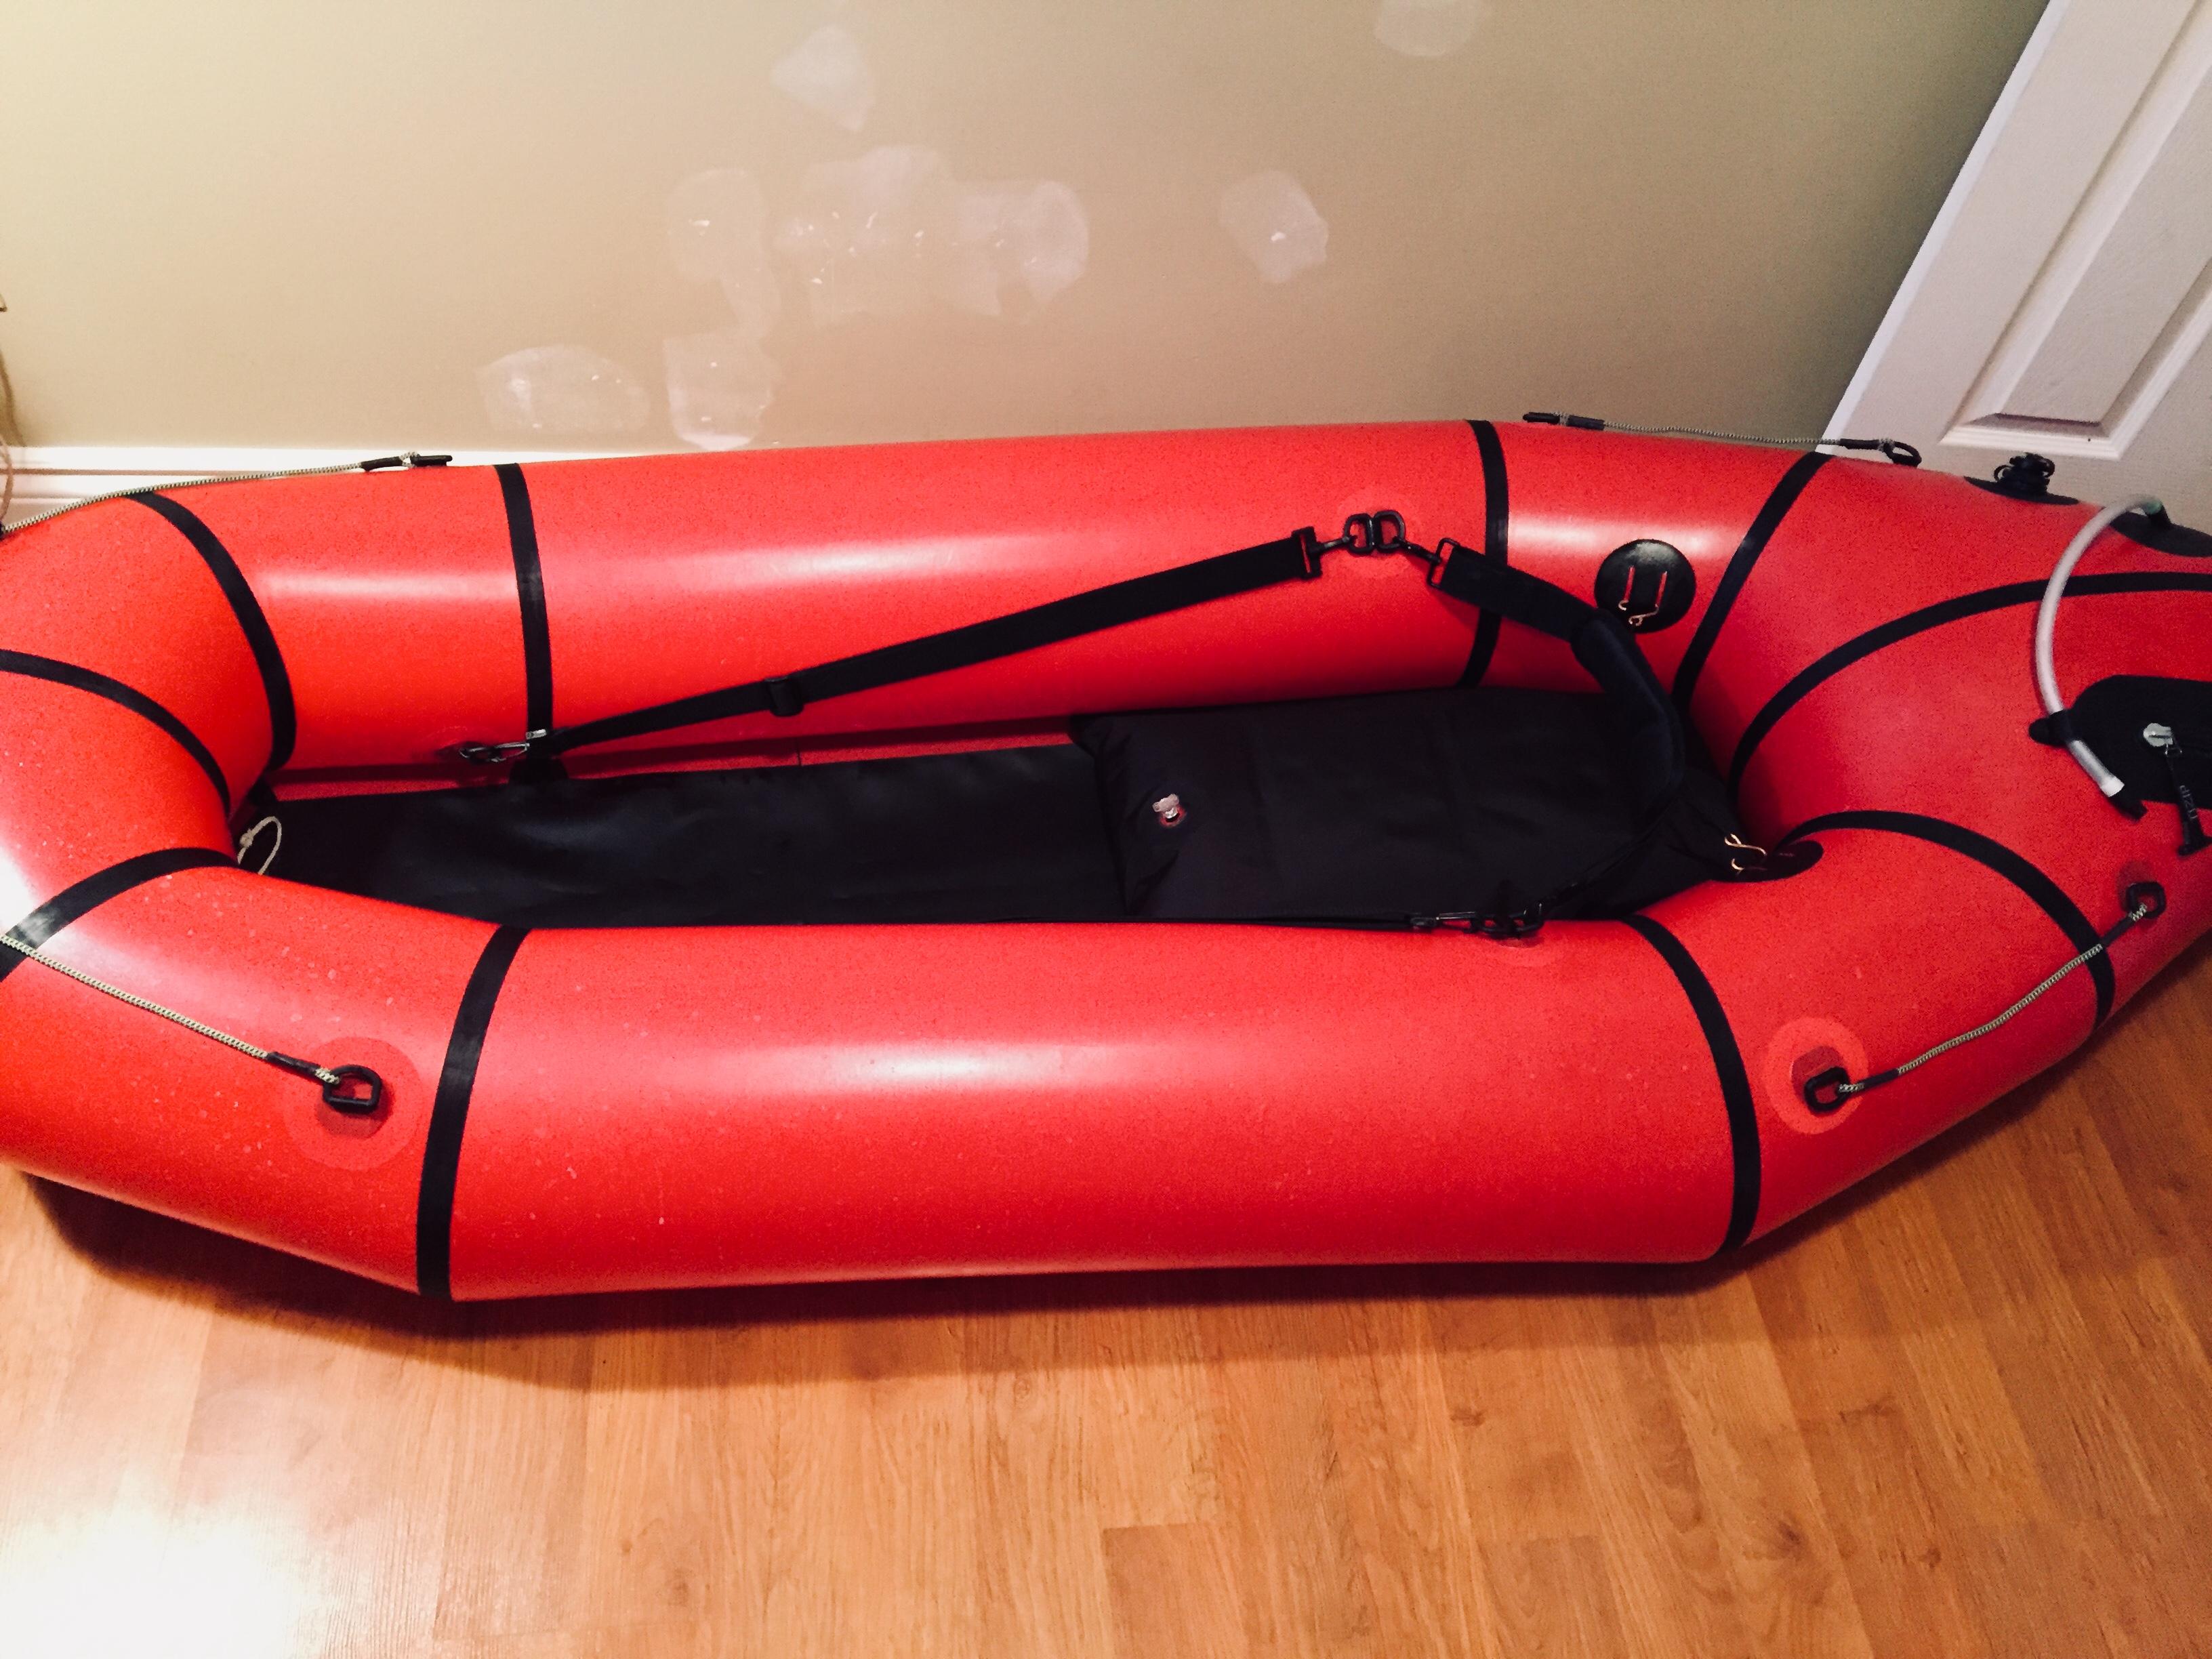
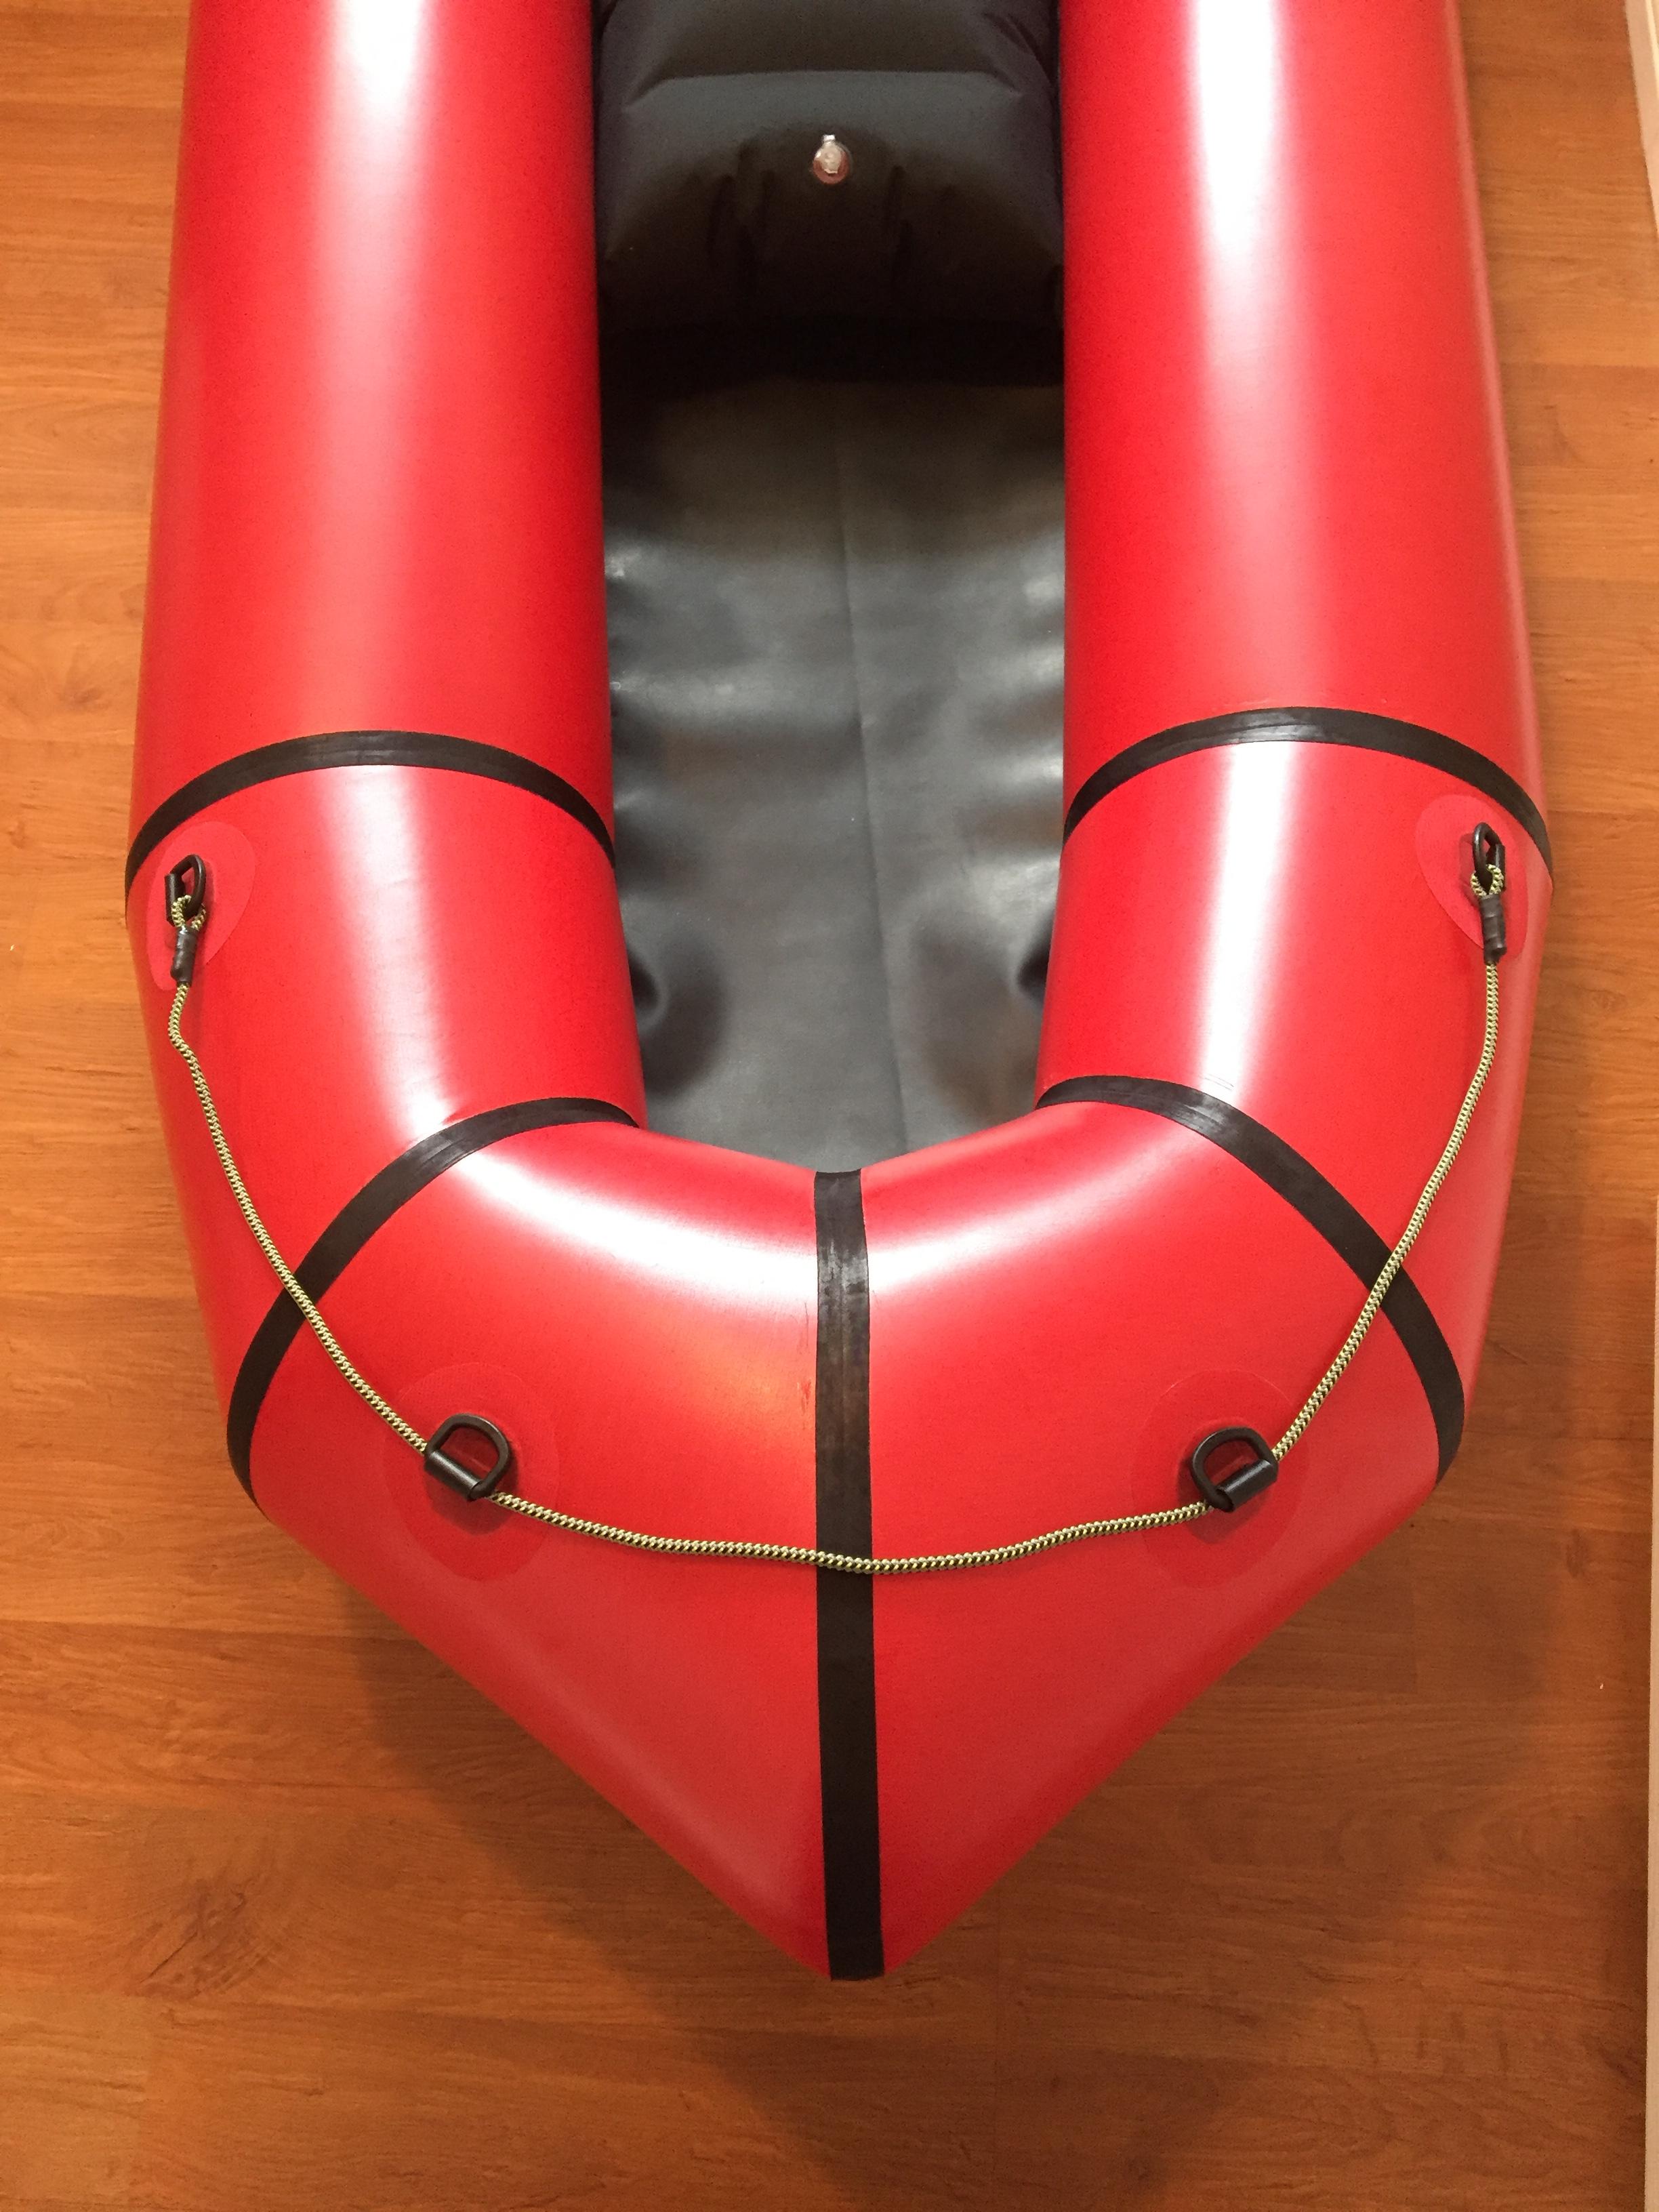
I say it’s finished… but I feel like a project like this is never done… it’ll continually change to meet my needs. But for now it holds air so I’m considering it finished enough until I actually get around to using it this summer and figuring out my first round of modifications.
Things I learned:
Don’t use the Coverite 21st Century Iron. It doesn’t get hot enough and you can’t adjust the internal thermostat like you can with the Black Baron. I used the Black Baron with MUCH more success (after adjusting the thermostat and reshaping the shoe). The 21st Century iron did work well for the really light 40D fabric on the inflation bag though since it holds it’s temperature really well. It just didn’t have the heat to work well on the thicker fabrics.
I like SeamGrip more than AquaSeal. It seems a bit thinner and flows a bit smoother.
The wood form is pretty key. I can’t imagine using anything else. It worked great. Even with the wood form though, I spent a LOT of time aligning the seams and getting everything tight and straight and perfect before sealing. The sealing was the fastest part of the process it seemed.
Also, the masking tape I used on the wood form (the green stuff from Home Depot) would leave a lot of it’s sticky residue on the raft after I heat sealed an area. I’m not sure if all masking tape brands would have this issue, but this stuff wasn’t great. It came off easily by using more tape on it to pull it off quickly, but it was a bit annoying.
I tried double sided tape on the wood form. It was WAY too sticky. It was hard to remove the form after doing a longer seam section. I quickly abandoned that idea and went back to dealing with the masking tape and it’s residue.
A headlamp is pretty critical. It allowed me to focus right on the edges of the seams and see when the TPU was getting soft and oozing out there. Without a headlamp (or other focused light source) it’s tough to see what the TPU is actually doing at the edges of the black seam and floor material. Getting it hot enough to just start oozing out, but not too hot to damage the rest of the TPU was a fine line to walk. Having a headlamp made it much easier.
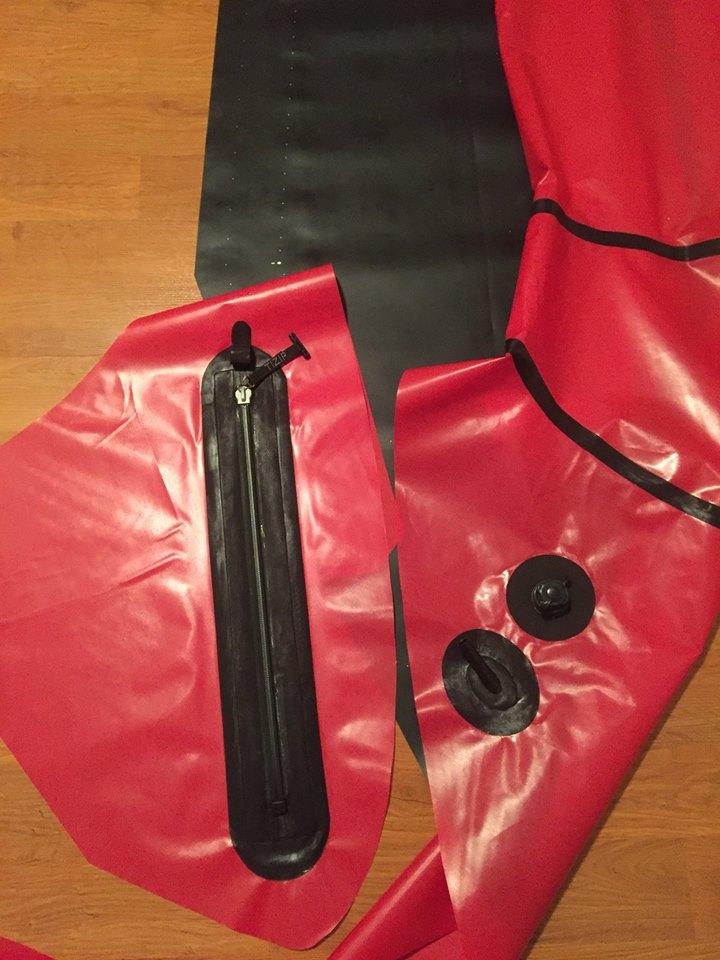
The TIzip is awesome. It allowed me to get inside the boat and seal that rear center seal SO well. I can imagine it would be very tricky to get it sealed really good without the zipper.
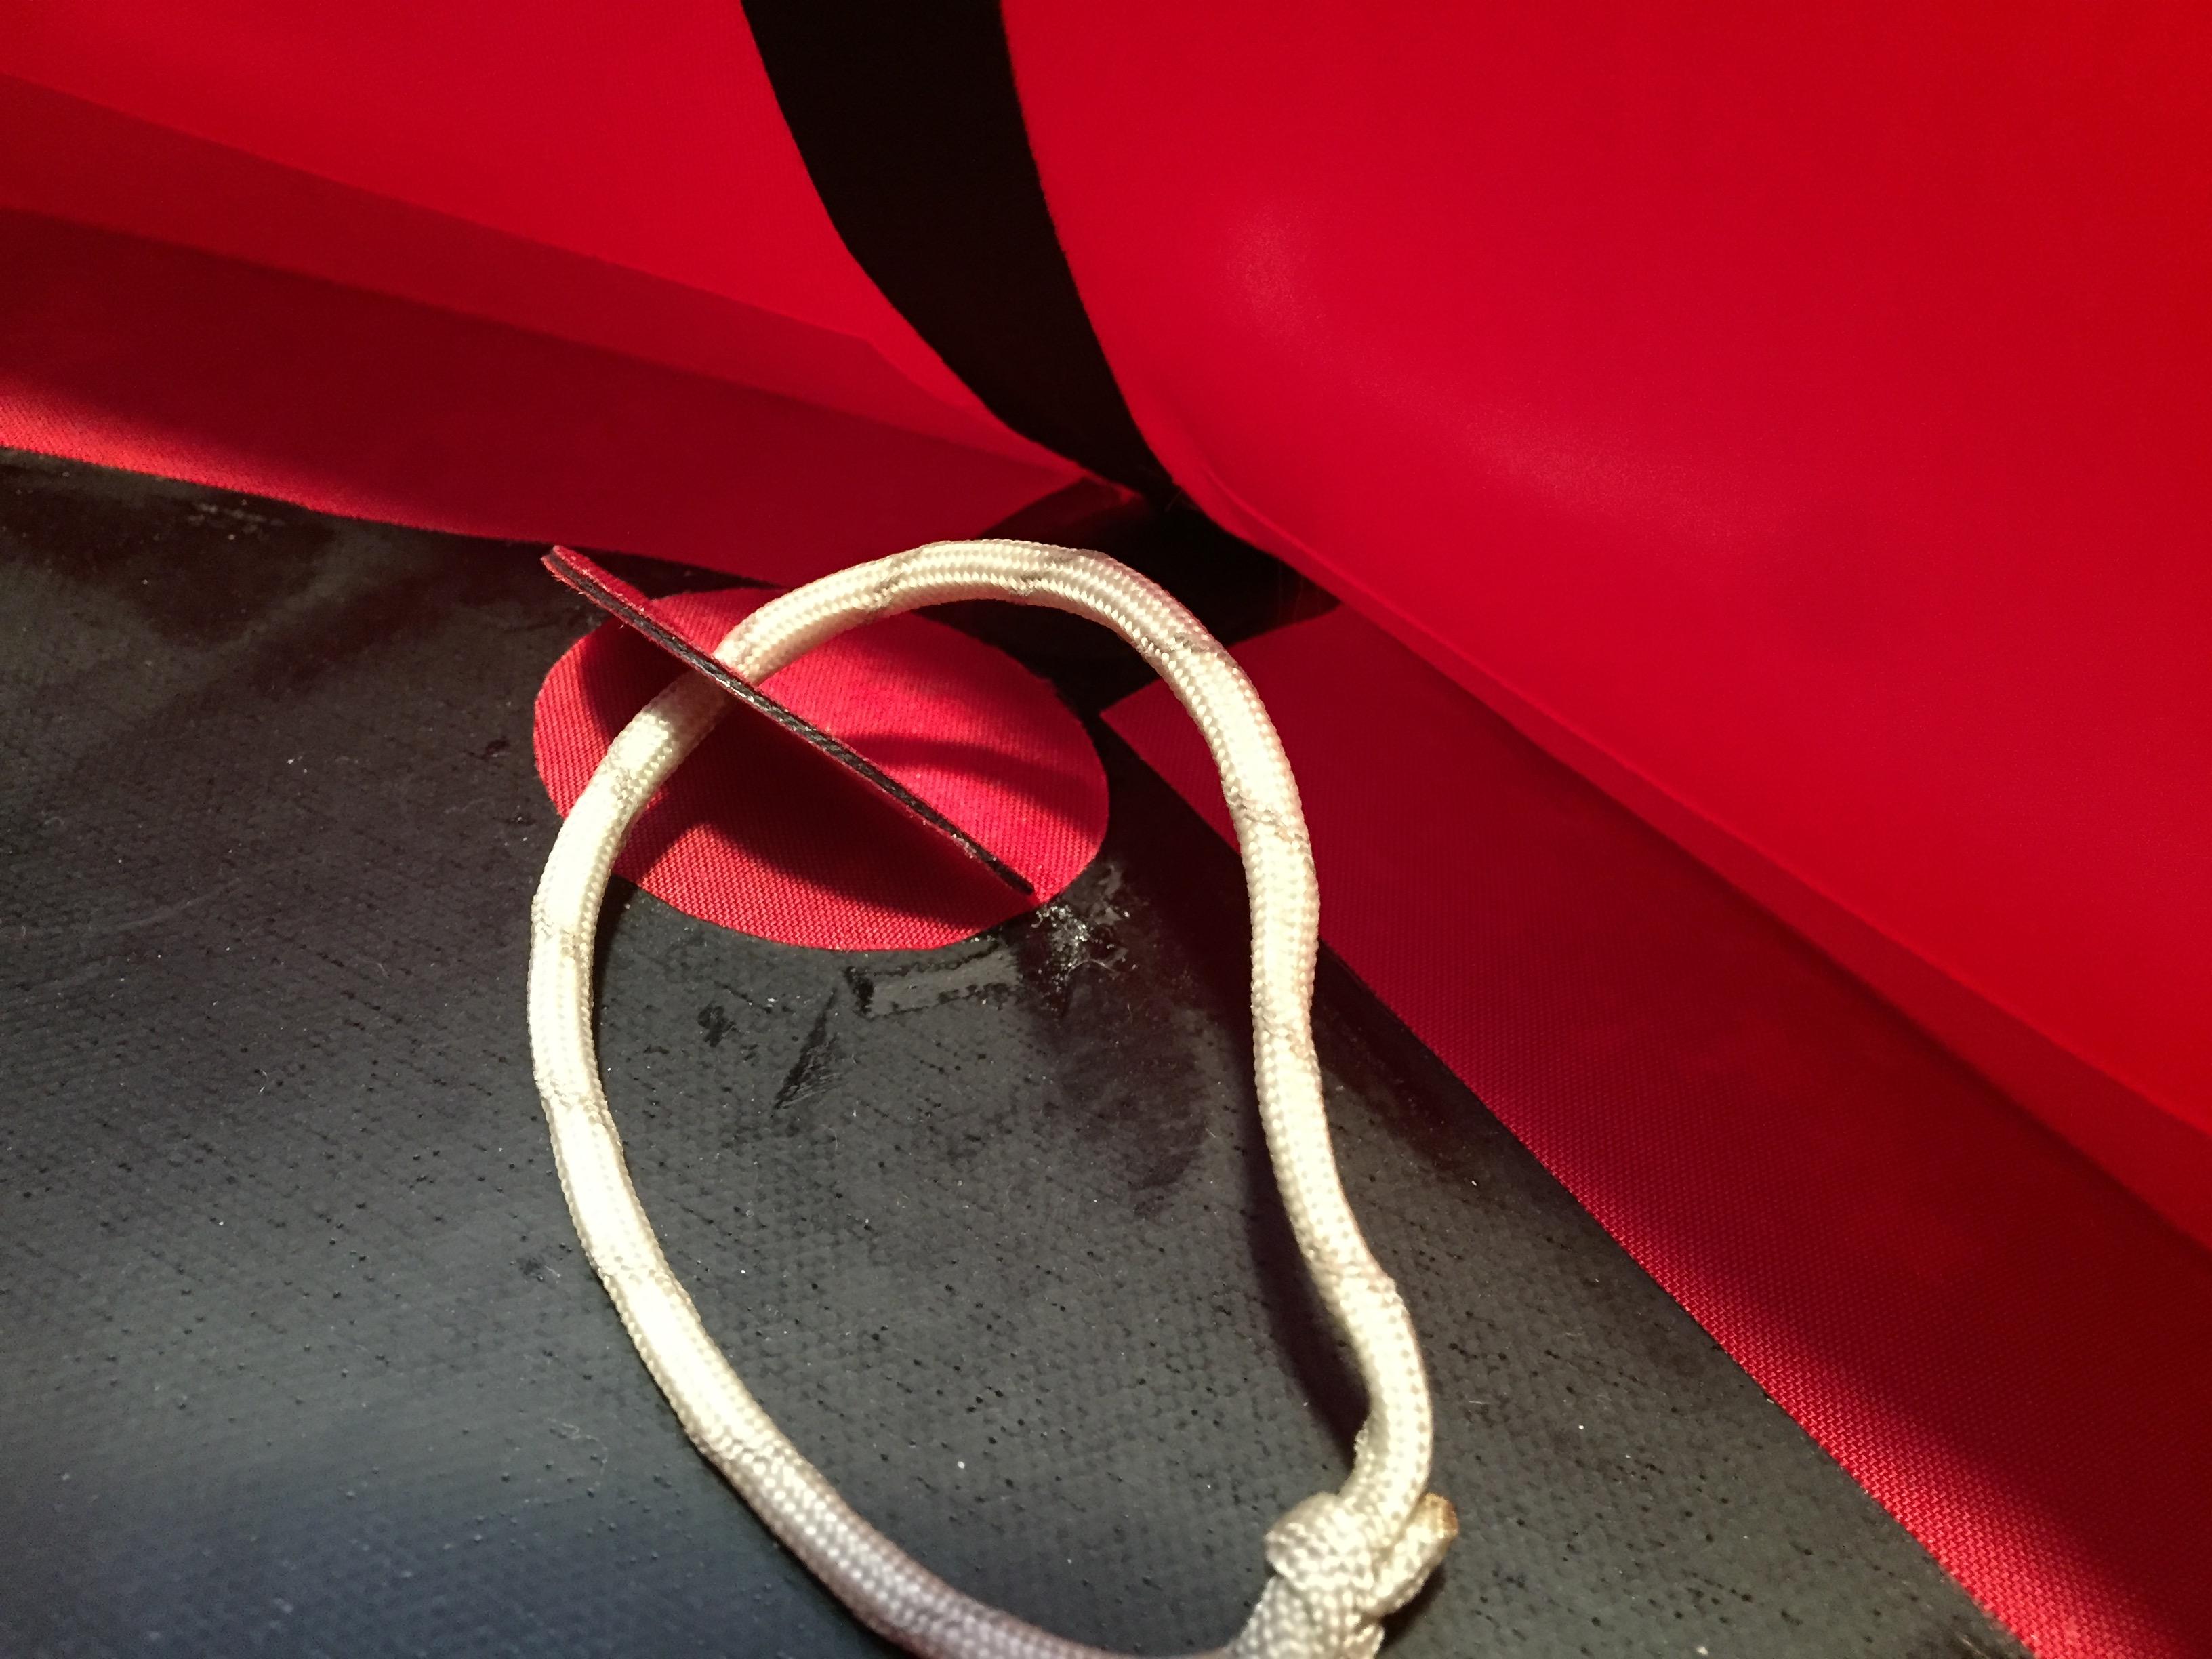
REALLY check every inch of every seam with your fingernail before moving on. There were many times I thought for sure I got a good seal and then I’d slide my fingernail along it and try to pick it off and I’d find a section that would pull off easily.
I worked my way around so I only had 1 center seam to do at the rear. I’m very happy with how it worked out. Even with the 130cm version, reaching through the second tube 3 wasn’t too bad. It was far easier than doing a front center seam would be (IMHO).
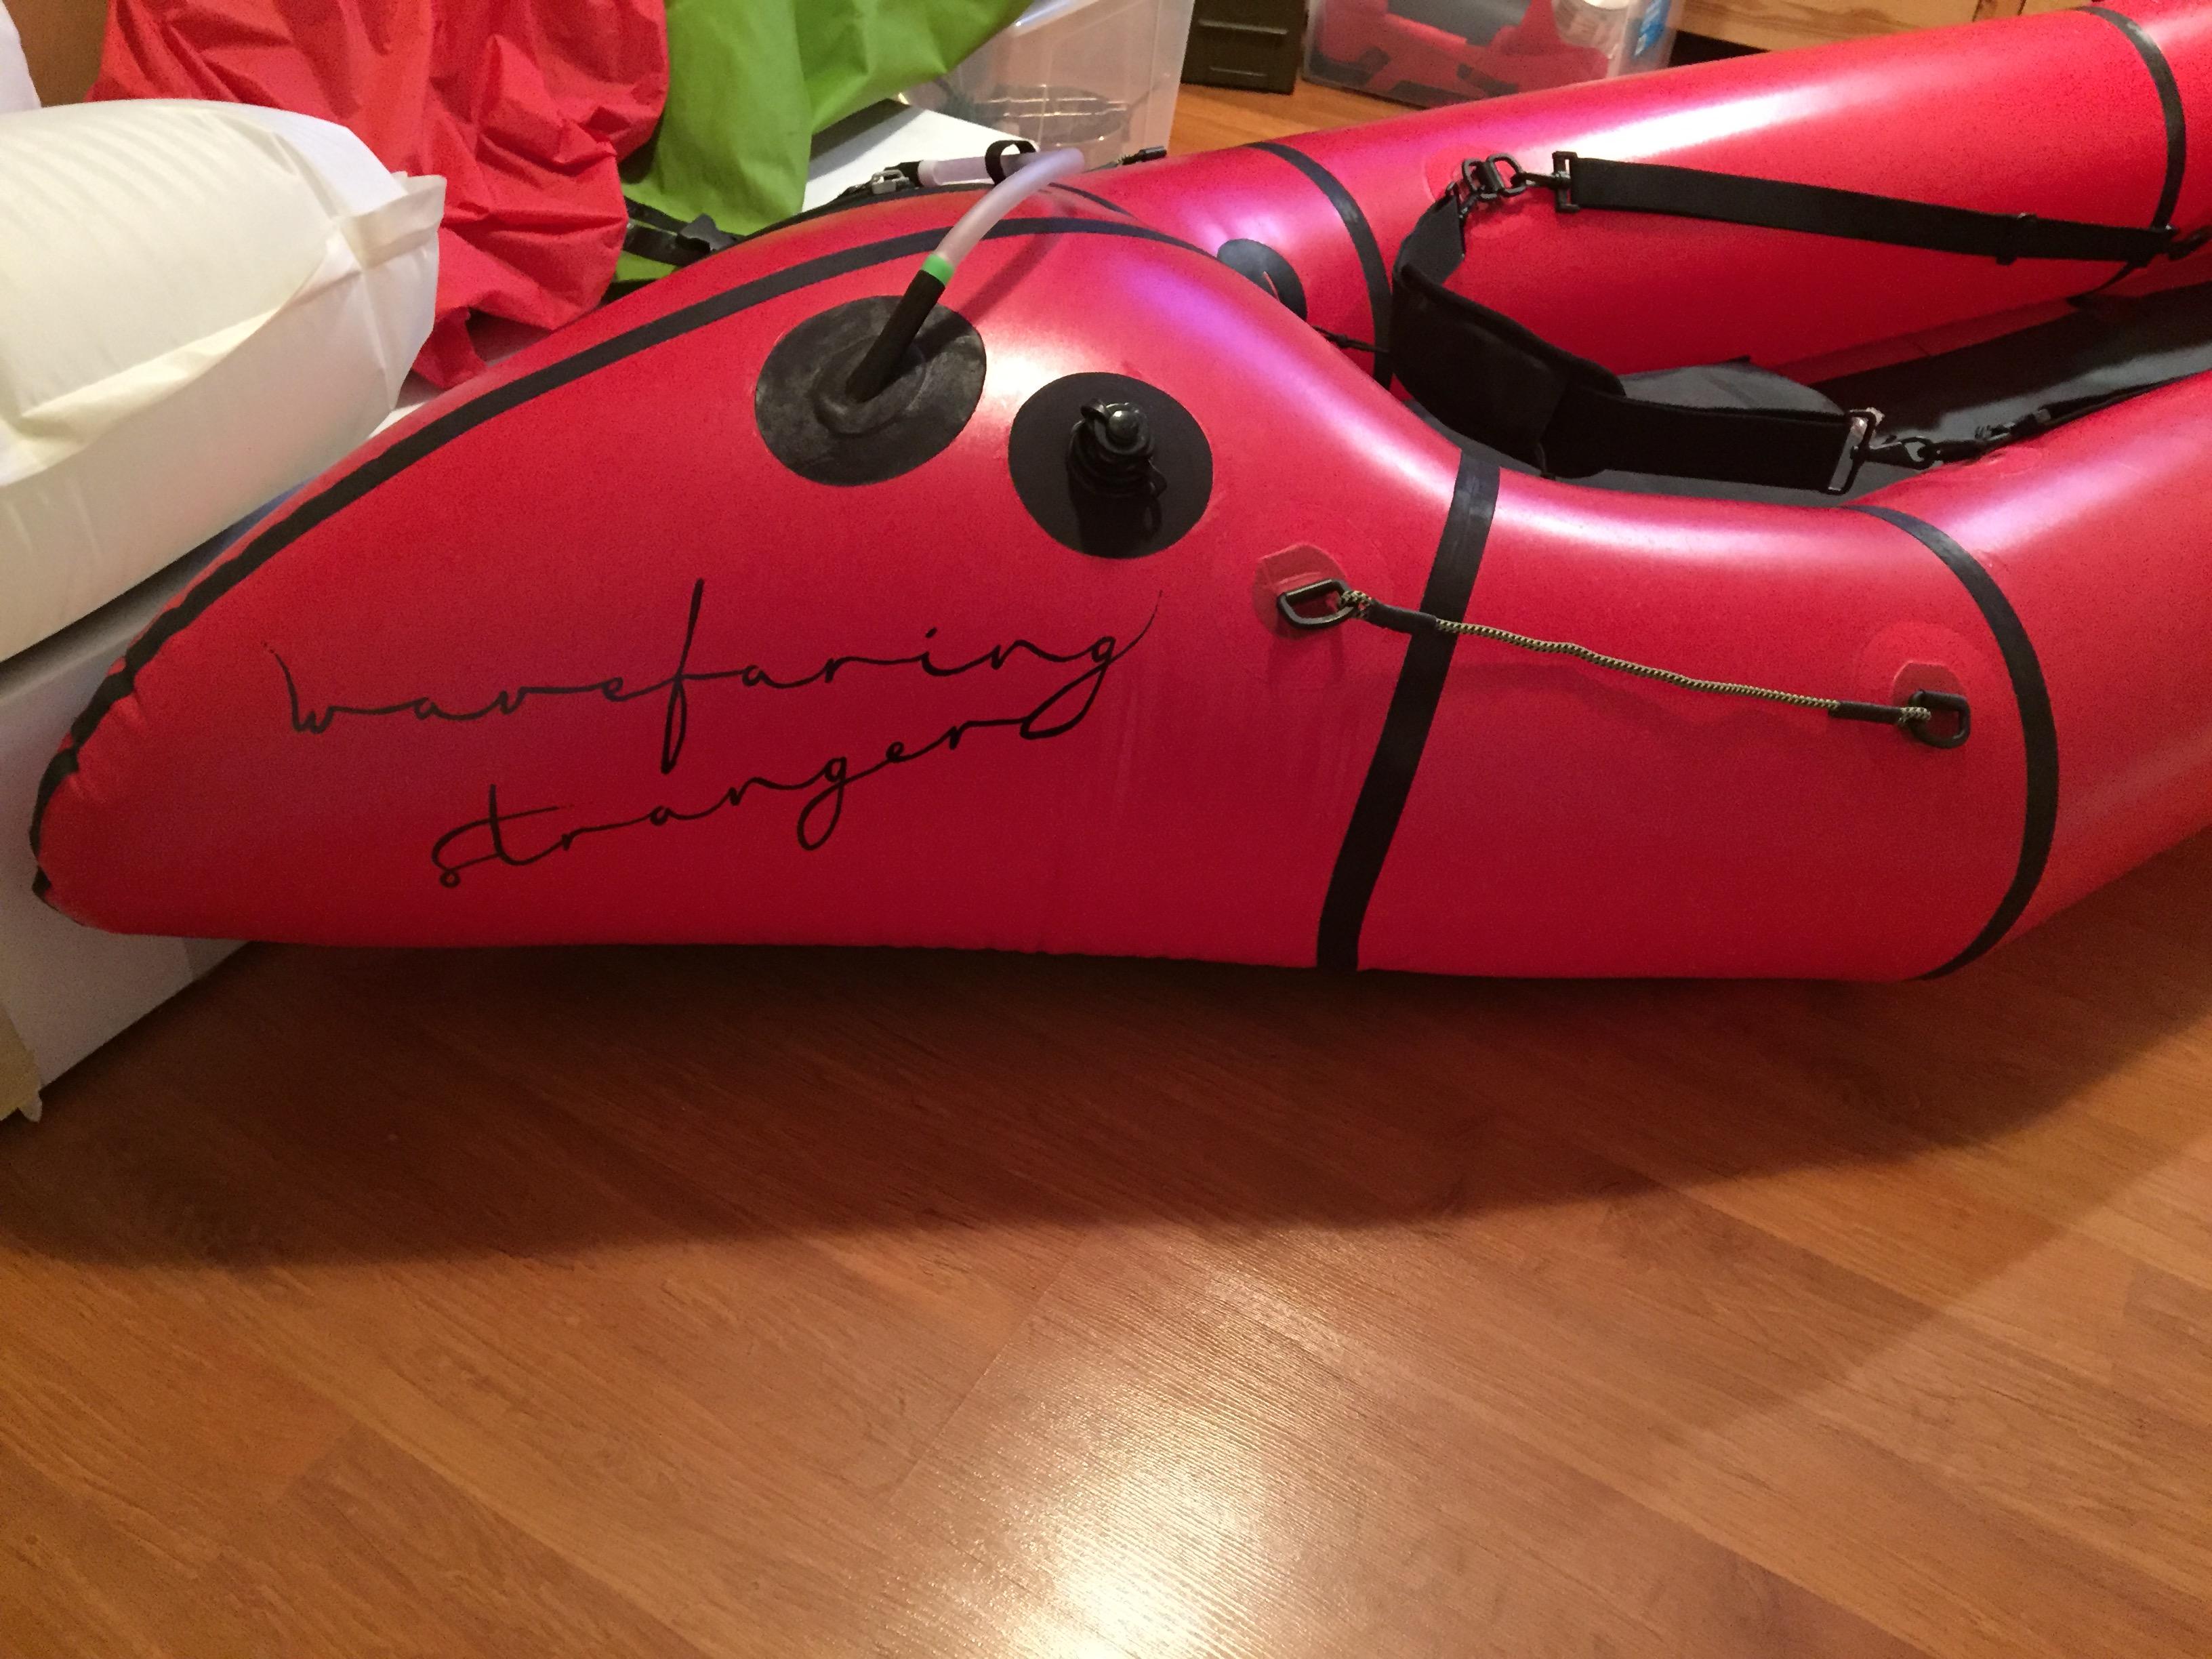
In hindsight I would have swapped the location of the topup valve and the boston valve. I wanted the topup valve way out of the way (the plan was always to extend it to the cockpit with some tubing for easier access) but I think if I had the locations switched, it would not need the extra tubing.
I am glad I installed the TIzip/boston valve/topup valves on the panels first before attaching the panels to the raft. It was very easy to get a great seal on them when working at a table and flipping the flat fabric over to seal it from both sides.

- You must be logged in to reply to this topic.