Home › Forums › DIY Packrafts › some questions
Tagged: diy pacraft kit
- This topic has 23 replies, 4 voices, and was last updated 7 years, 9 months ago by
 Matt (Admin).
-
CreatorTopic
-
January 30, 2017 at 5:26 am #2293hiroshiParticipant
Nice to meet you.
I ask some questions.1. How much is the side tube diameter? cm
2. how much is loading(Buoyancy)? kg
3. Is “whitewater pacrafting” still possible on the single layer floor? Or is it double layer floors? -
CreatorTopic
-
AuthorReplies
-
-
February 21, 2017 at 6:30 am #2543hiroshiParticipant
My packraft has a lot of leaks from incompletely sealed seams.
Probably I think that the form of the bowl when heat seal iron does a curve was bad.
Therefore the seems of the curve is not beautiful. Air seems to leak from there.
When you made PACKRAFT for the first time, were there a lot of leaks from incompletely sealed seams? Will such a thing be a common thing?-
February 26, 2017 at 4:49 am #2576Lyn St GeorgeParticipant
I can’t really tell from the photo if you have a cargo zip, but if so could you get inside and apply some of Matt’s Tuck Tape over all the seams? I would do what Mike says first, and then run that tape over all the seams inside if possible. Looking inside my MRS X2, it has some sort of sealing tape over all the seams.
-
February 27, 2017 at 5:01 am #2579hiroshiParticipant
I painted with soapy water and confirmed a puncture.
I did a puncture from a floor and a connection part of the tube. The pressure and temperature of the iron to heat-seal did not seem to be enough.
I think that you had to make it very exactly when you make it first. I reflect.
Is “TUCK TAPE” the thing of $ 7.99 in the online shop?
Should I stick this along a seam from the inside?-
February 27, 2017 at 11:42 am #2584Matt (Admin)Keymaster
For a permanent fix, I recommend Seam Grip – I cannot guarantee that the tape will provide a perfectly airtight seal on the non-TPU side of the fabric, especially if it is applied across a seam.
-
February 27, 2017 at 11:32 am #2582Lyn St GeorgeParticipant
Yes, though Tyvek tape will also do. If you have finished the process that Mike and Matt described, then applying this tape inside would be a good idea. I have only seen inside an MRS but I suspect that other manufacturers also seam-tape inside as well.
-
-
-
February 21, 2017 at 4:25 pm #2550MikeGuest
It is possible to go over your welds on the belts between the panels after the raft has been completed. The inside of the chambers are the fabric side so if you deflate the raft and weld the belt again with the chamber flattened it will not hurt a thing.
I have found that a pressing tool helps set the weld on the belts. I normally weld the belt the first time and then go over the entire belt one more time while the raft section is laying flat on a flat surface. I can get those wrinkles out by heating the belt and then pressing with the little pressing tool I made. here is a picture of the tool.

You can see more about this on a topic I posted as Tips and tricks.
Mike
-
-
February 20, 2017 at 7:38 am #2538hiroshiParticipant
It was completed.
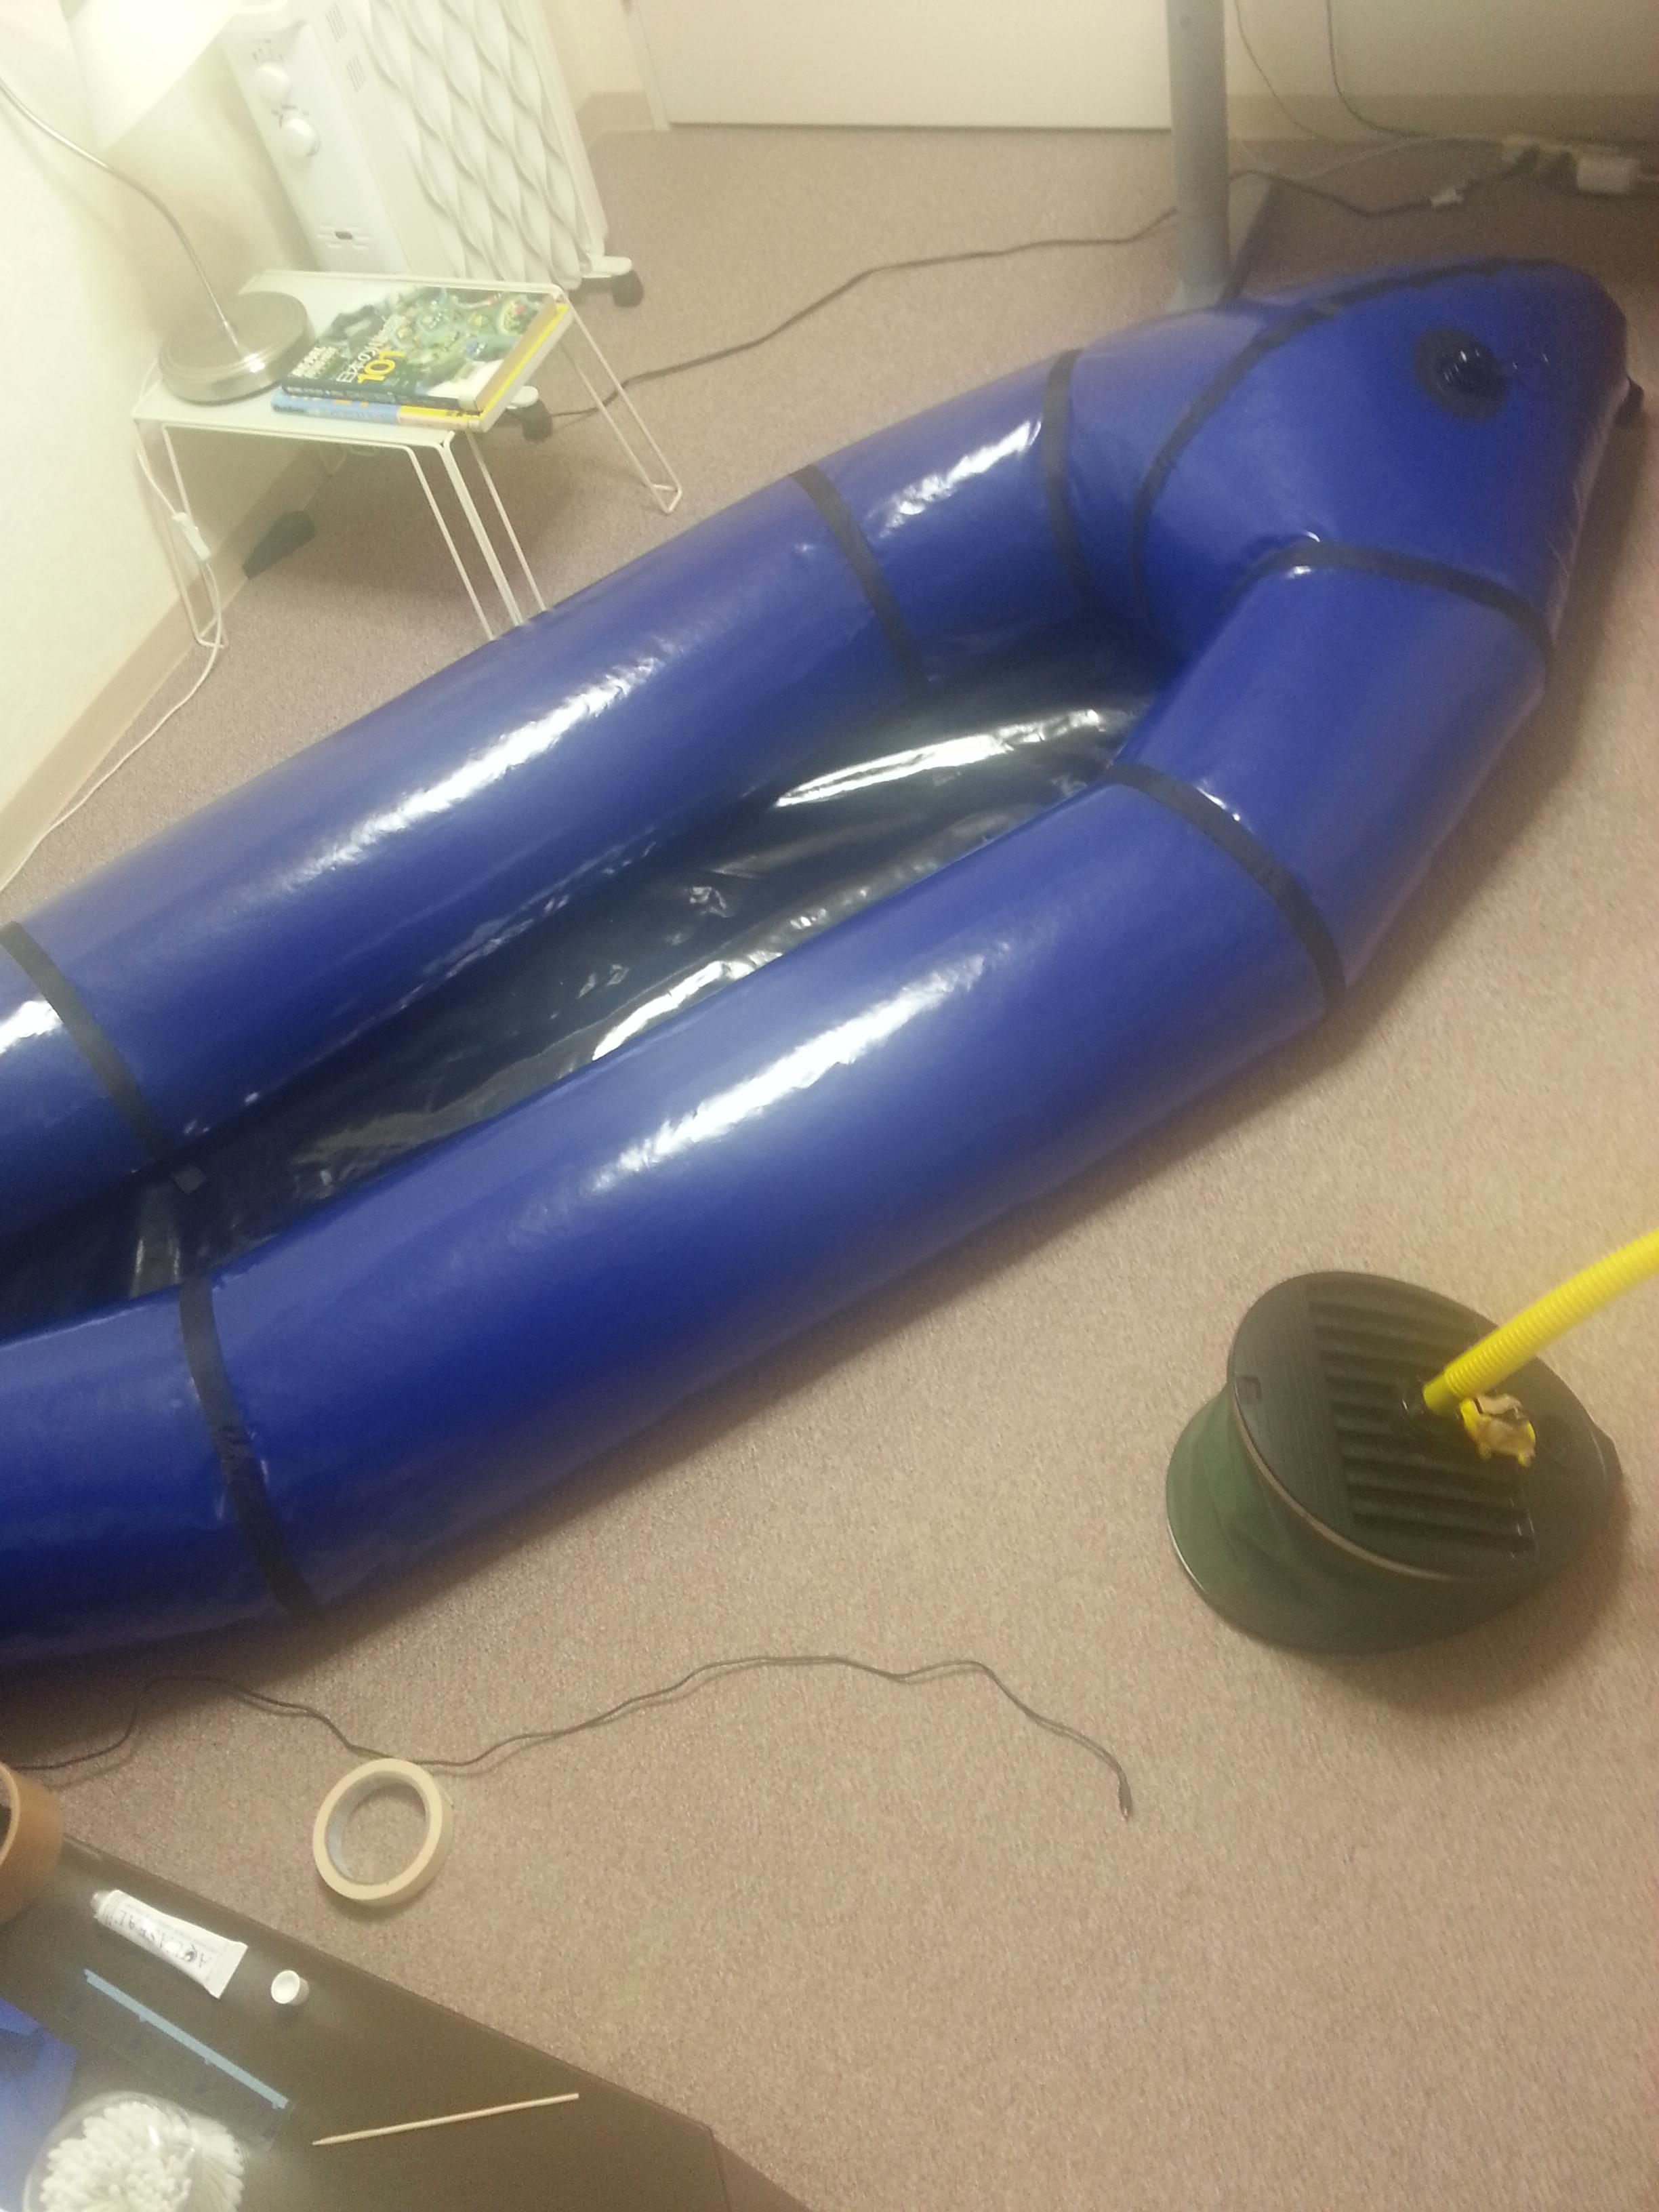
However, there are many punctures.
I must solve this puncture.
I attach soapy water and find the place of the puncture and intend to heat-seal it.
Because there are very many punctures, is there the method that, besides, is good?-
February 20, 2017 at 9:41 am #2540Matt (Admin)Keymaster
Hi @hiroshi – well done! It looks good, but still a bit soft.
Another method of finding leaks is to put some air into the packraft and submerge it in a bathtub or lake and then squeeze it – air bubbles will escape anywhere there is a leak.
If you are experiencing lots of leaks from incompletely sealed seams (not punctures), it might be a good idea to go over the seams again with your iron to make sure they are fully sealed. You can insert some folded paper or cardboard through the Boston valve and position it under the seam you are working on so the heat doesn’t transfer through to the fabric on the other side of the tube.
Sometimes pressing with the sharp edge of your iron along the seam (instead of the flat part) works well because it only heats a narrow strip of TPU, so you can reseal the area without risk of the seam completely separating (as it might if the entire width of the seam is reheated).
If after going over the seams you still have a few leaks, then try listening for air or try using soap and water.
You may need to apply Seam Grip or Aquaseal in some areas if it’s too late to access them with the iron. Adhesives are best applied to the inside of the packraft, but if you can’t access the area through the valve (or an airtight zipper), then you can apply them to the outside.
-
-
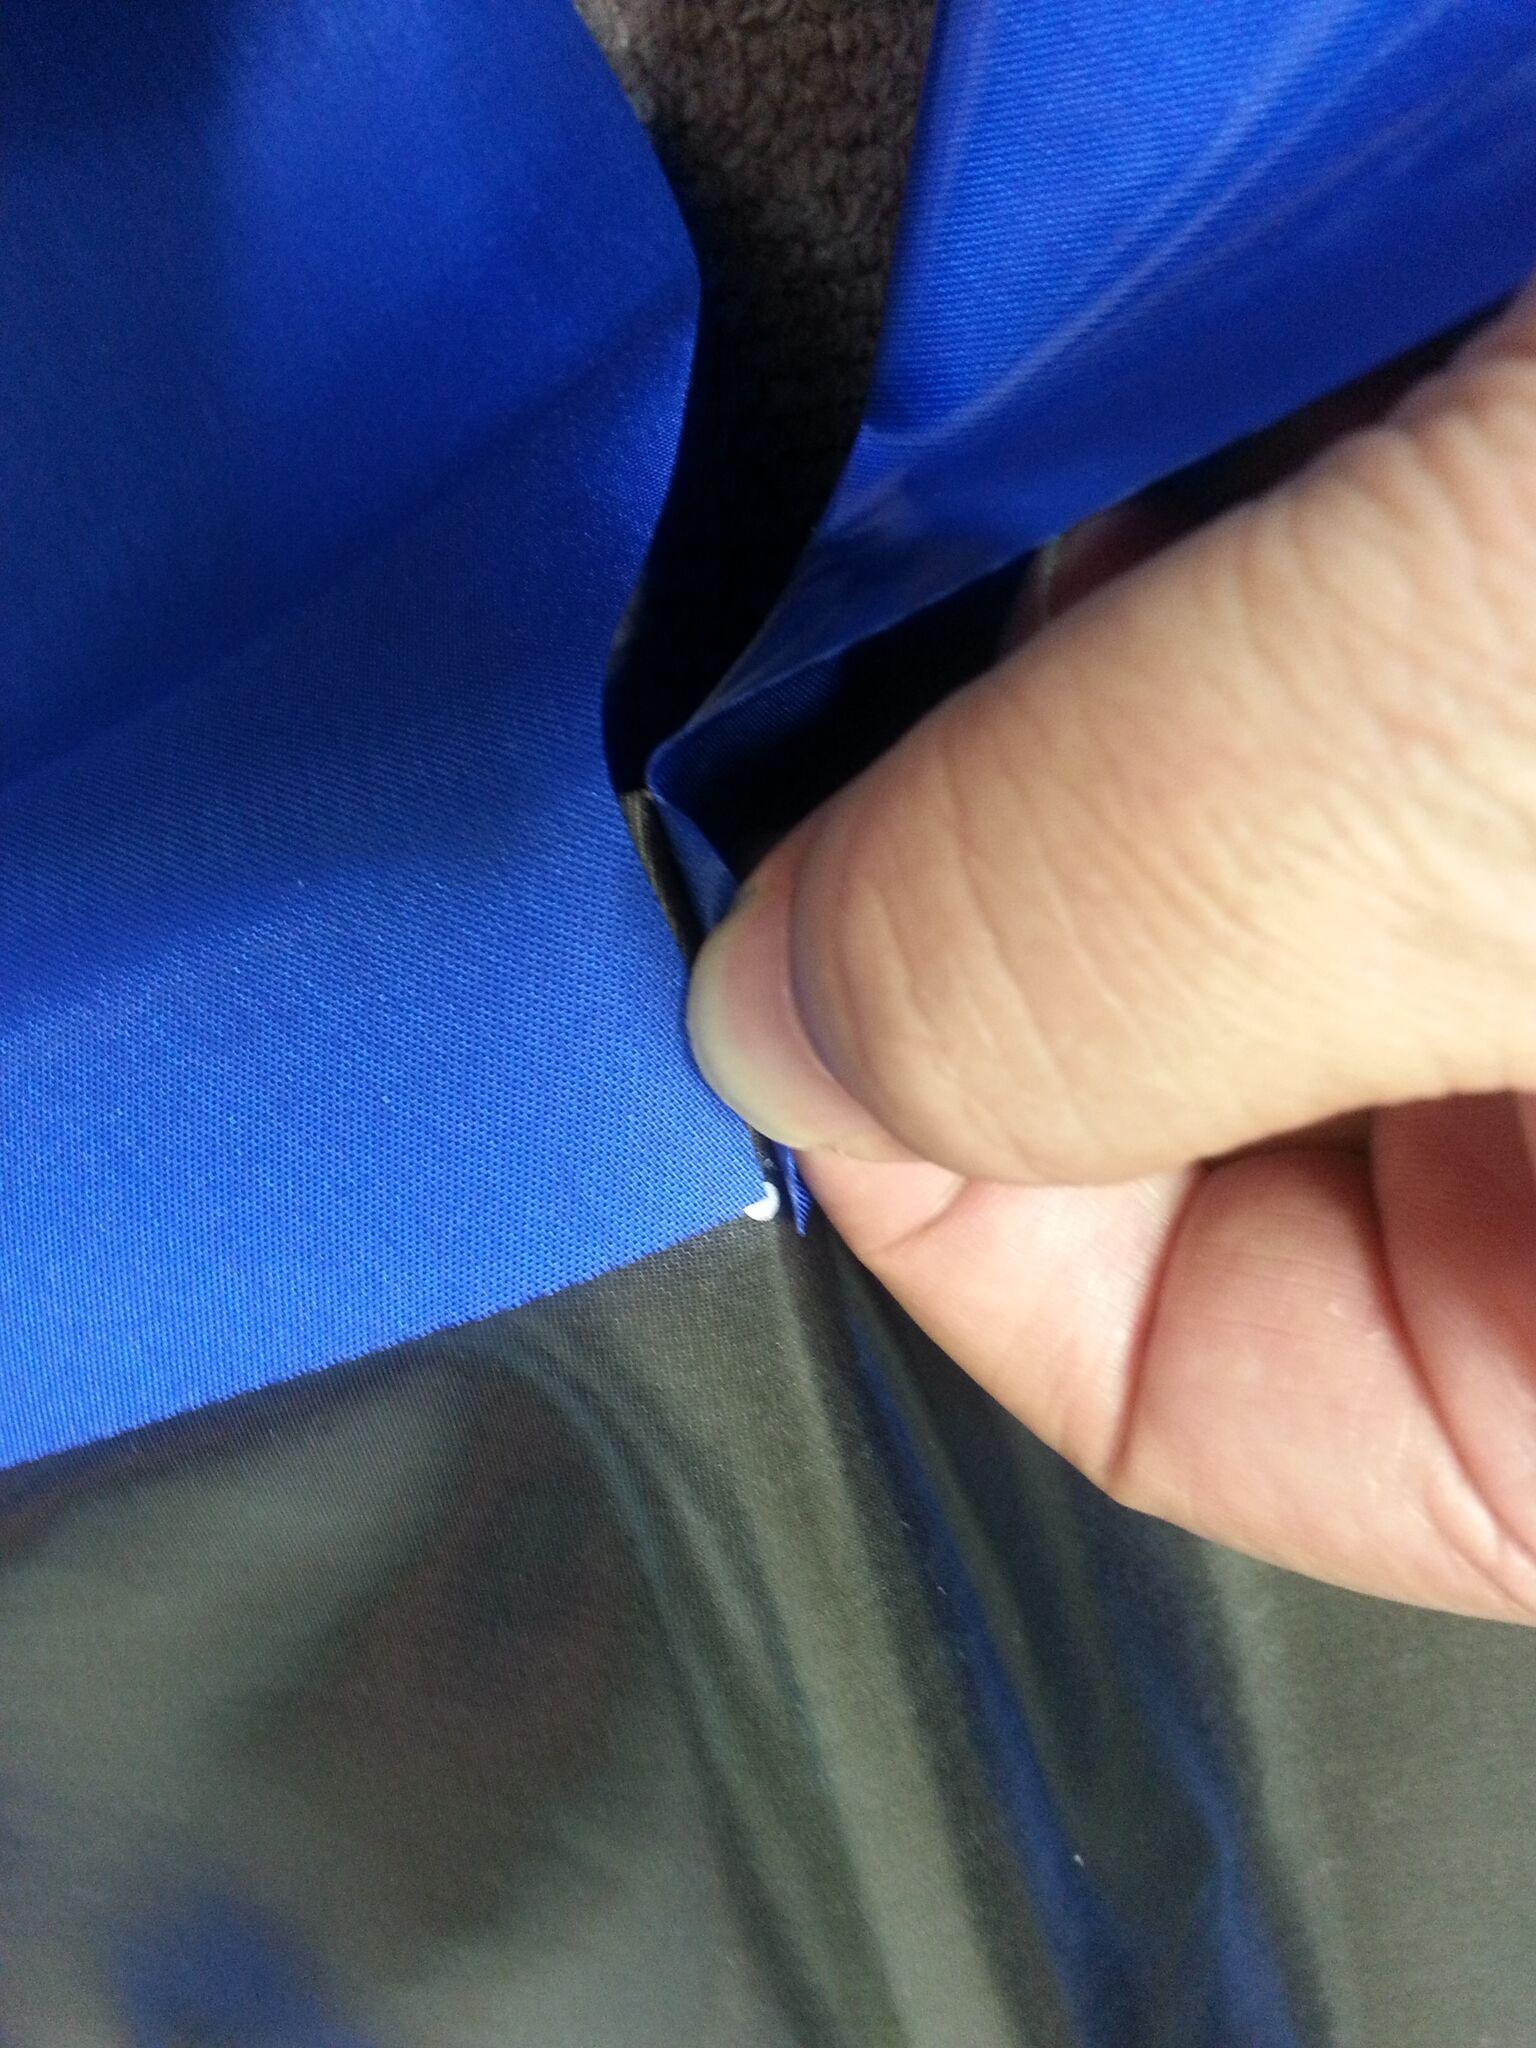
February 16, 2017 at 6:06 am #2509hiroshiParticipant
I heated up again.
I was able to tear it off.
Thank you. -
February 15, 2017 at 6:03 am #2485hiroshiParticipant
I should be able to tear it off, but do not seem to be able to tear it off.
Because there is no help for it, are even these measures good?

Or how is such measures?
-
February 15, 2017 at 1:17 pm #2494Matt (Admin)Keymaster
The seam fabric will not form a strong bond with the non-TPU side of the floor fabric, so I recommend heating the area with your iron again so you can pull it apart there.
-
-
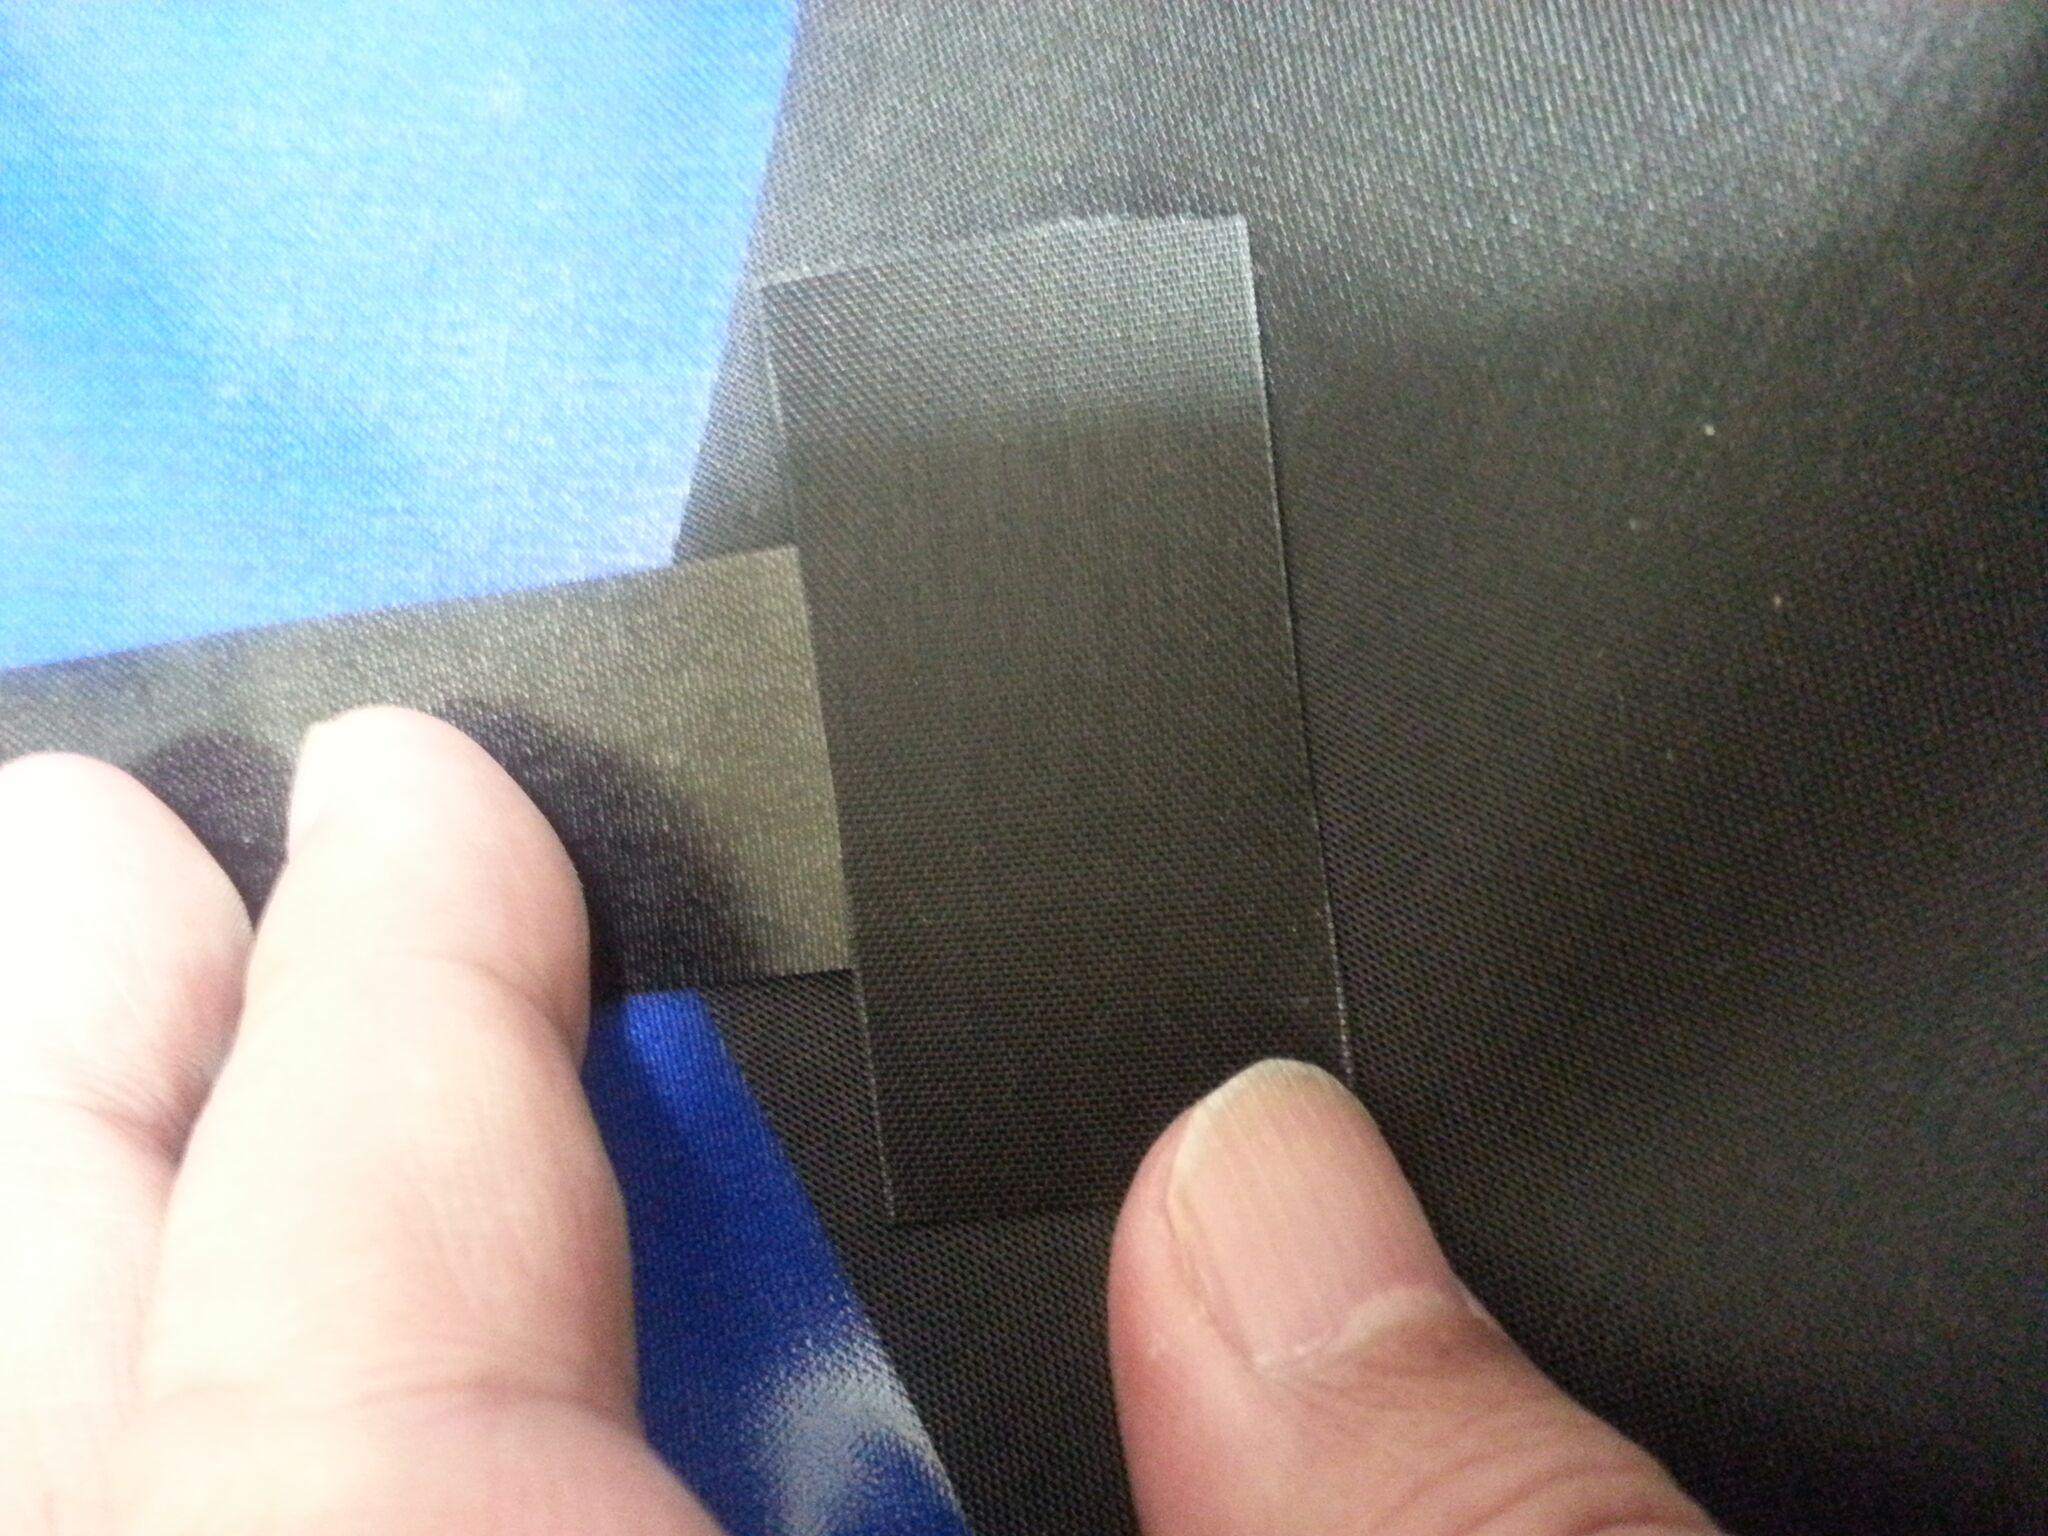
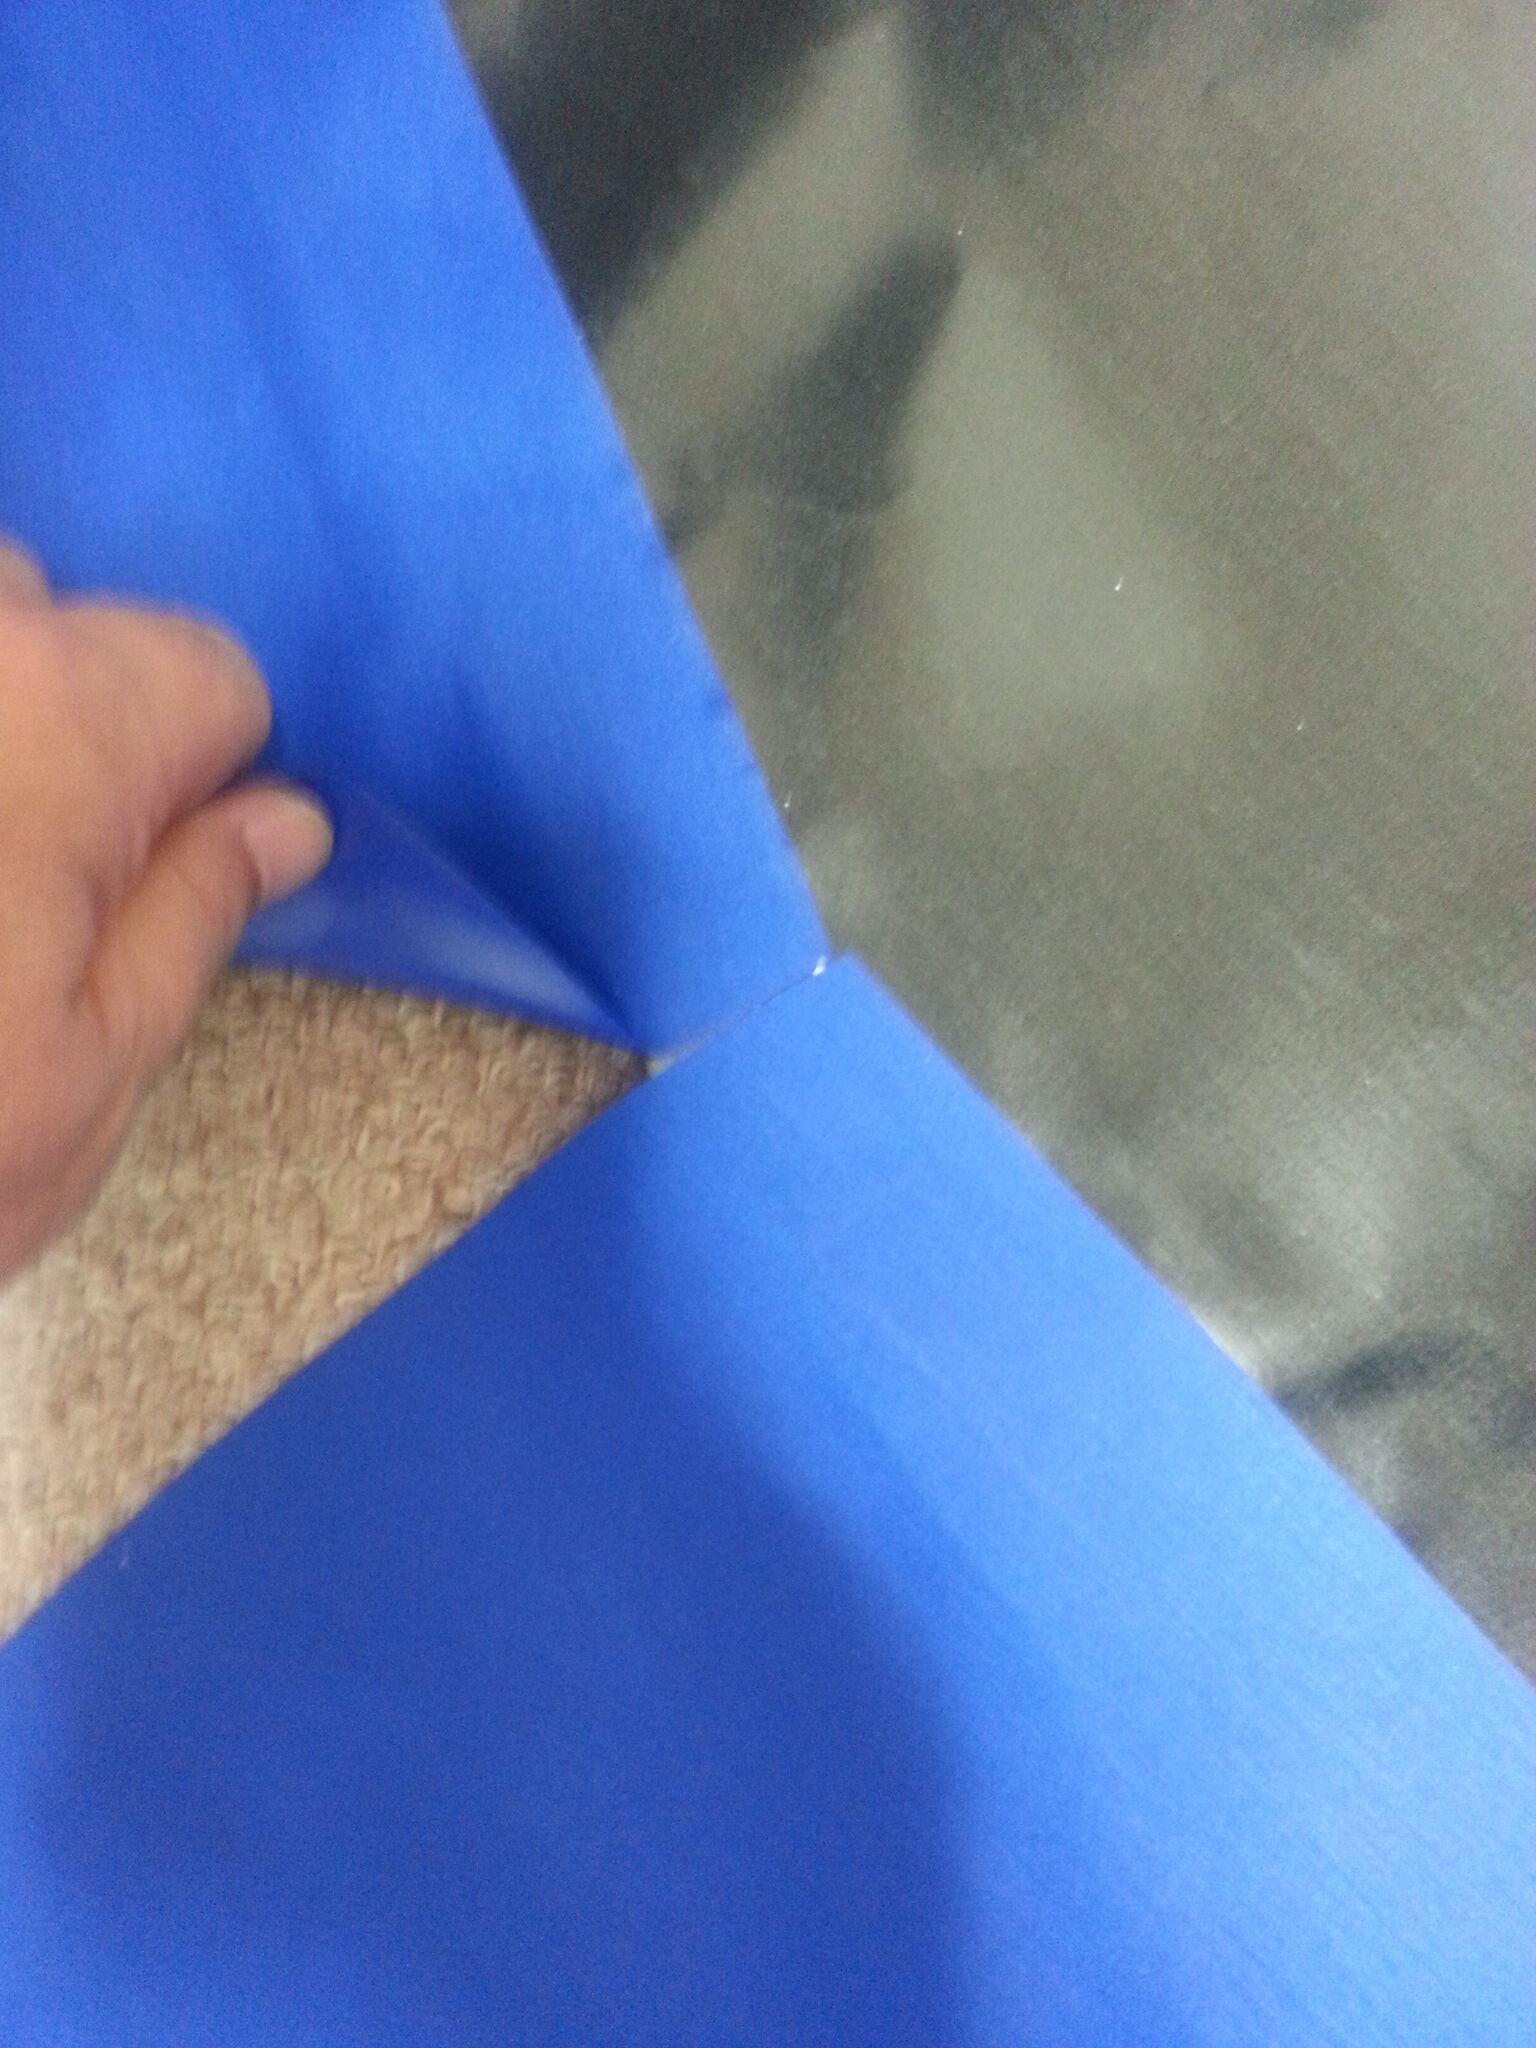
February 15, 2017 at 12:54 am #2484hiroshiParticipant
I have begun to make it.
I have finished doing Step1.
However, in defiance of explanation, I have heat-sealed 1.5cm – 2cm of both ends.
I cannot tear it off.
What should I do?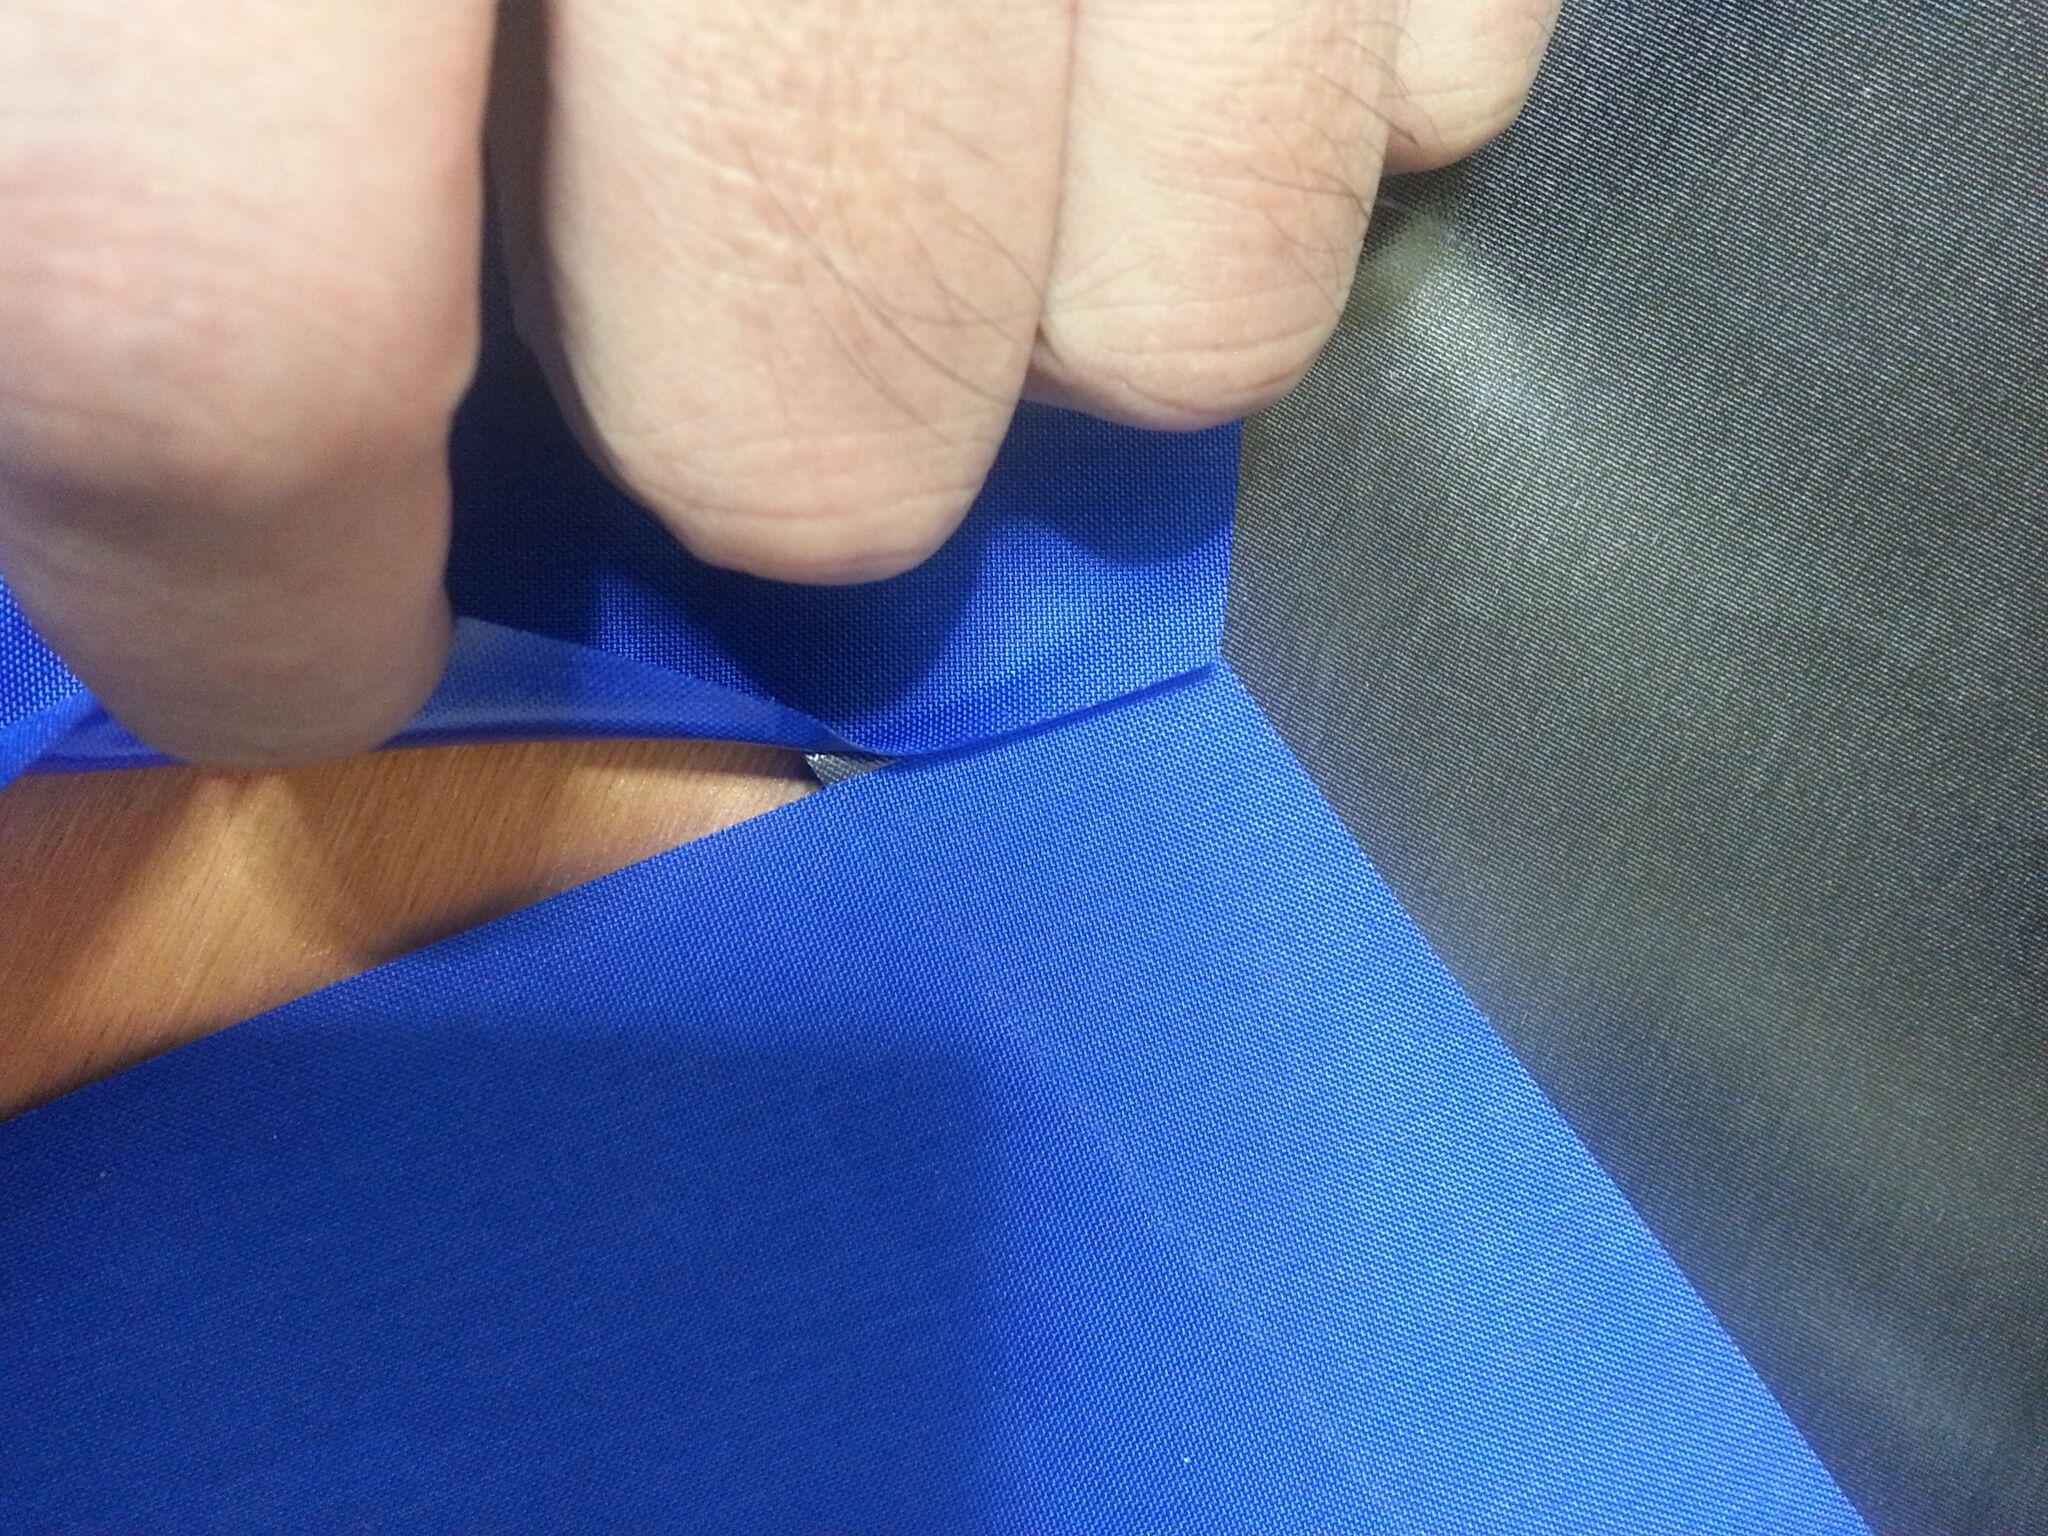
-
February 15, 2017 at 1:15 pm #2493Matt (Admin)Keymaster
Hi @hiroshi, that is a common mistake – if you heat the fabric with your iron again, I think you will be able to separate the fabric.
-
-
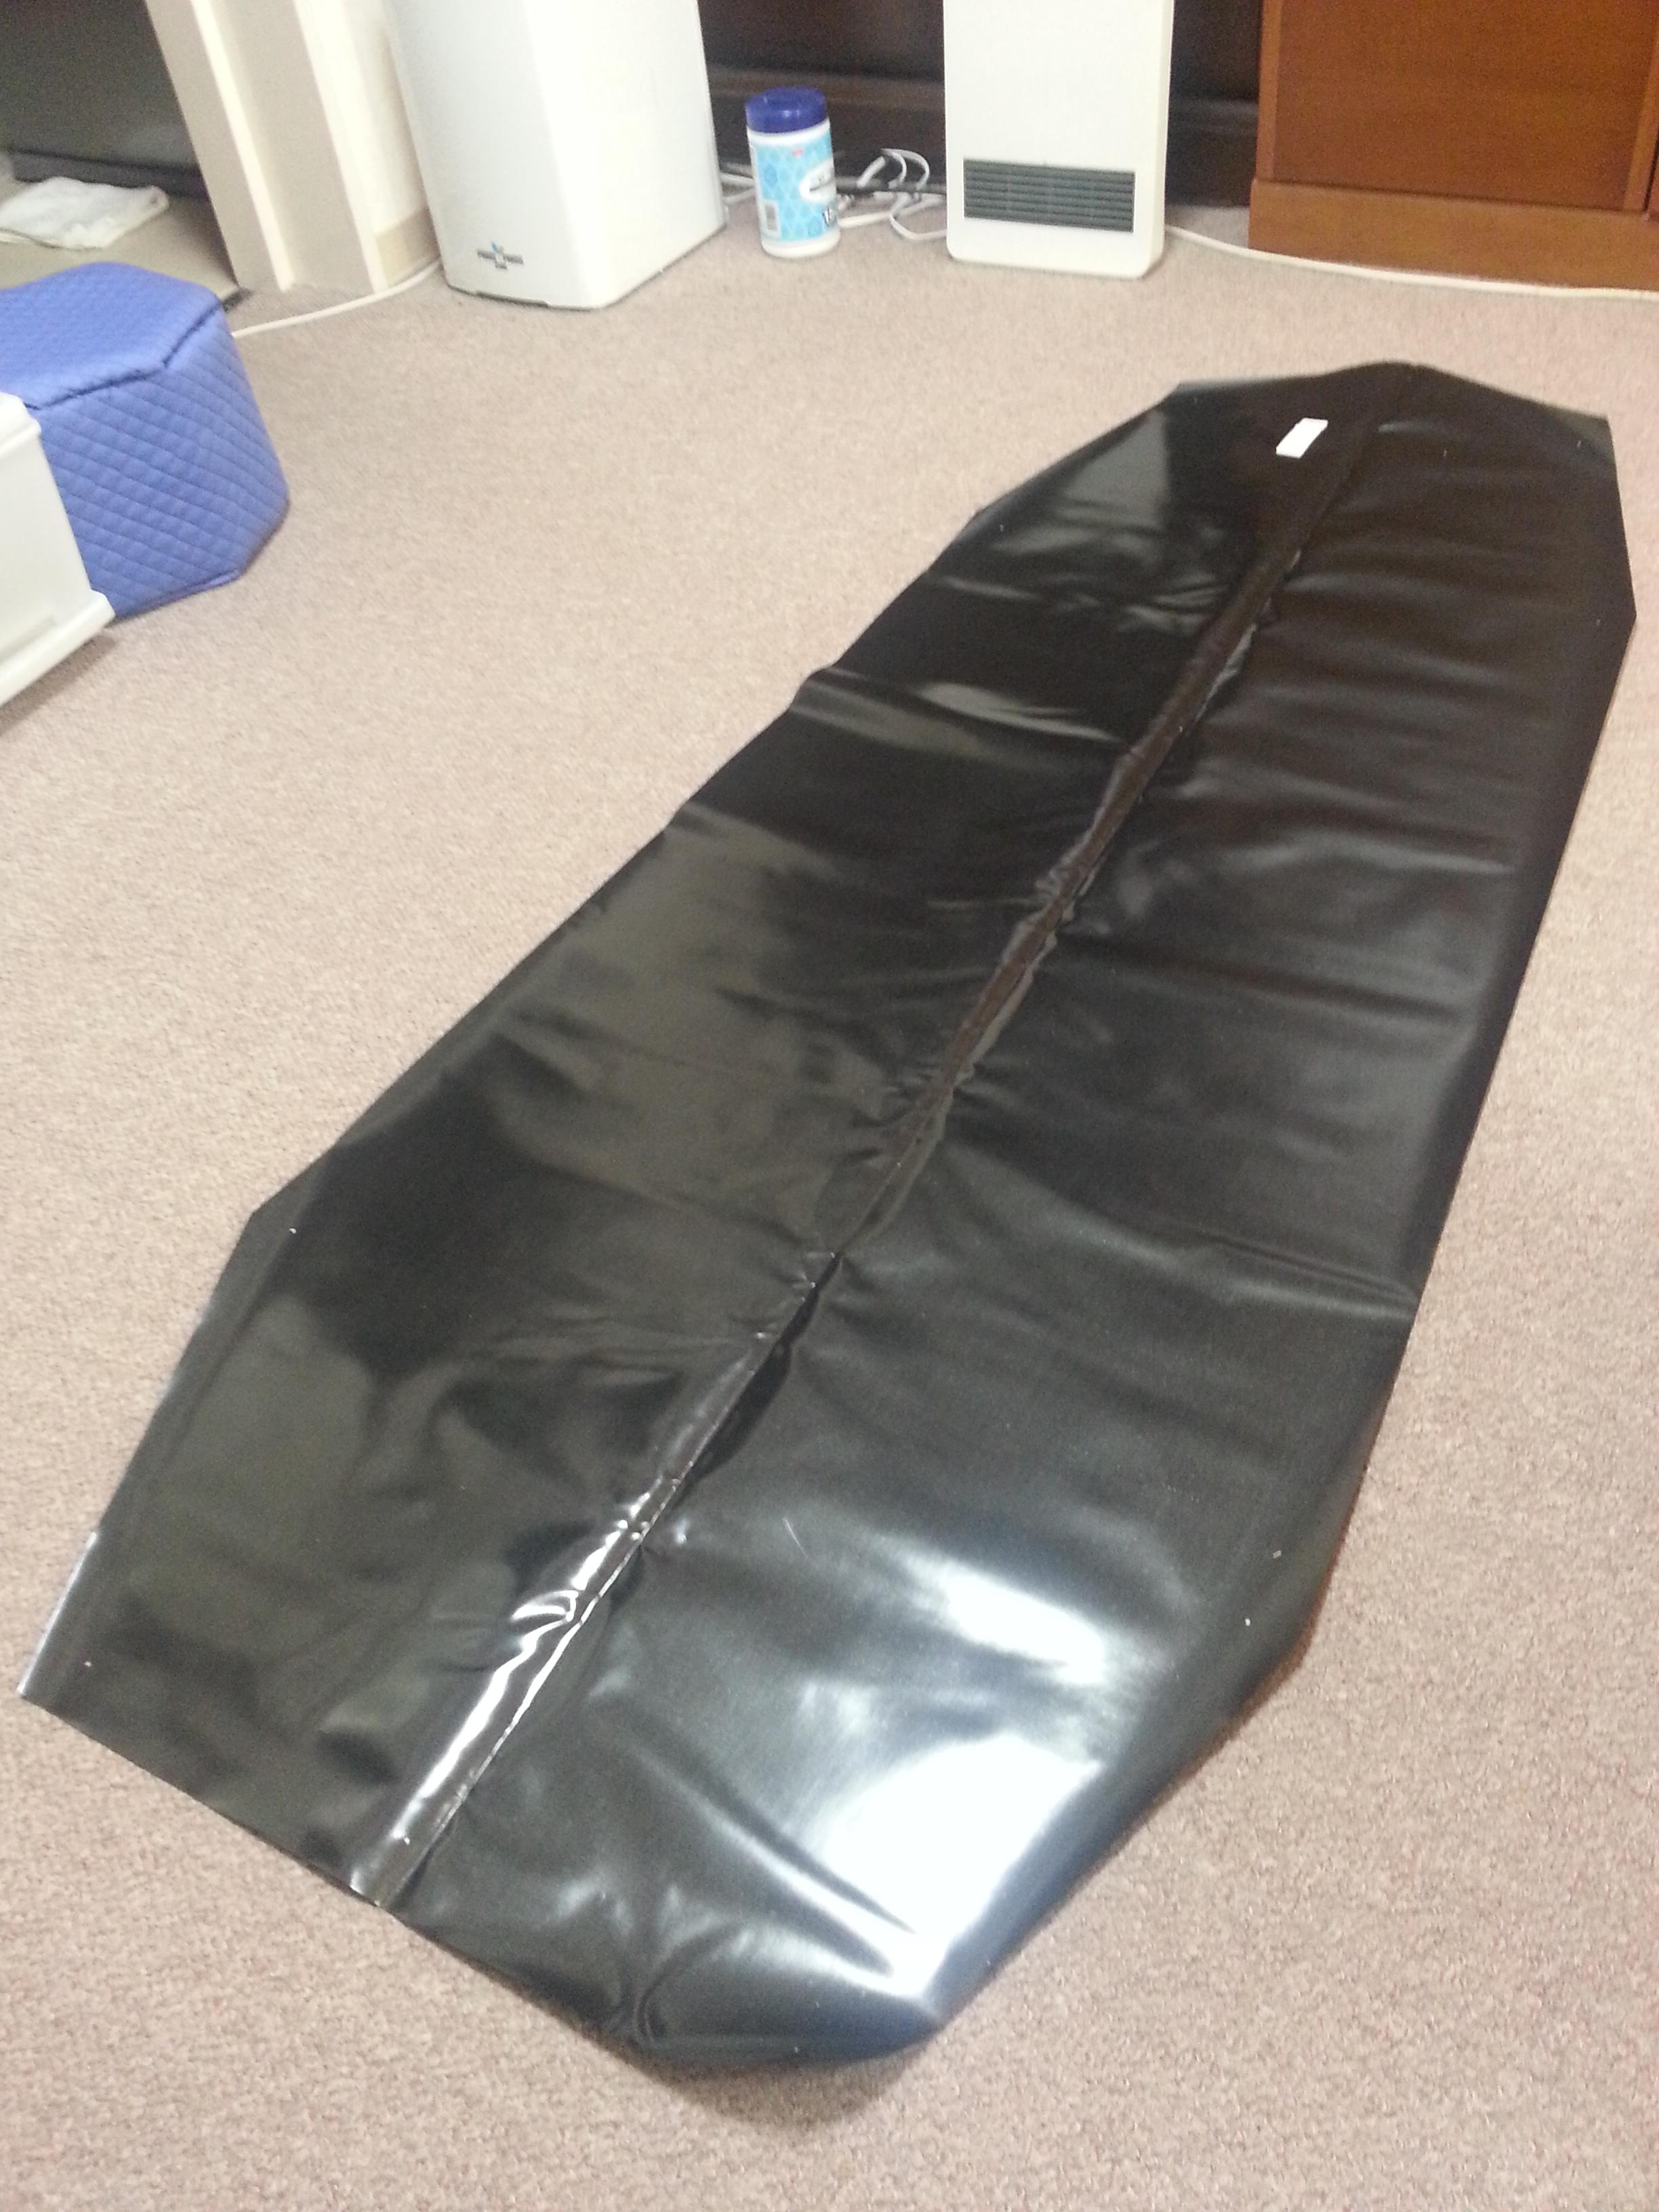
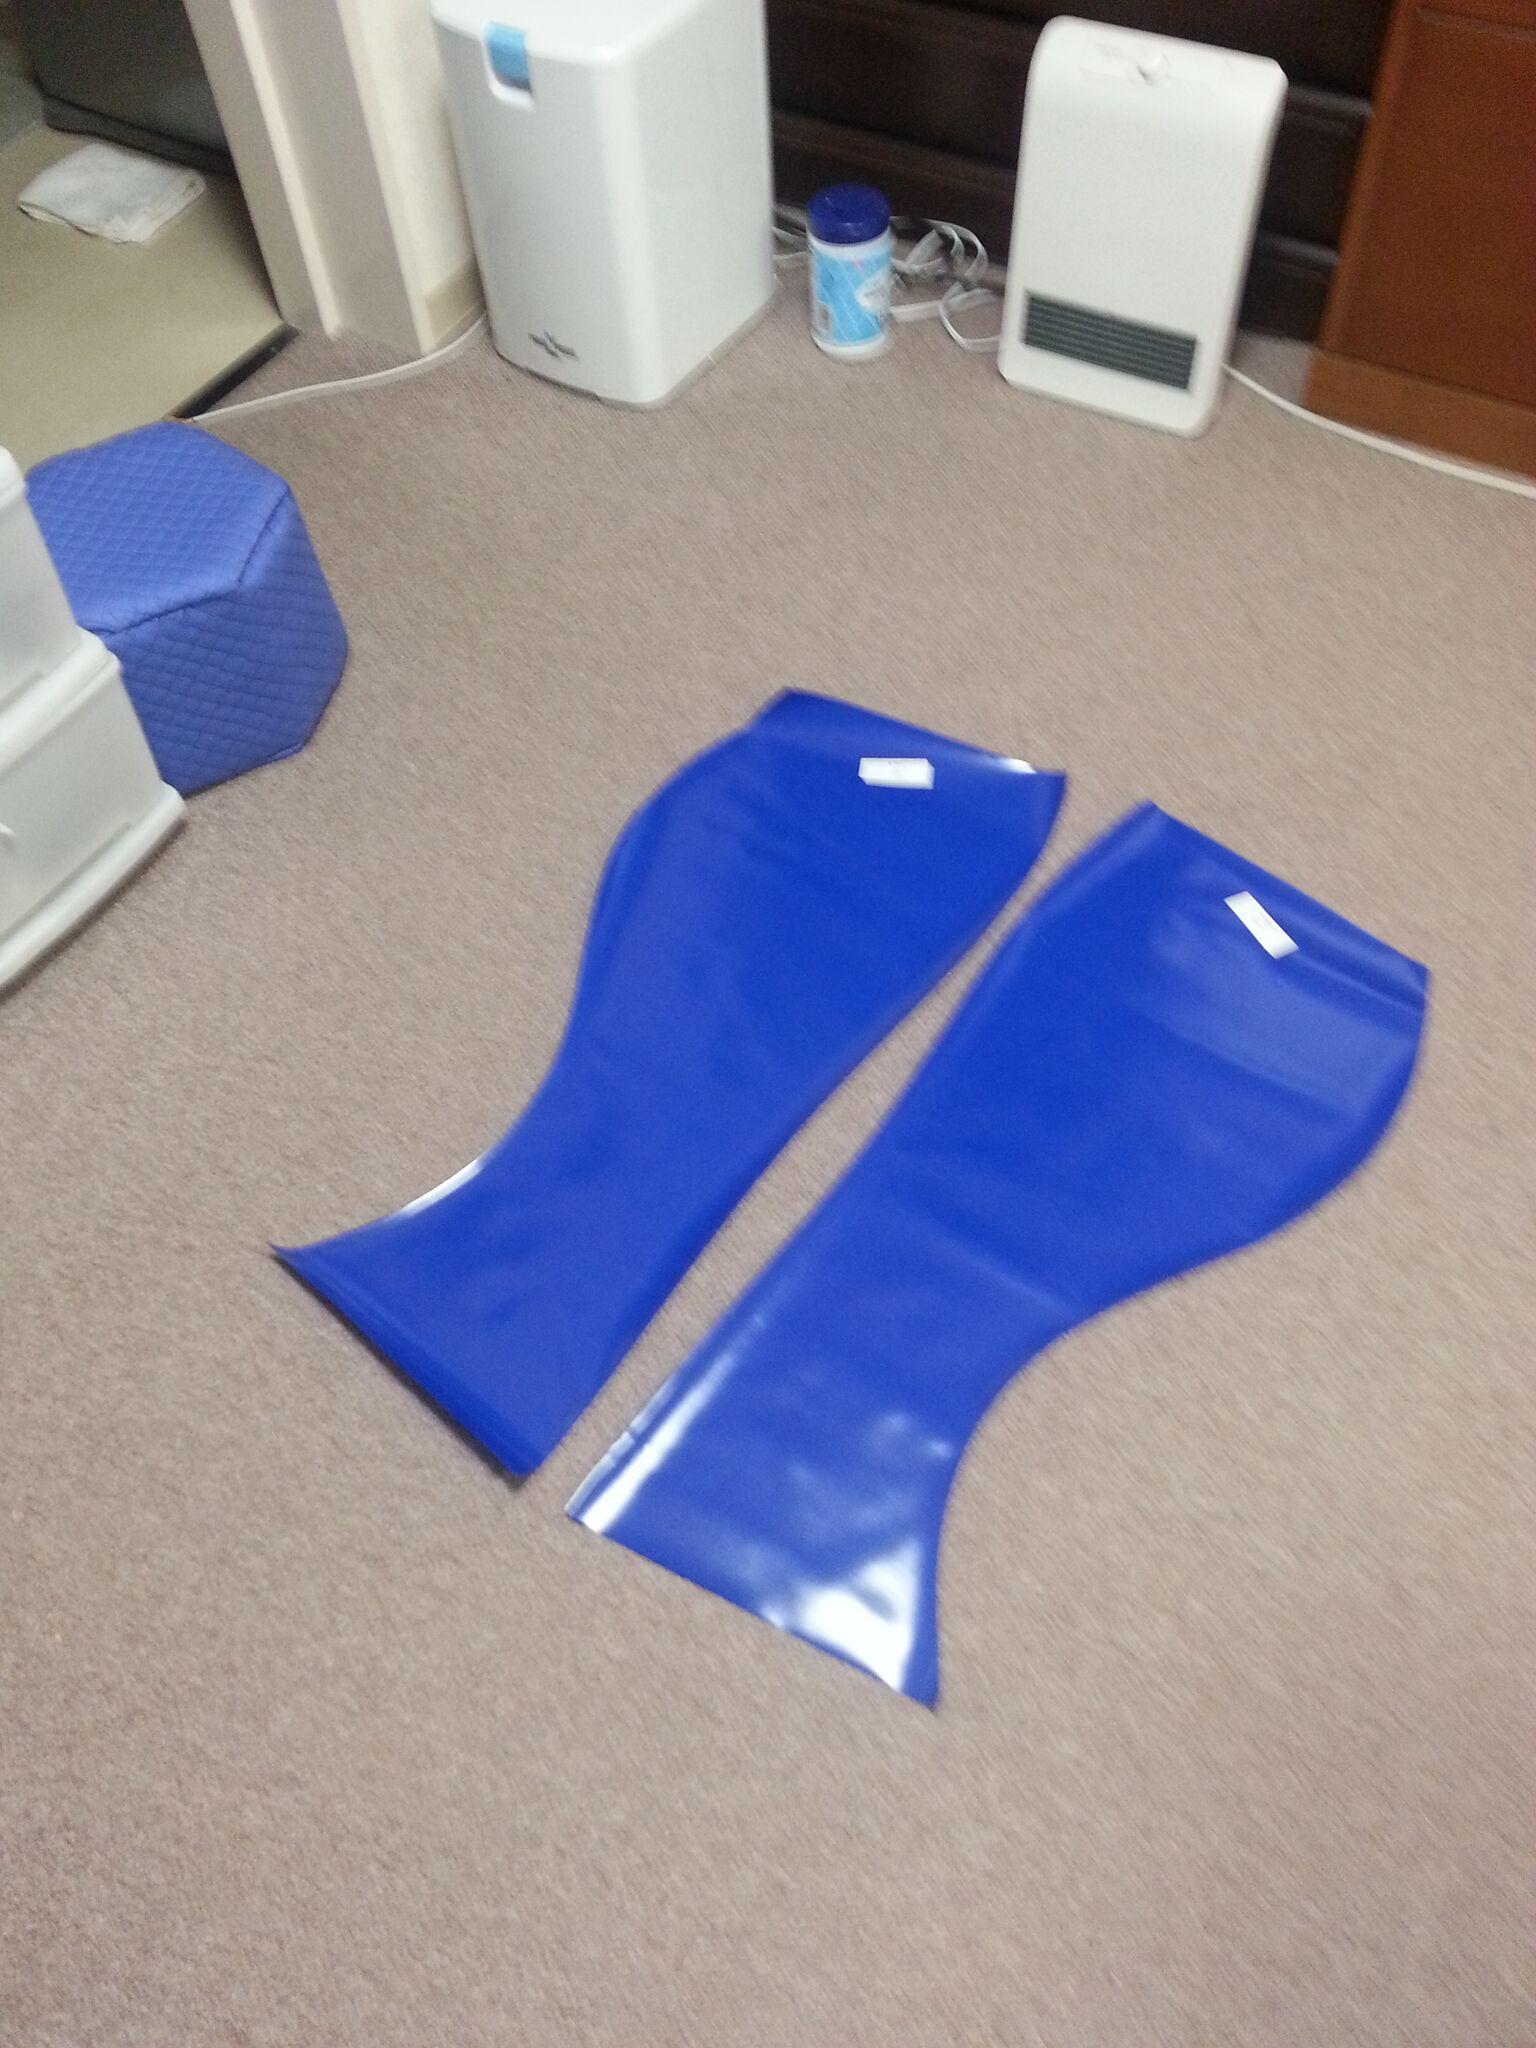
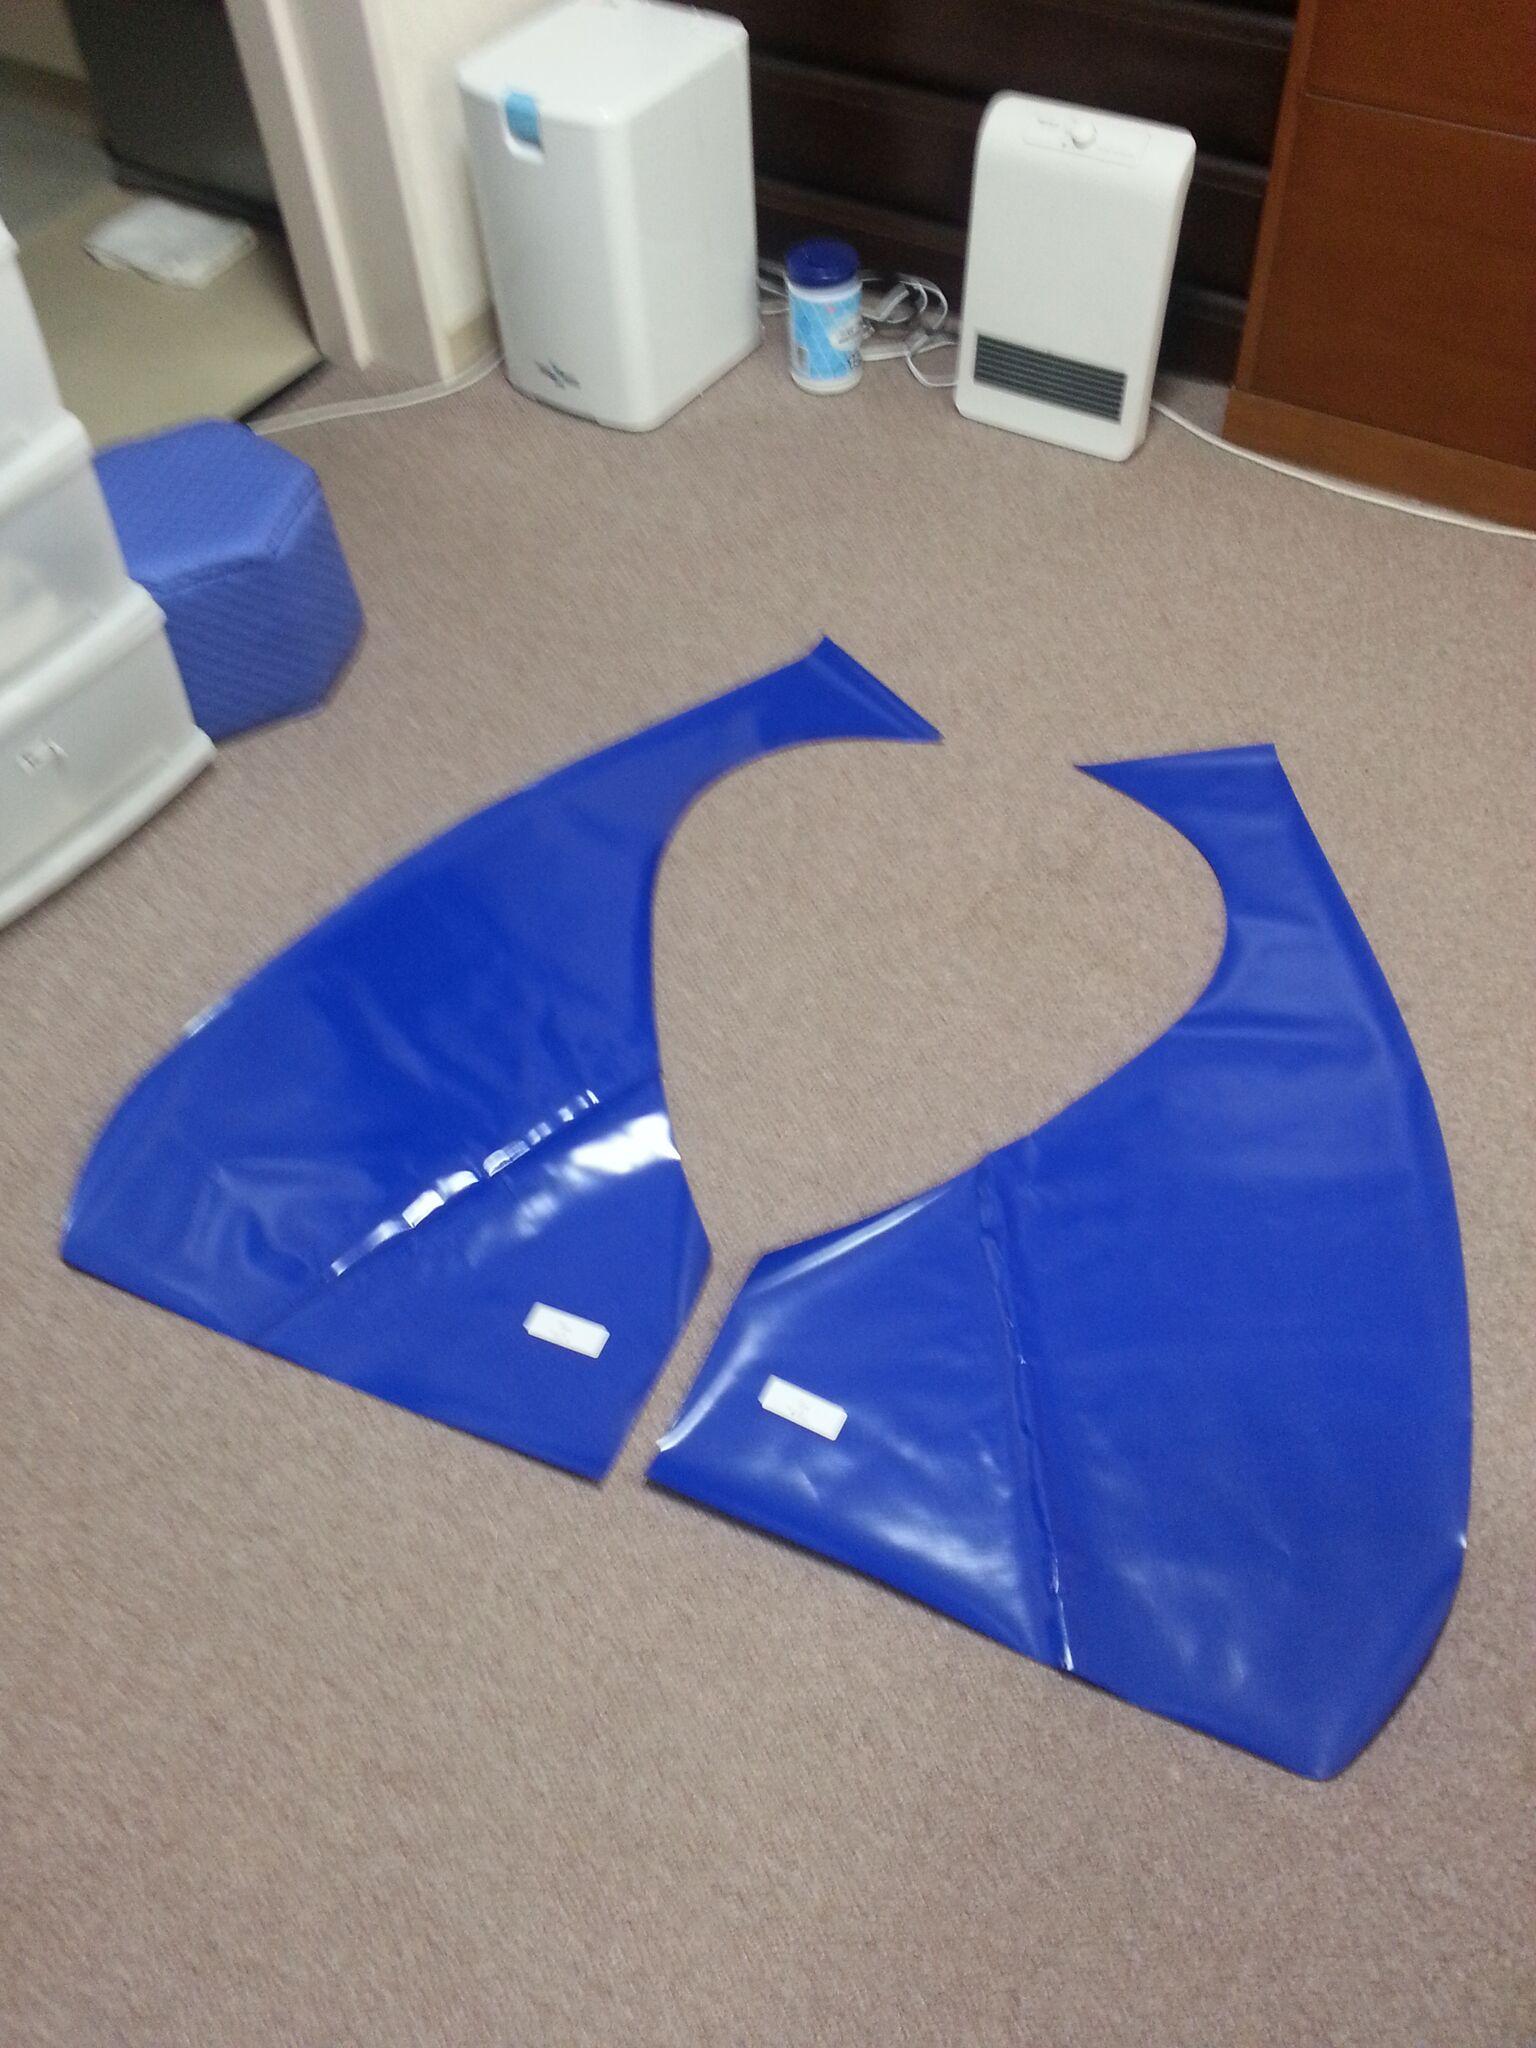
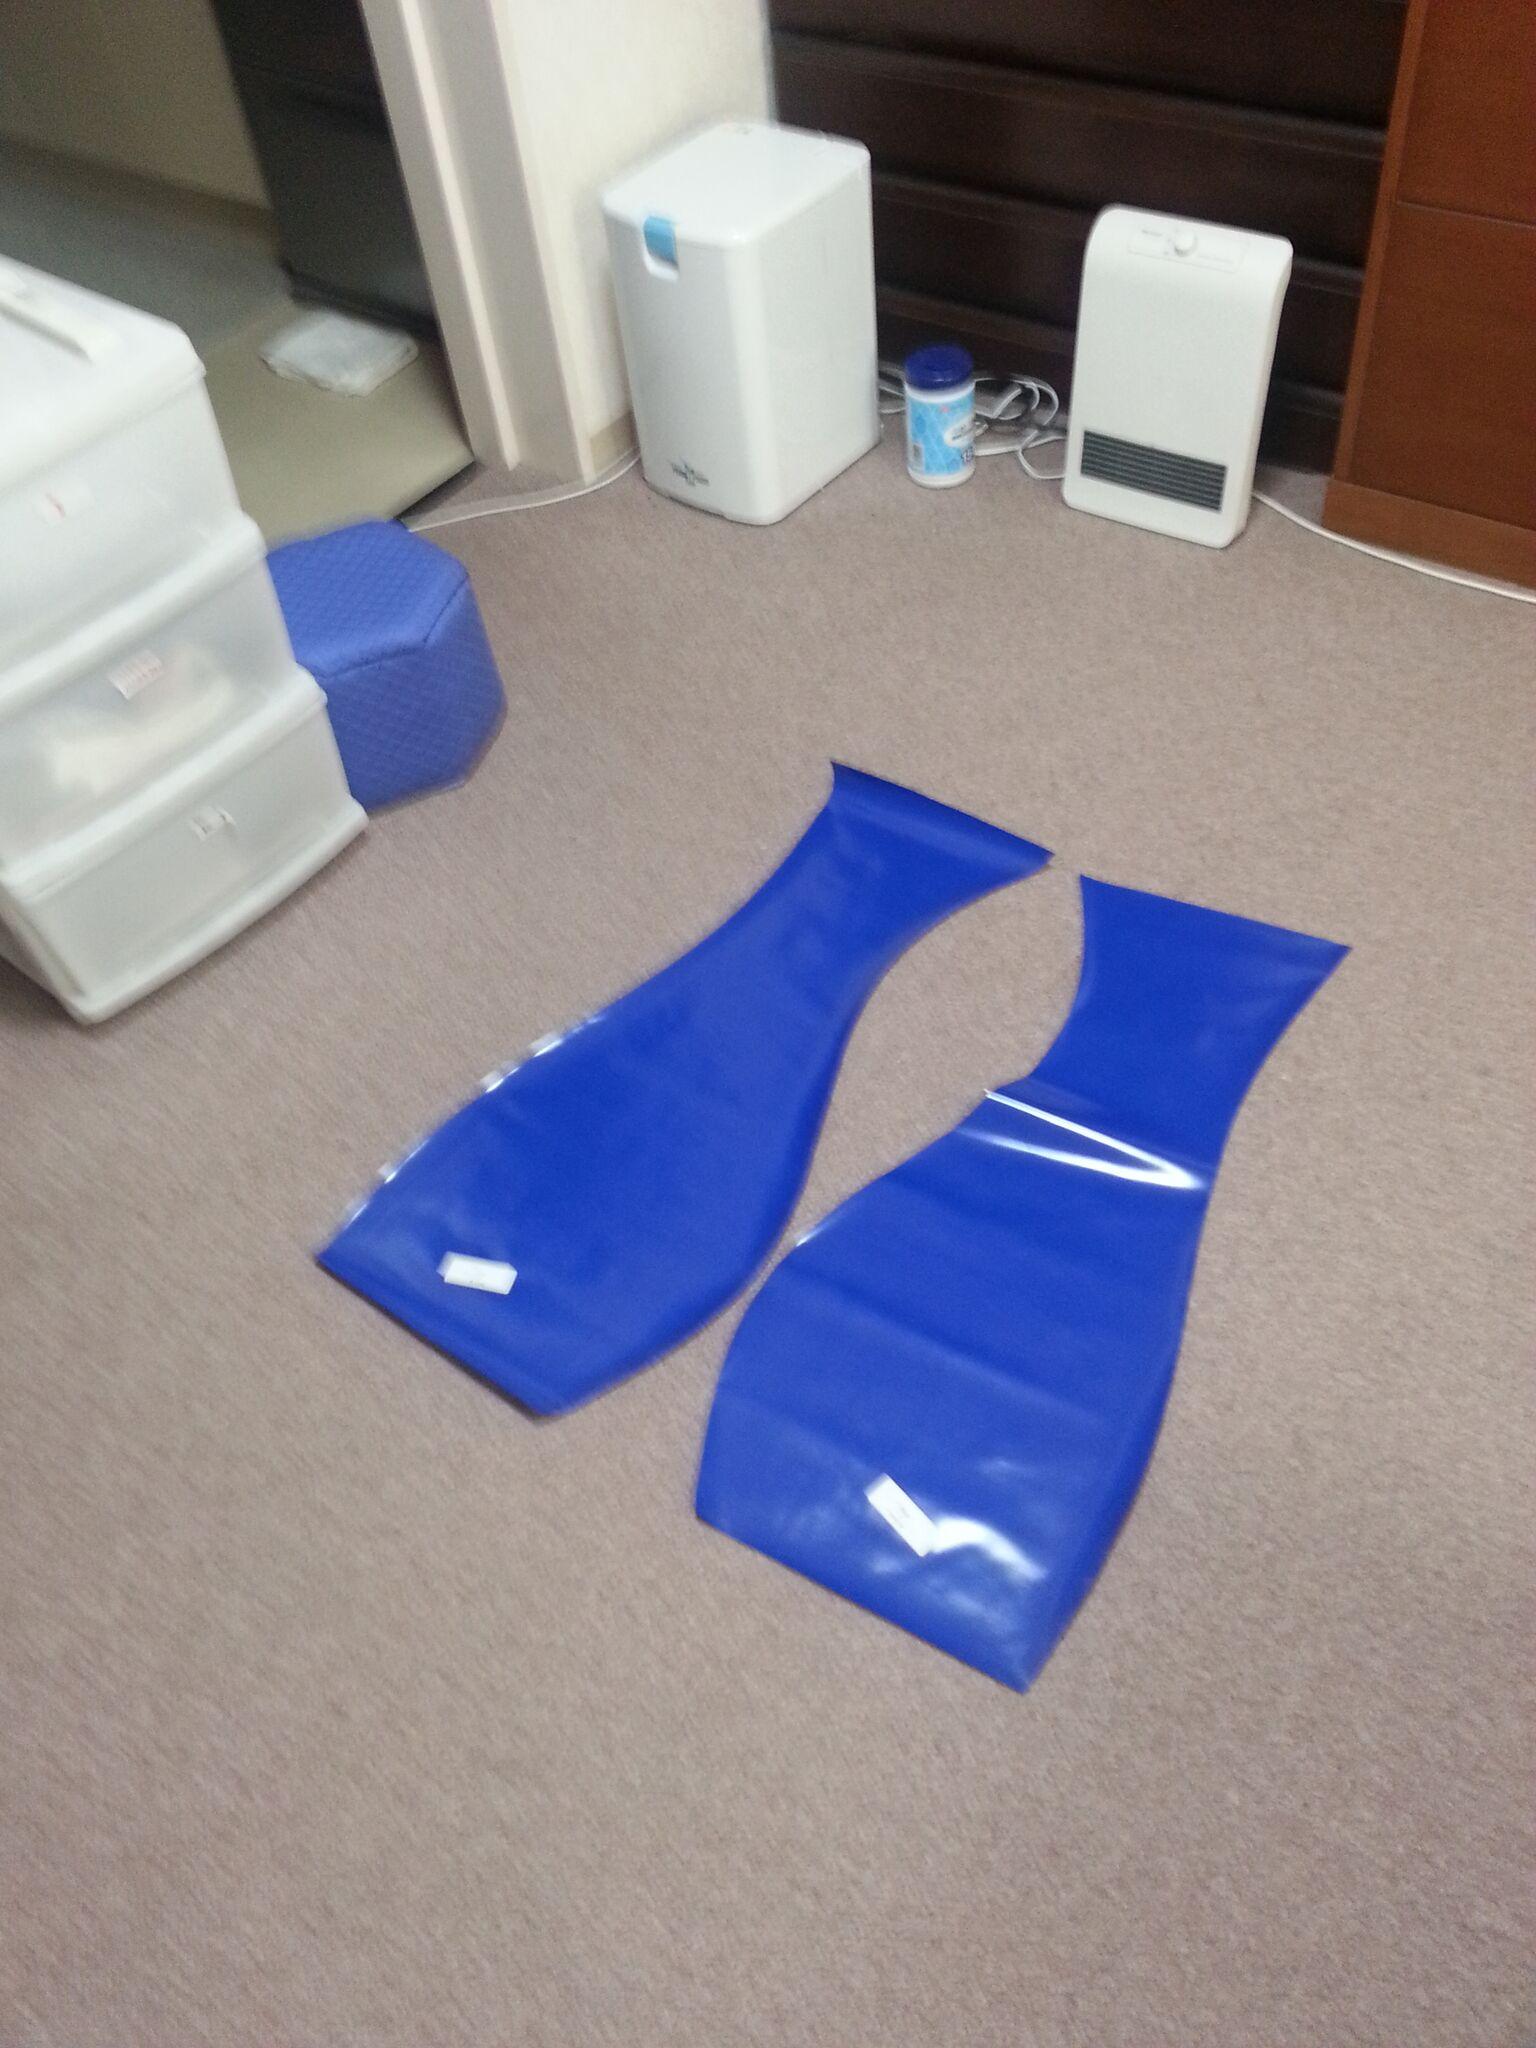
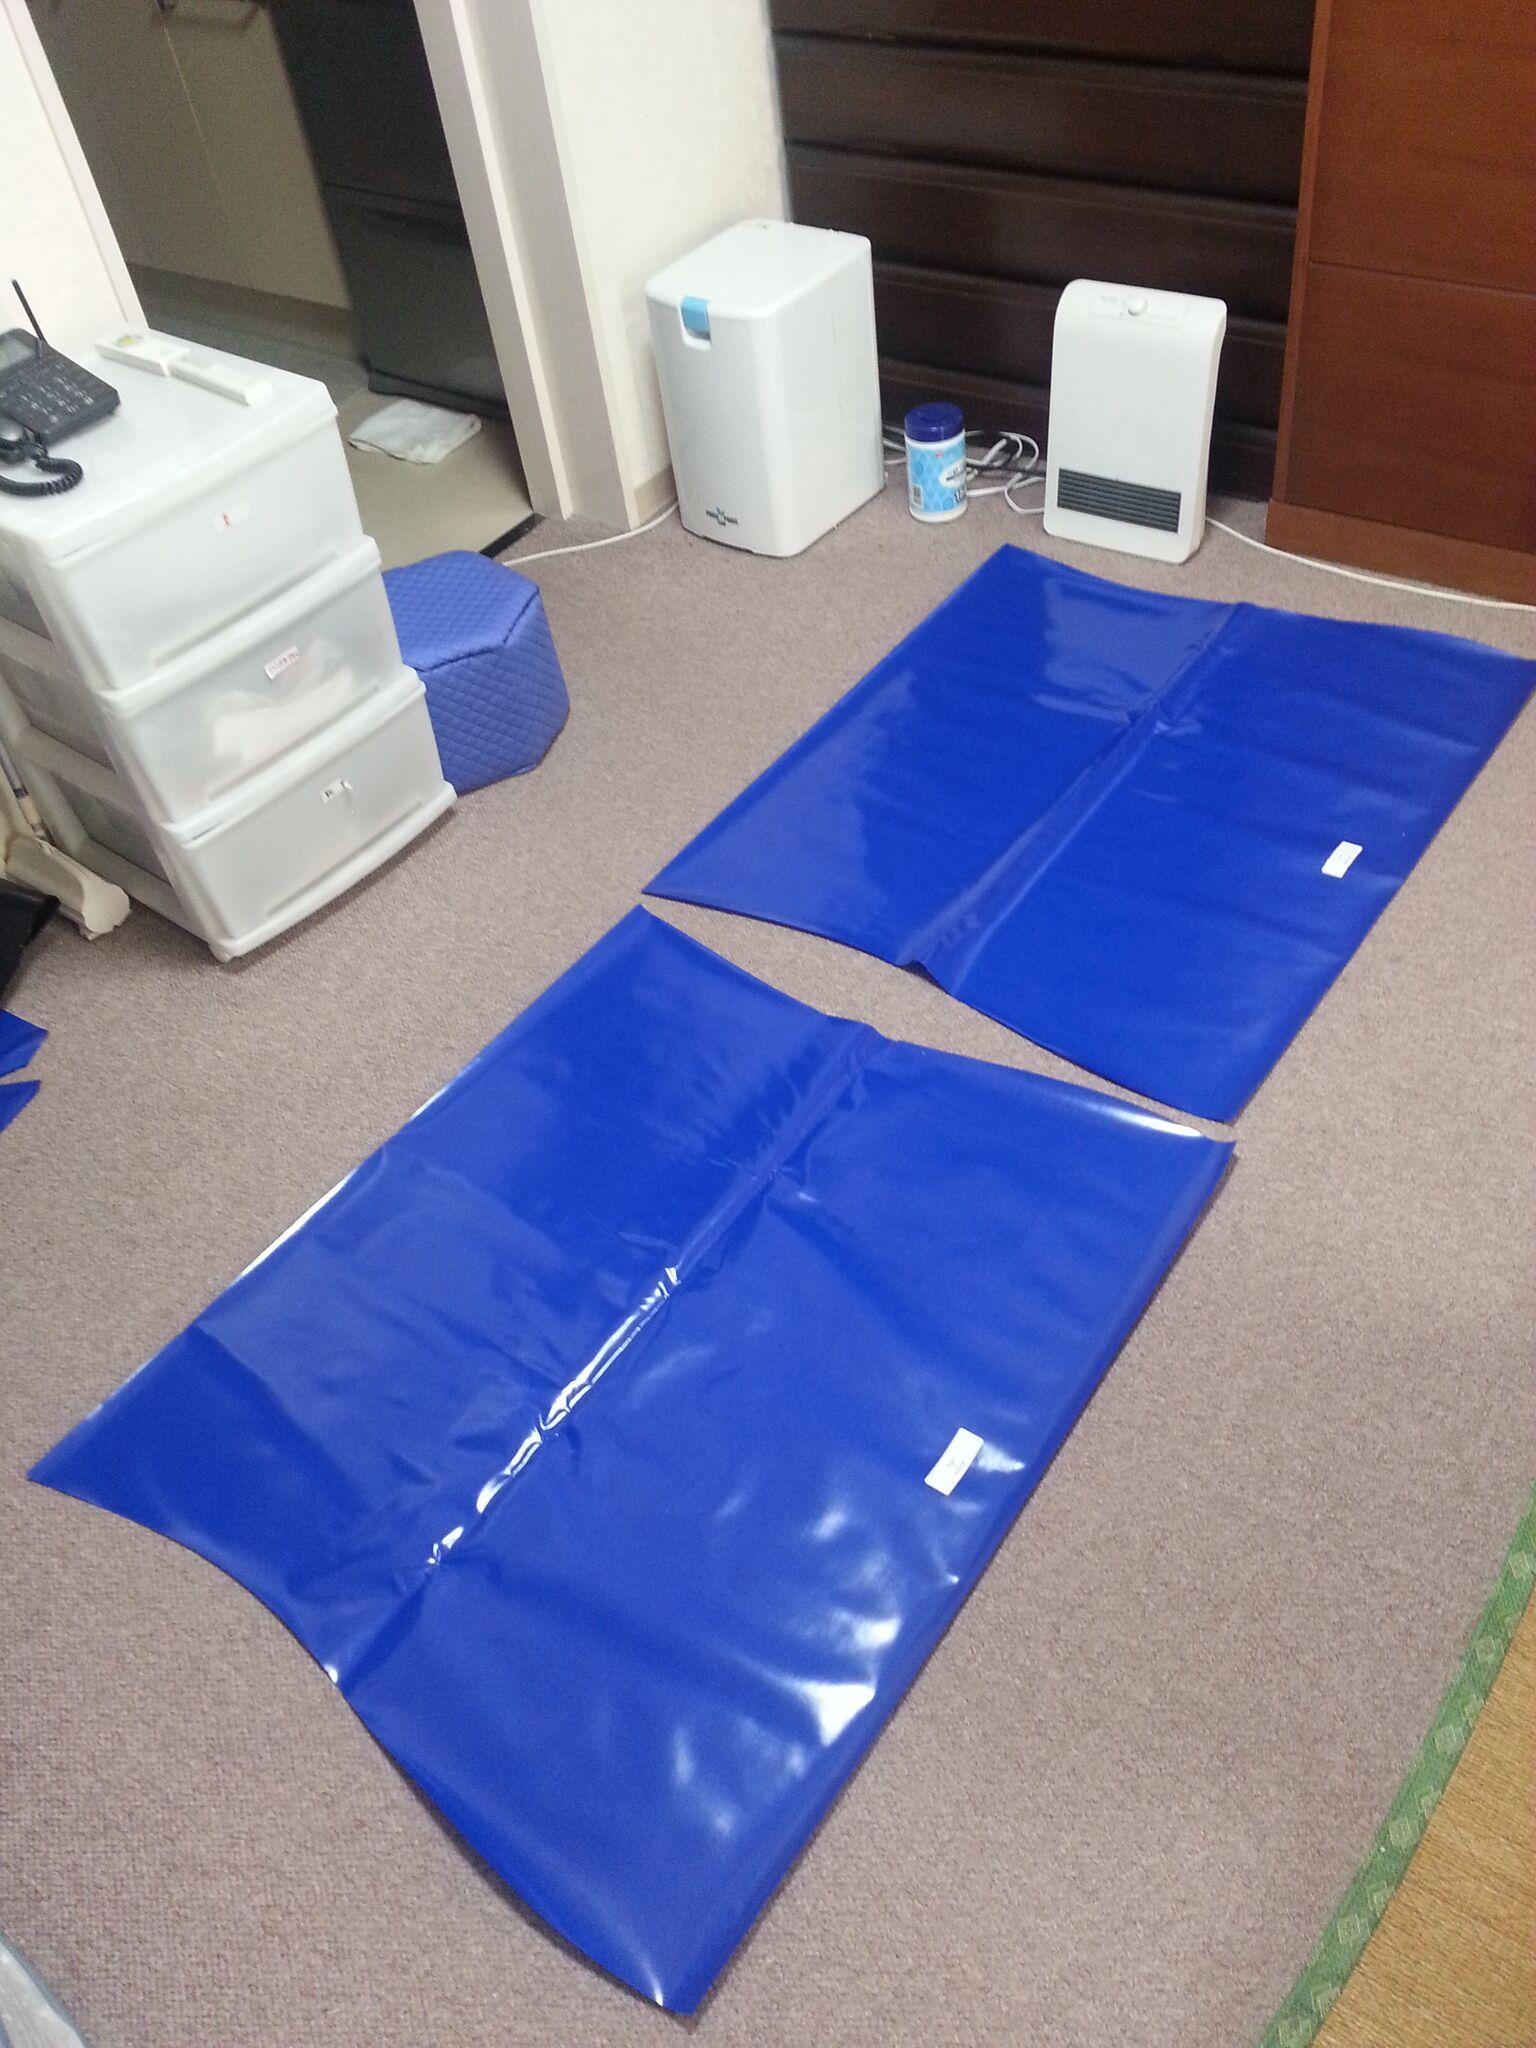
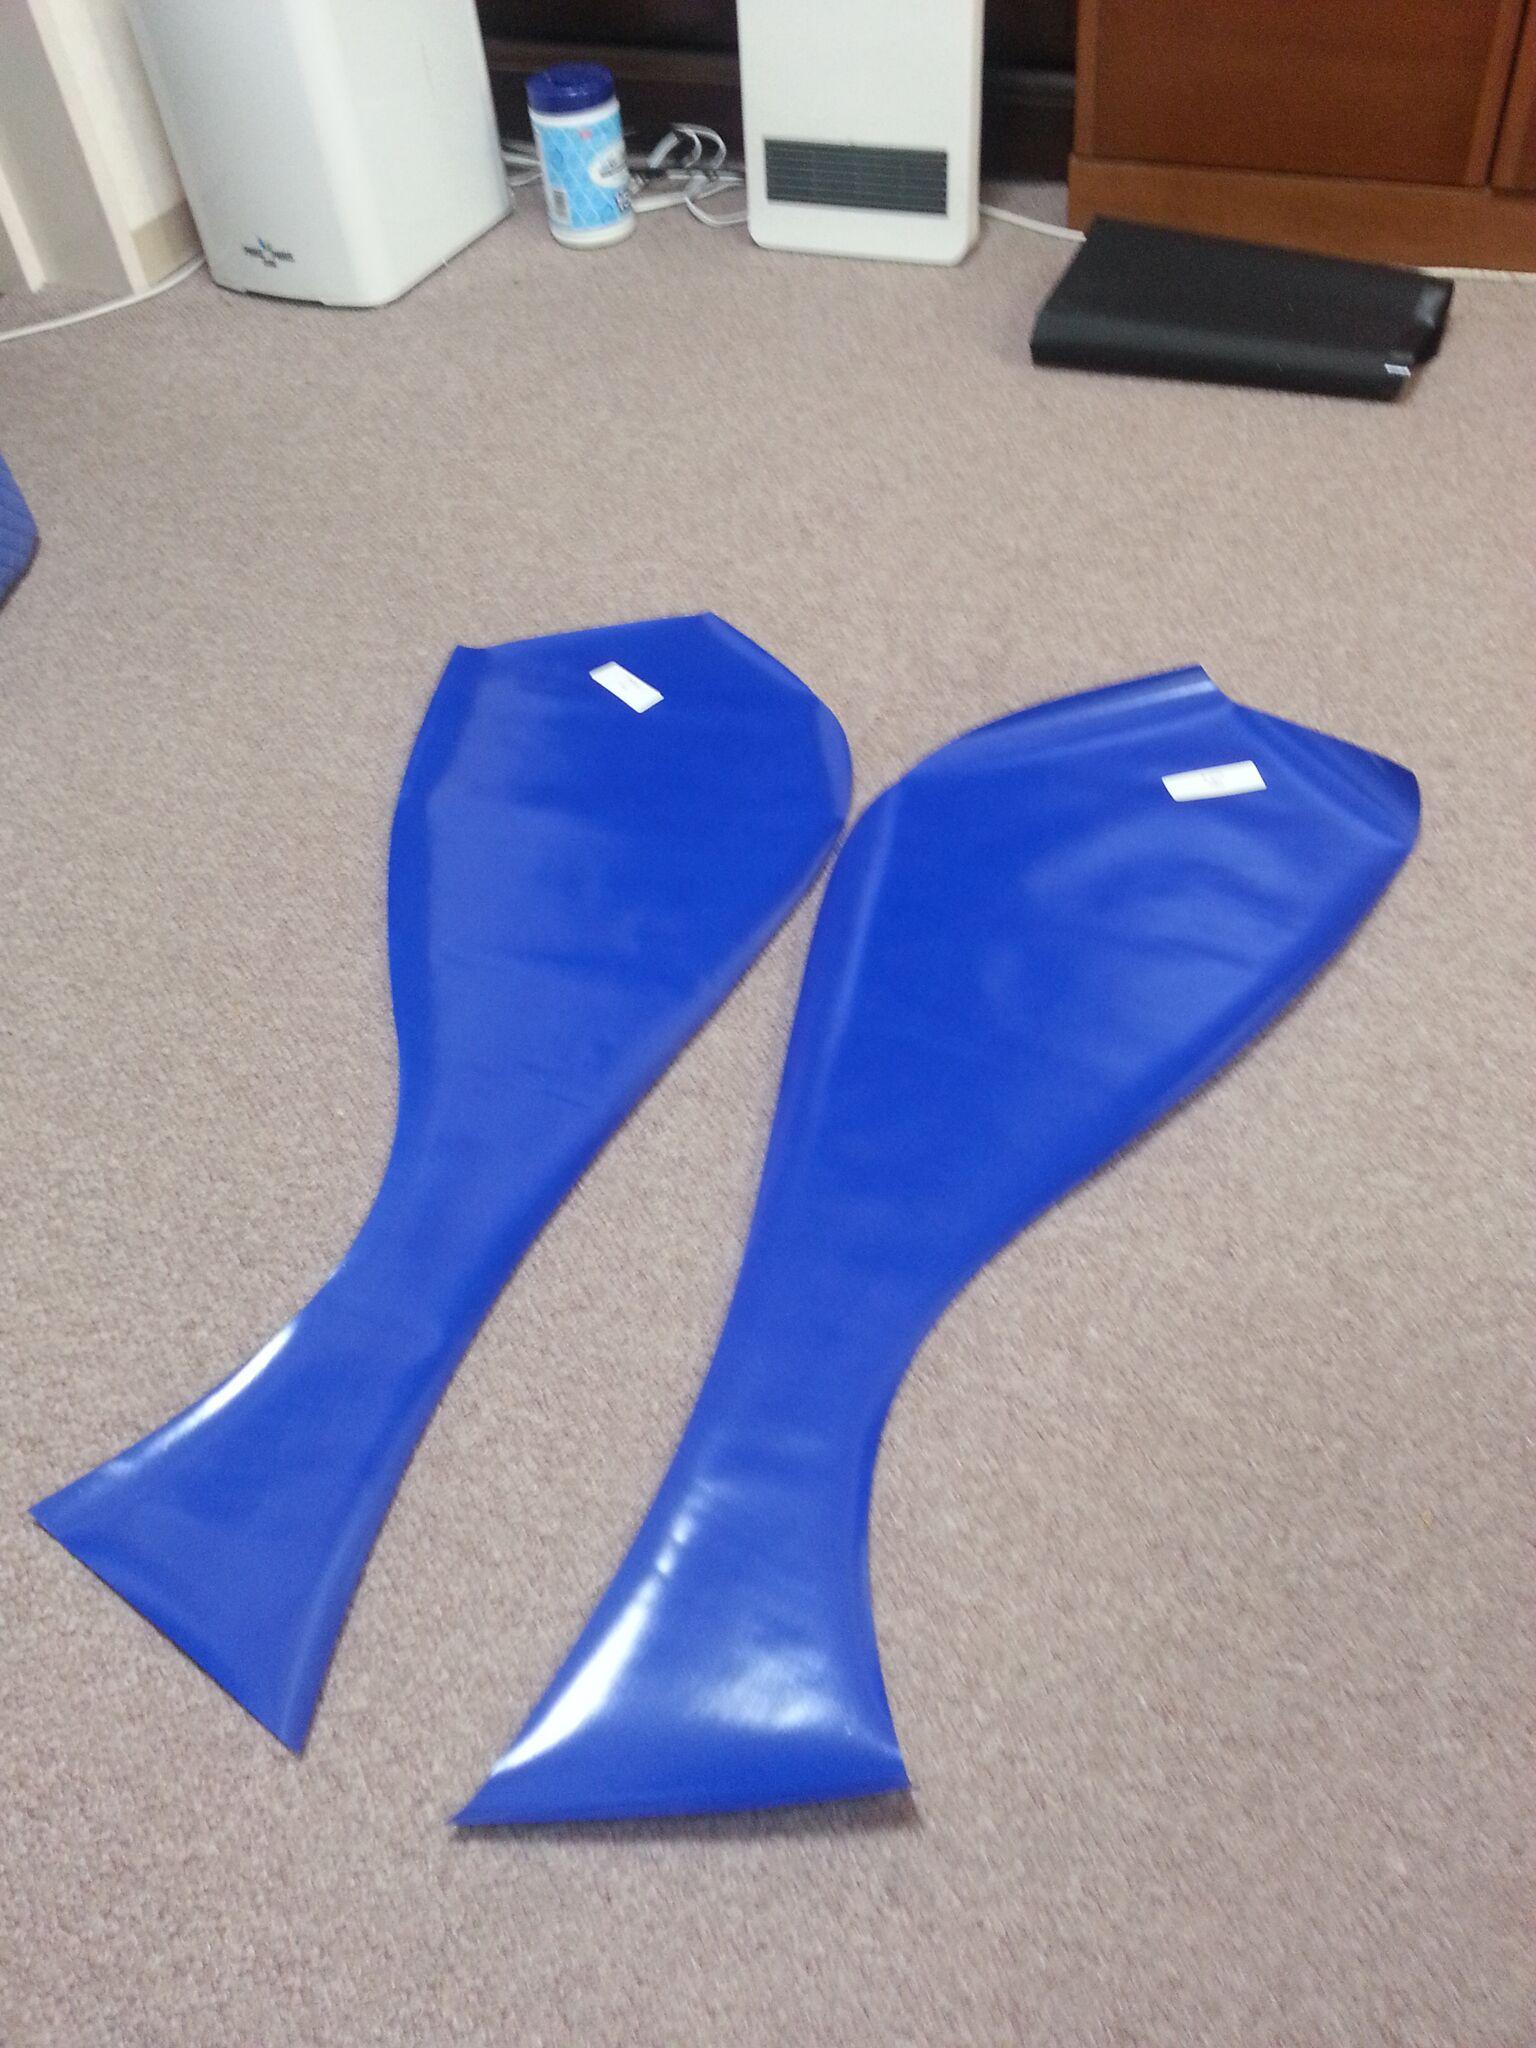
February 14, 2017 at 5:23 pm #2482hiroshiParticipant
I arrive for such a feeling.
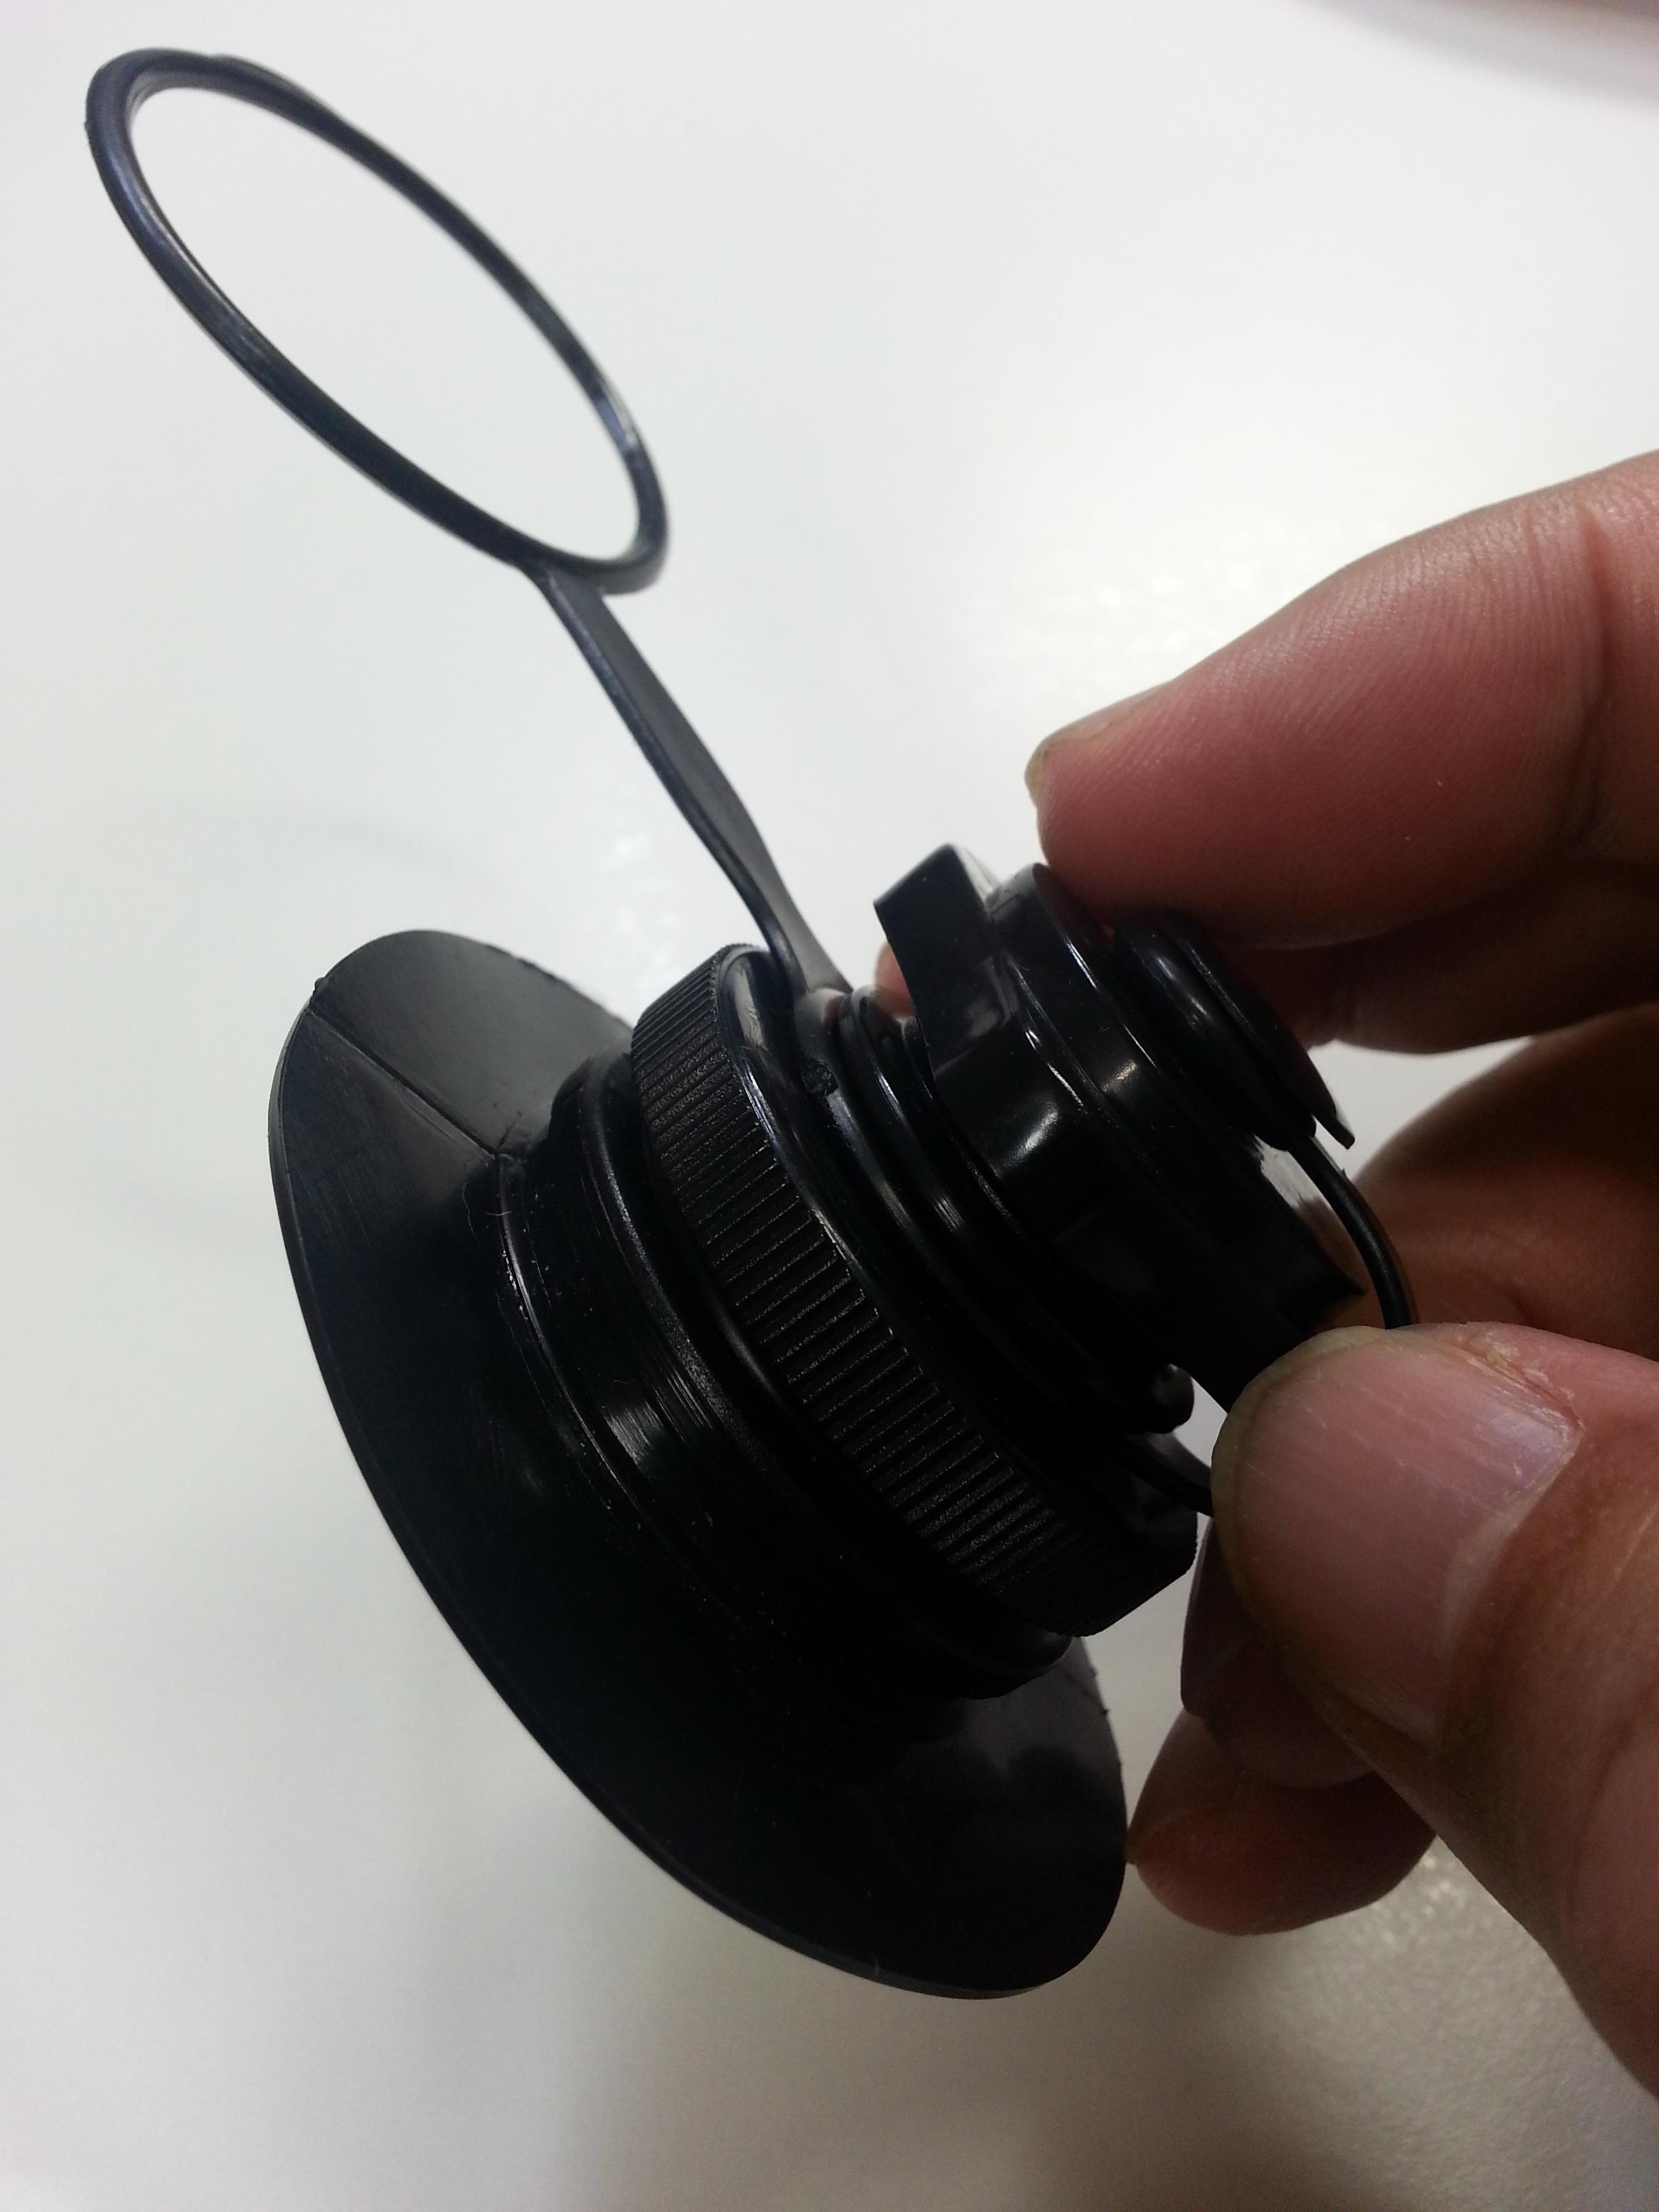
“diy packraft kit” (The contents of the kit)
Cloth and the air infusion valve that the bottom was cut to a paper pattern. (I make the main body with this.)
The cloth that the top is blue and black cloth.
The surplus cloth that the blue cloth was cut.
The cloth that the black cloth forms a seam of 2cm.
I did not think that there was blue cloth (cut surplus cloth). With blue cloth, I can give a test of heat-sealing it.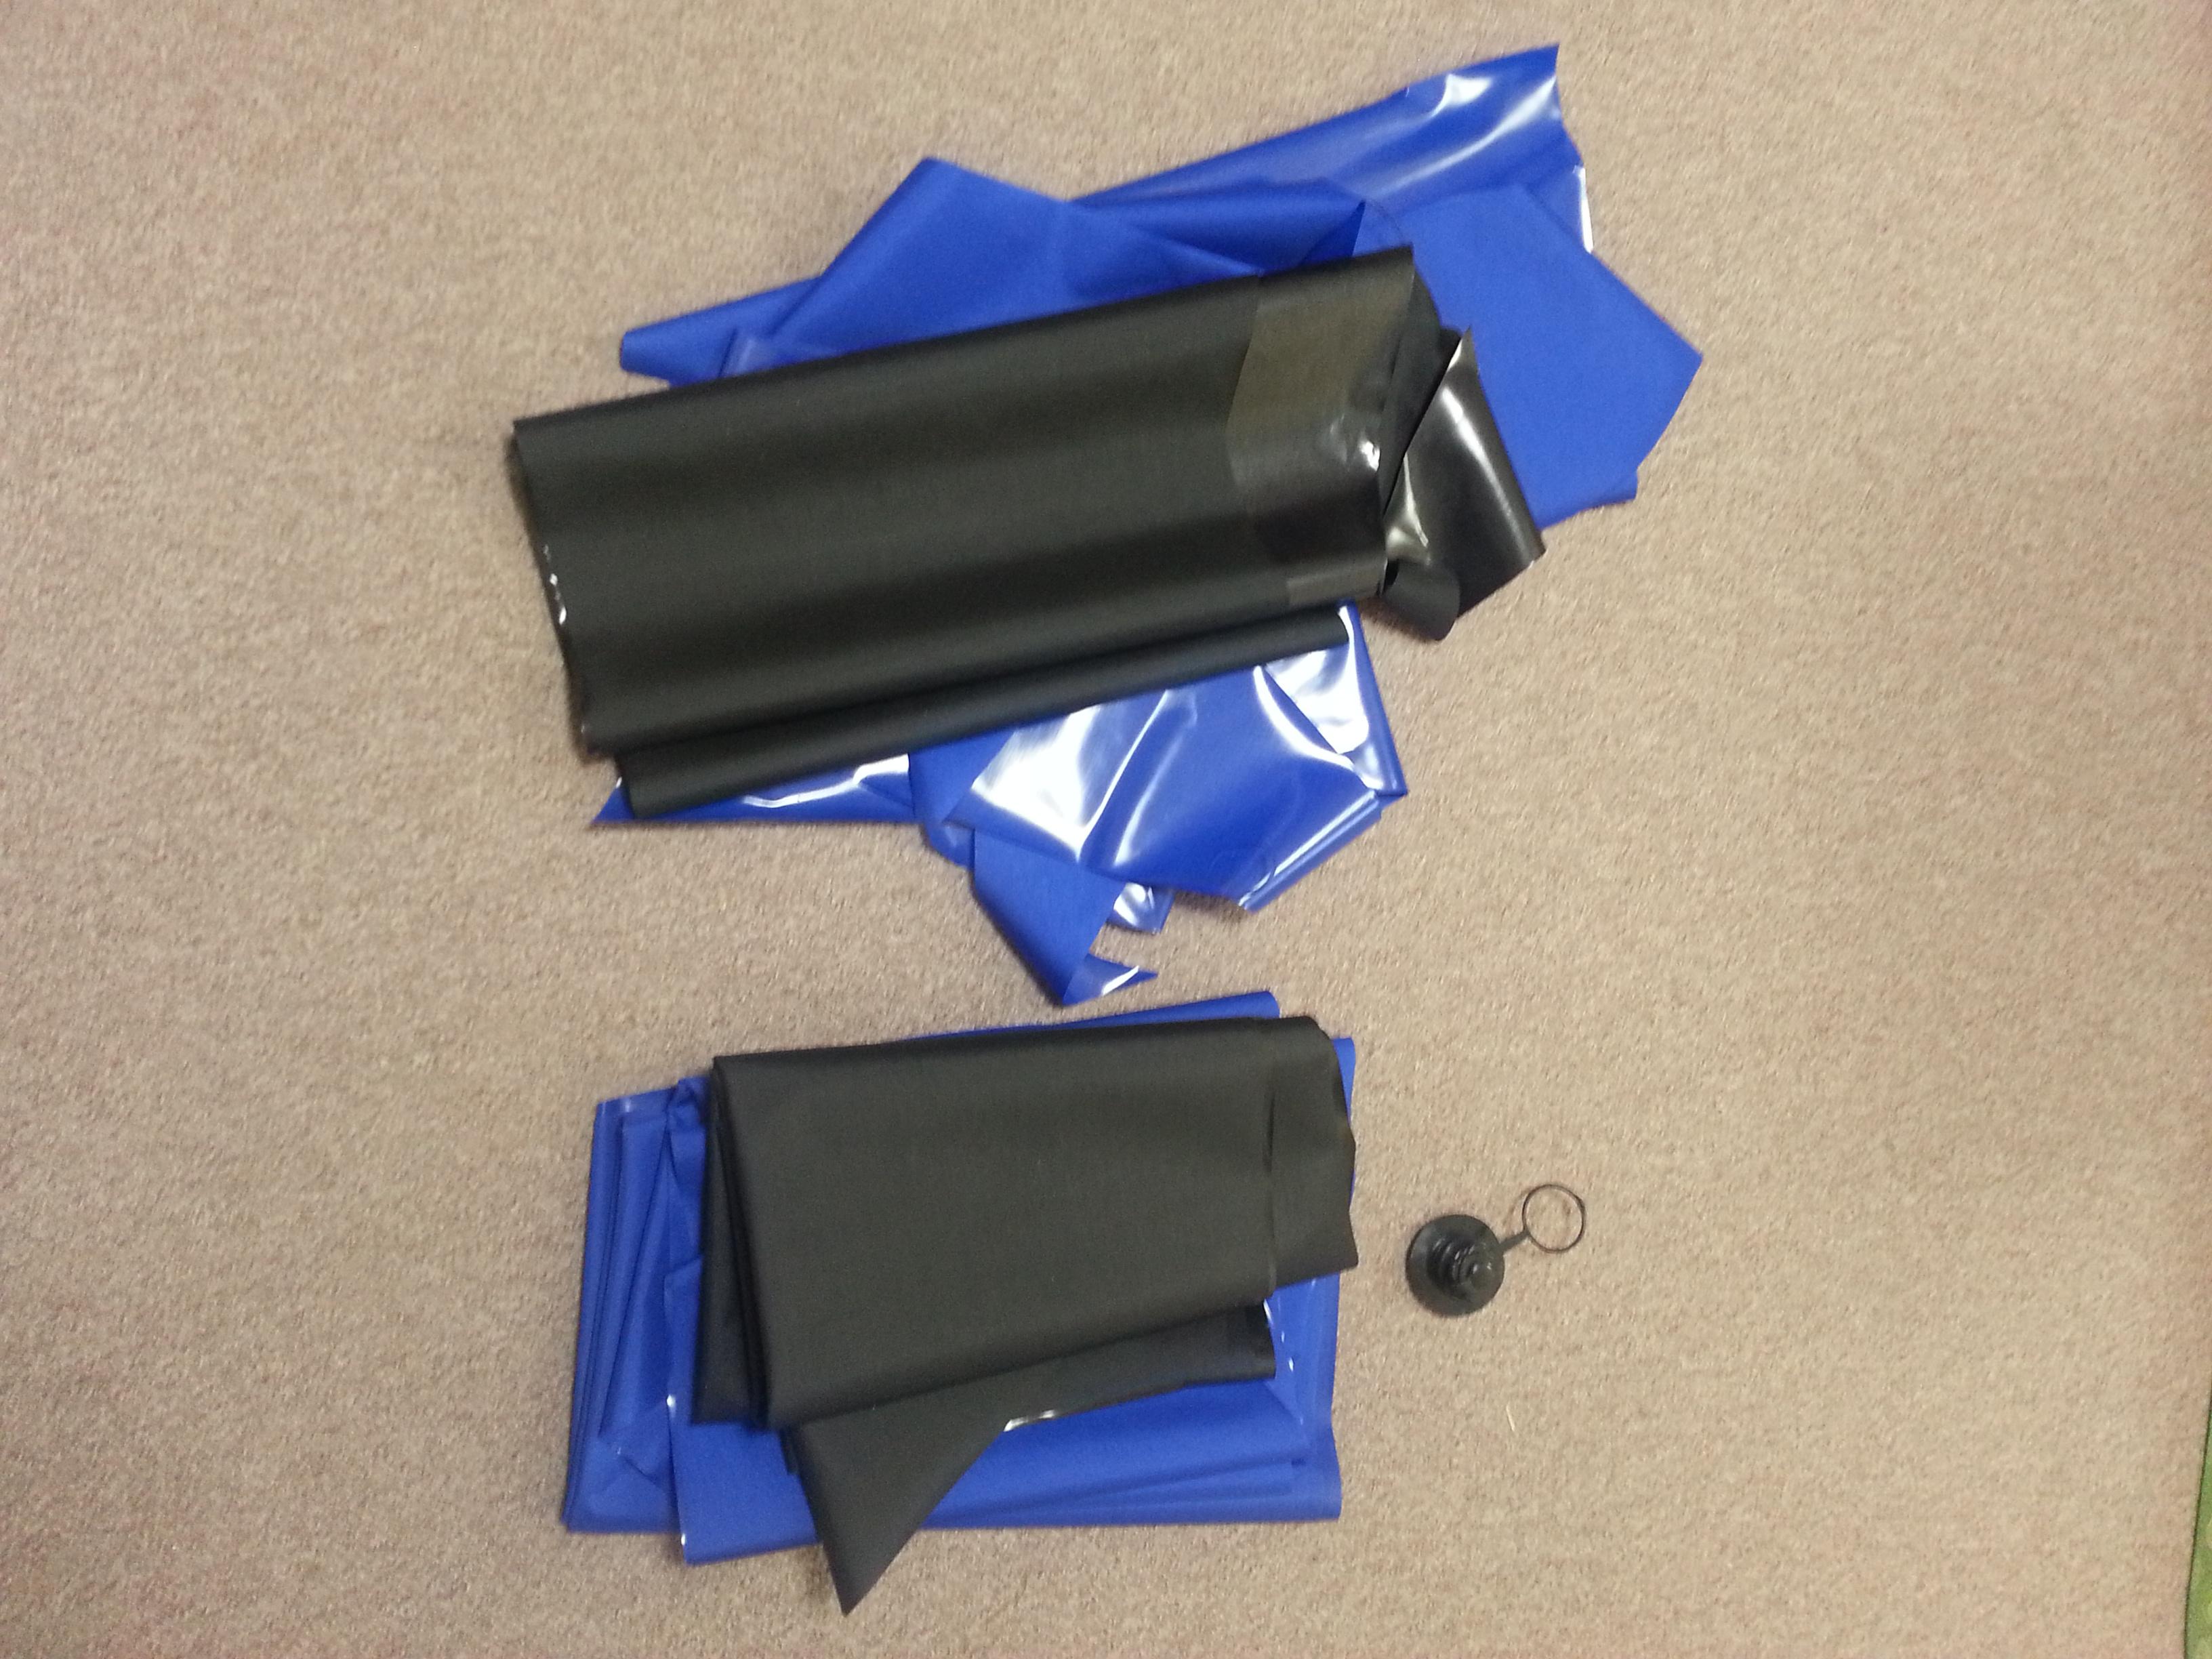
cut to a paper pattern. (I make the main body with this.)
The surplus cloth that the blue cloth was cut.
The cloth that the black cloth forms a seam of 2cm.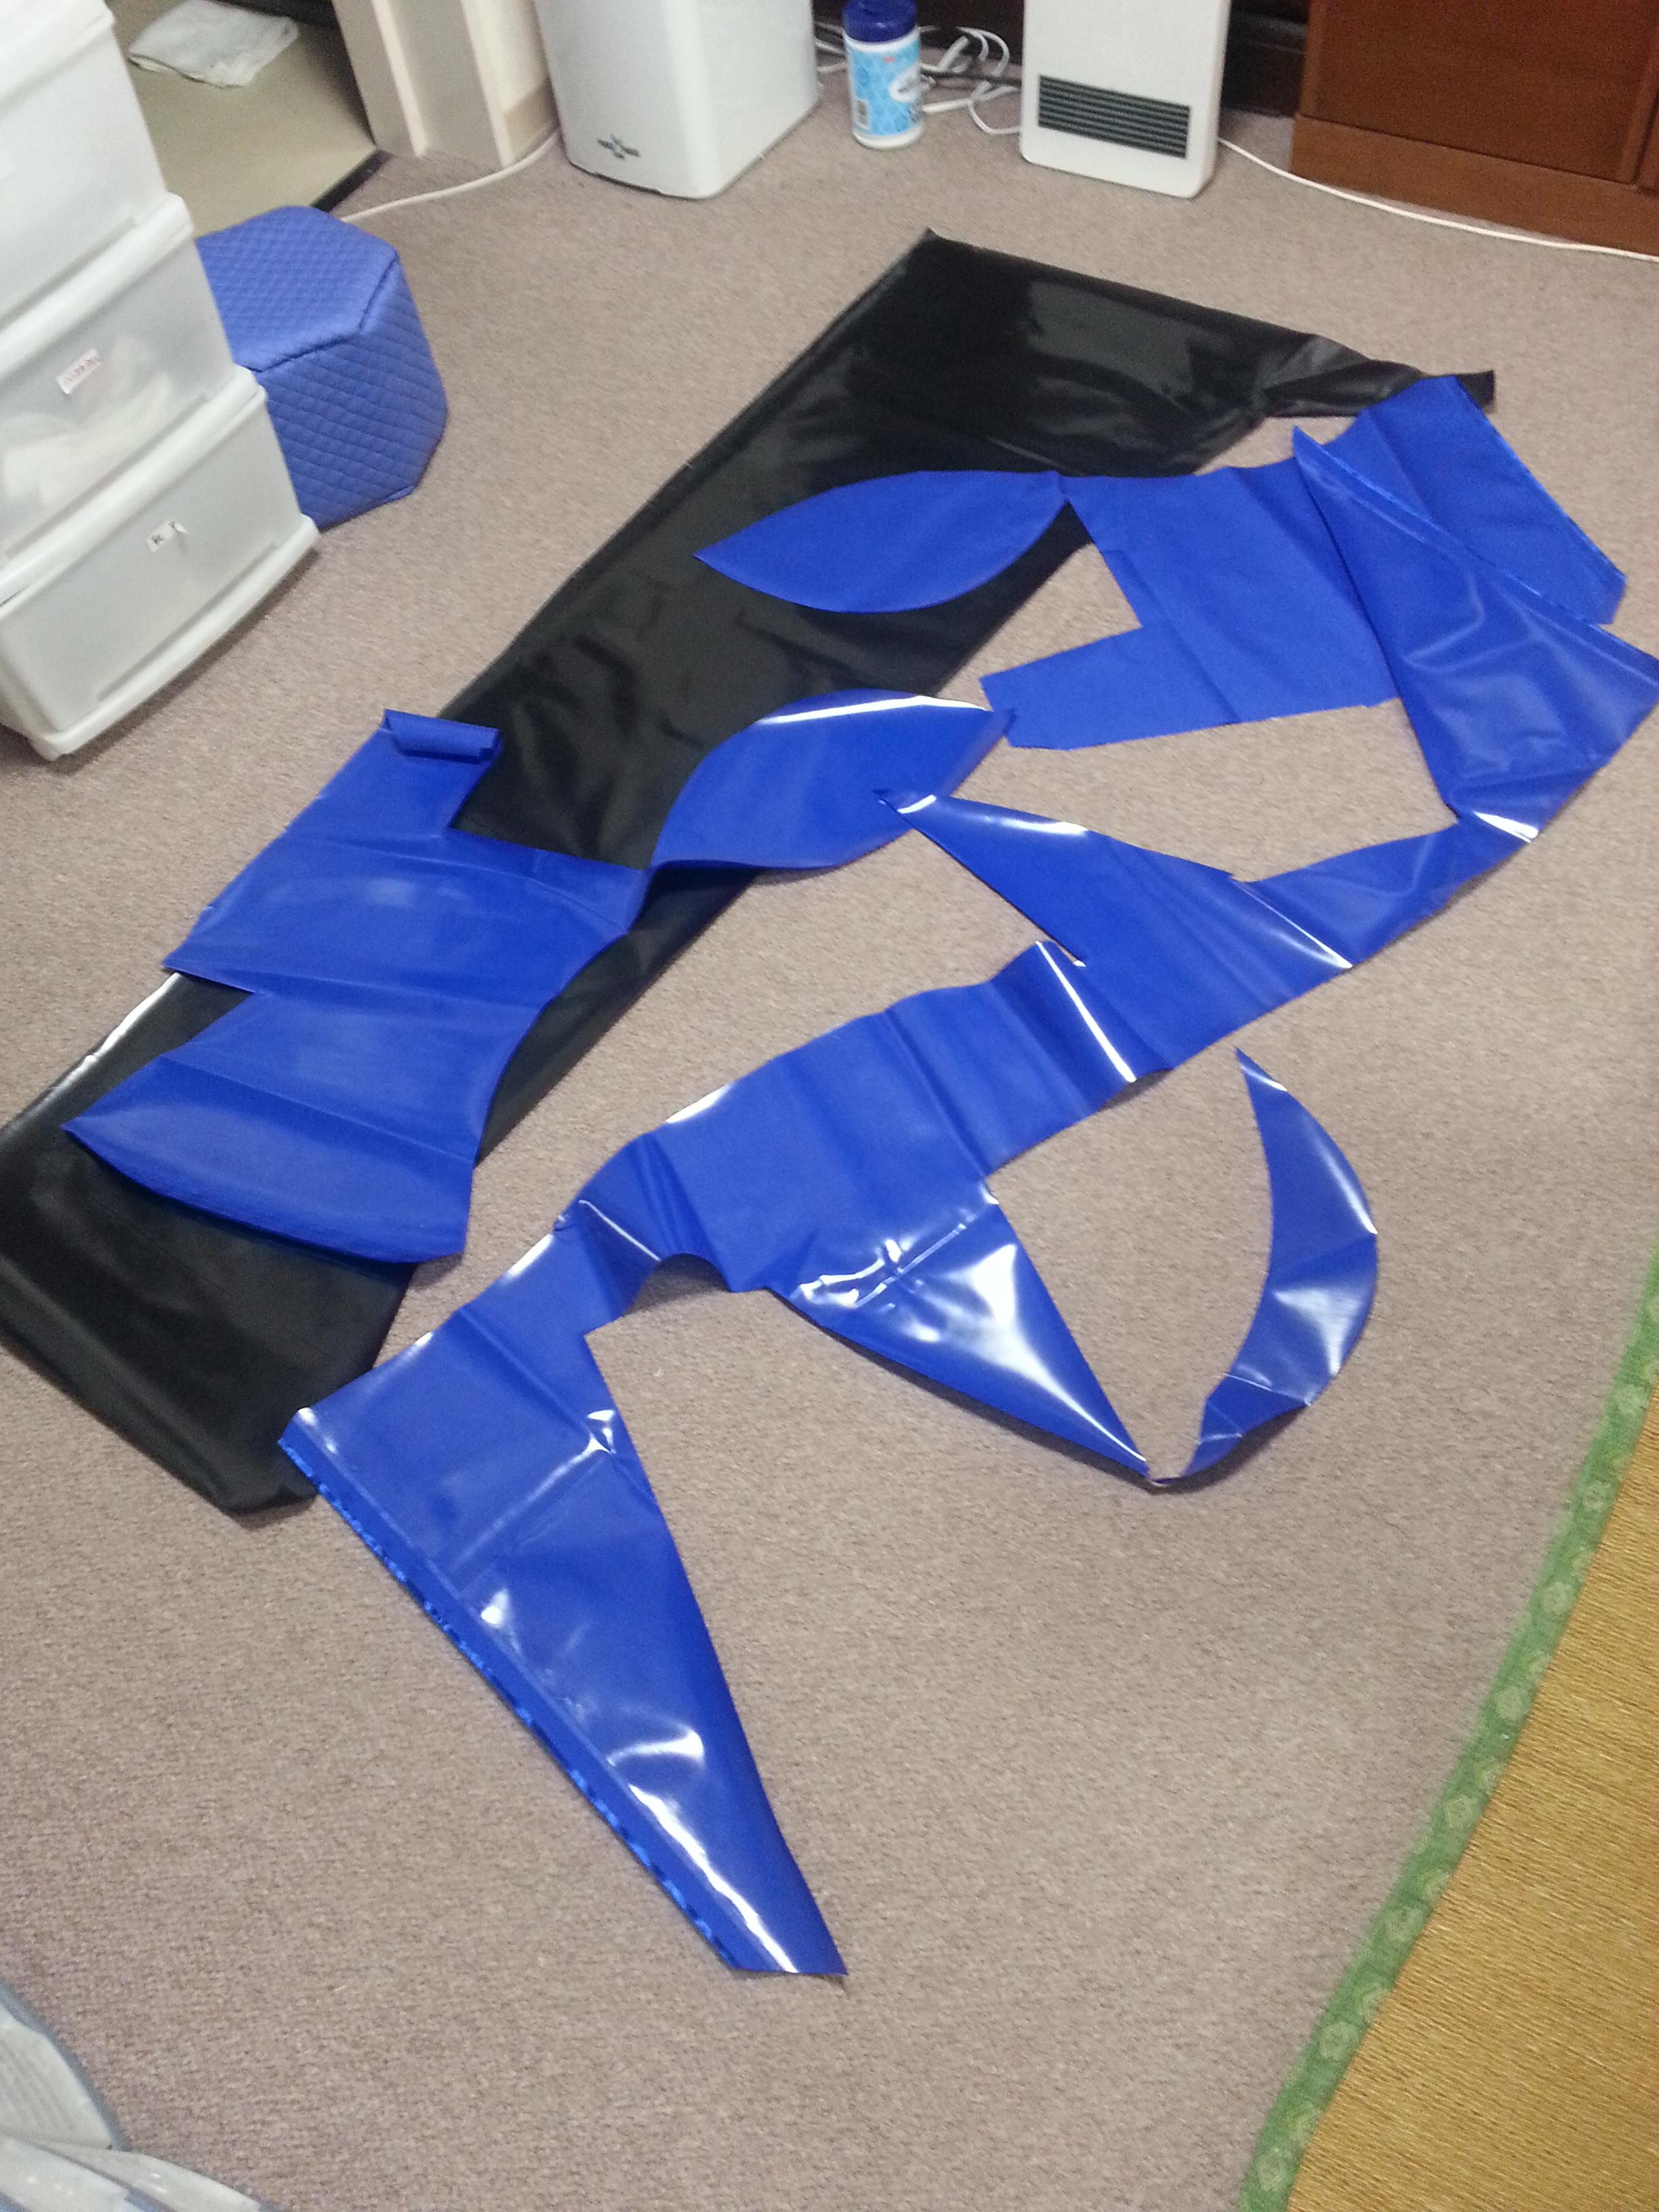
Well, I make it.
-
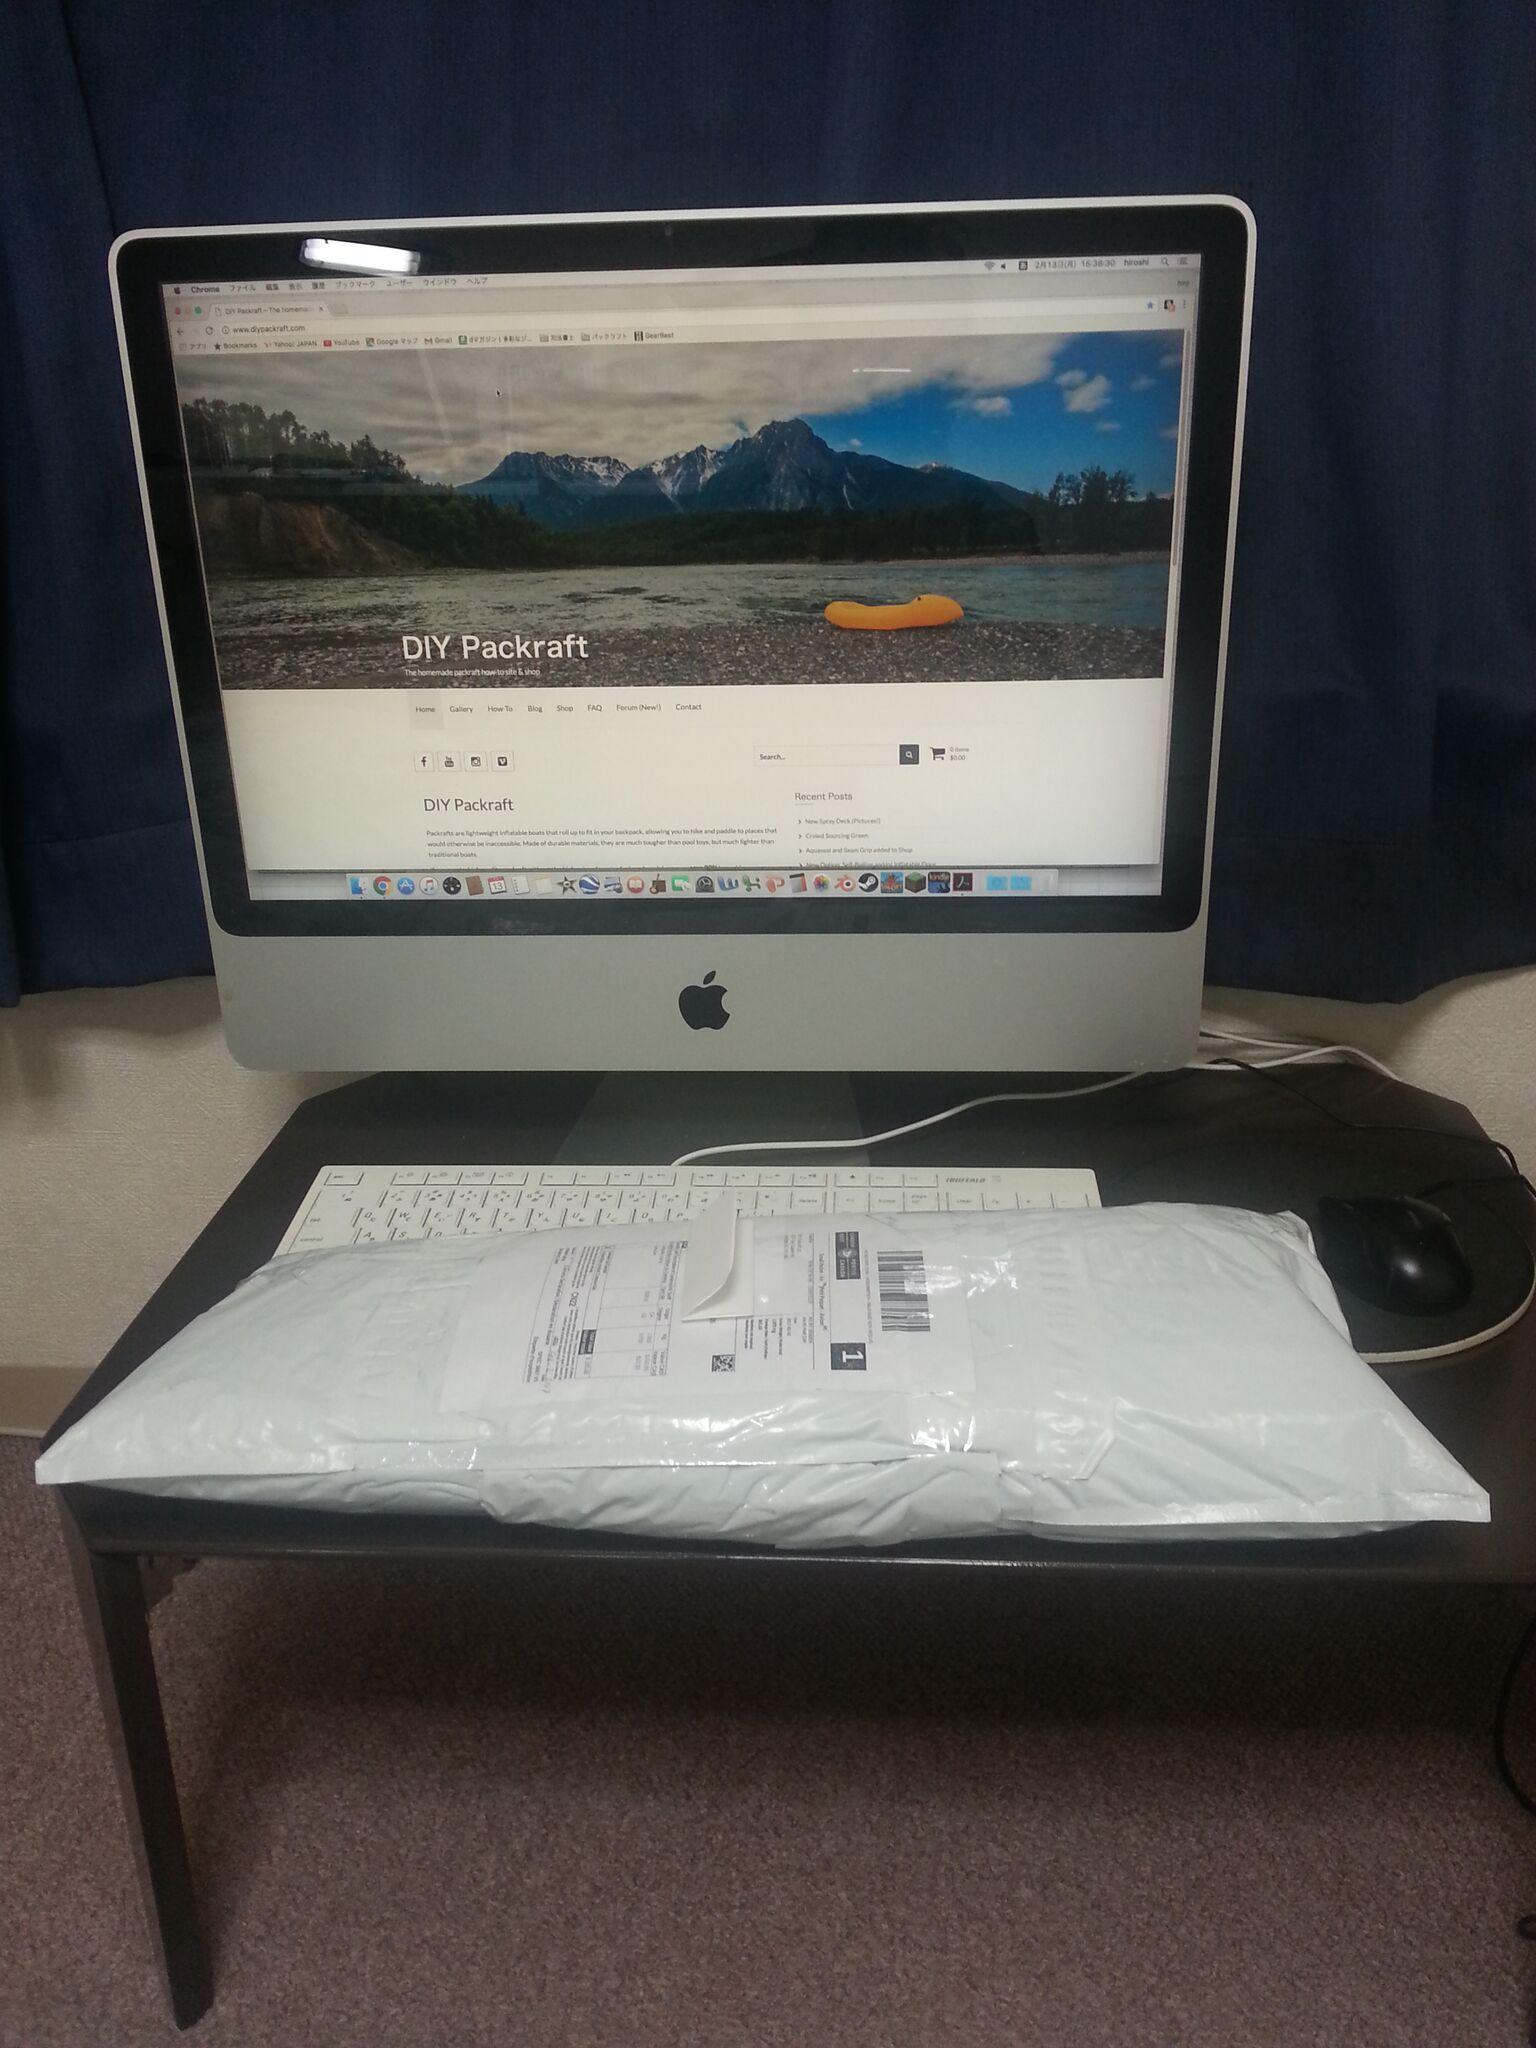
February 13, 2017 at 6:07 pm #2467hiroshiParticipant
I ordered it on February 1, and a product arrived on February 13. I make it at once.
By the way, it is a question, what should I do to attach a photograph to the topic of this forum?-
February 14, 2017 at 12:04 pm #2471Matt (Admin)Keymaster
Great – I’m glad the package arrived in Japan without a long delay.
I have now enabled the ability to upload images in forum posts (click the mountain icon above the text box when typing a forum topic or reply).
Thanks
-
-
February 1, 2017 at 4:29 pm #2343hiroshiParticipant
I think that my question was not clearly understood by topic and reply, so I will ask again.
1. Japan’s voltage is 100 V, can I use “clover mini iron Ⅱ – the adaptor”?
2. How long will it take delivery to Japan?-
February 1, 2017 at 4:41 pm #2344Matt (Admin)Keymaster
Hi Hiroshi, thanks for your order! It should take approximately ten business days to arrive. You will be the first in Japan 🙂
My Clover Mini Iron II is made for North America’s 120 V, 60 Hz power supply. Clover has a Japanese website, where you may be able to find more information, or at least contact information for someone who can answer your question better than I can. Here is the website: http://www.clover.co.jp/
If you have already purchased a North American style iron, you will probably be able to find an adapter to convert your local power supply to 120 V, either online or at your local electronics store.
Thanks again!
-
-
January 31, 2017 at 9:24 pm #2319hiroshiParticipant
Blue Colour. (floor and seams is black)
Large size.
single layer floor.
I ordered.How long will it reach Japan?
This will mark Japan for the first time in the map.
By the way, I plan to purchase “clover mini iron Ⅱ – the adapter” from amazon.com,
Japan is V100 but can it be used? -
January 31, 2017 at 6:05 am #2308hiroshiParticipant
It is a question about color.
For example, if you choose blue, is the floor and tape blue?
Or is the floor or tape black?-
January 31, 2017 at 9:01 am #2309Matt (Admin)Keymaster
Hi @hiroshi, the floor and seams can be either black or the same colour as the tubes – it is your choice. The product page tells you how to indicate which style you prefer.
I recommend a Large packraft for your stature.
The kit does not include a printed manual, as all of the instructions are on the How-To web pages, including pictures and videos. I answer questions quickly, and whenever someone asks a question that is not already answered on the website, I update the site so everyone else can find the answer as well.
Cheers!
-
-
January 31, 2017 at 2:40 am #2307hiroshiParticipant
Thank you for an immediate answer.
By the way, I am 180cm tall, 100 kg in weight, does the size have good S, M, which of L?Then will DIY PACKRAFT KIT have the manual?
-
January 30, 2017 at 9:38 am #2295Matt (Admin)Keymaster
Hi @Hiroshi,
Thanks for your interest in a DIY Packraft. The side tube diameter is 27.5 cm (11″) and the safe load capacity is over 150 kg (300 lbs) – the actual volume is over 300 litres (i.e. over 300 kg buoyancy).
Whitewater packrafting is possible with the single layer floor, but I recommend the double layer floor for added durability if you plan to paddle in whitewater frequently.
Cheers!
-
-
AuthorReplies
- You must be logged in to reply to this topic.