The text and pictures on this page were originally posted in the forum by forum member “Uncle Fred” (no relation to me). I have edited the format for clarity and fixed a few typos; my comments are in italics. There are lots of great tips below, and it’s constructive feedback like this that makes the DIY Packraft products and instructions better and better. – Matt
I’d like to thank Matt for his DIY kit. This has become one heck of a memorable project. It’s made me confident in crafting items and repairing all kinds of things. This adventure has also opened up places to travel that I never considered.
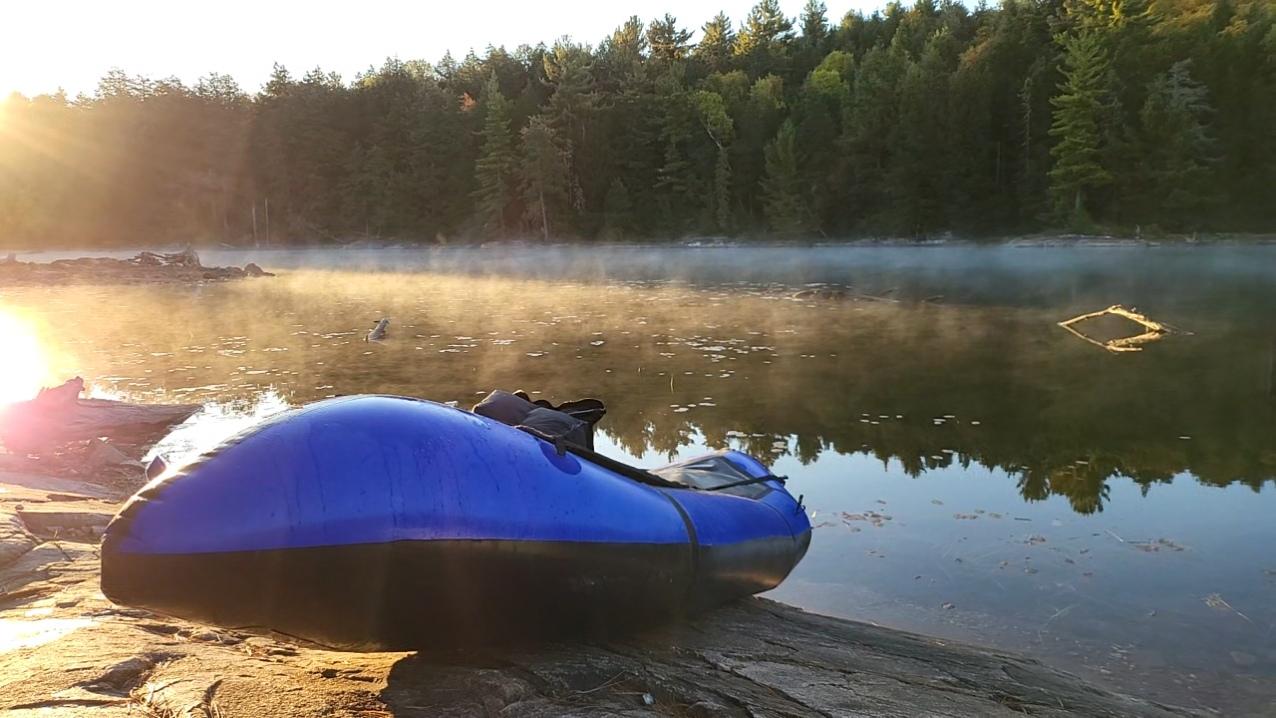
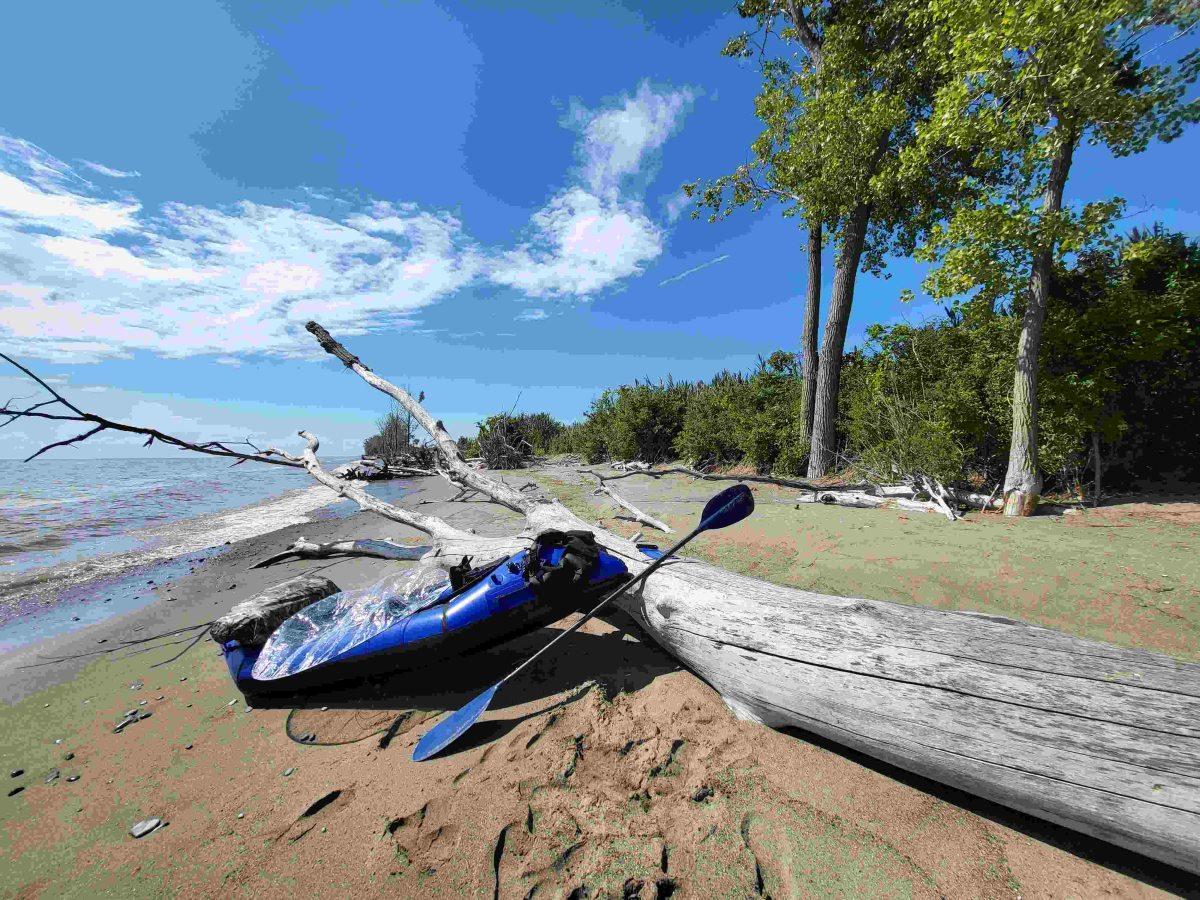
Below is our most recent trip: 85km of hiking and portaging across Ontario’s Killarney Provincial Park. We did it in 3 nights, and four days. The adventure included assisting a helicopter rescue of a woman at Silver Peak.
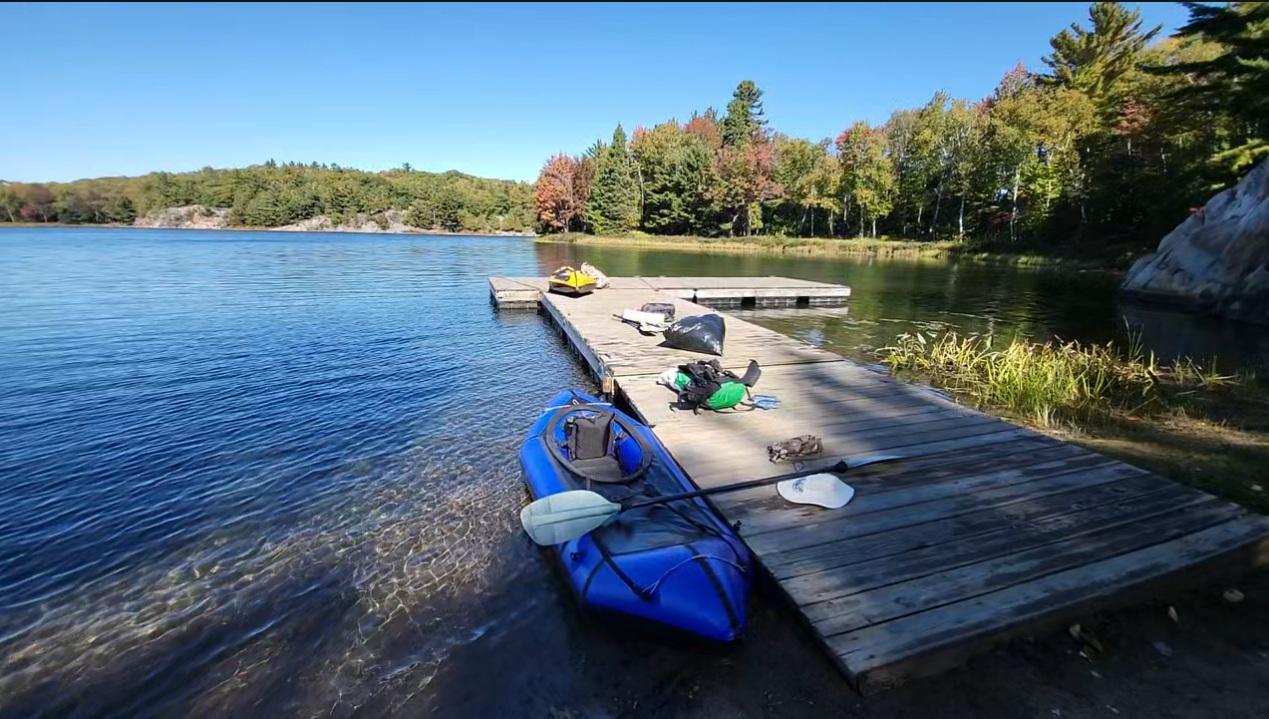
Packrafts seem to be almost unknown in Ontario. Everyone I encounter asks what these boats are. Canoeists gawk at them. People approach asking if I could build them a raft.
Portages are amazing with packrafts. For anything over 400m we roll them up and strap them to our packs. Hiking a portage with a boat is no longer a chore.
Building the boats was fun but took a lot of time. Most of the effort was spent building out the accessories, testing, and leak-fixing.
A few things I’d do differently:
- If I built another boat, I’d weld wider overlaps and reinforcement strips for everything.
- I’d buy way more Seam Grip. I used it a lot. On my first boat, it became a kind of crutch for some bad welds.
- I’d seam grip in reinforcement patches over the corner joints.
- I’d shuffle the coaming tube around the slot more before cutting it to size. The larger, the better.
- Attachment point style 1 needs revision. This is the version with two slits. I found that after a couple of test trips, four of these attachment points started to leak from webbing abrasion. To fix this, all these attachment points required sealing from the inside. This style should be updated to account for this problem. (Thanks for the tip – I have added a note to the attachment point page recommending that people seal a patch of fabric to the tube fabric beneath this type of attachment point to protect the tube from abrasion.)
A few things I did:
- Every exposed edge of fabric got an application of Seam Grip. This avoids fraying.
- On my spray skirt and deck, I added velcro strips and marked the spots with paint. The velcro allows for quicker spray skirt attachment. A few strips of velcro are not enough to get you stuck in the boat.
- Added a pull loop on the front of the spray skirt for rapid exit.
- Added a tab on the rear of the skirt and the deck ring to better line up the rear velcro.
- Added suspenders to the spray skirt. The spray skirt has a habit of slowly falling down without them.
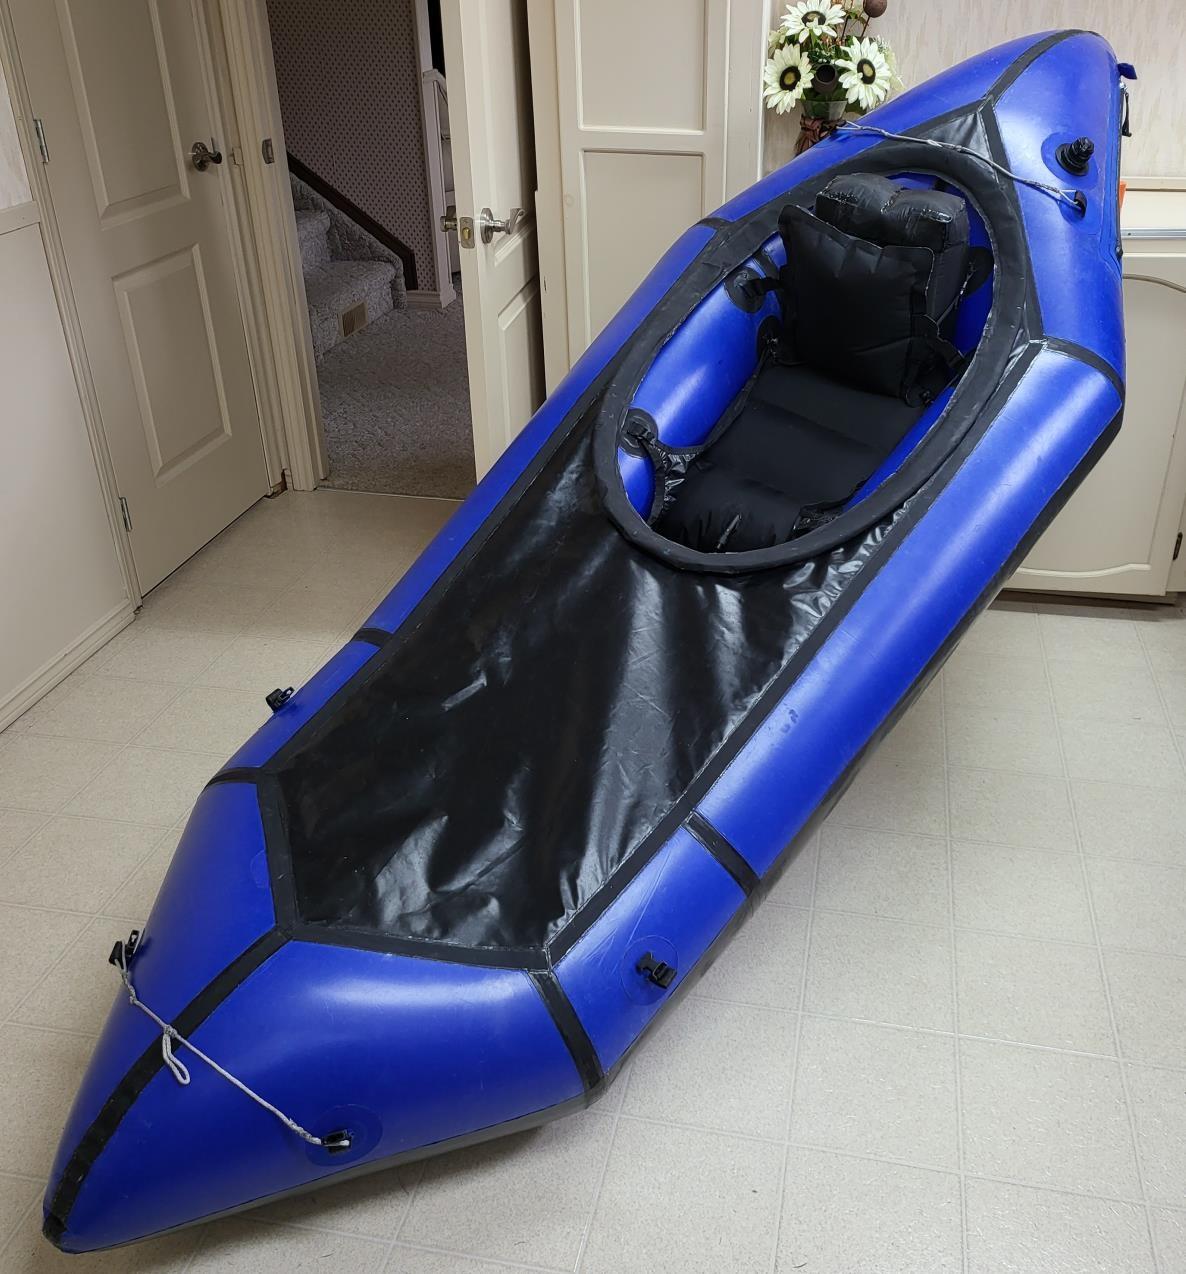
- I replaced the coaming ring with a larger and thicker nylon tube. The Tube can be found on Amazon Canada item# “B07KVNJF8H”. It’s 3/8″ ID 0.47″ OD, 10 feet. This tube offers a much more sturdy ring:
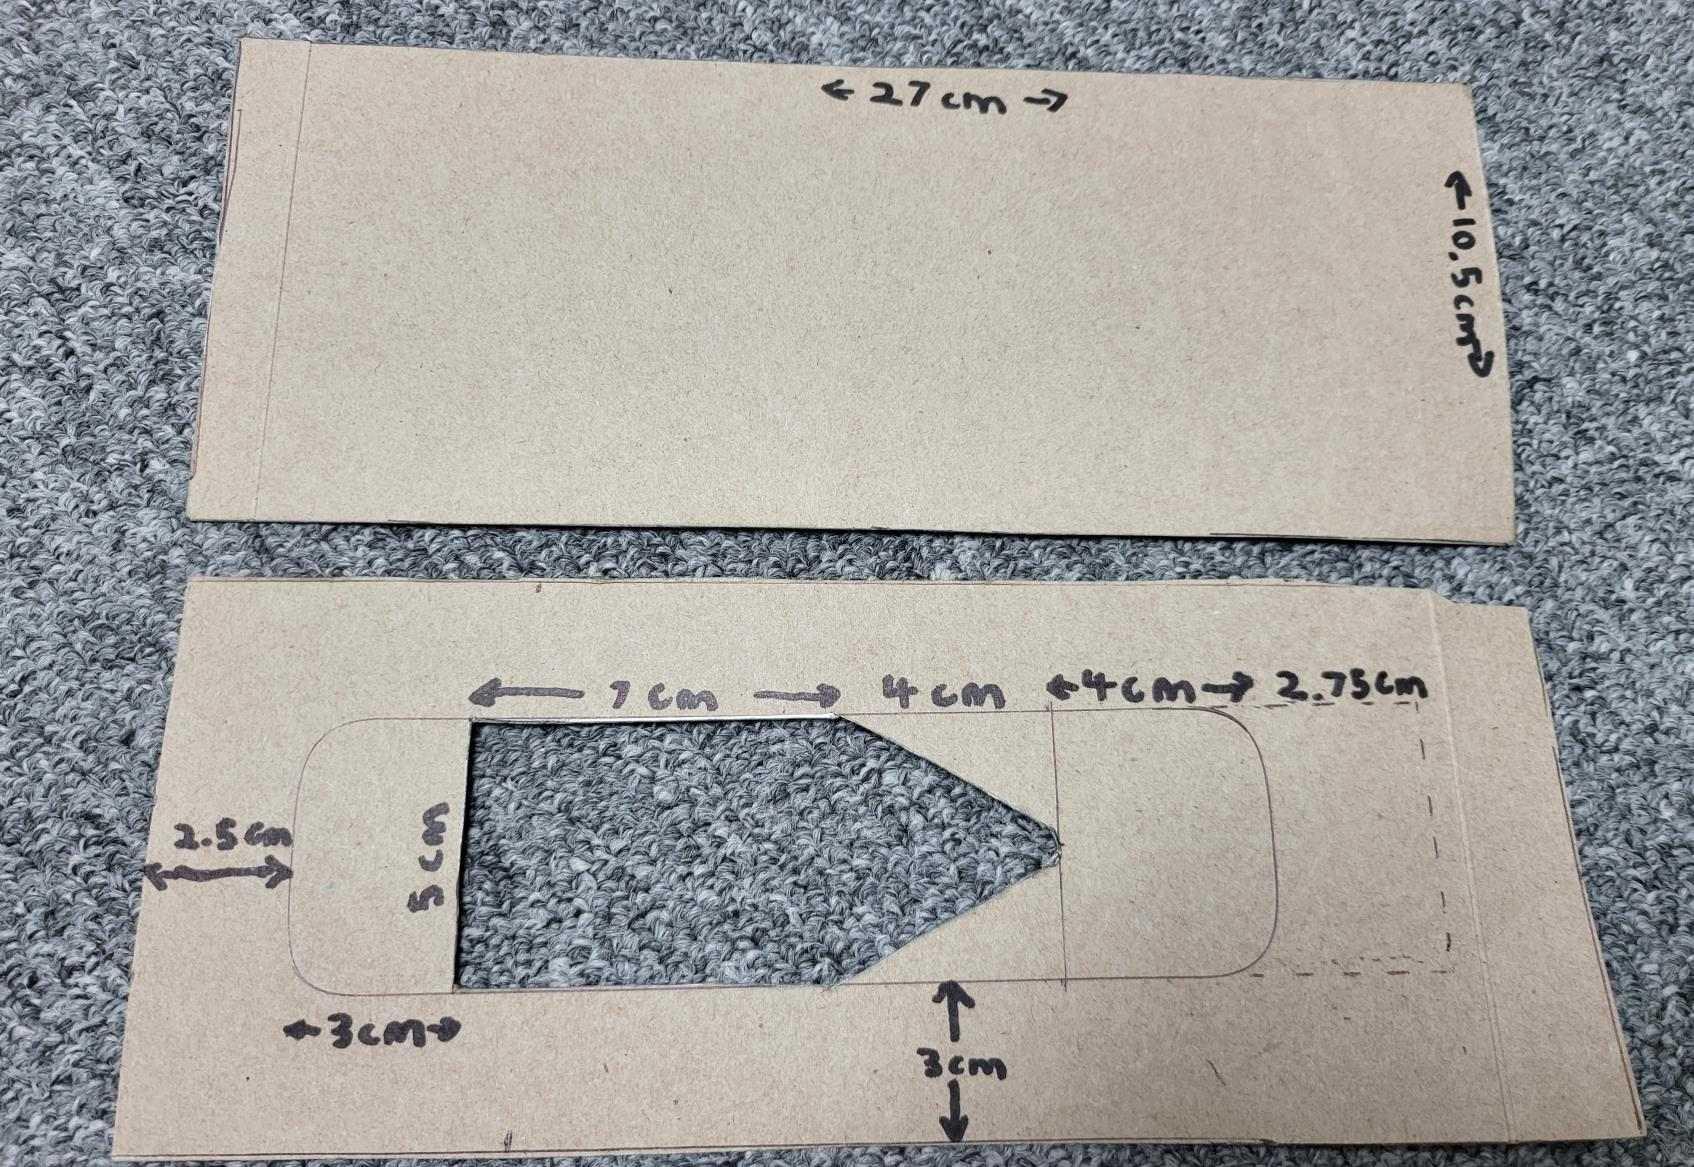
I made custom 4-point adjustable leg straps. Here is the form for anyone that wants it:
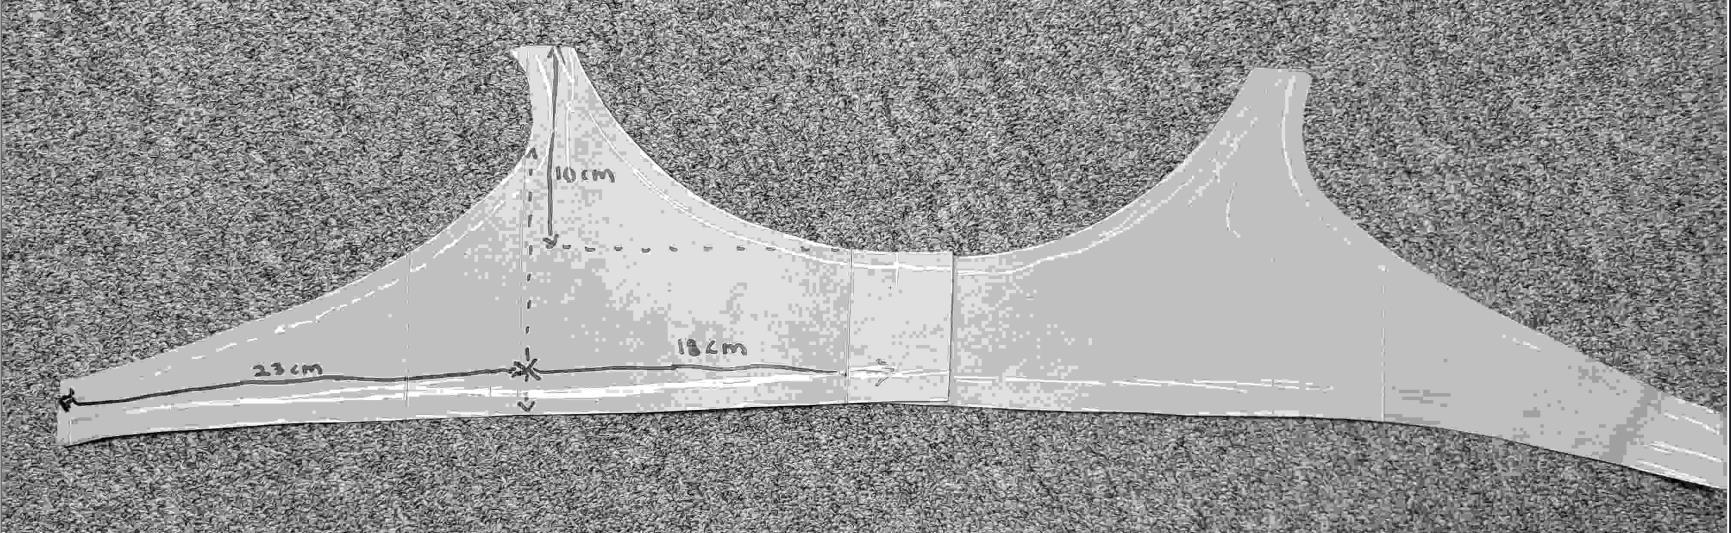
Note that the dimensions might be a little different if you are a taller person. I’m pretty small at 5′-7″.
3/4″ polypropylene webbing was used (avoid Nylon as it absorbs water) on the bottom edge and the top “U” shape. I used 1/2″ webbing on the two side slopes.
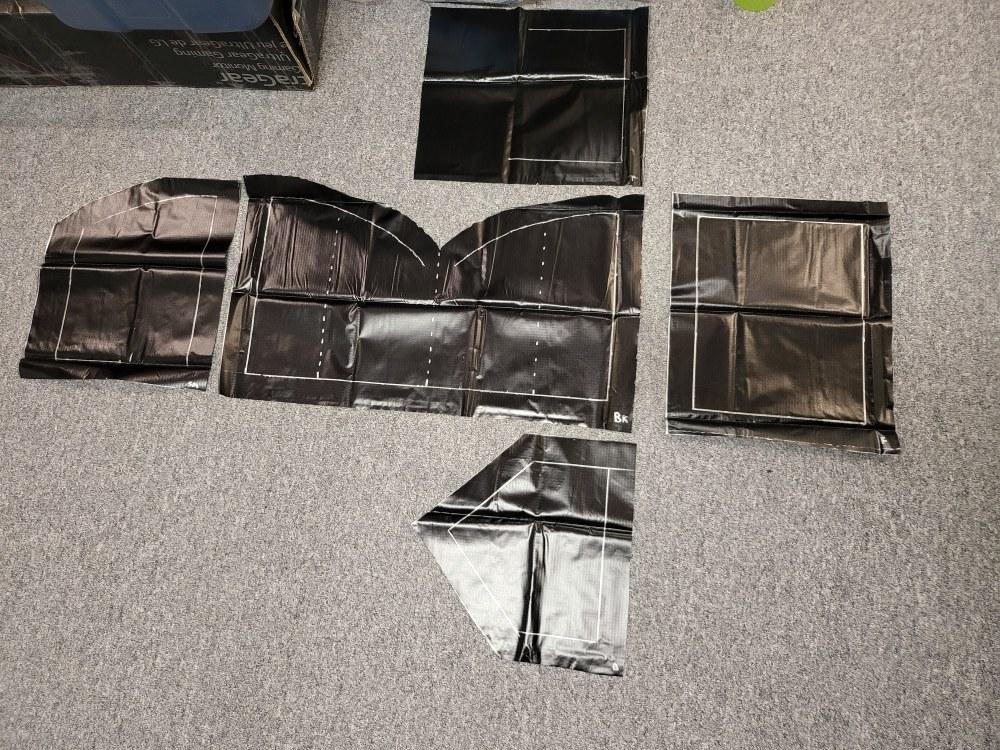
To make the leg straps, you can iron 150GSM leftovers to the webbing. You’ll also need to sew it down. Ironing is not enough, it will delaminate. I don’t have a sewing machine so I sewed it by hand. Consider using a UHMWPE thread rather than Nylon. Nylon isn’t nearly as strong, abrasion resistant, and absorbs water. In Canada, you can get this cheaply and easily at Amazon Canada item#”B081X6P9HT”. Reaction fishing tackle. Use 65lbs.
For comfort, you may want to use the welding iron to merge the 1/2″ and 3/4″ straps where they intersect. You can use a welding iron to completely merge polypropylene webbing easily. It’s a lot less likely to snag on clothes if you do this.
Next, add attachment points and D rings. Be sure to test where the attachment points should go by sitting in your boat. You can make the straps adjustable. This involves looping the bottom webbing through the front attachment point and back through a tri-glide or cam-buckle placed near where those two measurement arrows meet. Personally, I don’t find I need to adjust my leg straps and would just skip this feature if I had to make leg straps again.
I built five additional attachment points into the backrest to hold it firmly in place.
I made a separate inflatable fill bag to sit behind the backrest. This makes it so the backrest sits firm, upright, and forward. It’s a huge quality-of-life improvement to the feel. This upgrade should come standard for the boats. Here is how I built it:
I added an MRS skeg to the rear:
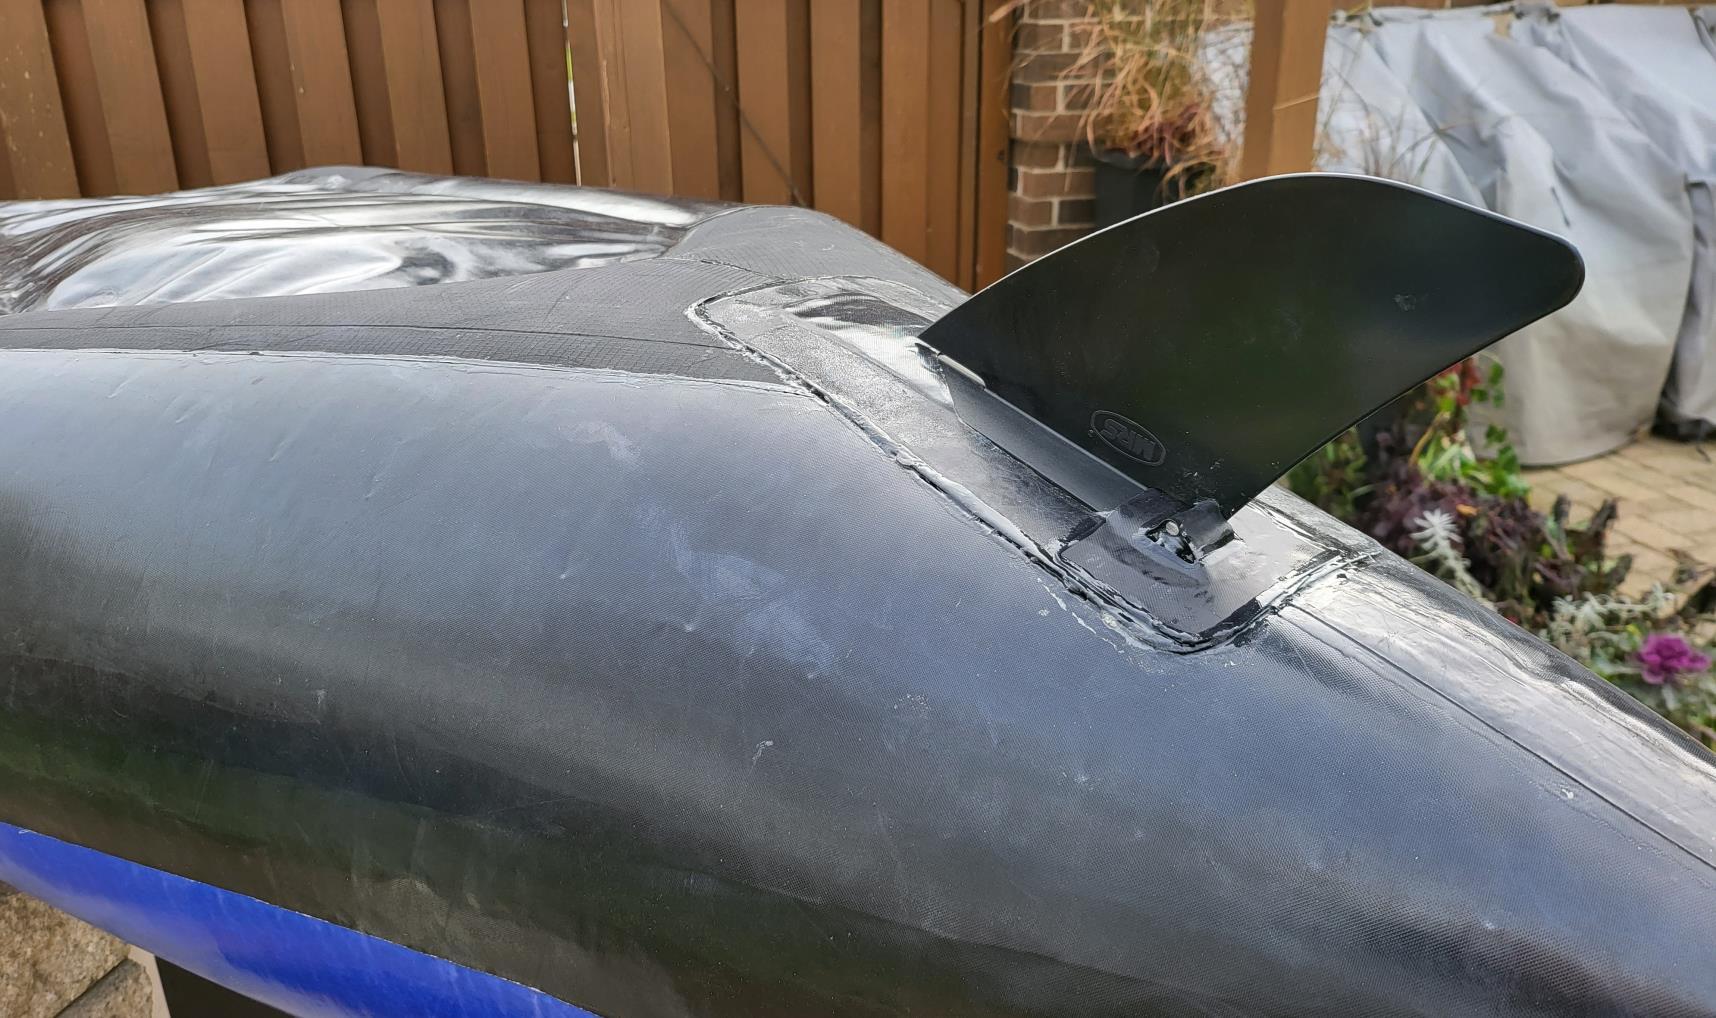
I noticed areas on the bottom have higher abrasion from beaching actions. To avoid any issues, I added abrasion reinforcement strips. Some of that can be seen in the bottom picture above. This allows me to grind the bottom up against rocky shorelines with basically zero fear of punctures.
A skeg is a must-have for any flatwater paddling. The difference using the skeg is huge. With a skeg, the boat travels further without paddling and doesn’t immediately spin around if you stop paddling. A slot can be made using leftover fabric. Use a base layer of 250GSM, then glue together a layer of 480 and 250:
Be aware that a slot, no matter how tight, will allow the skeg to fall out if caught on something underwater. To prevent that, you could opt to glue it in permanently. There may be an issue for whitewater trips, but I’ve found the boat stern simply rolls over objects like a balloon. Still, it’s possible to design the setup to make it removable. I used something called a binding post and screw.
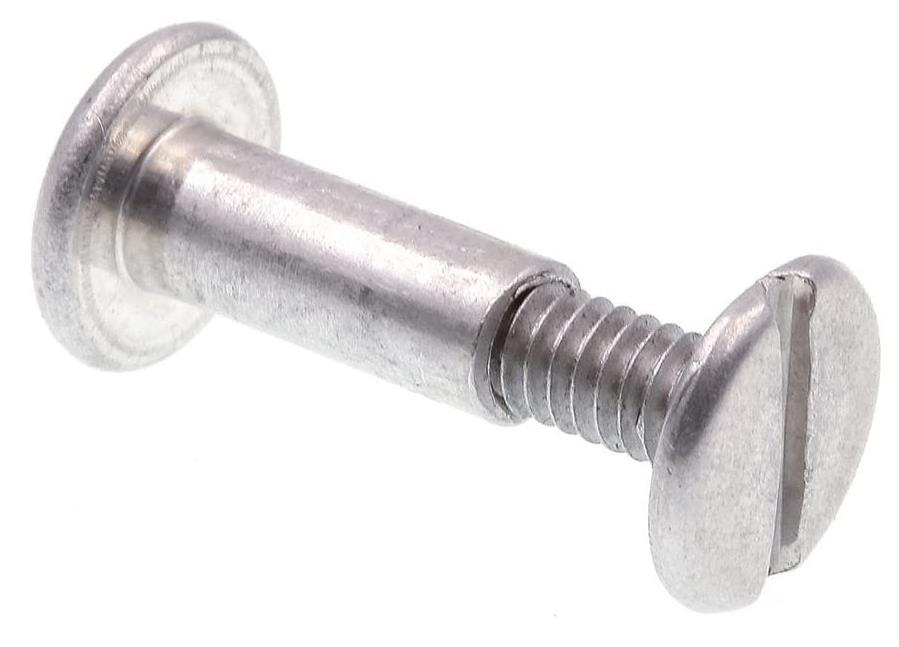
In Canada, you can get these binding posts and screws in aluminum at Home Depot. Stick one end into a drill and use a file to grind down each head. Be sure to leave a little head on the screw. Drill out the existing MRS Skeg hole larger to accommodate the screw. To attach it to the boat, you will need to build up the area under the dowel. I used some double-sided 3M rubber tape plus Seam Grip, but anything rubbery with Seam Grip is a good choice. Once it’s level, cut a rectangular strip of 450GSM and Seam Grip that down on top. You should now have a kind of “hill” with the binding post inside it. Apply additional liberal applications of seam grip to fill any spaces. Be sure not to get it inside the threading. Lastly, cut out a rectangle of 250GSM with a thin rectangle hole inside it. This hole is the opening for the thread. Seam grip that down across everything to give it rock-solid reinforcement.
There is a little pump from Flextail Gear that is invaluable:
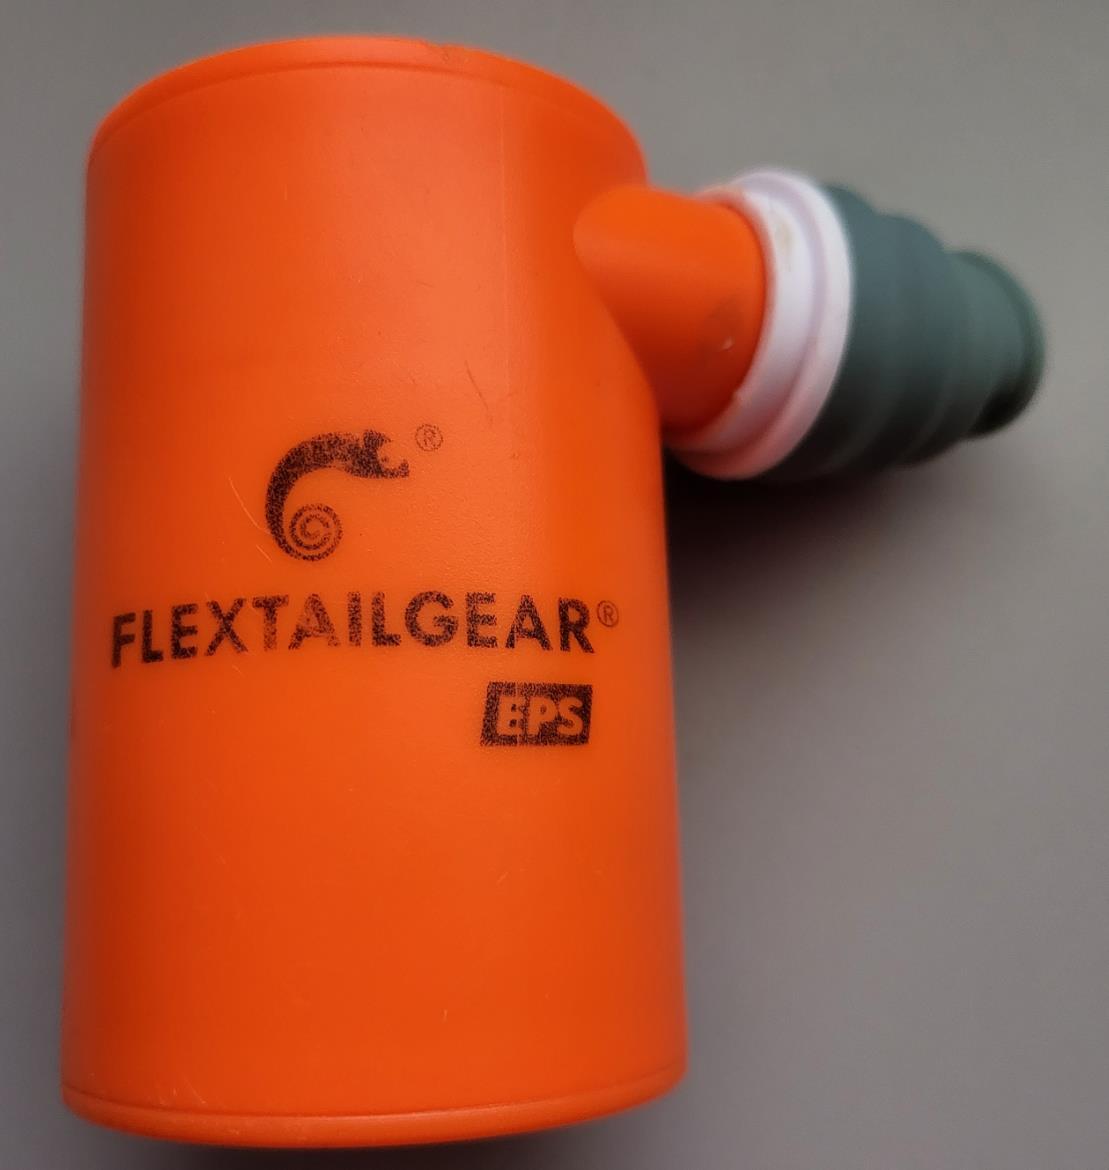
Seam Grip on the included pump attachments as shown above. In this configuration, you can stick the pump directly onto the Boston Value and fill it to about 95% full. It will even stay attached while filling so you can do other tasks. As an added bonus, it will also directly fit over the valve stems Matt sells too. The battery is good for several days of field use. It uses USB-C to charge and fills up two rafts several times a day easily. I love it so much, I’ve even replaced my Therm-a-rest sleeping pad valve with Matt’s stem valve and just use this pump.
There’s an inflatable life jacket that pairs well with packrafts called the Anfibio Buoy Boy. It’s not cheap, but it’s good for most conditions and far superior to a foam jacket in terms of portability. I wear mine for the hiking portions in deflated state as a vest.
You’ll see that the raft comes with buckles on the front attachment points. I’ve sewn on straps and mating buckles onto a drybag. This makes for easy gear attachment:
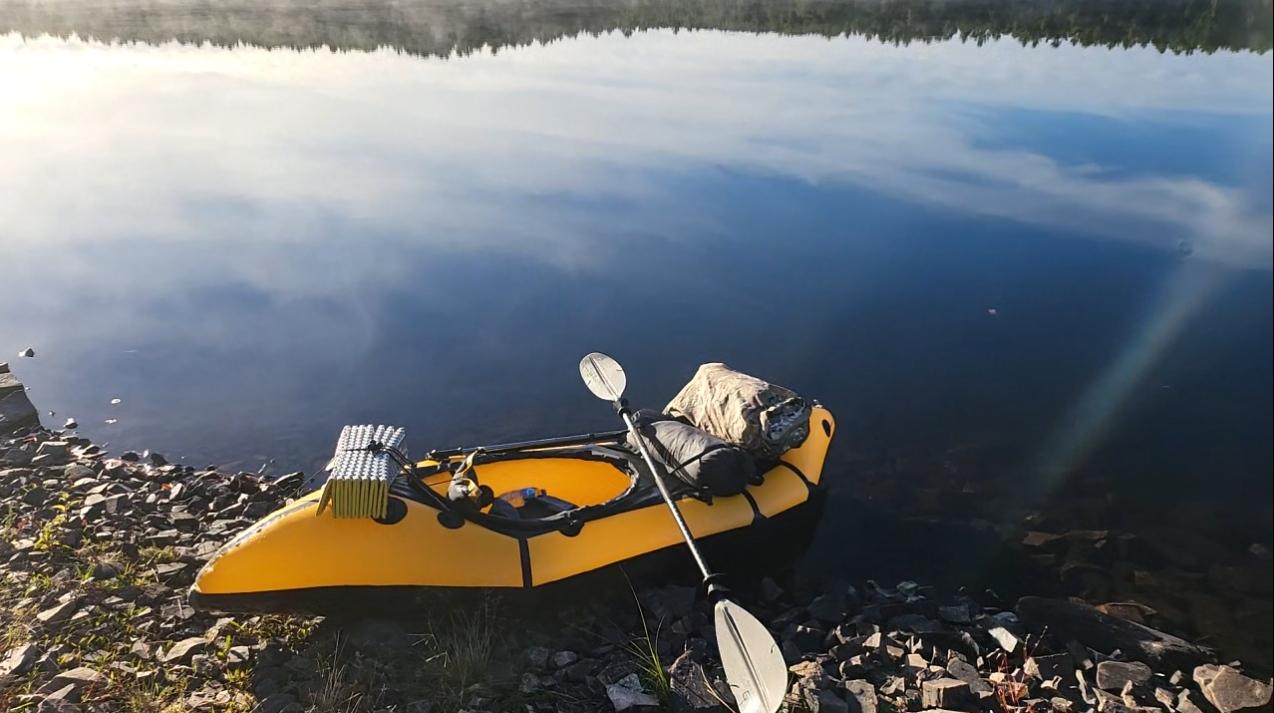
I’ve also built my own sail and 5-piece paddle. The sail uses the metal ring from an old ripped-up photography reflector dish I scavenged. I then sewed on Windowblind film. This sells cheaply on Amazon: item#: “B015PY2BY8”. Duck MAX Strength Heavy Duty Insulating Film Window Kit. Seam Grip the stitching to prevent tears, and apply strips of clear 3m construction sheathing tape. This is the stuff Matt recommends for quick field boat repairs.
The five-piece paddle is a cannibalized used Werner paddle. They appear frequently on Facebook Marketplace. I bought carbon-fiber tubes from Aliexpress in 25mm (outside diameter) ×21 mm (inside diameter) x500mm (length) x 2 pieces for the inner tubes and 29×25 x500mm x 2 pcs for the outer tubes. This directly matches the industry standard paddle shaft thickness. The inner tubes had to be sanded a bit and epoxied in. I drilled holes and added spring clips Amazon ID# “B07T29Y5X8”. The paddles can now fit in my backpack. I created a carbide attachment point and use the shaft as a walking stick, and it’s also the perfect height for my Dan Durston X-Mid tent pole.
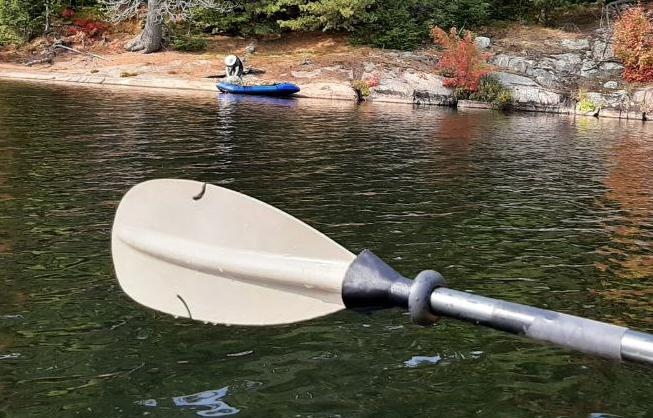
Last thing! I used the TPU fabric to create drip catchers for the paddle and for a friend’s paddle, as shown below:
Okay. I think that’s it for now. There’s a ton I could get into, but I think that’s long enough, lol.
One last point: the fabric. It’s not entirely too much to say that I am heartbroken that we can’t access more of that fabric. I know it’s difficult to get ahold of it, and Matt has indicated that direct fabric sales may not be on the cards.
I hope Matt can reconsider. There is so much utility with that TPU fabric. There are experiments I’d love to attempt with it. For starters, I’ve been tossing around the idea of a gigantic, ovular, inflatable sail for the Great Lakes. Is it crazy? Perhaps.
Get that fabric into my hands, and we’ll see just how crazy it really is.
0 Comments