Assembly time: 1.5 hours
Note: The ideal seat thickness is a matter of personal preference. The included seat is quite thick so you can let air out to lower your seating position, but for a firmer feel you may want to wait to construct the seat after your packraft is otherwise complete – that way you can do some test paddling while sitting on some foam blocks or other items to determine exactly how tall you want the baffles to be. After determining the desired thickness, trim the baffles, keeping in mind that 60 mm of each will be welded to the upper and lower surfaces of the seat.
Follow the steps in the video above to complete your seat.
Baffle facing the wrong direction?
If you mistakenly weld one of the baffles facing the wrong direction, it’s not a big deal – here’s how you can fix it:
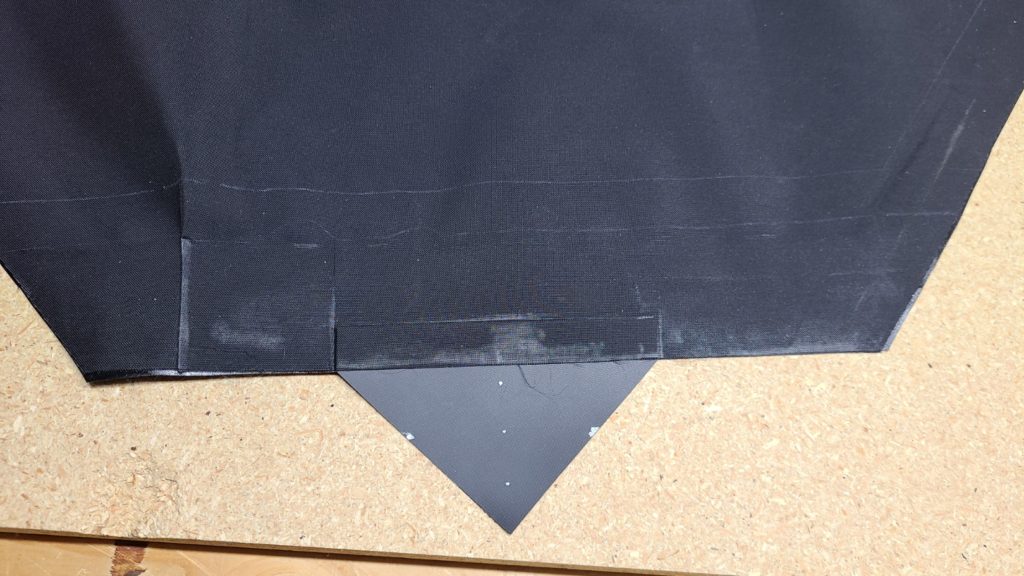
Cut off half of the baffle, and then cut a rectangle of scrap fabric the same length as the baffle and 2-3 centimeters (~1 inch) wider than the part you cut off (the width of your iron). Then weld the new piece to the part of the baffle that is already attached to the seat fabric. Overlap the pieces with the TPU sides facing each other, and make the overlap wide enough so that the resulting baffle will be the same size as the original. That will effectively flip the TPU from one side of the baffle to the other and will allow you to carry on following the instructions without having to make any other changes.
“Extra” fabric?

Questions? Leave a comment below!