The following was written by Ken S., who has now completed four DIY Packrafts (a V3 and three Telkwas). I’ve made minor edits to the text for typos and clarity, changed the layout, and added comments of my own in italics. I love getting constructive feedback like this, because that’s how the DIY Packraft designs and assembly instructions improve. Ken obviously spent a lot of time thinking about this stuff and typing it up, and I really appreciate that. If you don’t already have a DIY Packraft kit, you won’t understand every reference below, but it’s still worth a read, as it might help you decide whether or not to make a purchase. – Matt
Construction Notes
Date: December 2019 – January 2020
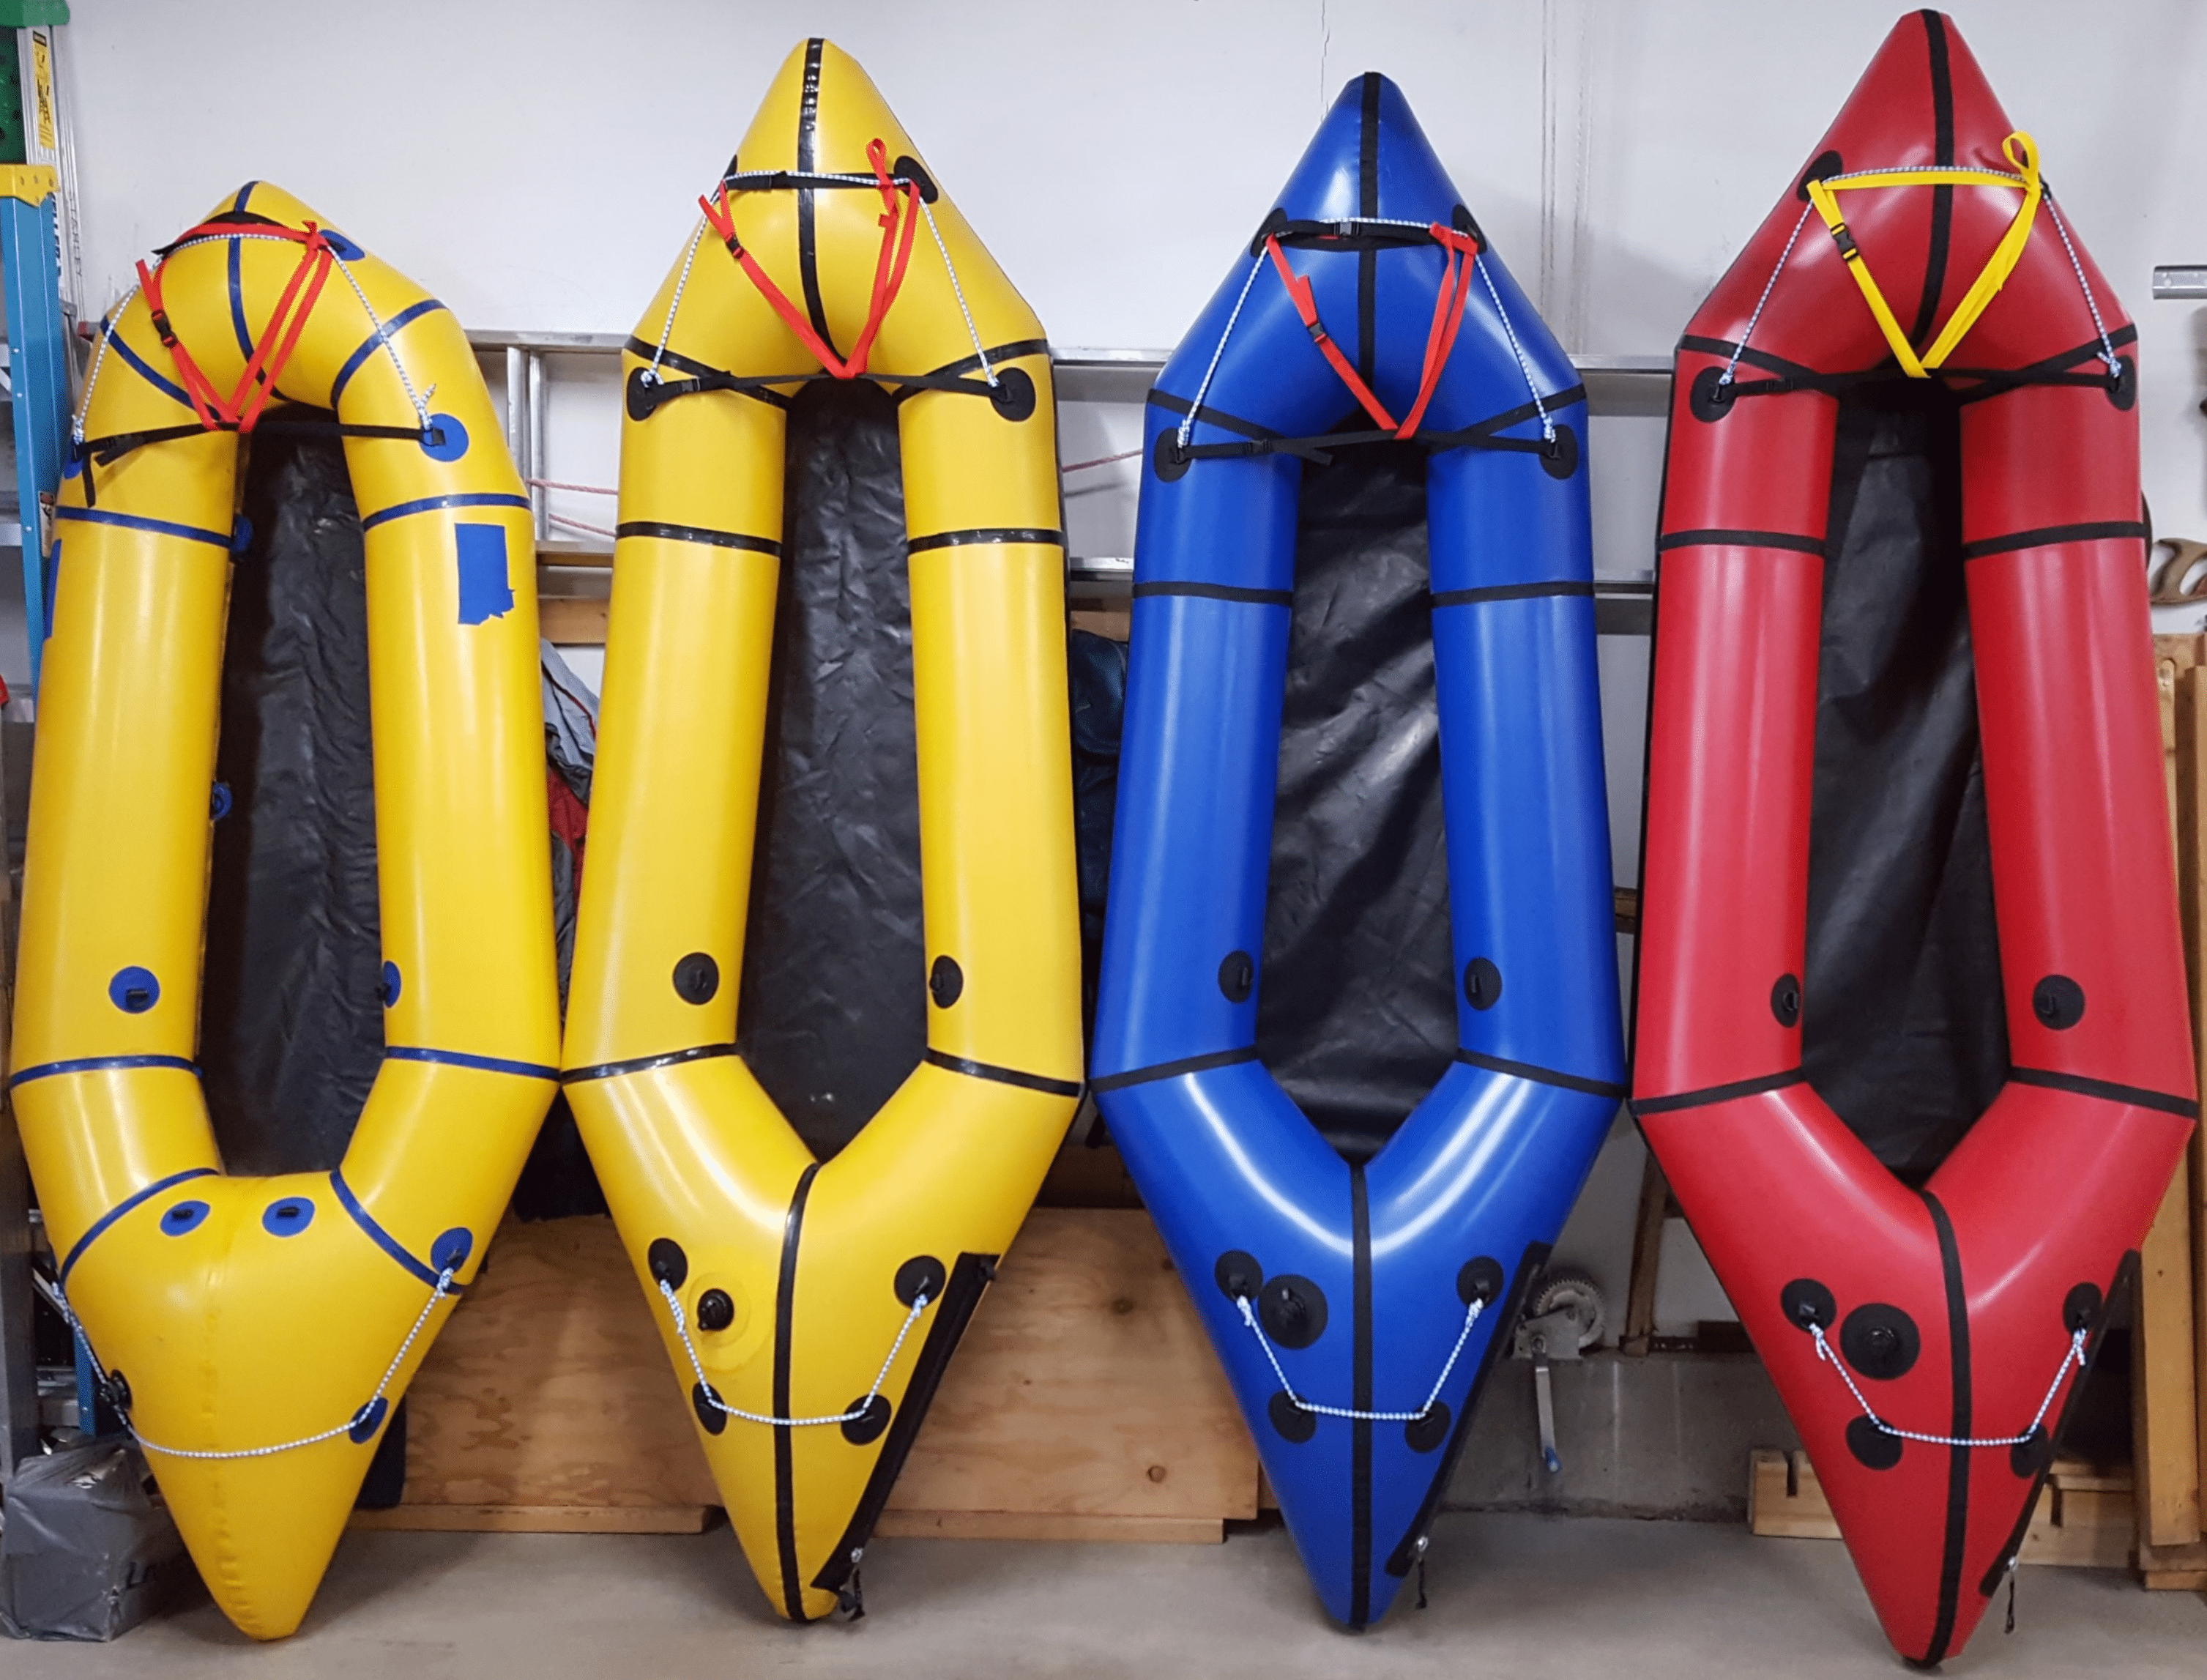
Packraft being constructed: Telkwa, blue, with 560 GSM floor and airtight zipper (Ken’s third DIY Packraft – he has now already completed his fourth)
Separating Fabric
The most difficult part of the separation of the scored pieces was separating the seam strips. I don’t operate scissors as well as Matt does in the videos. So, I purchased a fabric roller cutter and used that to slice the strips along a straight-edge that I clamped down over the perforations of the fabric strips. However, after trying the roller I reverted back to my “break off tip” box cutter.
I find it helps to use very sharp scissors. I bought a new pair of scissors and it made all the difference – I can pull the fabric through them without working the jaws and the pieces fall right apart. They don’t have to be expensive – mine are Fiskars fabric shears that cost about $15. Previously, I had a set of similarly priced Singer shears that lasted for about a year of heavy use.
While separating the seat/back parts I made a tear into the seat part with about a 1” rip at a 45 degree angle to the edge. I managed to modify the seat part by cutting a 1’ strip from the “neck” down to the first seat angle on both sides of both pieces so they match symmetrically.
To make packing the kits easier, I leave some short sections of fabric un-cut, and if you try to force them apart without using scissors it could rip in a different direction, so when separating the fabric pieces, be sure to cut any areas that don’t pull apart easily. (I’ll make this clear in the instructions.)
Floor Material Choice
For my previous Telkwa I chose the 735 GSM floor material. This Telkwa build was with the 560 GSM floor material. It is “hands down” easier to turn inside out with the 560 vs. the 735. The 735 is much stiffer as well as bulkier, thus it took much more effort to turn the tubes inside out.
Melt-Through
When making the 3R tube to floor weld I partially melted the floor on the opposite side by leaving the iron on too long. That is partly due to the thinner material of the 560 GSM material compared to my previous build. It takes less time for the heat to transfer through to the other side of the material than it does for the 735 GSM. Perhaps a user should test the “melt time” on a piece of scrap first. Matt: I watched the Heat Seal Video again and you mention your iron isn’t hot enough to demonstrate overheat. Both my Black Baron and Leather Iron get hot enough to melt the TPU on the back side of the floor material IF I leave it too long. I think you should try to demonstrate the floor “melt through” and add it to the video as something not to do.
To clarify, in that video where I mentioned irons that are too hot, I had something a bit different in mind (melting the woven fabric or destroying the TPU to fabric bond). Any iron that is hot enough to weld the TPU is hot enough to melt through to the TPU on the bottom of the floor fabric given enough time. I absolutely recommend getting comfortable with the floor fabric melt-through time on scraps before starting on the packraft. I’m pretty sure I demonstrated this at some point, but that’s the problem with having five years’ worth of content on this site – it’s hard to keep track of things and ensure everything is included in each new set of instructions. I’ll look into this further.
Work Surface
I use a build table of ½” plywood covered with a ¼” Masonite sheet – smooth side up. Then, I cover the entire table with oven parchment paper. Masking tape does not stick to the parchment paper and so when I move the packraft around on the table the parchment tears at the overlap areas. Watching one of Matt’s videos it looked like he was using the packraft repair tape (Tuck Tape) to adhere to the parchment sheets. I tried that and it works much better. However, in one instance when I was welding an inner tube sheet to the floor piece the heat of the iron picked up the shiny, smooth surface of the tape and imprinted it into the bottom of the floor. It is cosmetic but still needs to be watched out for. On the other hand, this might be a way to repair the looks of a severe burn/melt on a piece of material (see the tip, below).
I use a pretty big table too, but I only cover a small sheet of fiberboard with parchment paper, and then I move that around under the packraft pieces as necessary. It’s not ideal, because I have to remember to make sure it’s in the right place before I start ironing, but it does the job. For covering a larger area with parchment paper, maybe try flipping the parchment paper over after taping the strips together so the tape is on the bottom?
“Black Baron” Iron vs. Leather Iron
I’ve been keeping both of my welding irons hot and interchanging my use of them. I thought using the 2” (5 cm) wide Black Baron model airplane covering iron would be faster for the very wide welds, and it is. However, it tends to leave more bubbles between the welded pieces. So, gradually, I find myself using the Leather iron more and more. I suspect that over time I won’t even use the Black Baron even though it is built better and is more robust.
This has been my experience, too.
Silicone Roller
I find that I apply a lot of pressure when heating the material for a weld even though I know I can get the weld completed using the silicone roller. Rhetorically, I wonder if I need to apply so much pressure that my wrist gets tired. Should I be depending more on the roller than the wrist pressure on the iron? I have had to stop working on the packraft for a few days for my wrist to quit hurting.
I definitely rely more on my silicone roller now. You still need to apply some pressure with the iron to make sure heat is conducting through to the lower TPU layer, but I let the roller do the real work and it is much easier on the wrists.
Packraft Color
My previous two packrafts have been yellow. This one is blue. It is definitely more difficult to see the “melt color” under the darker blue material than it was with the yellow.
Agreed. I would discourage people from relying too heavily on the color change to judge a weld, however, because it actually occurs before the TPU layers fuse together fully. The best indicator is TPU extruding out the side of the weld, which you mention below, and that’s visible with any fabric color.
Removing Seam Grip & Pen from Fabric
I have mentioned using Brak-leen solvent in the past for removing drips of Seam Grip from the fabric as well as removing Sharpie marks. I have found that the only Sharpie color that the solvent completely removes is the Silver Sharpie. It does not completely remove red, blue, or black Sharpie. I suspect that is because only the silver Sharpie has an emulsion of particles in a colorless solvent to give it its color, whereas the other other colors are purely a dye.
Seam Strips
I would like to see the seam strips 1 or 2 mm wider because, as it is, the strips are just barely the same width as the Leather iron. Even a very small slip to the side tends to melt/burn the TPU on the adjoining tube material. Those burns often end up as air leaks and require Seam Grip repairs. Fewer slips would mean fewer leaks. I cut my strips to 28 mm on my fourth boat build and I find they are much easier to weld without touching the iron to the TPU. Nor are there any wrinkles on the edges of the seam strips from the extra width. My fourth boat, a red Telkwa, I requested the seam strips not be scored so that I could cut my own. I measured the width of the shoe of the Leather Iron. I added 1 – 2 mm to that width and cut my strips to 28 mm width. That allowed me to iron seam strips without overlapping onto the TPU and having melt marks on the sides of the seam strip.
Thanks for this feedback. I had thought that making the seam strips the same width as the iron would be ideal, but I might make them slightly wider if that makes ironing them easier.
Attachment Points / Tie-Downs
It’s really GREAT that Matt is now supplying all the cut outs for the ties downs (3 pieces each), the zipper reinforcement rectangle, Boston Valve reinforcement ring, and the DIY Packraft logo. Way to go, Matt!
Thanks, Ken! It’s significantly more work for me to prepare each kit now, but I know how many hours it saves the end user so I think it’s worthwhile. It’s nice to know the extra effort is appreciated, at least by those who had to do it all themselves once upon a time!
Tip: Clips and Clamps
When making difficult welds in which some adjacent material gets in the way, I fold/roll the offending material and secure it with some simple pinch clamps to keep it out of the way until the difficult weld is completed. I use different clamps in different ways. For example, I use them to keep the board used in the 3R/3L outer floor weld in place. I also clamp the construction material to the edge of the table to keep it from “walking” away from me when applying weld pressure. Any time something loose is in the way, I clamp it down.

Tip: Cutting Reinforcing Strips
To measure the correct angle and length to cut the the tube-to-floor reinforcing strips, I test fit a seam strip along the edge of the tube piece and lightly mark the floor fabric along both sides of the seam strip (use pencil, it will erase or wash off). Then I am able to measure and cut the reinforcing strips to fit perfectly without interfering with the seam strip area (as happened on my last packraft).
This is a great idea! I’ll try to demonstrate it in the instructions.
Tubes 4L & 4R
I have found that welding the tube to floor weld for sections 4L and 4R to be pretty difficult to reach inside the tube so far to the seam. Even though there were more sections on the V3, thus more seam strips to deal with, I think it was easier to make all the tube to floor welds because access was easier.
Agreed. On my next build I was thinking about trying to do these welds with the tube turned inside out. If that works, I’ll update the instructions.
Tip: Slow Down!
Patience, patience, patience. With each packraft I make I want them to get done more quickly than is reasonable. When I get in a hurry I start making mistakes. I’m on my third packraft now and think I am doing a much better job, especially on the seam strips.
I am now taking much more time welding the seam strips. I learned a lot from Matt’s instruction videos, especially for tacking the strips in place for proper alignment. After that I weld heavily down the center of the strip for final positioning. Finally, I go back and seal both edges of the strip. I do the edges very slowly and meticulously (not like my first packraft). As I go, I focus on trying to get some of the melted TPU to extrude out from under the edge of the seam strip. After I have done about an inch (2.5 cm) I use the silicone roller to set it. It seems like this would slow down the entire process but in reality I think it saves time. On previous builds I consistently had loose strip edges and often had air leaks at those poorly welded spots which then had to be worked on later and usually glued as well.
I think you should show a real time video of welding the seam strips – maybe 30 seconds. If you also use the technique of looking for the roll of melted TPU on the edges of the seams, maybe you could show a close up of that also.
Absolutely. If that’s not in the instructions, that was an oversight on my part. I like the way you spelled out the process – I hadn’t really thought about it in clear step-by-step terms, but that is exactly what I do too.
Update: I have added another video to the instructions showing this process in lots of detail, with a voice-over talking through everything.
Maybe somewhere you could stress the patience part – doing just short bits at a time. If I find myself getting tired or distracted, I walk away and come back later – maybe even a week later. Otherwise, I start making mistakes.
I have written about this, but again, that’s the problem with having so much content on this site – no one is going to read everything (much less remember it all). I’ve started giving time estimates for each step on the instruction pages so people have an idea of how long each step should take, but maybe I need to make it clear that if you’re going faster than that you’re probably making poor quality welds.
Tip: Final Seam Strips
Of three packrafts that I have built (at the time of this writing) I have accidentally twice used the aft center seam strip (one of the long ones) on a side tube. Thus, I have had to scrounge enough material from scraps to make a long aft seam strip – and it is not black. My suggestion is to put the two long seam strips in a bag, or tie them to a post, so as not to use them until it is time to use them properly.
This is a great tip. I added it to the instructions.
Boston Valve Modification
On all three of my packraft builds I drilled out the small holes in the Boston Valve to increase the ability for faster air fill when using a pump. I used a 9/64” (3.6mm) diameter drill. The plastic is easy to drill but go slow so as not to tear up the diaphragm seal surface. Before drilling make sure to remove the rubber diaphragm. It is delicate so pull it out slowly. Wetting it helps lubricate it for easier removal. To reinstall it push the tab up through the small hole then grasp it with a needle nose pliers and pull very slowly until the rubber flange on the stem clears the hole and is seated.
I do this too. I hesitate to recommend it to everybody because of the potential for ruining the valve, but at least the valves are relatively inexpensive and the parts can be replaced if worse comes to worst.
Seat Assembly
Watching the seat assembly instructions you mention to make sure all the baffle shiny sides are aligned in the same direction. You also show how you put in the reinforcing strips on each side. However, I think you should indicate that in one instance the reinforcing-strips are welded on the “outboard” side – the side towards the end of the seat (away from the neck). But, on the other piece your first weld on the re-strip is toward the neck side of the strip. I know that is how it all fits together and I’m fine with that. I do think, however, that it could be made more clear for the end user. I would suggest a hand sketch showing the re-strips on each seat half. Shade the first welded side in the sketch. Also, I suggest you make a bit tighter instruction to just “show the TPU side of the baffles towards the seat end. In my case, I did boat 1 & boat 2 OK, but on boat 3 I welded the re-strips to the seat on the wrong side. Luckily, I’m getting pretty good at melting parts off without much damage and I was able to correct the mistake with only about ½ hour lost.
Agreed. I will add some diagrams to clarify.
Tip: Repairing Damaged TPU
I accidentally discovered a way to “reconstitute” the sheen of the TPU if it has been melted in a place you hadn’t intended. For instance, if the iron slips off the seam strip and melts a nasty smudge. My fix: Stick some Tuck Tape to a hard surface covered with parchment paper. Then, lay the melted TPU smudge area on the shiny surface of the Tuck Tape. With the TPU against the Tuck Tape, iron the fabric side of the material until the TPU melts against the Tuck Tape. Use the silicone roller to press out the melted TPU. Let the material cool then peel the fabric from the Tuck Tape surface. The remelted area will now actually be shinier than the original TPU. Brush some talc on the shiny surface then wipe it away with a cloth. The remelted TPU will look very much like the original TPU surface. I actually used this method to seal a small leak that I made in the tube surface. Not only did the surface look close to new, but the melted TPU also flowed over the leak and sealed it.
Great tip – thanks for that!
Logo
I did not use the DIY Packraft logo because it was just too difficult to remove from the template. I think if you are going to continue to supply the logo, then you should have the letters fully punched out.
Yeah, it’s pretty time-consuming to fully remove all the letters. I can’t afford to spend half an hour on each logo, so I’ll try to come up with a better solution!
6 Comments
Barbara · March 3, 2021 at 3:21 pm
I got a 3,600mAH pump from Amazon and am also considering modifying the Boston valve for faster inflation. Do you basically drill a couple of so 9/64″ holes in it? With the Boston valve as is, my 130cm Skeena takes 2 minutes & 45 seconds to inflate. By modifying the valve, how much time savings can one expect? Are we talking like halving it, or just shaving a few seconds off?
Matt (Admin) · March 3, 2021 at 4:05 pm
If you look inside the valve core you’ll see there are five holes for the air to pass through. You just slightly enlarge those holes to increase air flow through the check valve (if you remove too much material the center of the valve will fall out, and that’s where the silicone flap is attached that prevents air from escaping through the valve when the cap is off, so proceed with caution). It makes a noticeable difference, but I don’t have any numbers to calculate the difference. I don’t use a pump though. I also don’t inflate through the check valve (except for the last few breaths) because aside from the slower speed, it makes a bagpipe sound that I find too irritating.
KenS · July 16, 2021 at 11:13 pm
When drilling out the small holes in the Boston valve, don’t use a drill/driver, just twist them by hand. The plastic material is very soft and the high speed is not necessary. You also have much more control of the drill bit when using it as a twist drill.
unnamedpeaks · February 8, 2020 at 11:07 pm
What’s your method for scoring the templates? At some point it would probably be cheaper for you to have this done with a lazer cutter. They can do MANY layers at once. Plus then we wouldn’t have to separate them out.
Matt (Admin) · February 10, 2020 at 7:49 am
That might be something to try if there’s enough demand in the future, but I’ve been reading about laser cutters and it sounds like multiple layers of TPU coated fabric would probably fuse together. If someone has a laser cutter and can run some tests, I’d be interested to find out!
krstahl · February 10, 2020 at 12:05 pm
When I worked as an upholsterer for a furniture factory many years ago we used an electric fabric knife to cut patterns. We would lay up to 15-20 layers of different weight fabrics on a large cutting table, powder the pattern template on the top layer, then weight the edges along the powdered cut marks. Using the electric fabric knife we would cut out all the pieces for up to 20 copies of the same chair in just about 10 minutes. Here is a link to one very similar to what we used that I found on the internet. There is a video on the site that actually looks like them cutting through some TPU coated fabric. I could not link the vid directly so you will have to search for it on within the site.
https://www.nauticexpo.com/prod/eastman/product-27499-185738.html