Back to Step 3 – Bonding Curved Seams
Elsewhere, I have written about how you can choose to make your packraft with the heat sealable coating on either the inside or the outside of the tubes. I’m making this packraft with the heat sealable coating on the outside, so that’s what I’ll be showing you here, but the procedure is similar in either case.
For the “coating-out” configuration, you will need to remove the floor-shaped polygon from the left and right side pieces you worked on in the Step 3. The floor area is indicated by dashed lines on the DIY Packraft plans. (For the “coating-in” configuration, do not cut out this fabric, as it will form the bottom layer of your floor – see TPU Coating In or Out? for an explanation.)
Trace or stencil the floor shape onto the fabric you intend to use for your packraft’s floor. (The original plans show only half the floor, so trace half and then flip the fabric over to trace the other side, or flip the plans over and stencil the other side.) Then draw a second line 3 cm outside the floor polygon in all directions. This 3 cm band will allow the floor to overlap and bond with the tubing fabric. If you like, you can extend the floor fabric farther than 3 cm up the outer walls of the tubes to provide extra protection against punctures, but a 3 cm overlap will be sufficient to form a strong bond between the floor and the tubing.
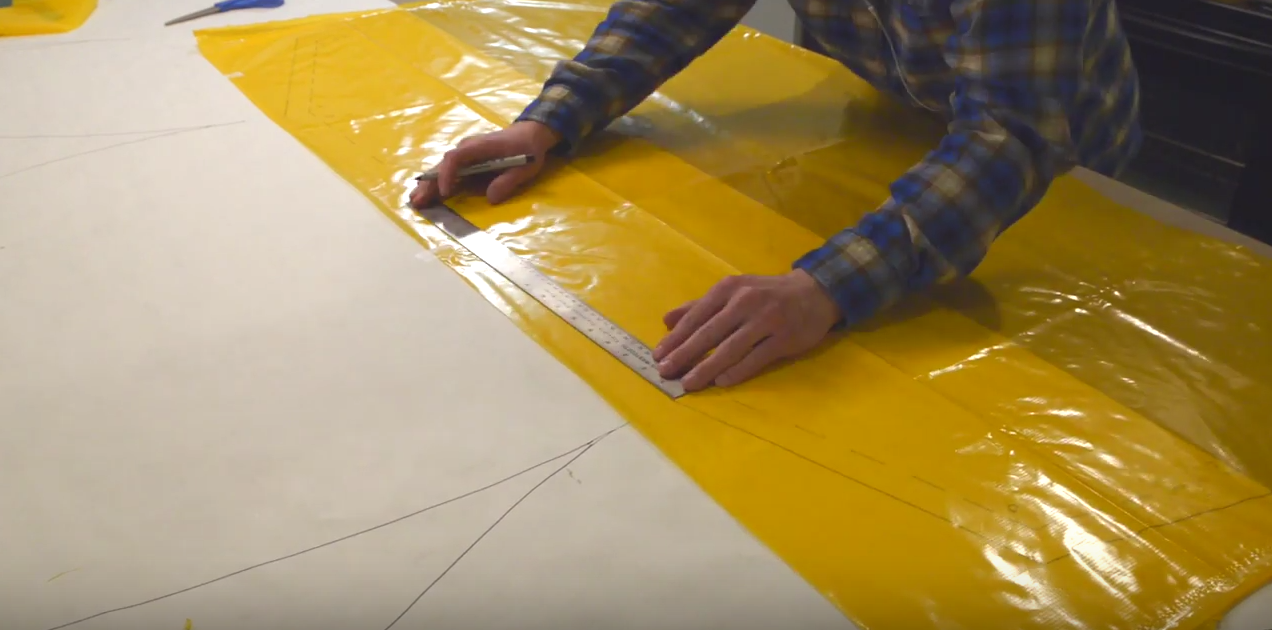
Trace the dashed line and add a second line 3 cm out from the dashed line for overlap.
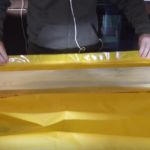
Cut out the floor fabric along the outer line, and then lay it on your work surface with the heat sealable side facing up. Place one of your two tubing fabric sheets over the floor with the longest straight (inner) edge lined up against its corresponding line on the floor. This is seam E to E’ on the plans. With the heat sealable side facing down and the bulk of the fabric draped toward the center of the floor sheet, double check that the front of the tube fabric points in the same direction as the front of the floor, because neither piece is symmetrical from front to back.
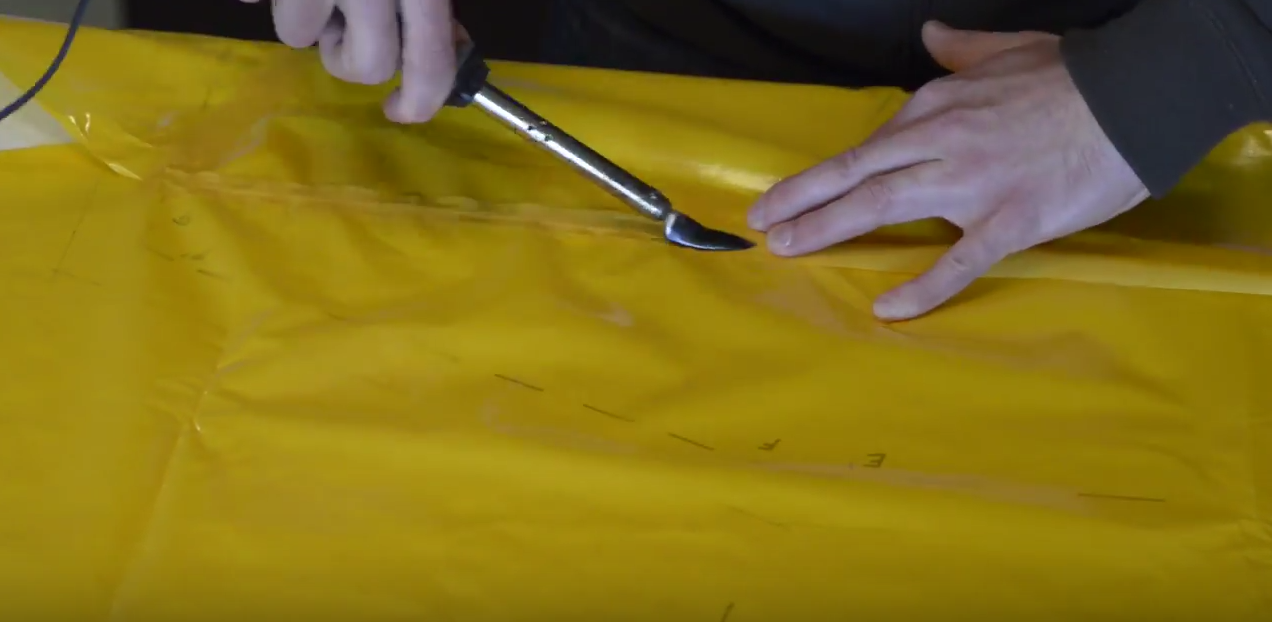
Once you are sure you have everything oriented correctly, with the edge of the tubing fabric aligned along the corresponding line on the floor, use your iron to bond the edge of the tubing fabric to the floor in a band approximately 1 cm wide.
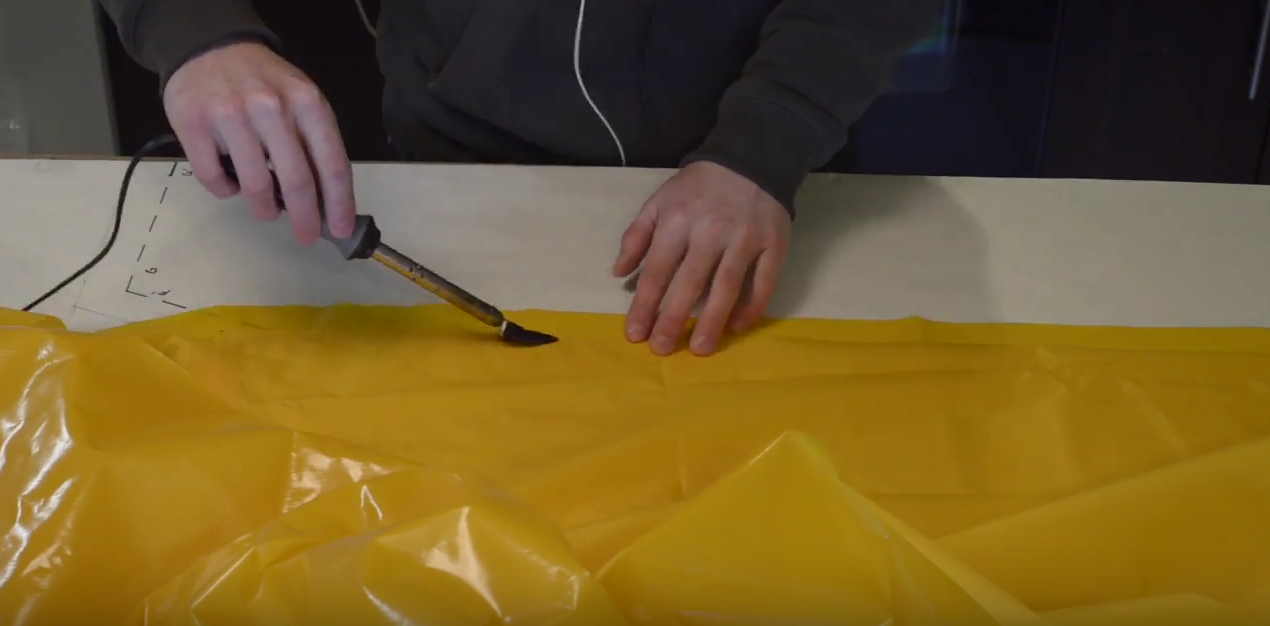
Line up your tube fabric edge with the corresponding line on the floor and bond with a seal ~1 cm wide (the width of your iron).
In Step 3, we left the ends of the curved seams unsealed, and now it’s time to finish them off by attaching them to the floor. (If the corners of a curved seam do not line up exactly with each other, trim the longer one to match the length of the shorter one.) Bond the final 1 cm of the curved seam and its 2 cm strip to the corresponding corner marked on the floor fabric, instead of to each other.
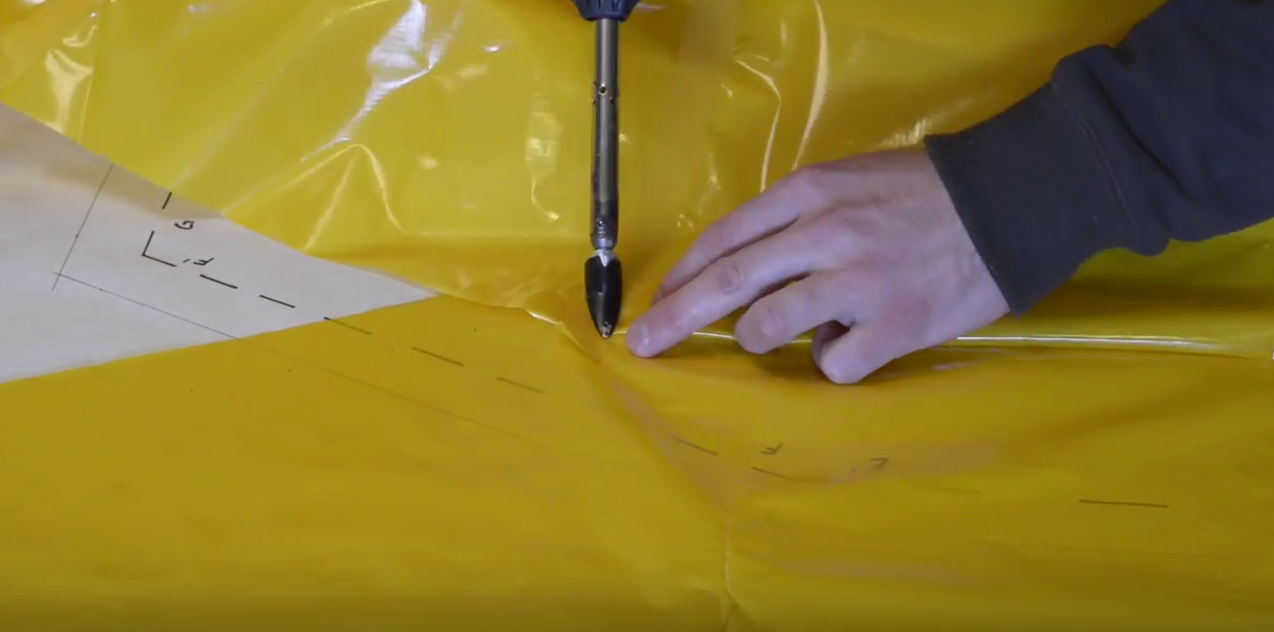
Bond the end of the curved seam to the floor instead of to the 2 cm strip. Bond the 2 cm strip to the floor also, and then trim off any excess.
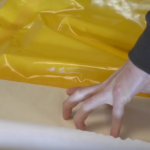
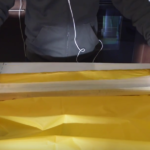
When you’ve bonded one straight length of tubing fabric to the floor and the curved seam at either end, fold the tubing fabric back to expose the inside of the joint (the TPU side of the fabric).
Fold fabric back to expose TPU side of joint.
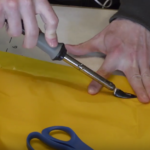
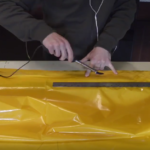
Cut a 2 cm wide strip of fabric from your scrap pile and bond it along this side of the joint to increase its strength and prevent peeling.
Bond 2 cm strip along seam.
Minimize the chances of touching the TPU coating with your iron by bonding only the center of the strip. Then fold a piece of parchment paper into the joint and complete the bond by heating the fabric from the other (non-TPU) side.
-

- Place parchment paper in TPU side of seam.
-
- Fold fabric over parchment paper.
-
- Seal remainder of 2 cm strip.
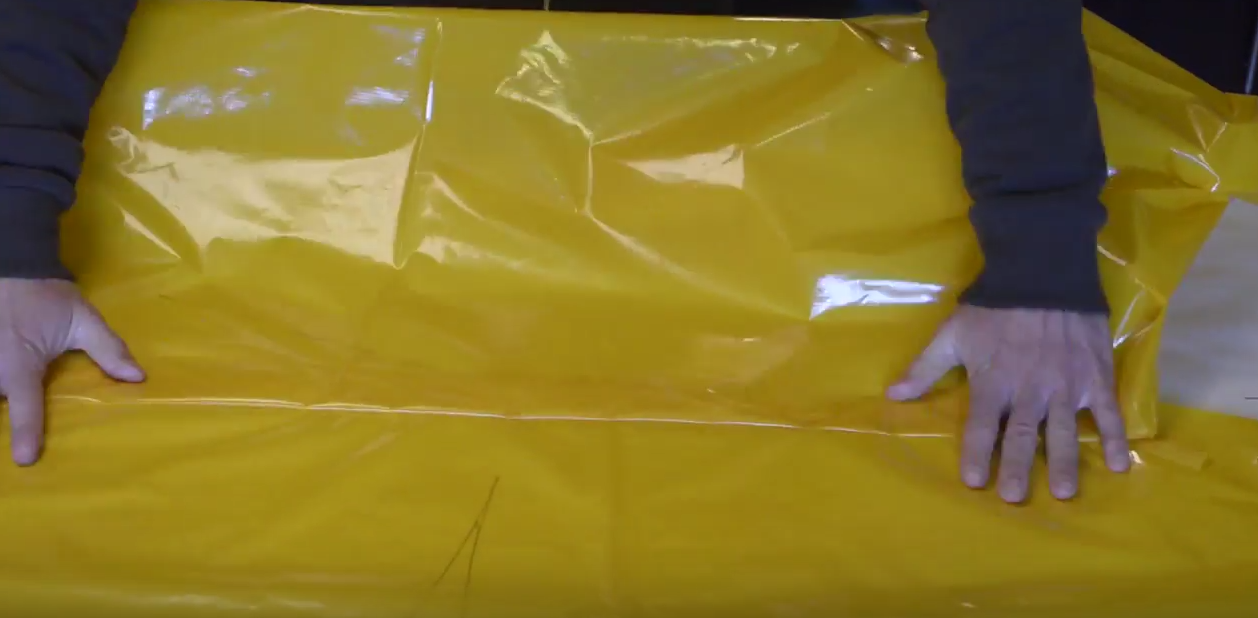
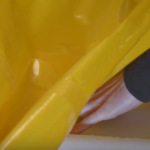
Now that the inside edge of the tubing section is bonded to the floor, we’re ready to close up this section of tubing by bonding the outside edge to the 3 cm band along the outer edge of the floor.
Wrap your tubing fabric around a piece of dimension lumber or other flat, heat resistant object so that the straight edges of the fabric line up on top of the wood. You may find it helpful to place some weights on the fabric to keep it in place.

Fold the 3 cm band of floor fabric over the tubing fabric with the heat sealable sides facing each other and begin bonding them together, working your way along the seam from one end to the other. If you’re using very thin fabric, as I am in the demo, don’t try to seal right up to the edge of the fabric or you might touch the TPU coating with your iron. Instead, after most of the overlap is sealed, slide the wood out of the tubing, flip the fabric over so the seam is facing down onto a piece of parchment paper, and then seal the edge by placing your iron inside the tube. I couldn’t get a good camera angle of this for the video, but by the time you reach this step I think you’ll understand what I mean. If not, send me a message or leave a comment below.
Now the first section of tubing is complete and you can move on to the adjacent sections. After doing this once or twice, you will understand how everything fits together, and you may choose to try bonding both edges of a section of tubing at the same time. To do this, wrap the tubing fabric around your piece of lumber, align the corresponding edges together, and then bond the floor fabric in place over top of them, sealing all three together. You will still need to add the 2 cm strip along the inside edge of the floor separately, because it’s unlikely to stay in place if you try to fold it between the floor fabric and the tubing fabric before they are joined.
As always, try to avoid creating wrinkles or gaps in the seams, because these can lead to leaks in your packraft. The most likely spot for a poorly sealed joint is at a corner where a curved seam meets the floor, so if you’re not sure you’ve created an airtight seal, now is the time to apply some glue (such as AquaSeal). Spread a drop of glue over any area that you think could leak and cover it loosely with a piece of tape while it dries to prevent it from sticking to something it shouldn’t. We will check for and fix any leaks once the packraft is complete, but as the saying goes, an ounce of prevention is worth a pound of cure.
When one side of your packraft is fully bonded to the floor, attach the other side in the same way. Then, after we install an inflation/deflation valve, I’ll show you how to seal the two sides of your packraft’s tubing together to form a single airtight chamber, and then your packraft will be done.
0 Comments