Home › Forums › DIY Packrafts › DIY Packraft Photos › Reply To: DIY Packraft Photos
 chanchito17
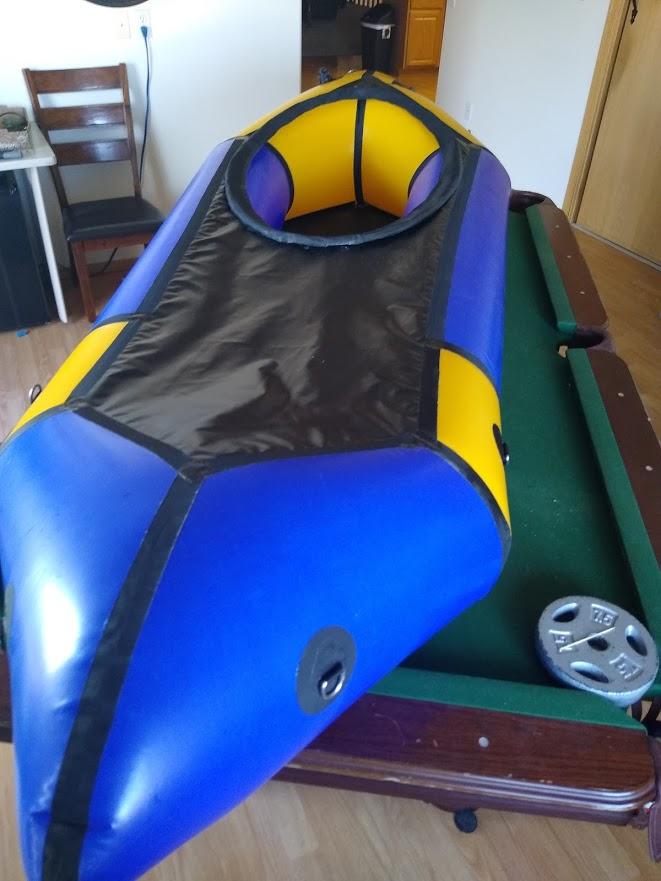
Finished my Skeena! What an awesome project. Wish I had the hot air gun for those hard to form end welds- like many folks on here, I used far too much aquaseal and patches to stop leaks once done. On the next one (the process is so addictive!!) I’m sure there will be perfect welds.
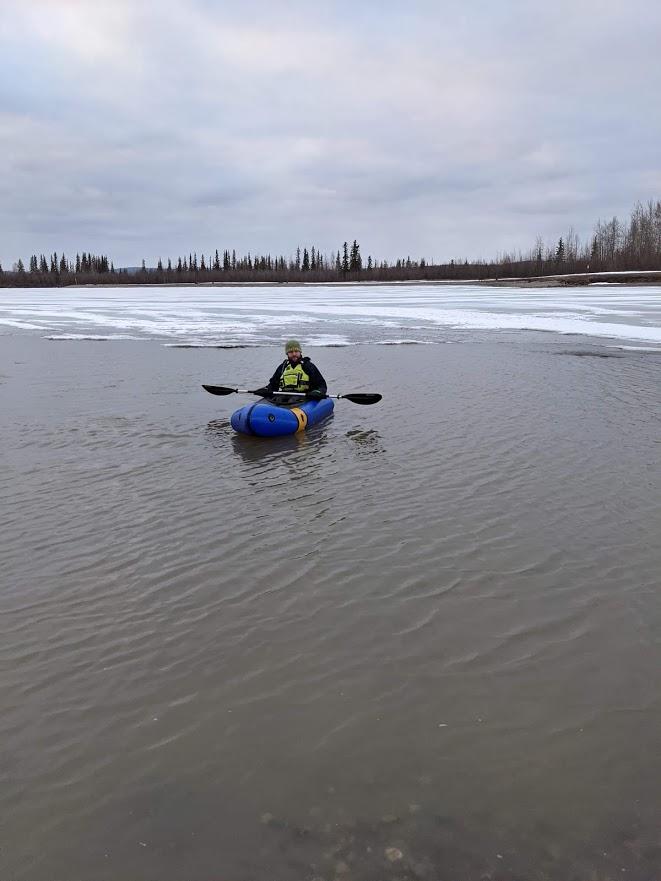
I couldn’t wait to try it out… Unfortunately in Fairbanks, it seems we are always waiting for the river to either freeze or melt. Here’s the maiden voyage at 2 degrees C in a local lake
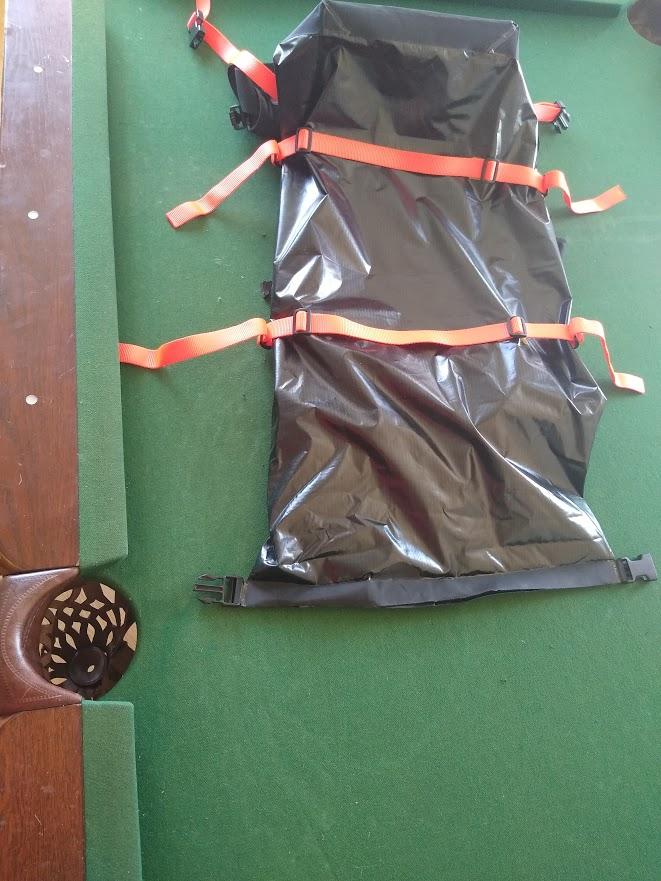
Highly suggest getting the multicolored fabric- with the leftover scraps and the ripstop fabric for the inflation bag, as well as an old backpack strap/belt I found, I was able to make a matching waterproof backpack to carry the packraft around. (I already had an inflation bag from a friend that I made fit the DIY packraft).
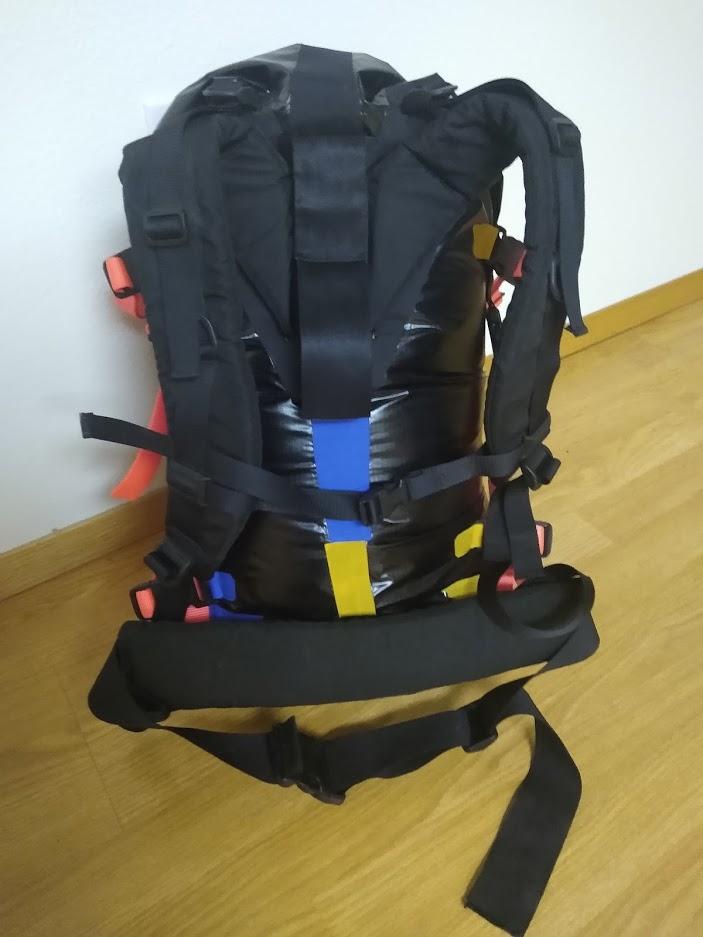
I’m not sure how durable the TPU coated ripstop fabric will be for a backpack. It held up for a few hikes with climbing gear, so I’m confident. Of course, if it does get holes, I can just iron on 210D fabric scraps to seal it up again. I didn’t have to sew a single thing for this bag. 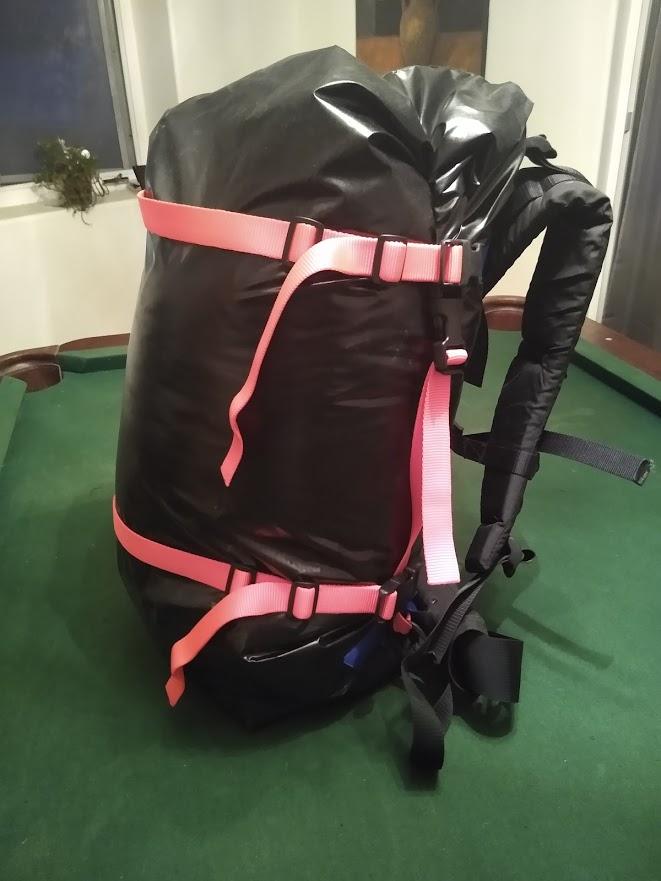
I CAN’T STOP THINKING ABOUT TPU FABRIC!! Thanks DIY packraft! All my friends are jealous.