Home › Forums › DIY Packrafts › DIY Packraft Photos › Reply To: DIY Packraft Photos
 Uncle Fred
Below are photos that didn’t make it into the build posting below. For some reason, if I add too many pictures, it either deletes the post or does strange things to the images.
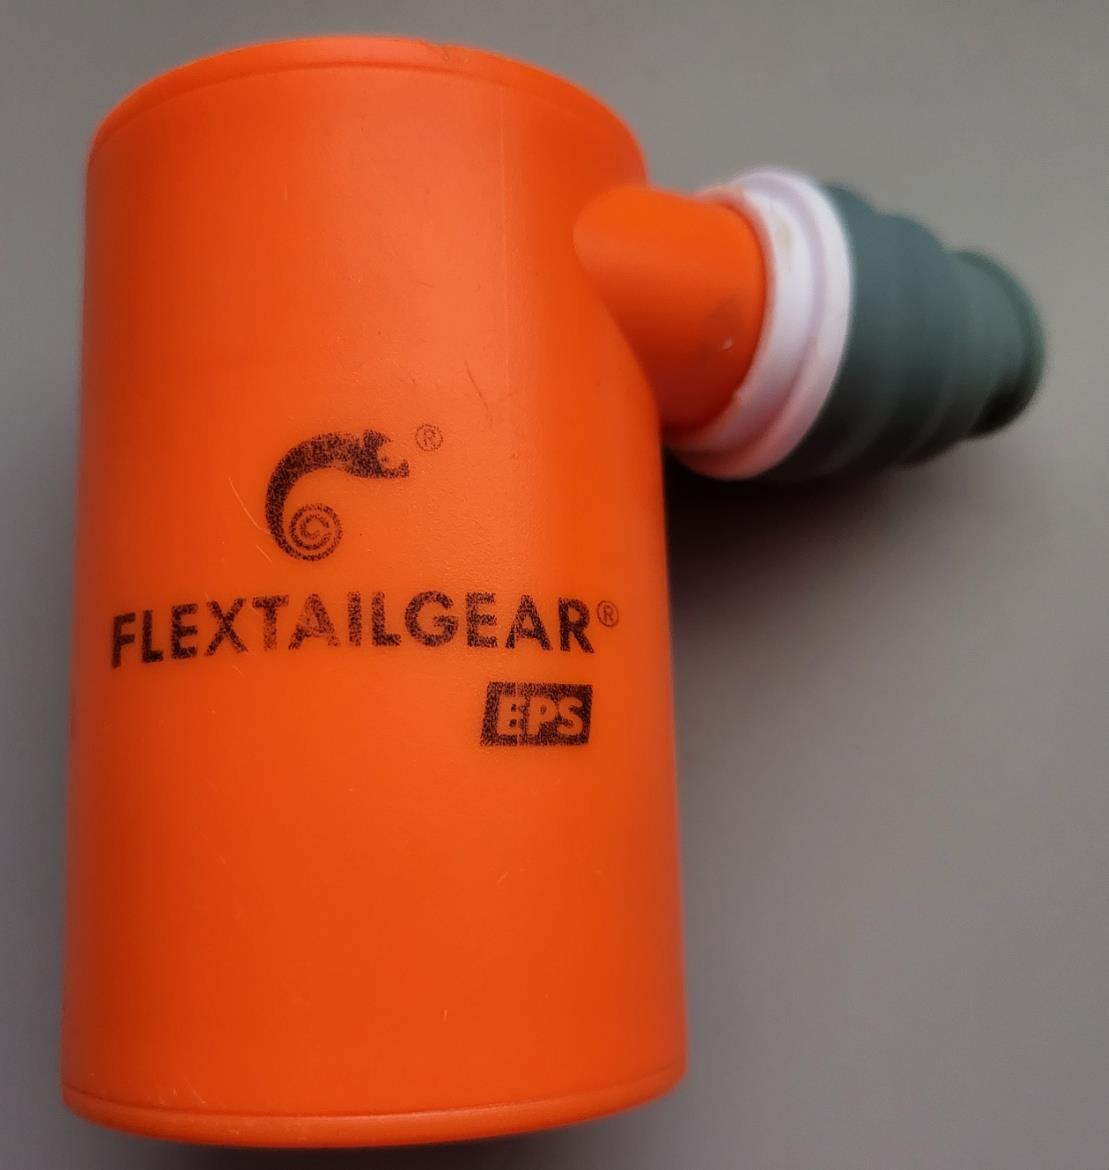
Referenced pump and glued-on included accessory configuration that fits both the Boston valves and the top-up valves. Note that for both, the pump friction fits on so well that it can be left unattended until about 90-95% full inflation.
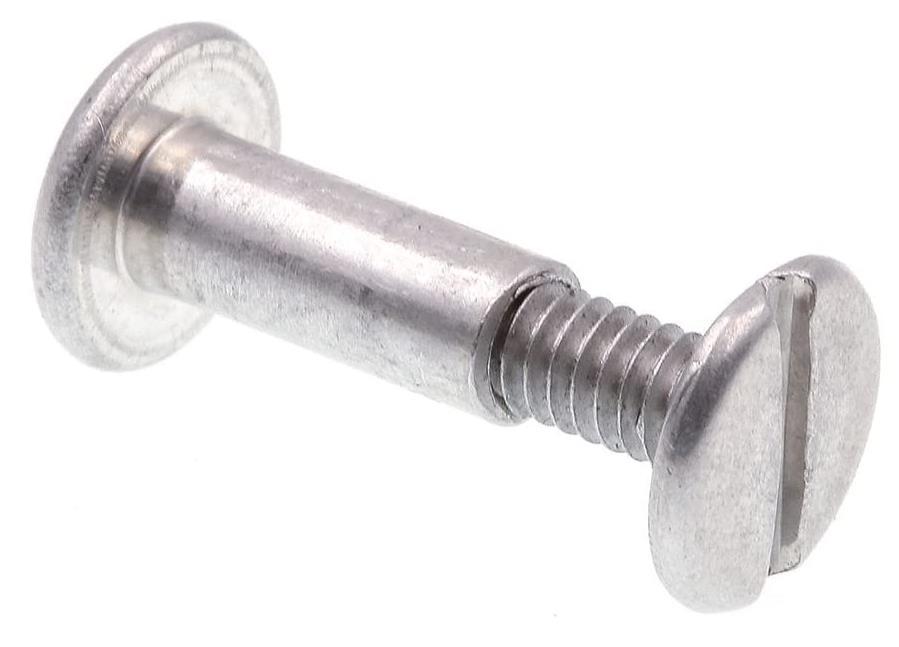
Below is an image of the aluminum binding post and screw. These are a lightweight and great option for a secure removable skeg. Originally I only had the skeg sitting in a slot. After my first trip, both rafts lost their skegs, necessitating this upgrade.
Again, I can’t recommend a skeg enough. A skeg offers a very noticeable improvement to the way the boat tracks in the water. It seems less energy is wasted in lateral movements with a skeg. When we each lost our skegs, we knew within a few strokes that they were gone.
Below is the form for the backrest support: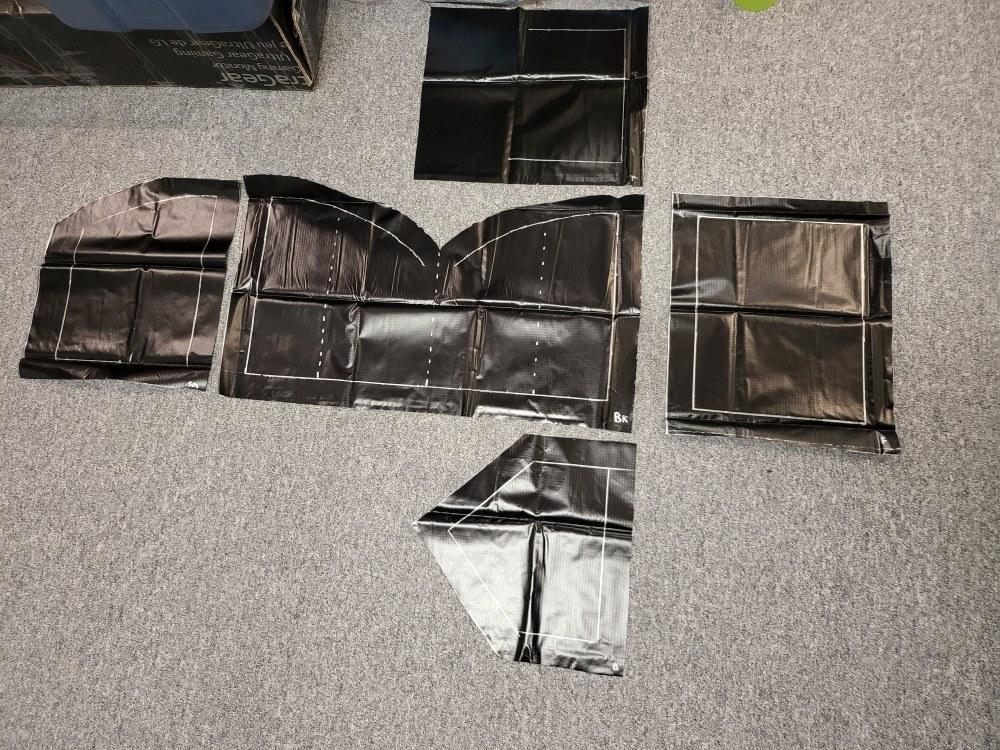
The idea here is to create a firm, forward, and upright sitting stance. It’s much easier to maintain speed for long river and lake paddles with something like this. Of course, you could also put a dry bag behind your seat, but I find this solution isn’t ideal as drybags tend to compress and shift downwards.
-
This reply was modified 3 years, 10 months ago by
 Uncle Fred.
