Home › Forums › DIY Packrafts › DIY Packraft Photos › Reply To: DIY Packraft Photos
 EricNort
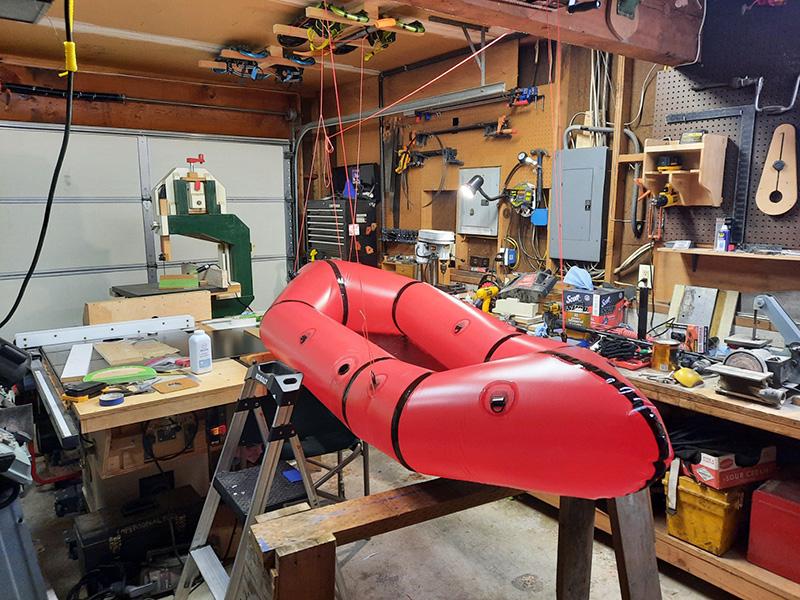
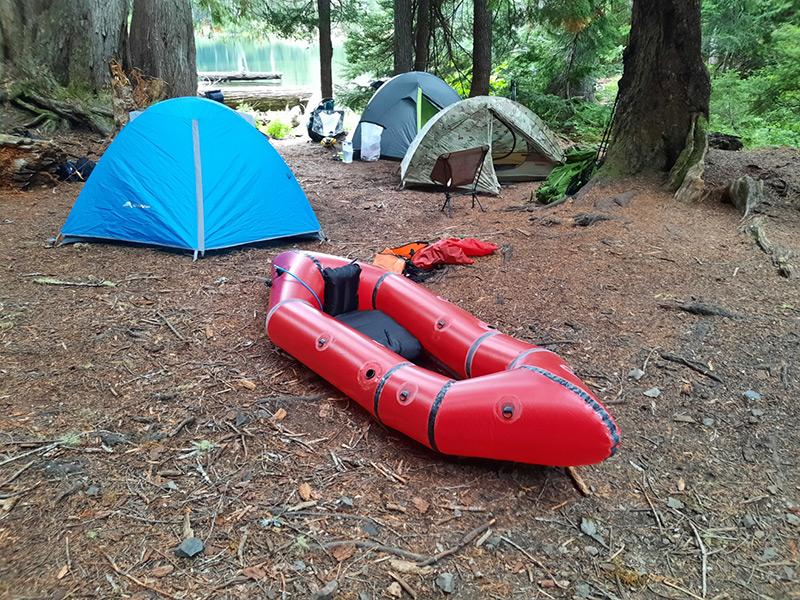
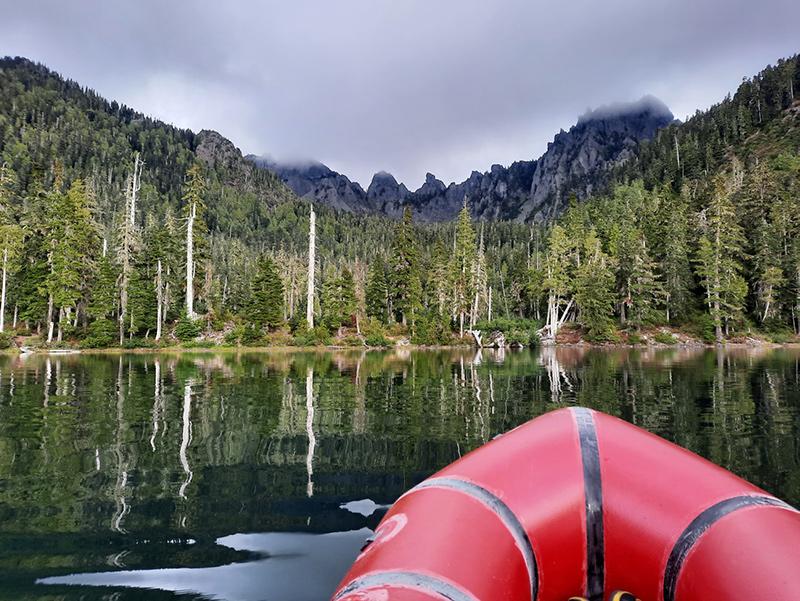
I have completed my build of the Ultralight Packraft with fishing rod holders added. The build went much quicker than I expected and I had it completed in about three weeks. I worked on it on nearly a daily basis and was thrilled to have it ready to bring along on a backpacking trip to Flapjack Lakes in Olympic National Park this past weekend.
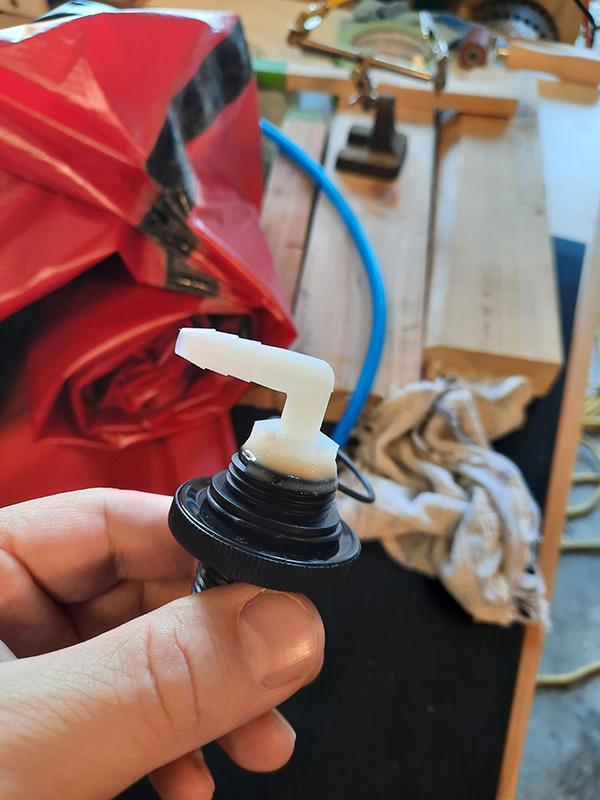
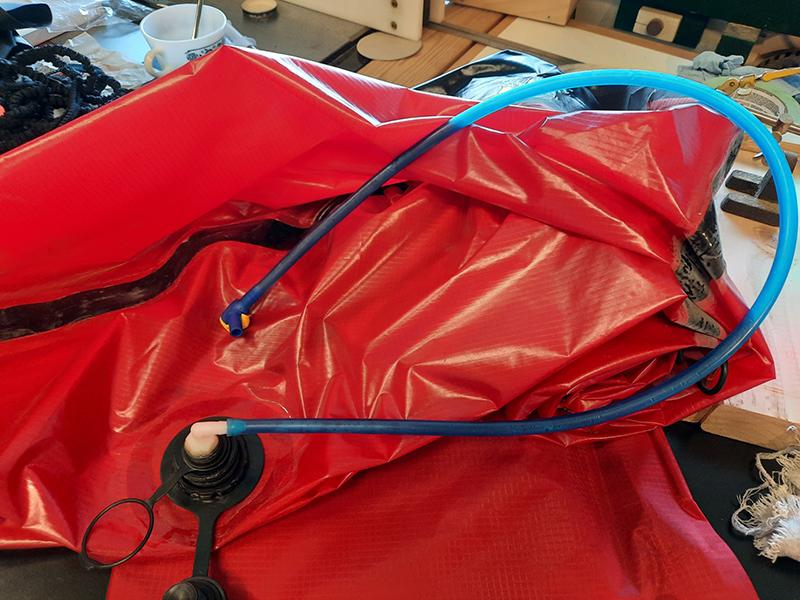
There was a minor leak I was aware of but hadn’t located before the trip (loss rate of a couple breaths every 30 minutes) but Gear Aid Tenacious Tape worked great to patch the leak once I did locate it. The leak was coming from one of the intersections of the floor panel and tube joints even after seam sealing all the internal joints and seams. To mitigate the leak I made a top-up tube using an extra Boston valve, 90° nylon barbed fitting, and extra Camelbak hose I had from an old bladder. I used JB Weld Plastic Bonder to glue the nylon fitting inside the Boston valve. After taping the leak in camp though I didn’t have any noticeable loss of pressure over the two full days the raft was inflated.
The fishing rod holders worked great. I thought they might have been the source of the leak, but thankfully weren’t! I highly recommend them to anyone who will be using their packraft for fishing. I followed the design included in the How-To section.
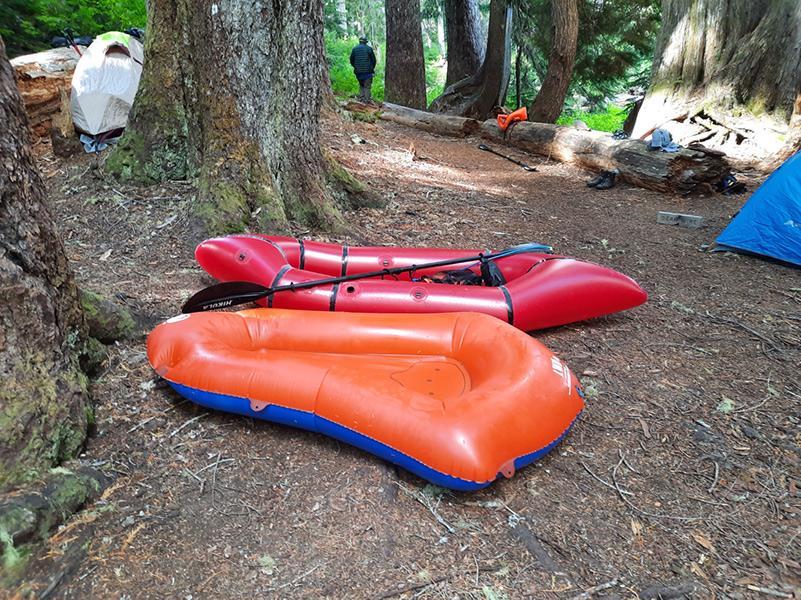
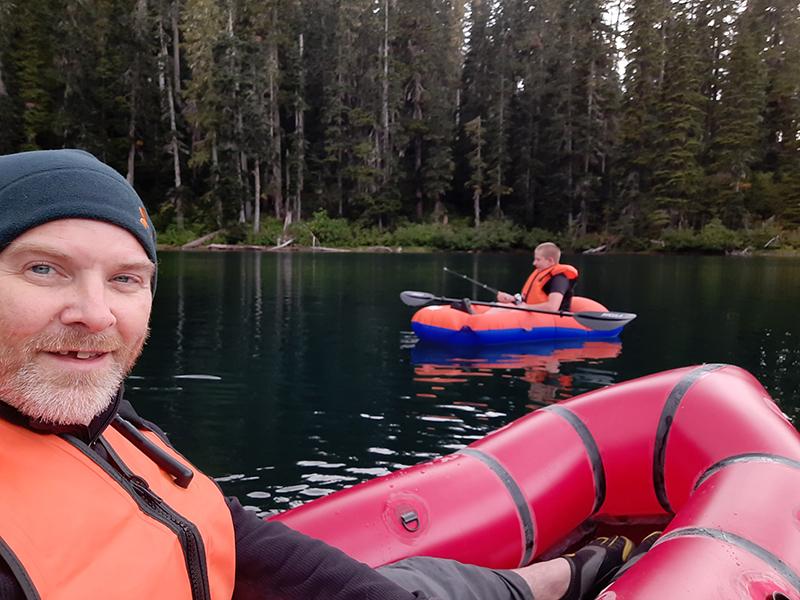
The other raft in some of the pictures is my son’s Klymit Litewater Dinghy which I included just for comparison. My boy enjoys it but I found it to be very uncomfortable to use over long periods. The seat and backrest of the ultralight packraft kit are a definite plus!
Matt, thanks for a great design and kit!
Liberal seam sealing for added seam durability:
Top-up tube assembly:
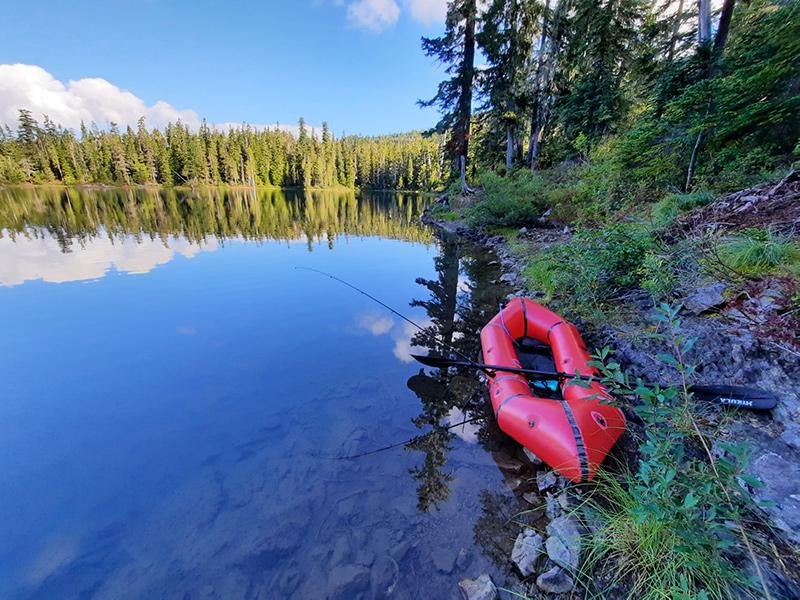
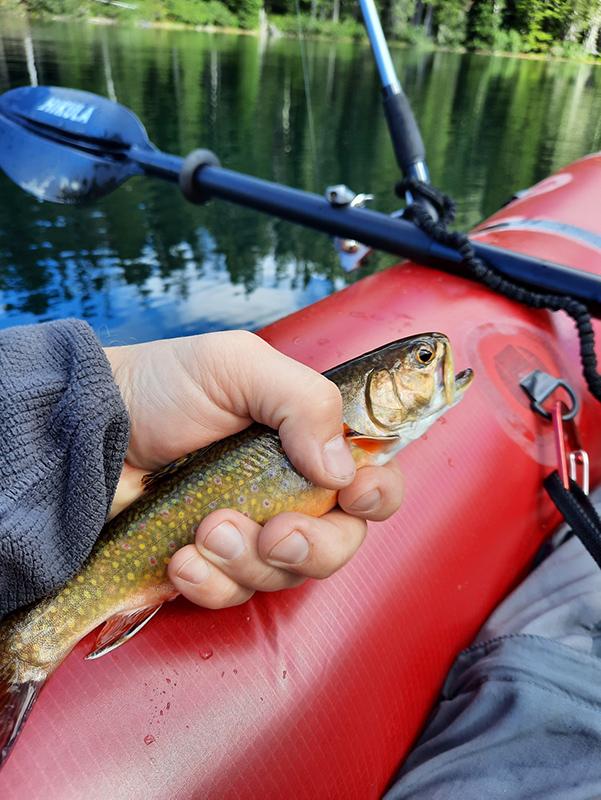
Lots of feisty brookies in this lake!
Side-by-side