Home › Forums › DIY Packrafts › DIY Packraft Photos › Reply To: DIY Packraft Photos
 Opie
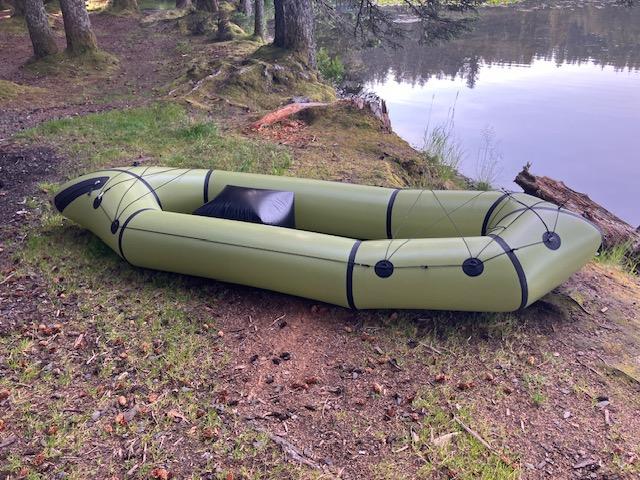
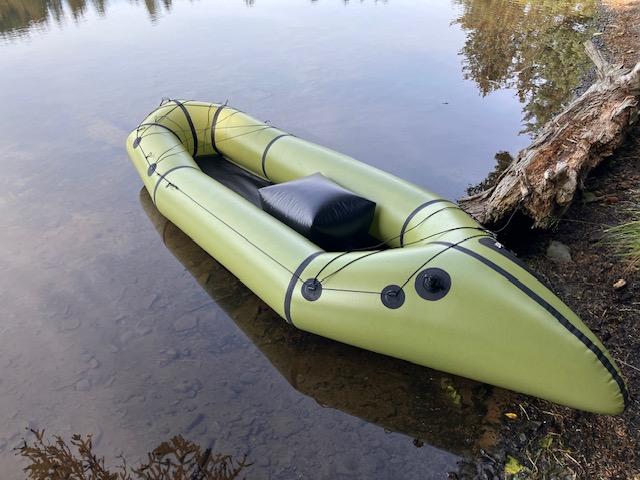
Here are some pics of my green 2P DIY Packraft. I haven’t seen too many finished 2P photos or packrafts in the newer green color and I wanted to share them. (You have permission to use the photos Matt) To start off let me say I love the color especially contrasted with black trim. This project was one of the most challenging projects I have tackled yet but very rewarding too. I have built a lot of projects over the years such as tents, packs, saddles, wood projects, welding projects, auto work etc. Most of the time I have built up the skills to completing a project of this size but on this one, it was zero to a hundred because of my inexperience with welding tpu. The most difficult part was welding eight different panels without knowing if I was making good welds. I had an enormous level of satisfaction and relief when I finally inflated the raft and only had one small leak. The leak was at the base of a seam on the inside of 2L and 3L. The raft would hold air but required about 5-8 breaths after a day. I fixed it with some aquaseal and now it holds airtight for at least 24 hours and only seems to fluctuate with temperature changes.
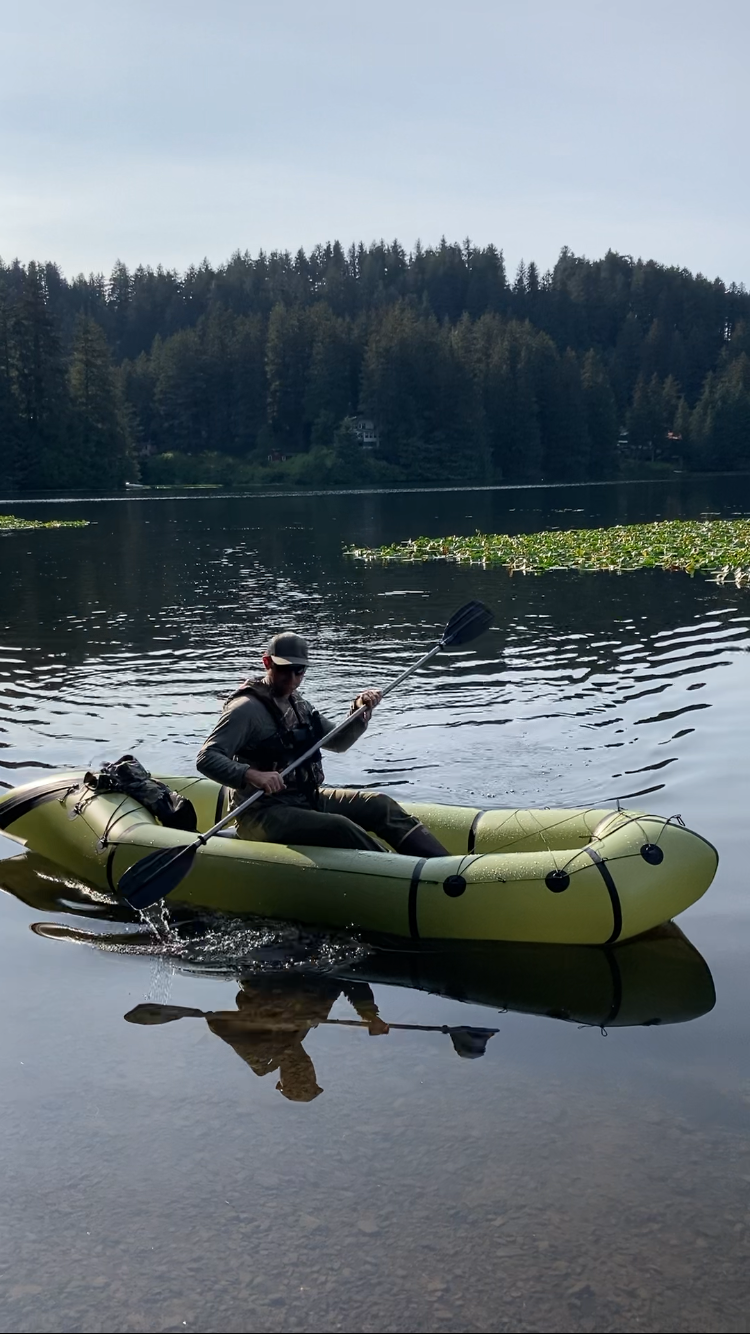
Performance seems awesome, although this is my first packraft so I don’t have anything to compare to. I purchased the 2p to haul heavy loads solo and have not tried 2 people yet. I have canoes and have paddled a fair bit but this is quite different. I have found that with the 2p seat height, paddling solo with a single canoe paddle actually works very well on flat water. The kayak paddle seems to work better on moving water. I was able to hit a few small white water sections with no trouble at all. The river I’m paddling here in Kodiak is shallow and I was able to transit in only 4 inches of water at times while only mildly touching the river bed. Hitting rocks on the bottom only lightly scuffed the bottom and the floor appears extremely durable. Overall I feel confident to take this raft on its intended purpose of hunting the north slope of the Brooks Range in Alaska at the end of August.
I worked on the raft after work for 14 consecutive days (a lot of really late nights). The build took me 50-60 hrs to get to the inflation stage. I took an unknown amount of time to build and decide on placement of the tie down points afterwards. My wife is thrilled that I’m done working on it as now I can help watch our 8 month old son again. As others have stated, I also recommend taking plenty of time when tackling this project. I used strait edges rulers and tapes and marked everything out with tailors chalk and silver sharpie to ensure every weld went as well as possible. I measured and re-measured everything to limit mistakes. All in all I’m very pleased with the outcome of the build.
Instructions were great and only left me scratching my head a few times. I will ad the things I found helpful in the tips and tricks section.
Let me know if anyone has any questions or would like to see more detailed photos of the 2P in green. Thank you for making these kits Matt!