Home › Forums › DIY Packrafts › DIY Packraft Photos › Reply To: DIY Packraft Photos
 lwschaef
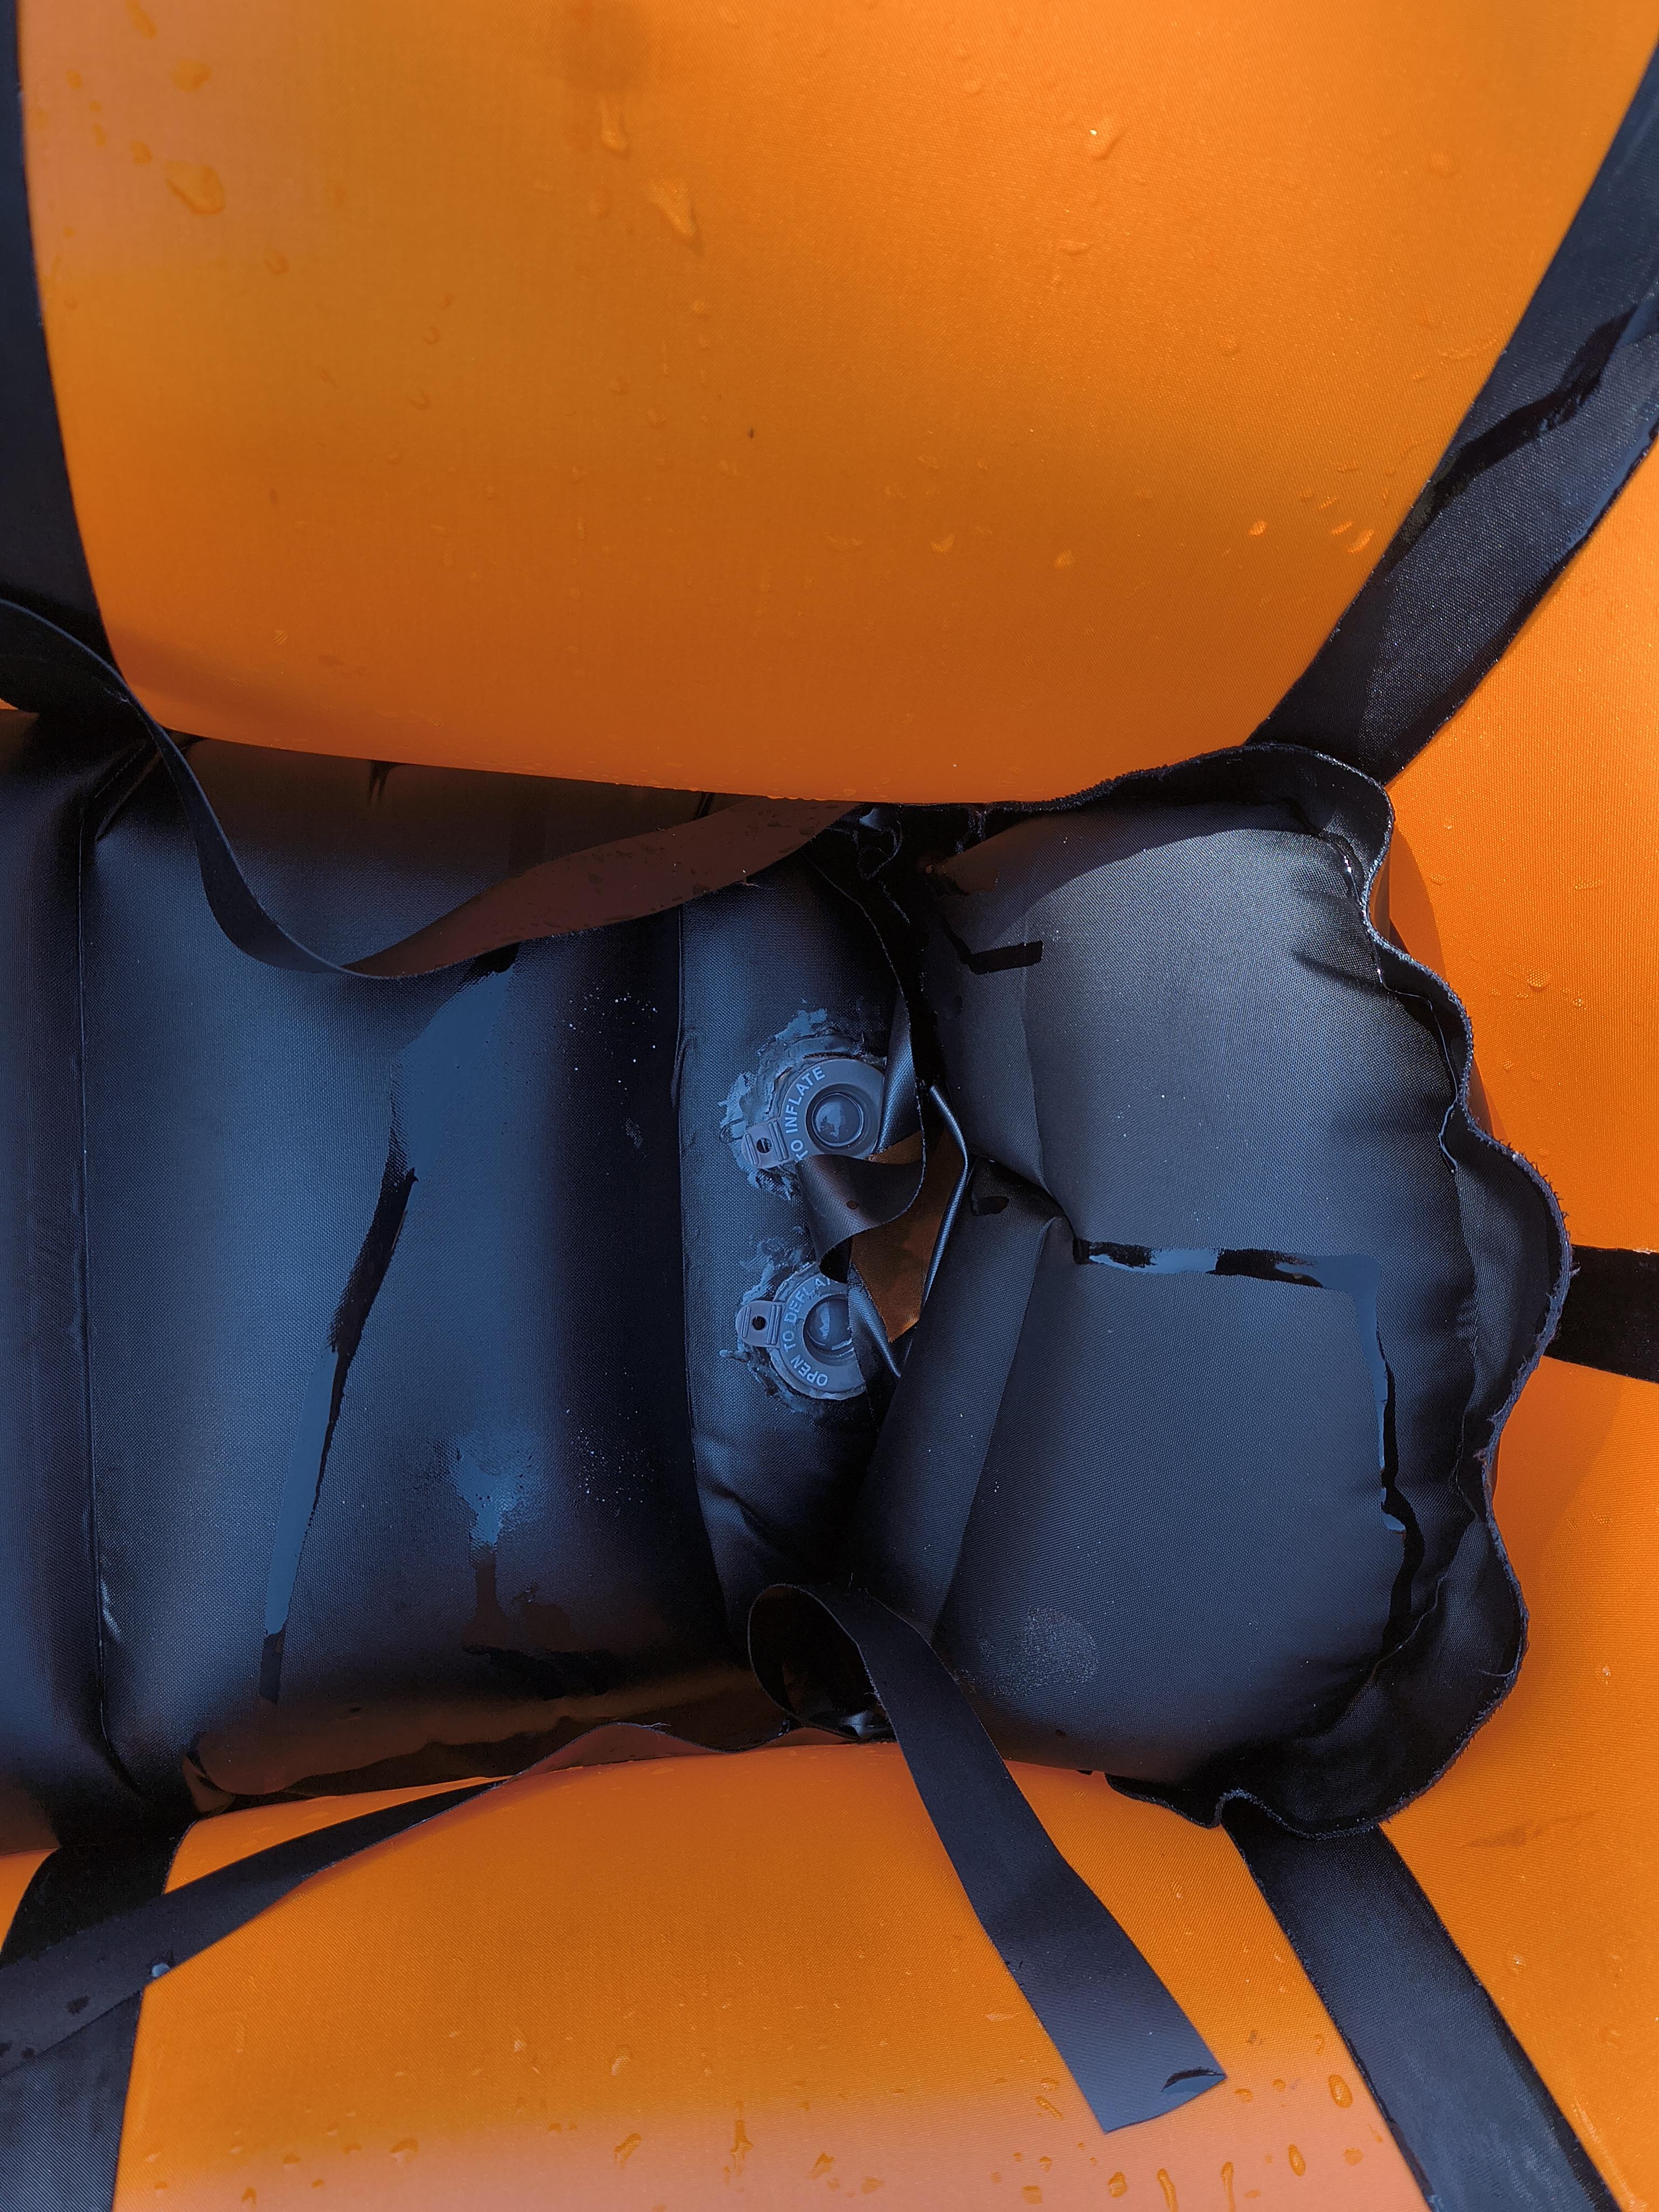
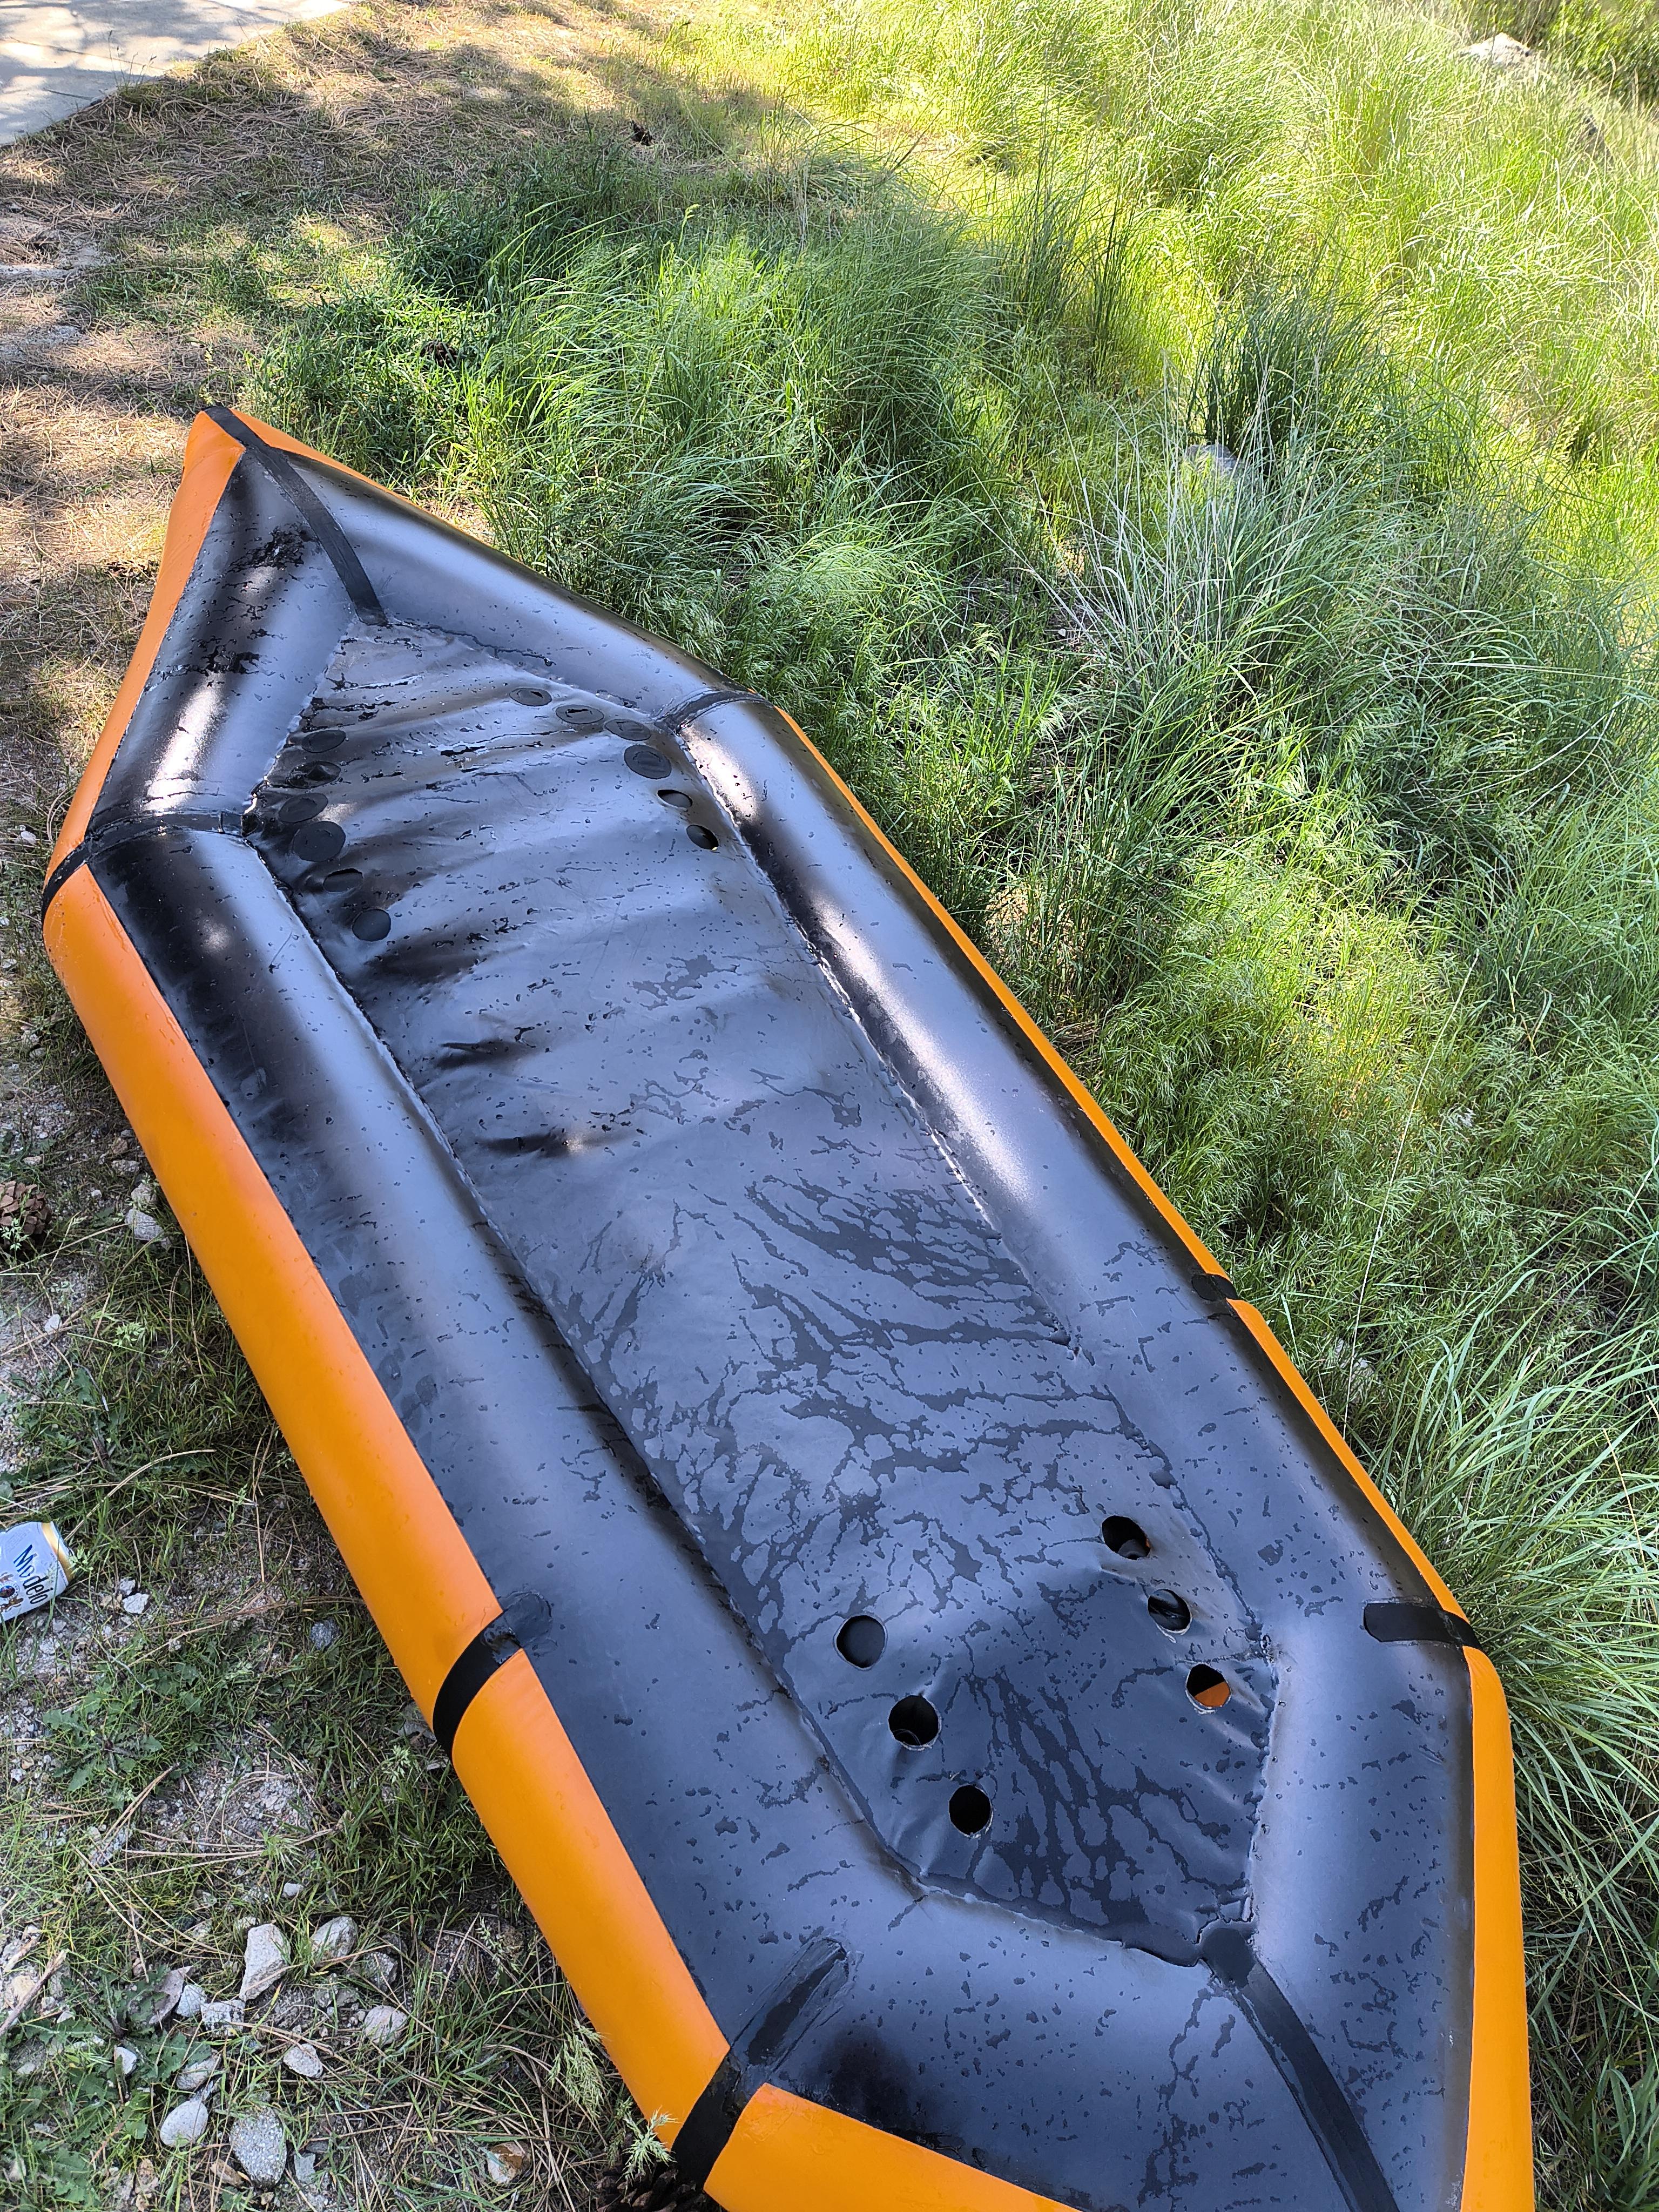
Here are a few more photos of the setup. 6 holes on each side of the stern, and 3 on each side towards the bow. As you can see, the first few holes in the back are reinforced with patches of extra seat/floor fabric, with flaps cut into them for drainage without letting in excess water. Since I am mostly paddling high-volume rivers right now and I’m not too concerned about snagging the bottom, I haven’t gotten around to doing this to the rest of the holes. When I do, I will probably also redo the existing reinforcements and flaps to make them look cleaner. For the floor, I basically just traced the seat fabric, and then extended the straight lines all the way to where the foot pillow (reshaped inflatable backband) sits. The baffles are 2in tall and spaced every 15cm (woohoo mixing units). The valves are from an old sleeping pad. The inflatable floor sits under the tubes and pushes down and tightens up the little bit of slack in the floor fabric to create a bit of an edge on either side for secondary stability in addition to displacing more water and allowing a self-bailing setup to be less sluggish. Let me know if y’all have any more questions, or if you’d like more detailed how-tos on how I made the floor, foot pillow, backband, or self-bailing holes. Thanks!