Using the new 40D ripstop is a fast and simple way to fashion an inflation bag. Took me about two hours. I used 1 meter of 40D fabric, less than 2 meters of 1/2″ thin nylon webbing, a plastic buckle, D ring, and I will insert a 7/8″ Silicon tubing into a bottom corner when it comes in the mail. I intend to plug the tubing with a cork, from the inside. Then I can roll down the top and use it as a fast access drybag, the roll-down handle/buckle will allow it to be quickly clipped in behind the seat.
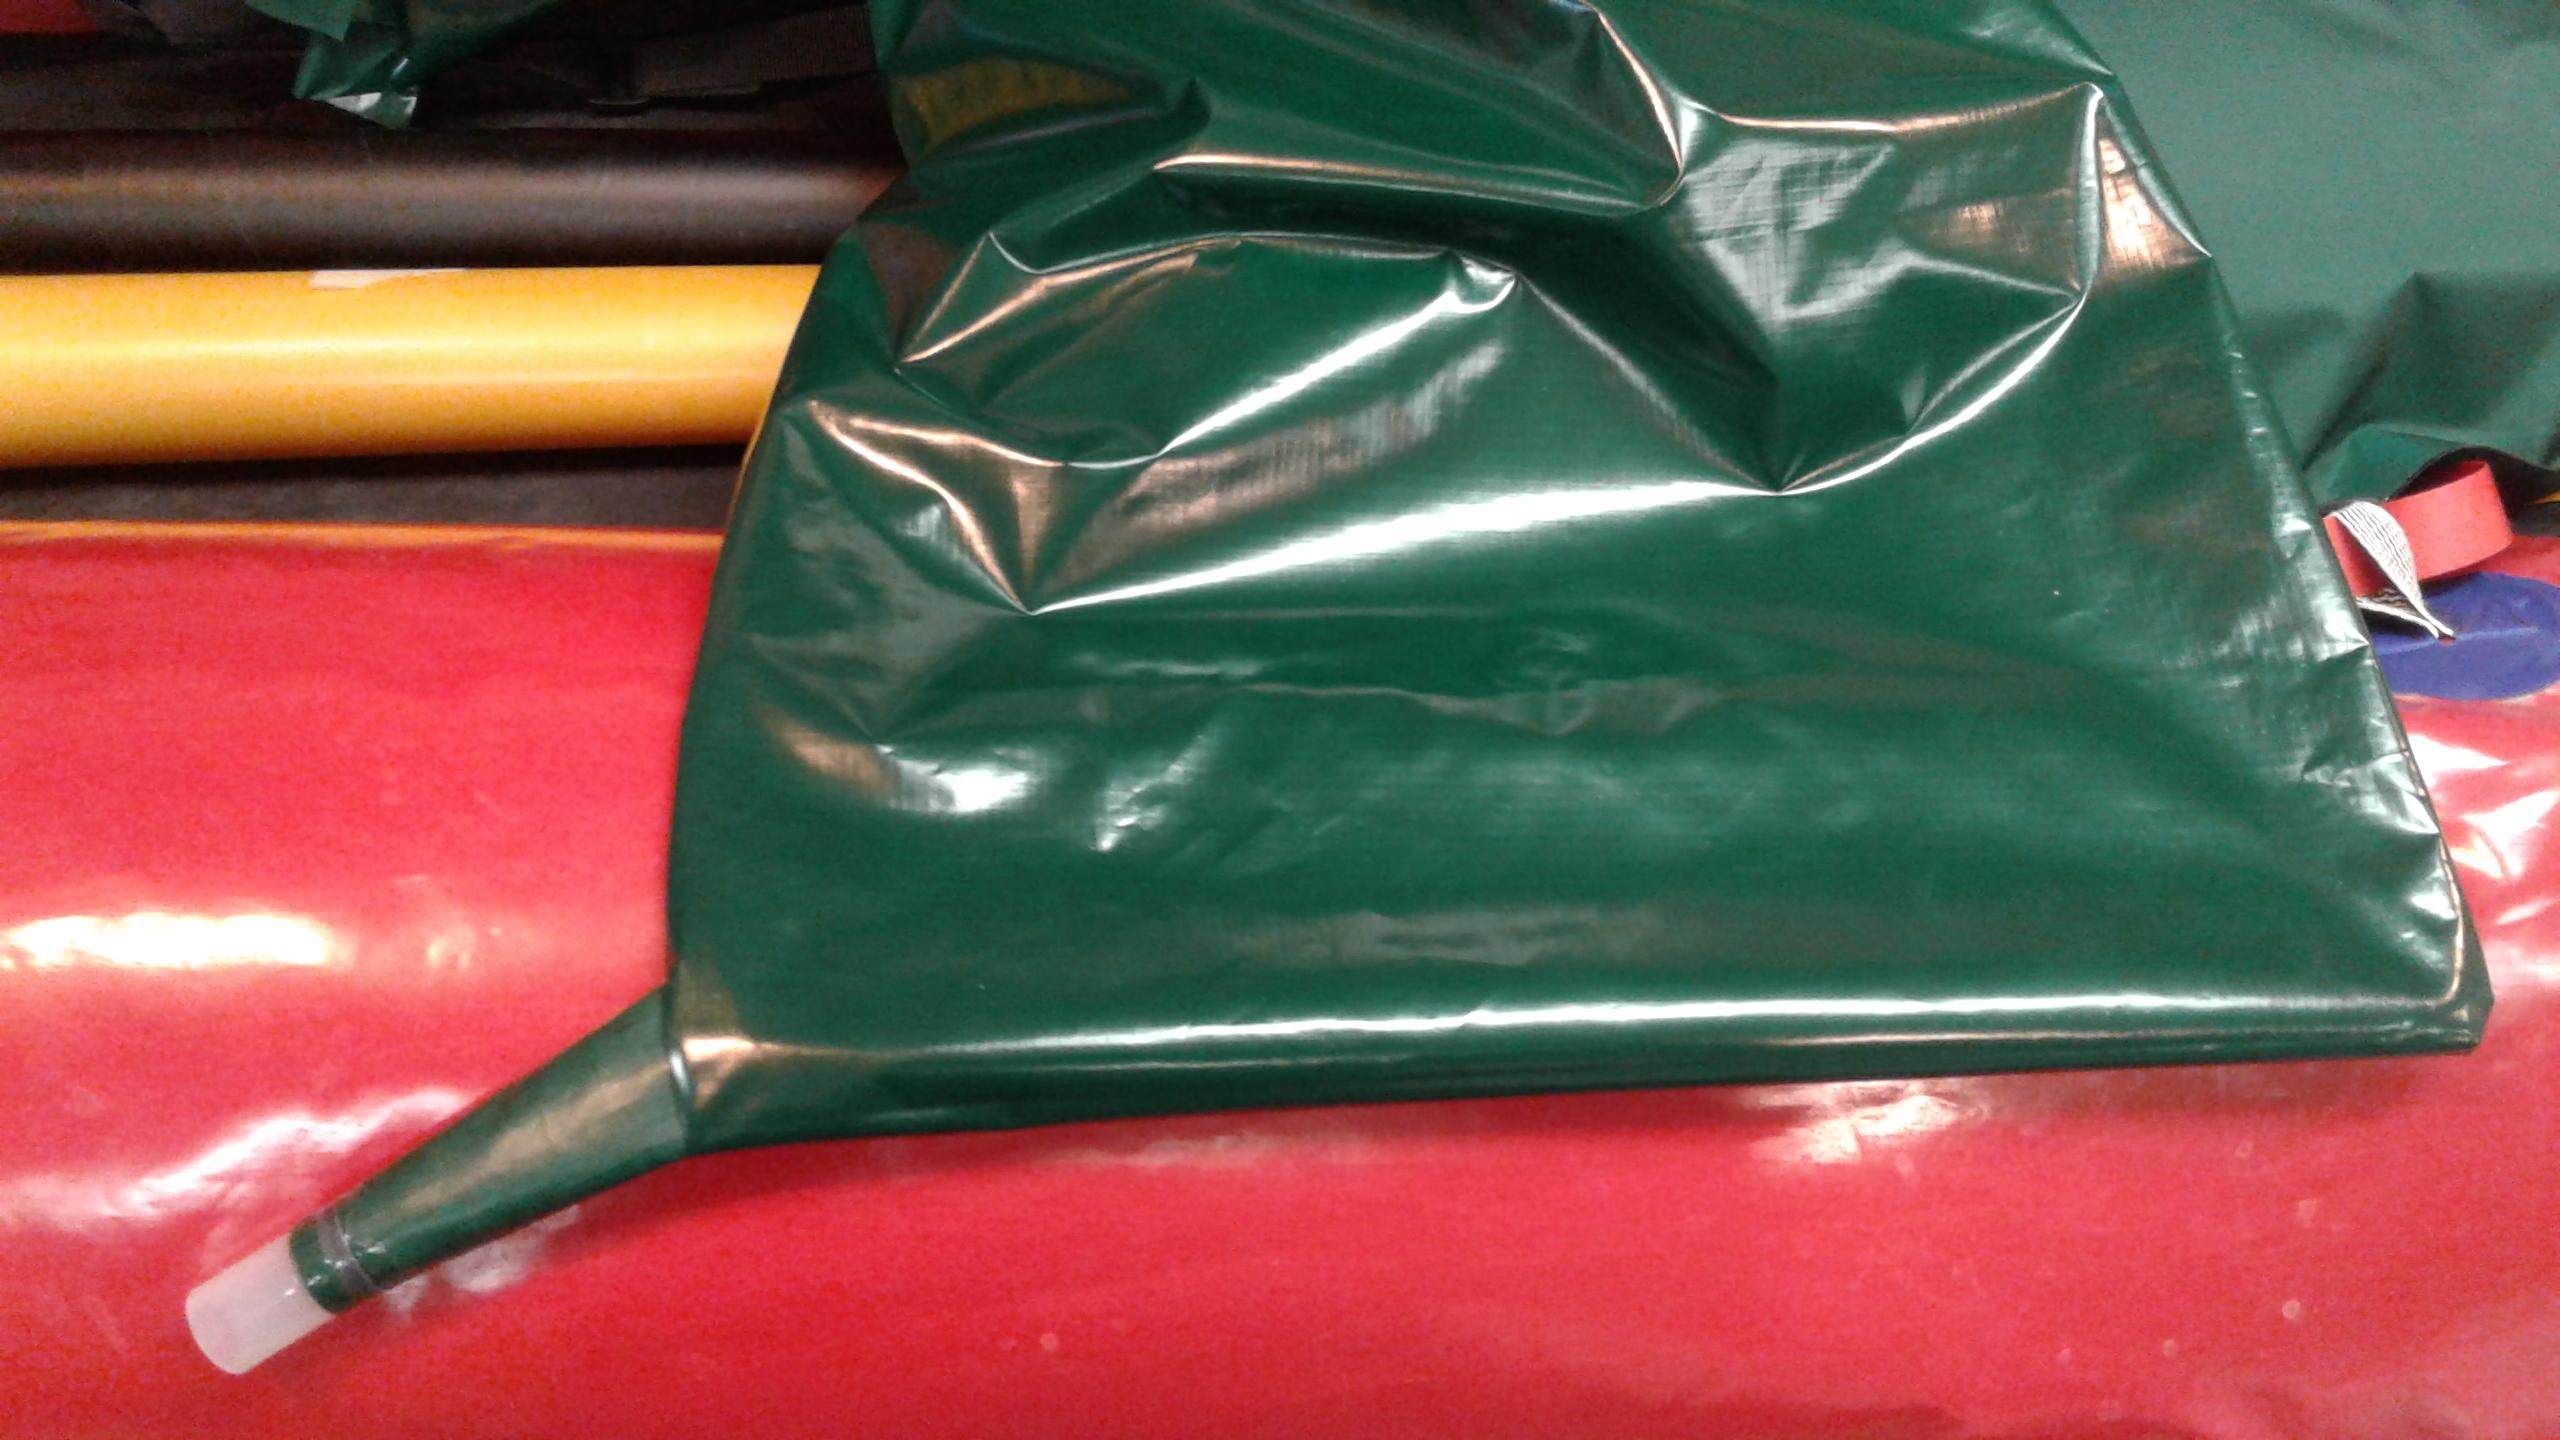
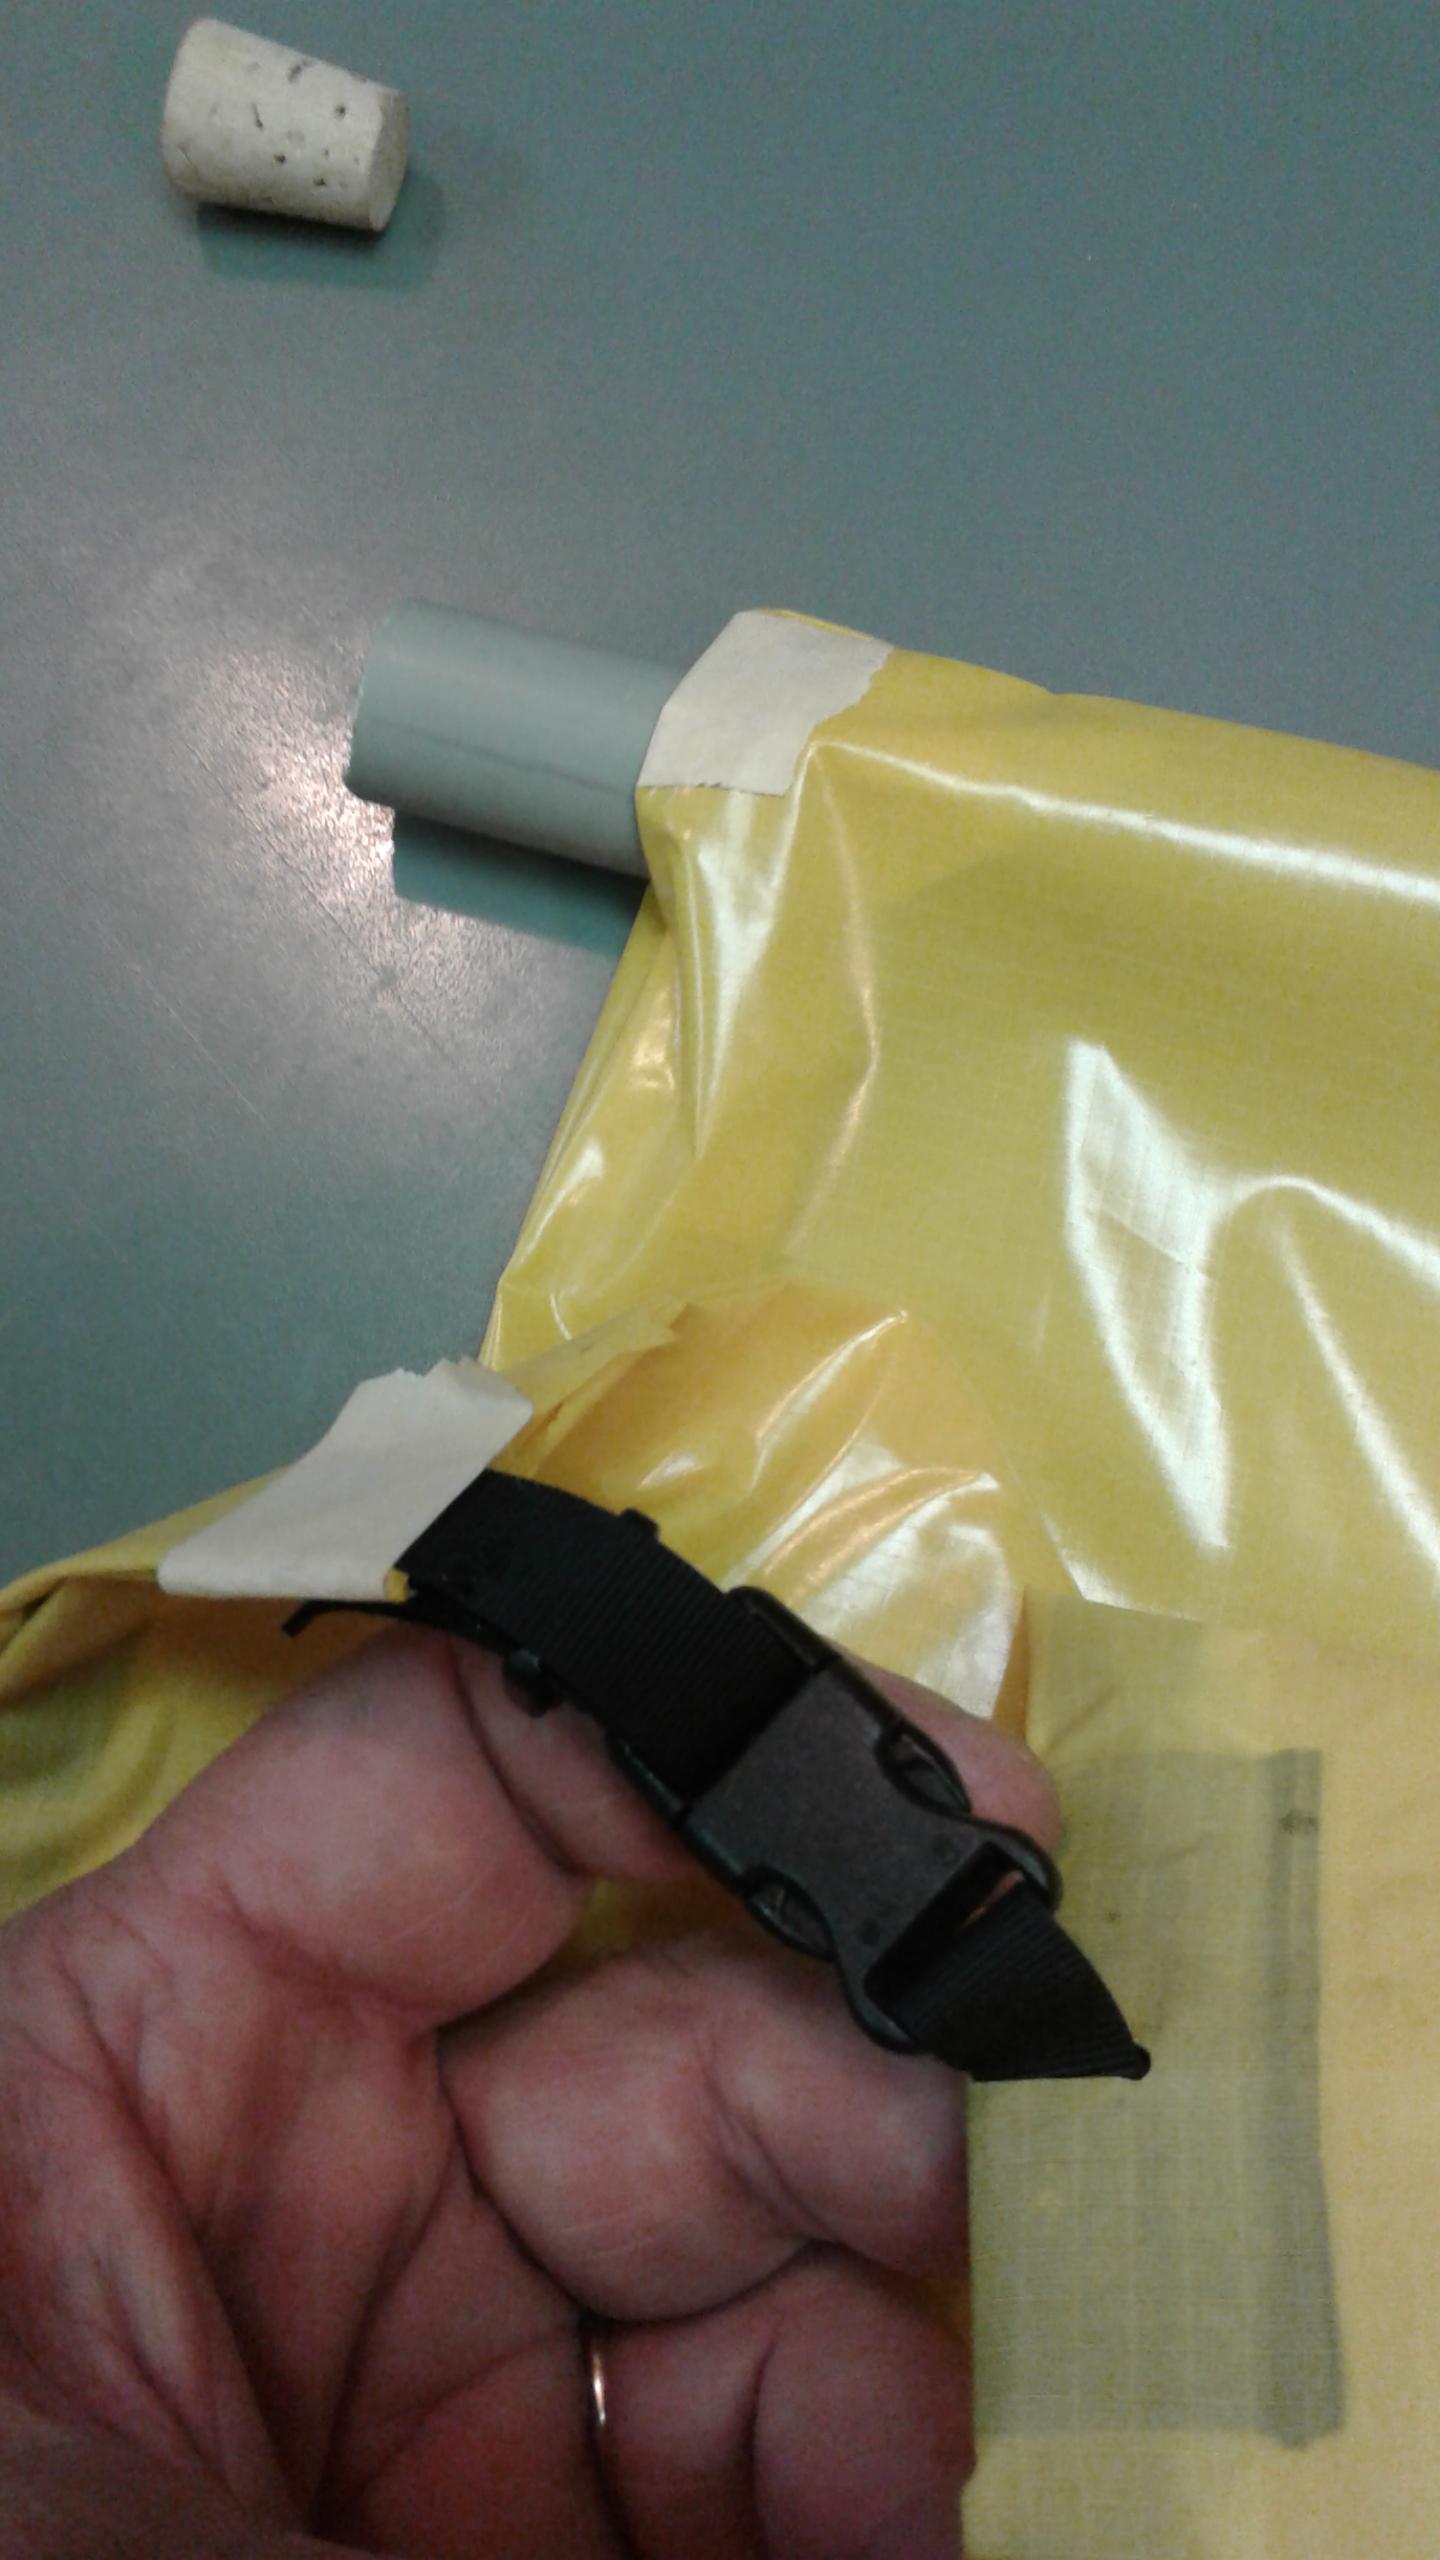
This is the finished inflation bag, with a piece of grey tubing to illustrate where the silicone tubing will go.
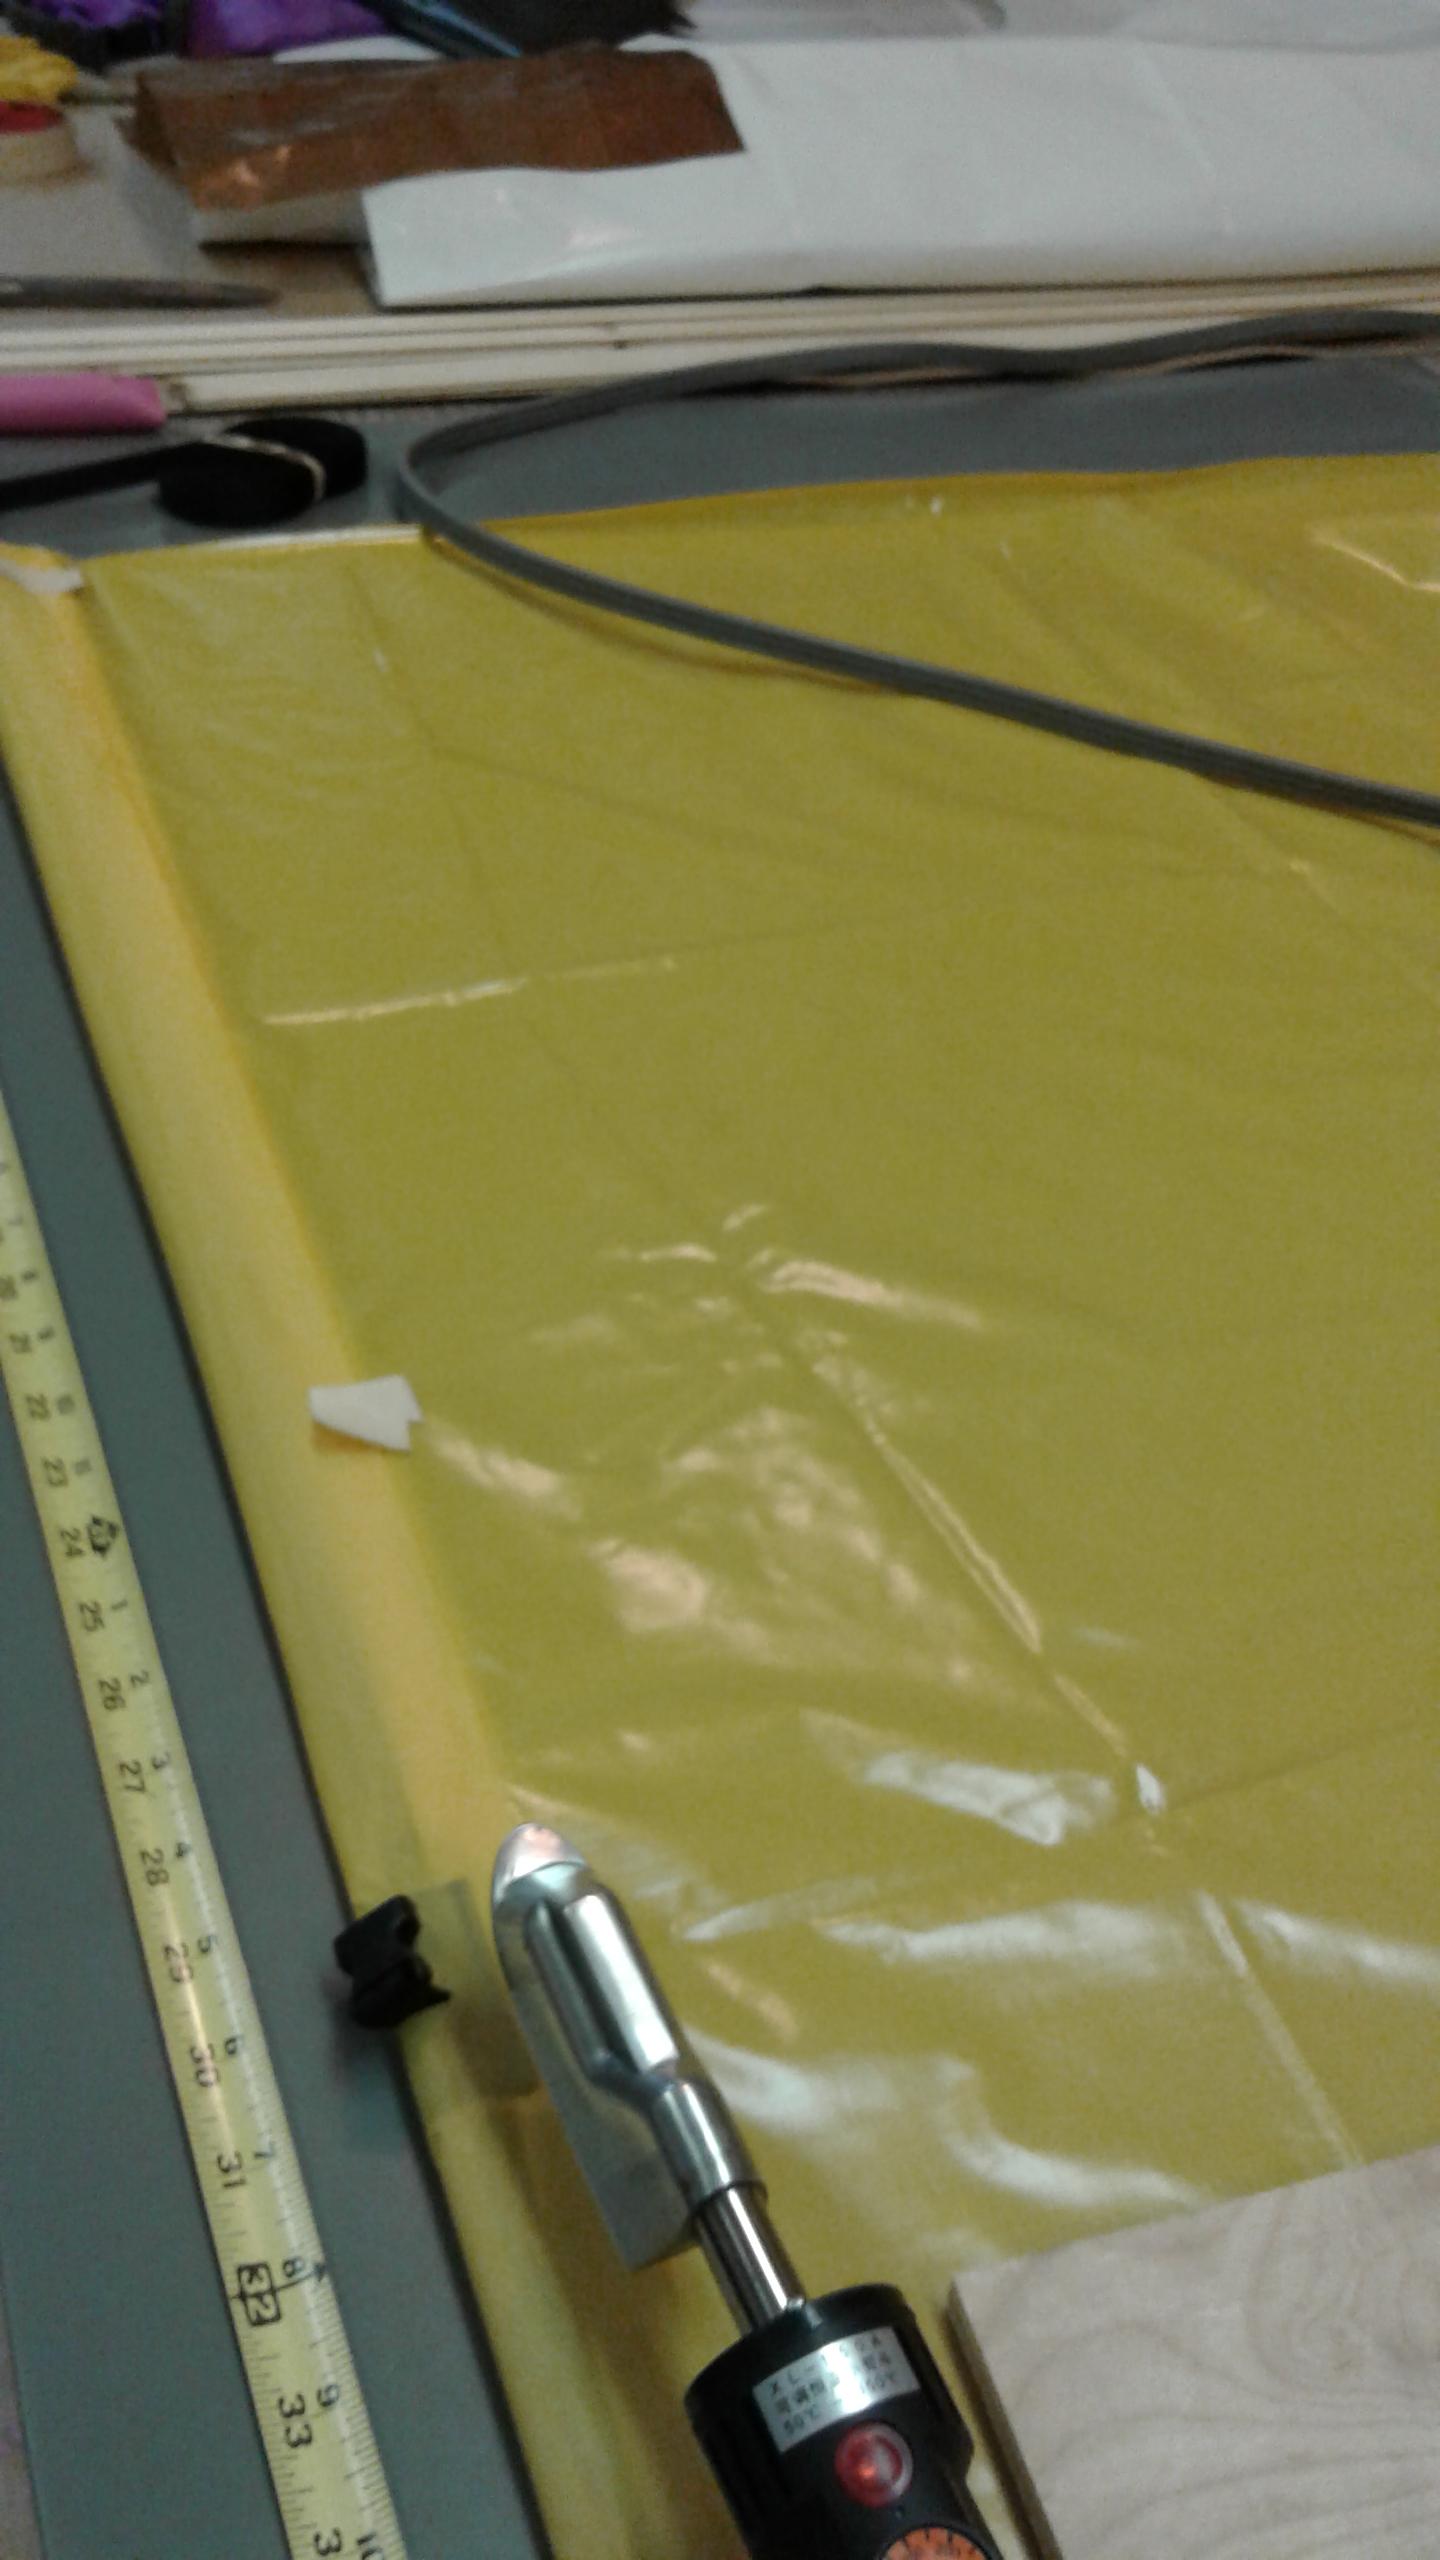
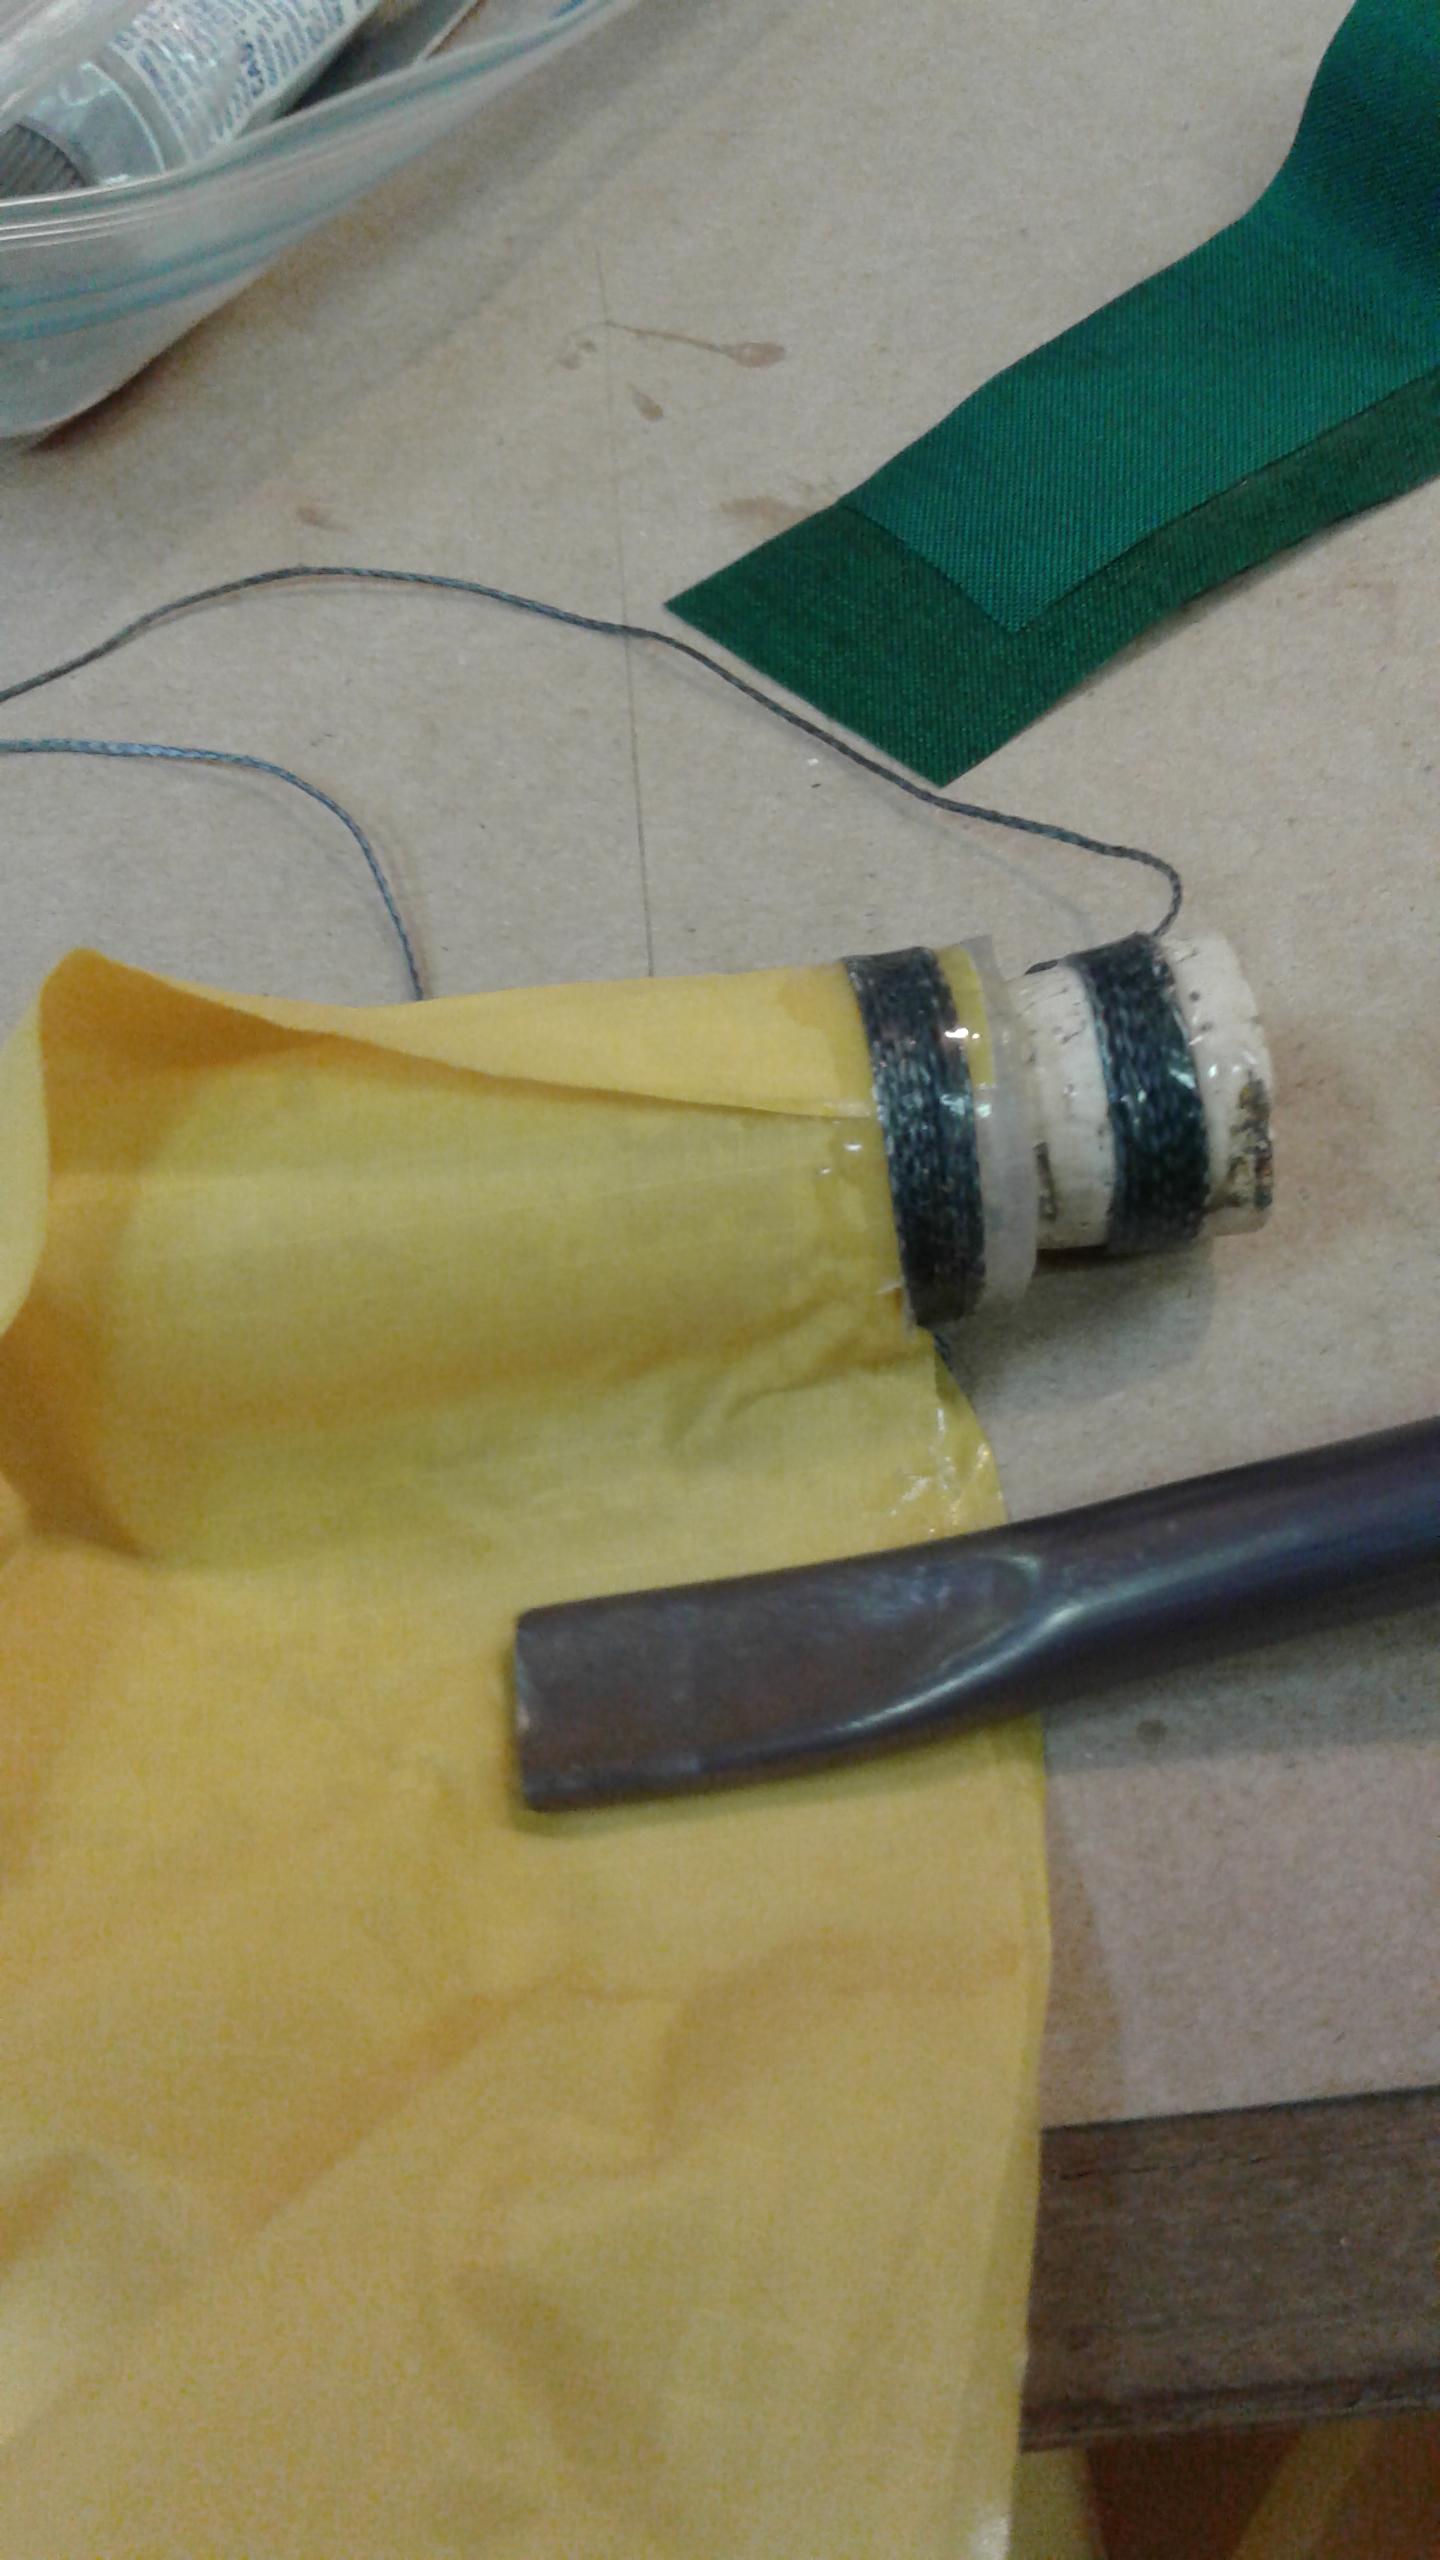
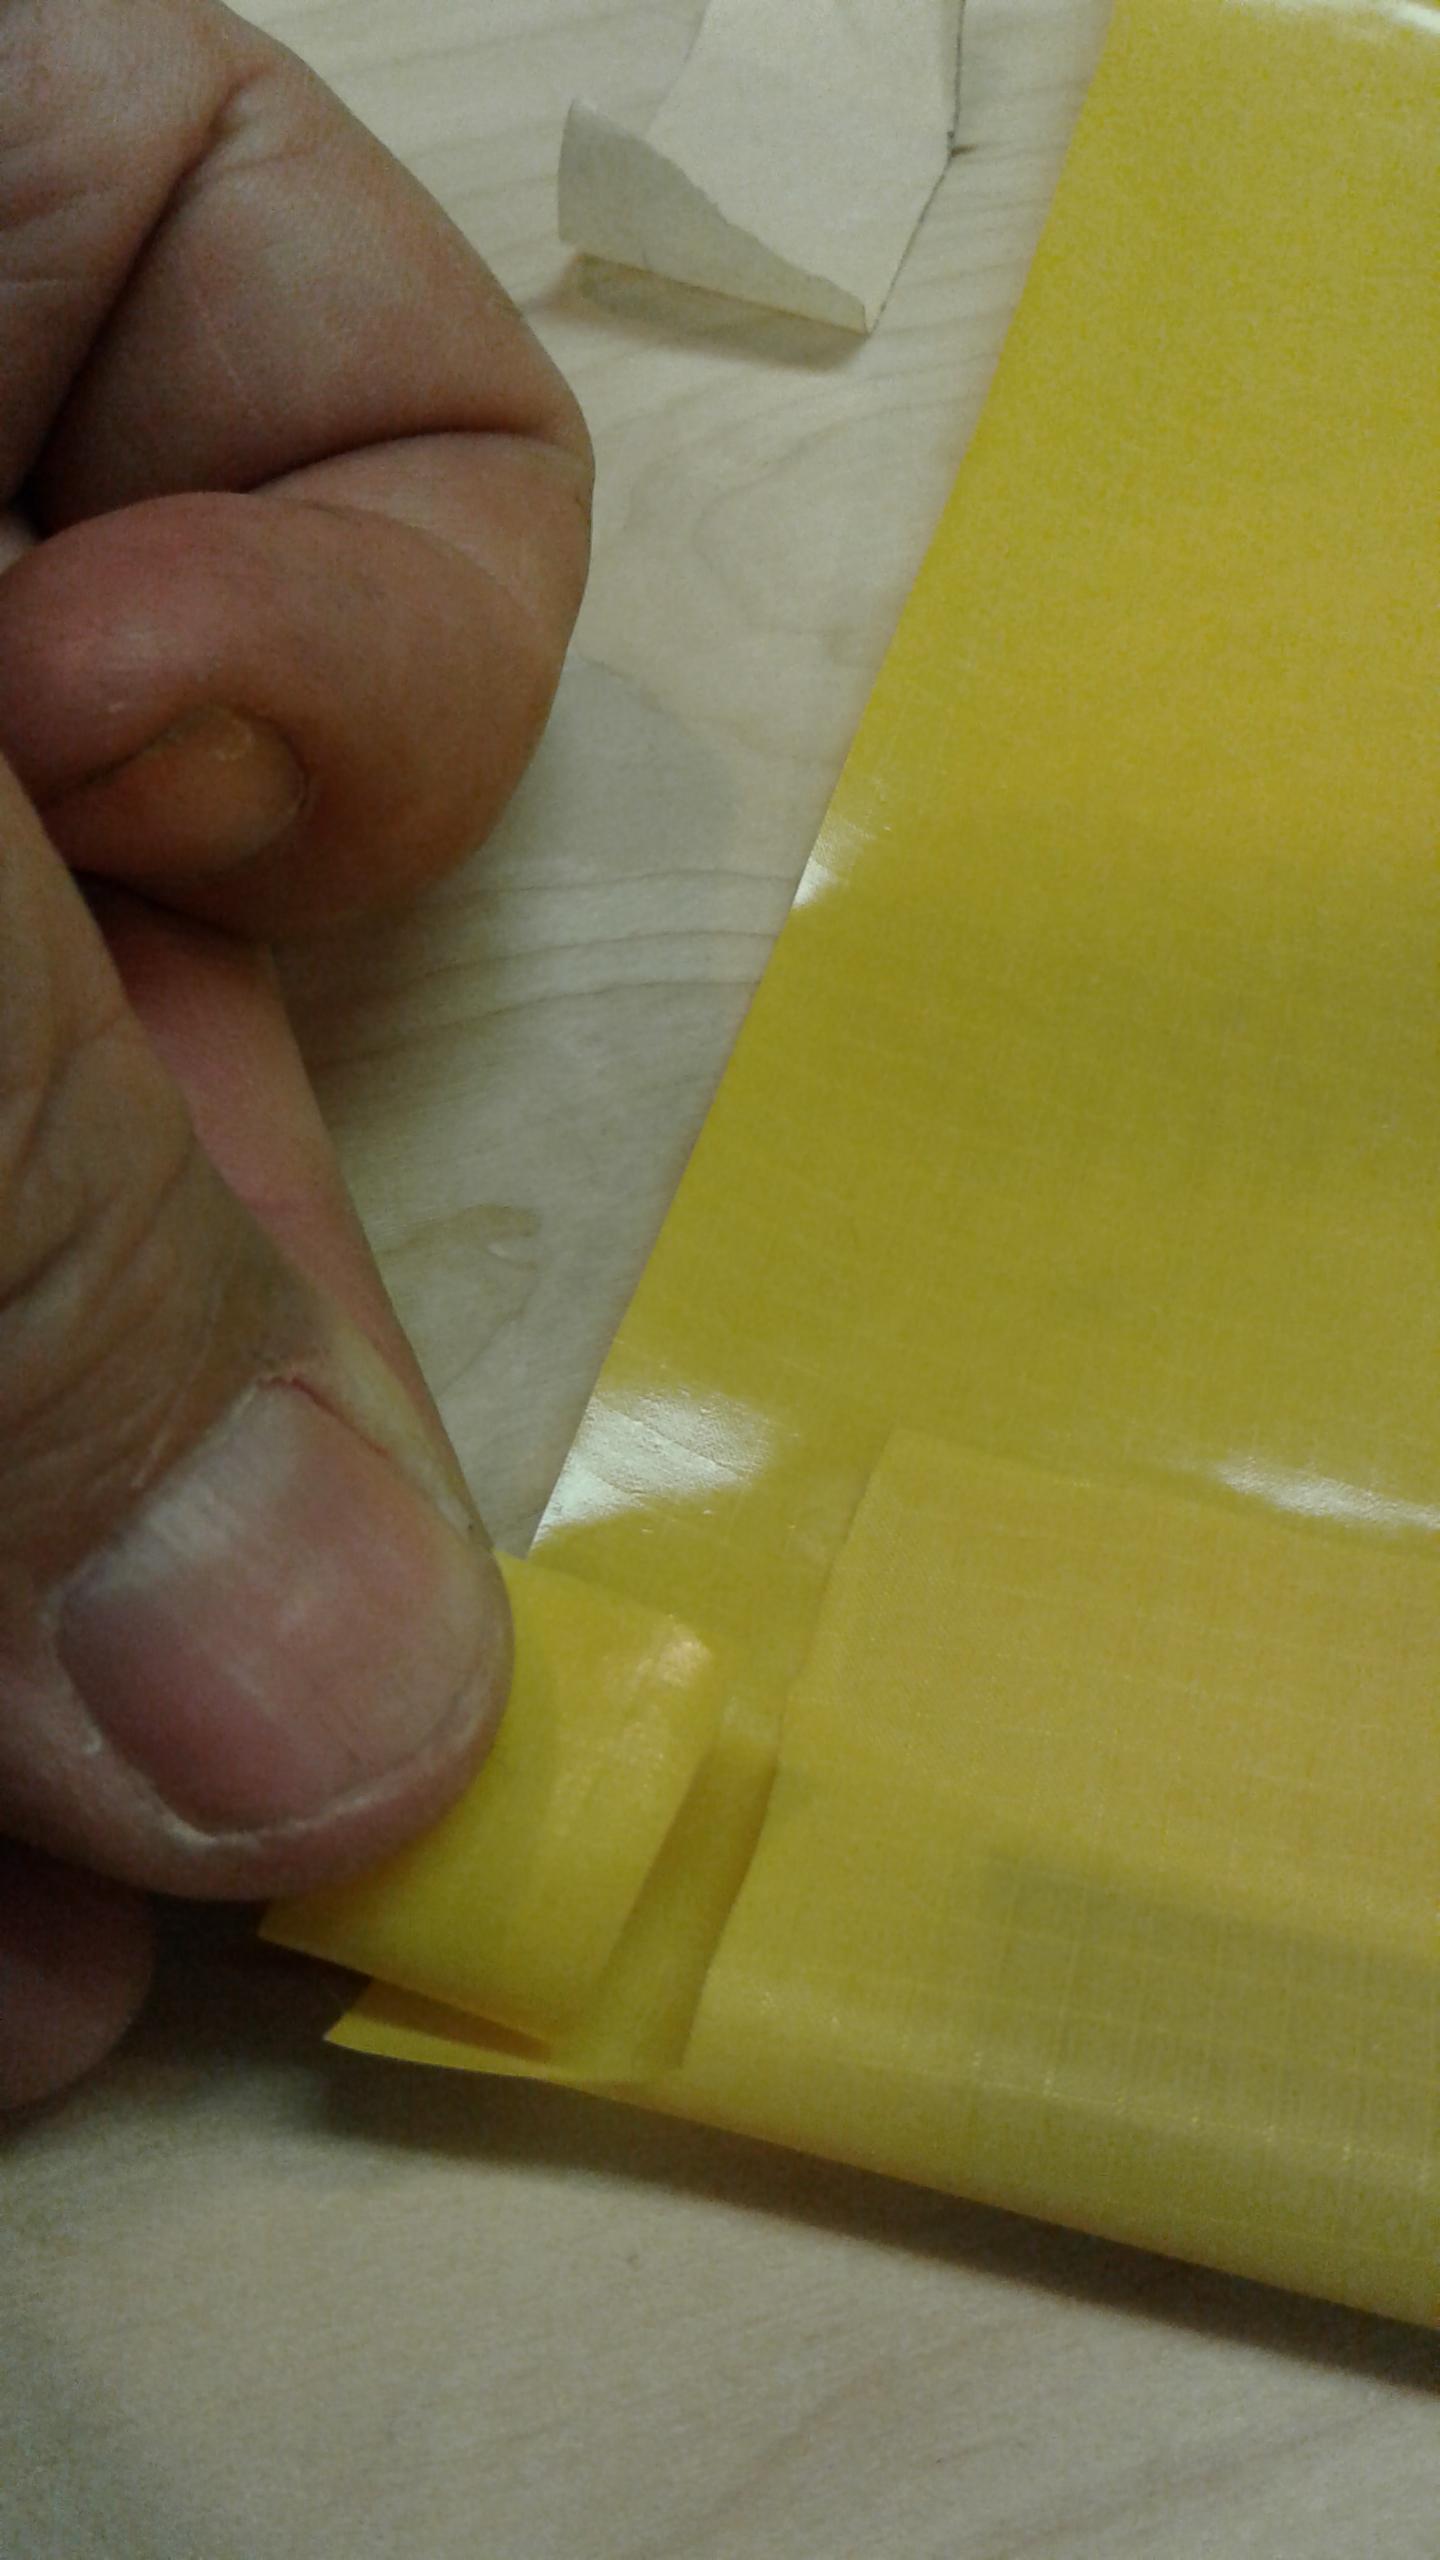
Heat sealing the 1/2″ webbing requires fashioning a small slot and feeding the webbing out, through a buckle, then back into the tube. Easier if done first, provided you are careful and don’t melt the webbing. I placed a small strip of wood under the fabric for better edge accuracy.
Finishing the webbing loop included cutting a small rectangle out of the fabric, turning it inside out and inserting it into the webbing tube. You can see the webbing pulled back into the tube prior to applying heat. I fished the webbing out after completing the side seam.
I will place the silicone tubing into the corner, which seemed simpler to me. The grey tubing is a rigid placeholder that prevents me from going too far with the iron.
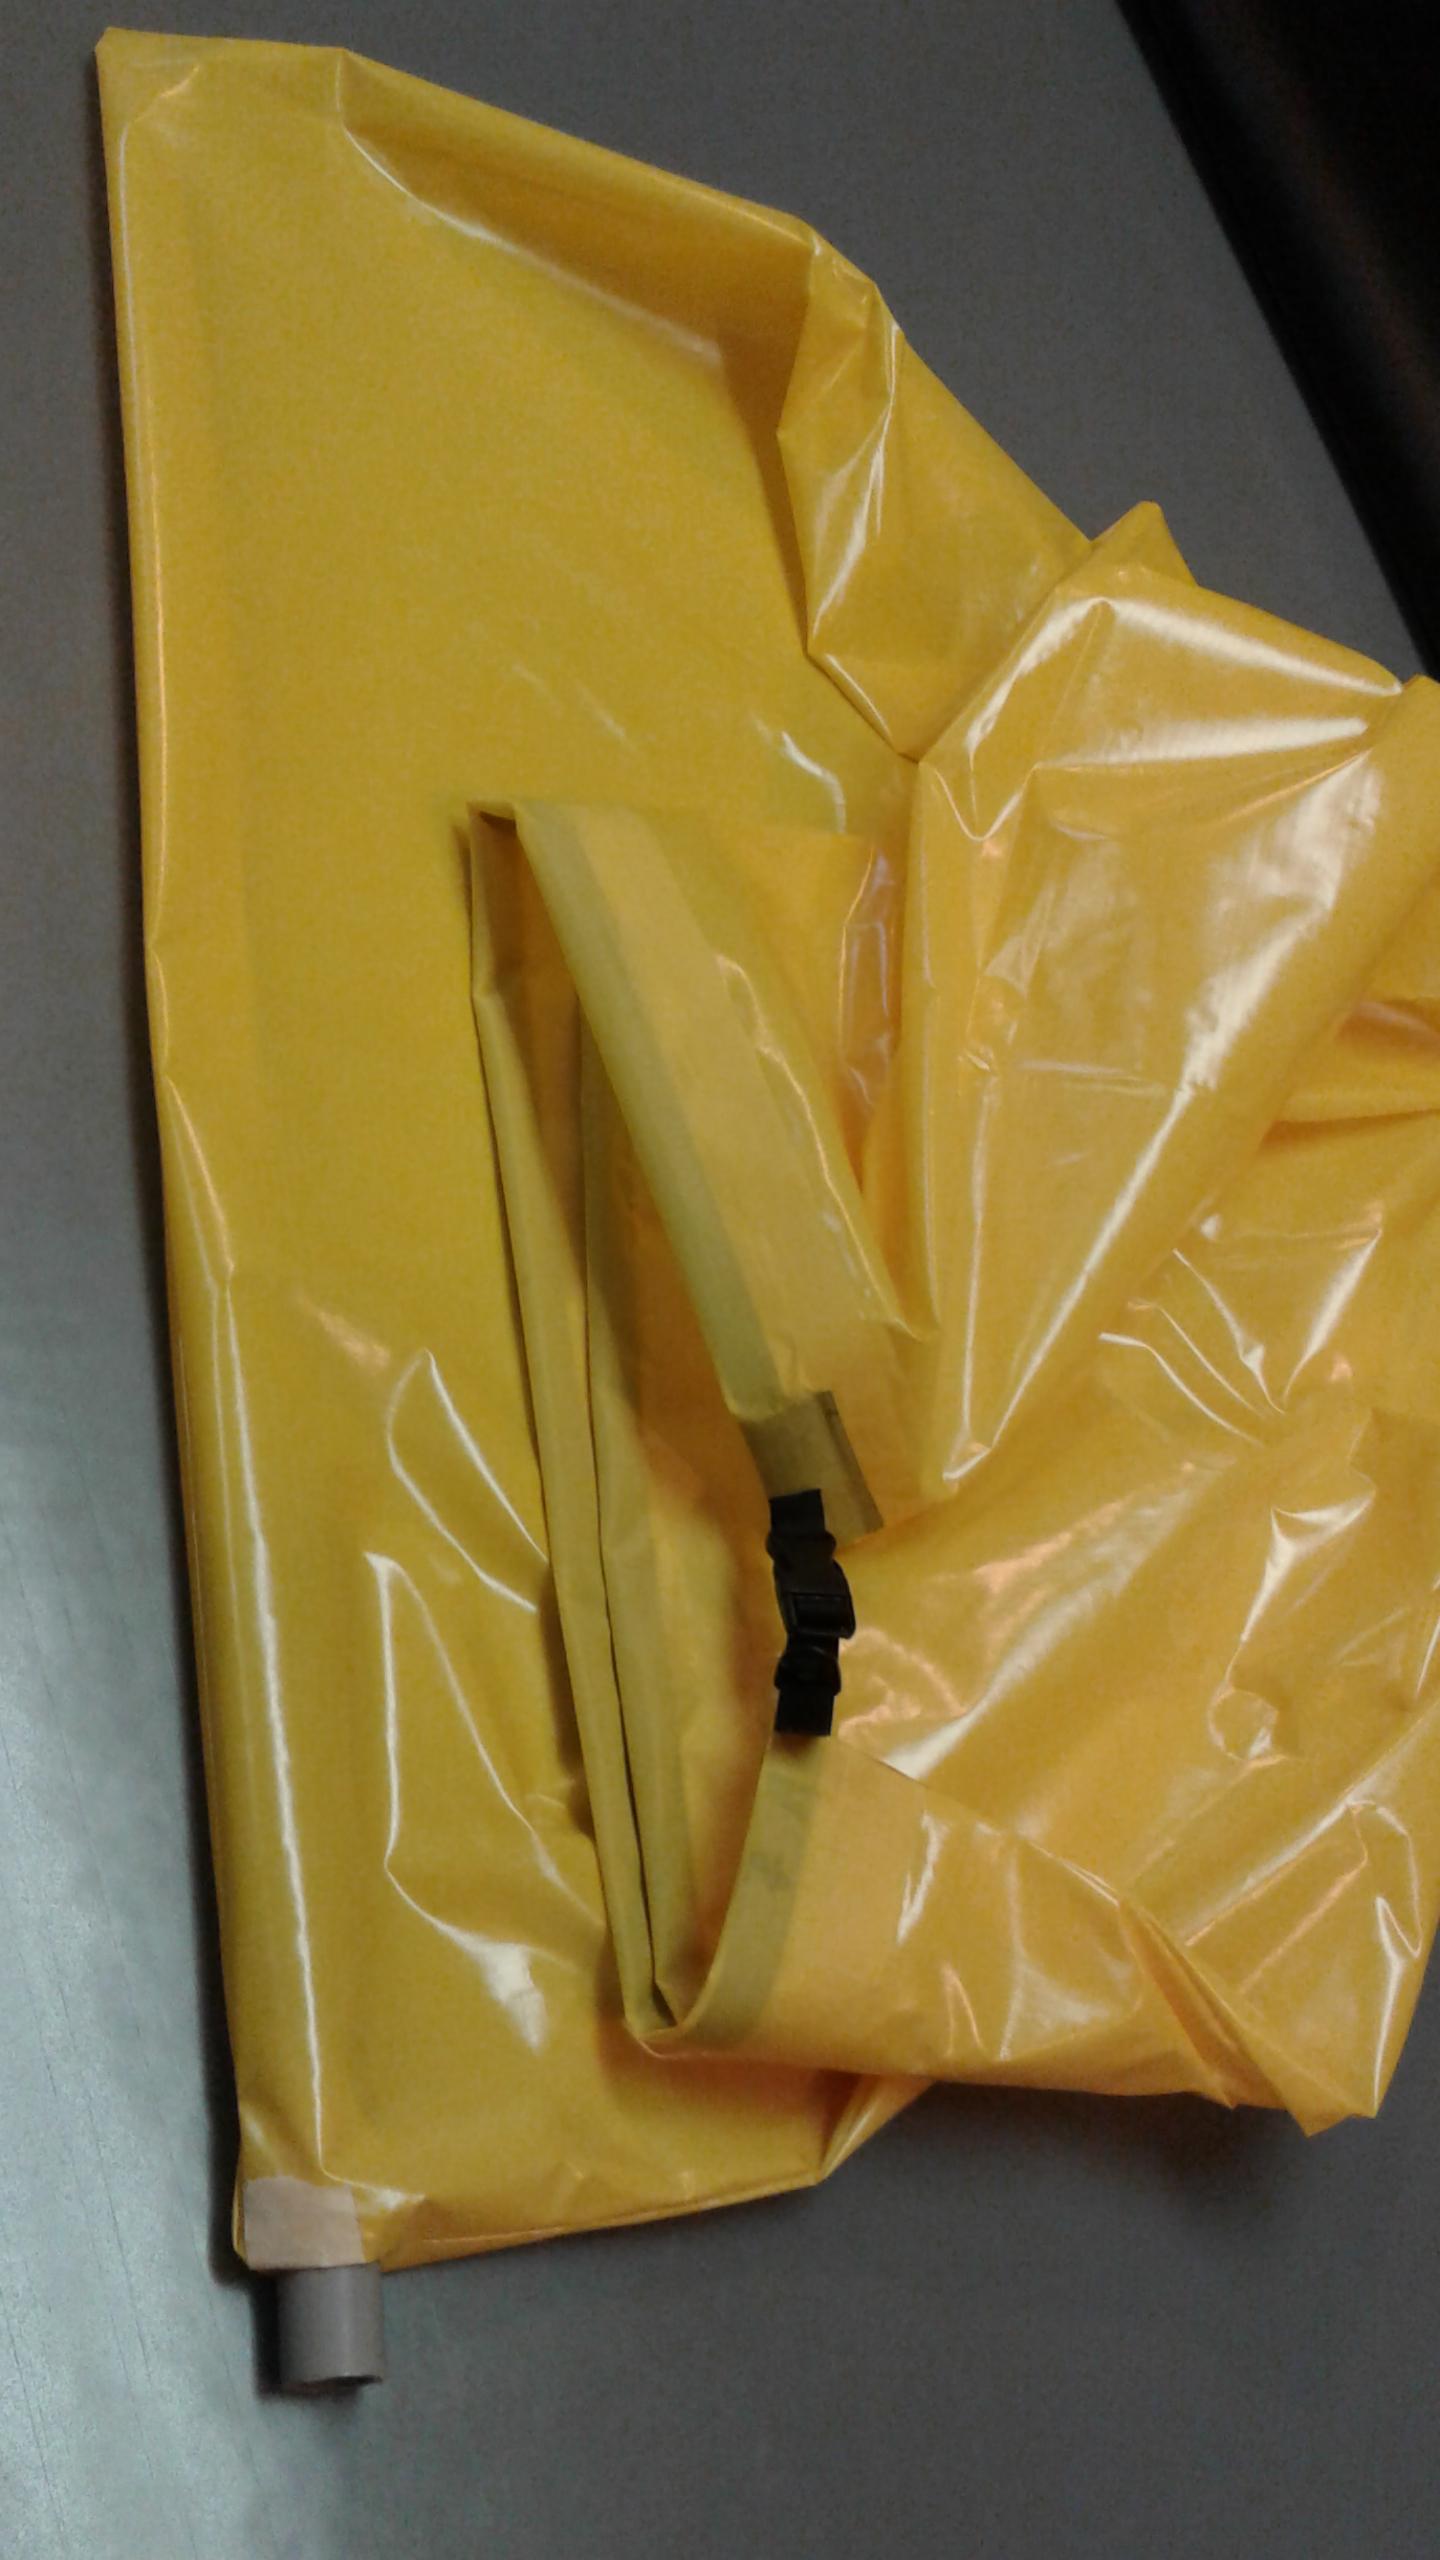
I made a smaller inflation bag from Sil nylon, but prefer the larger one fashioned from one meter or fabric, full width. It is folded down one side. I sealed the top edge with webbing, one side, and the bottom, leaving a hole through the corner seal where I will glue in the 7/8″ tubing.
Thanks for stocking such great material!
Bruce
 .
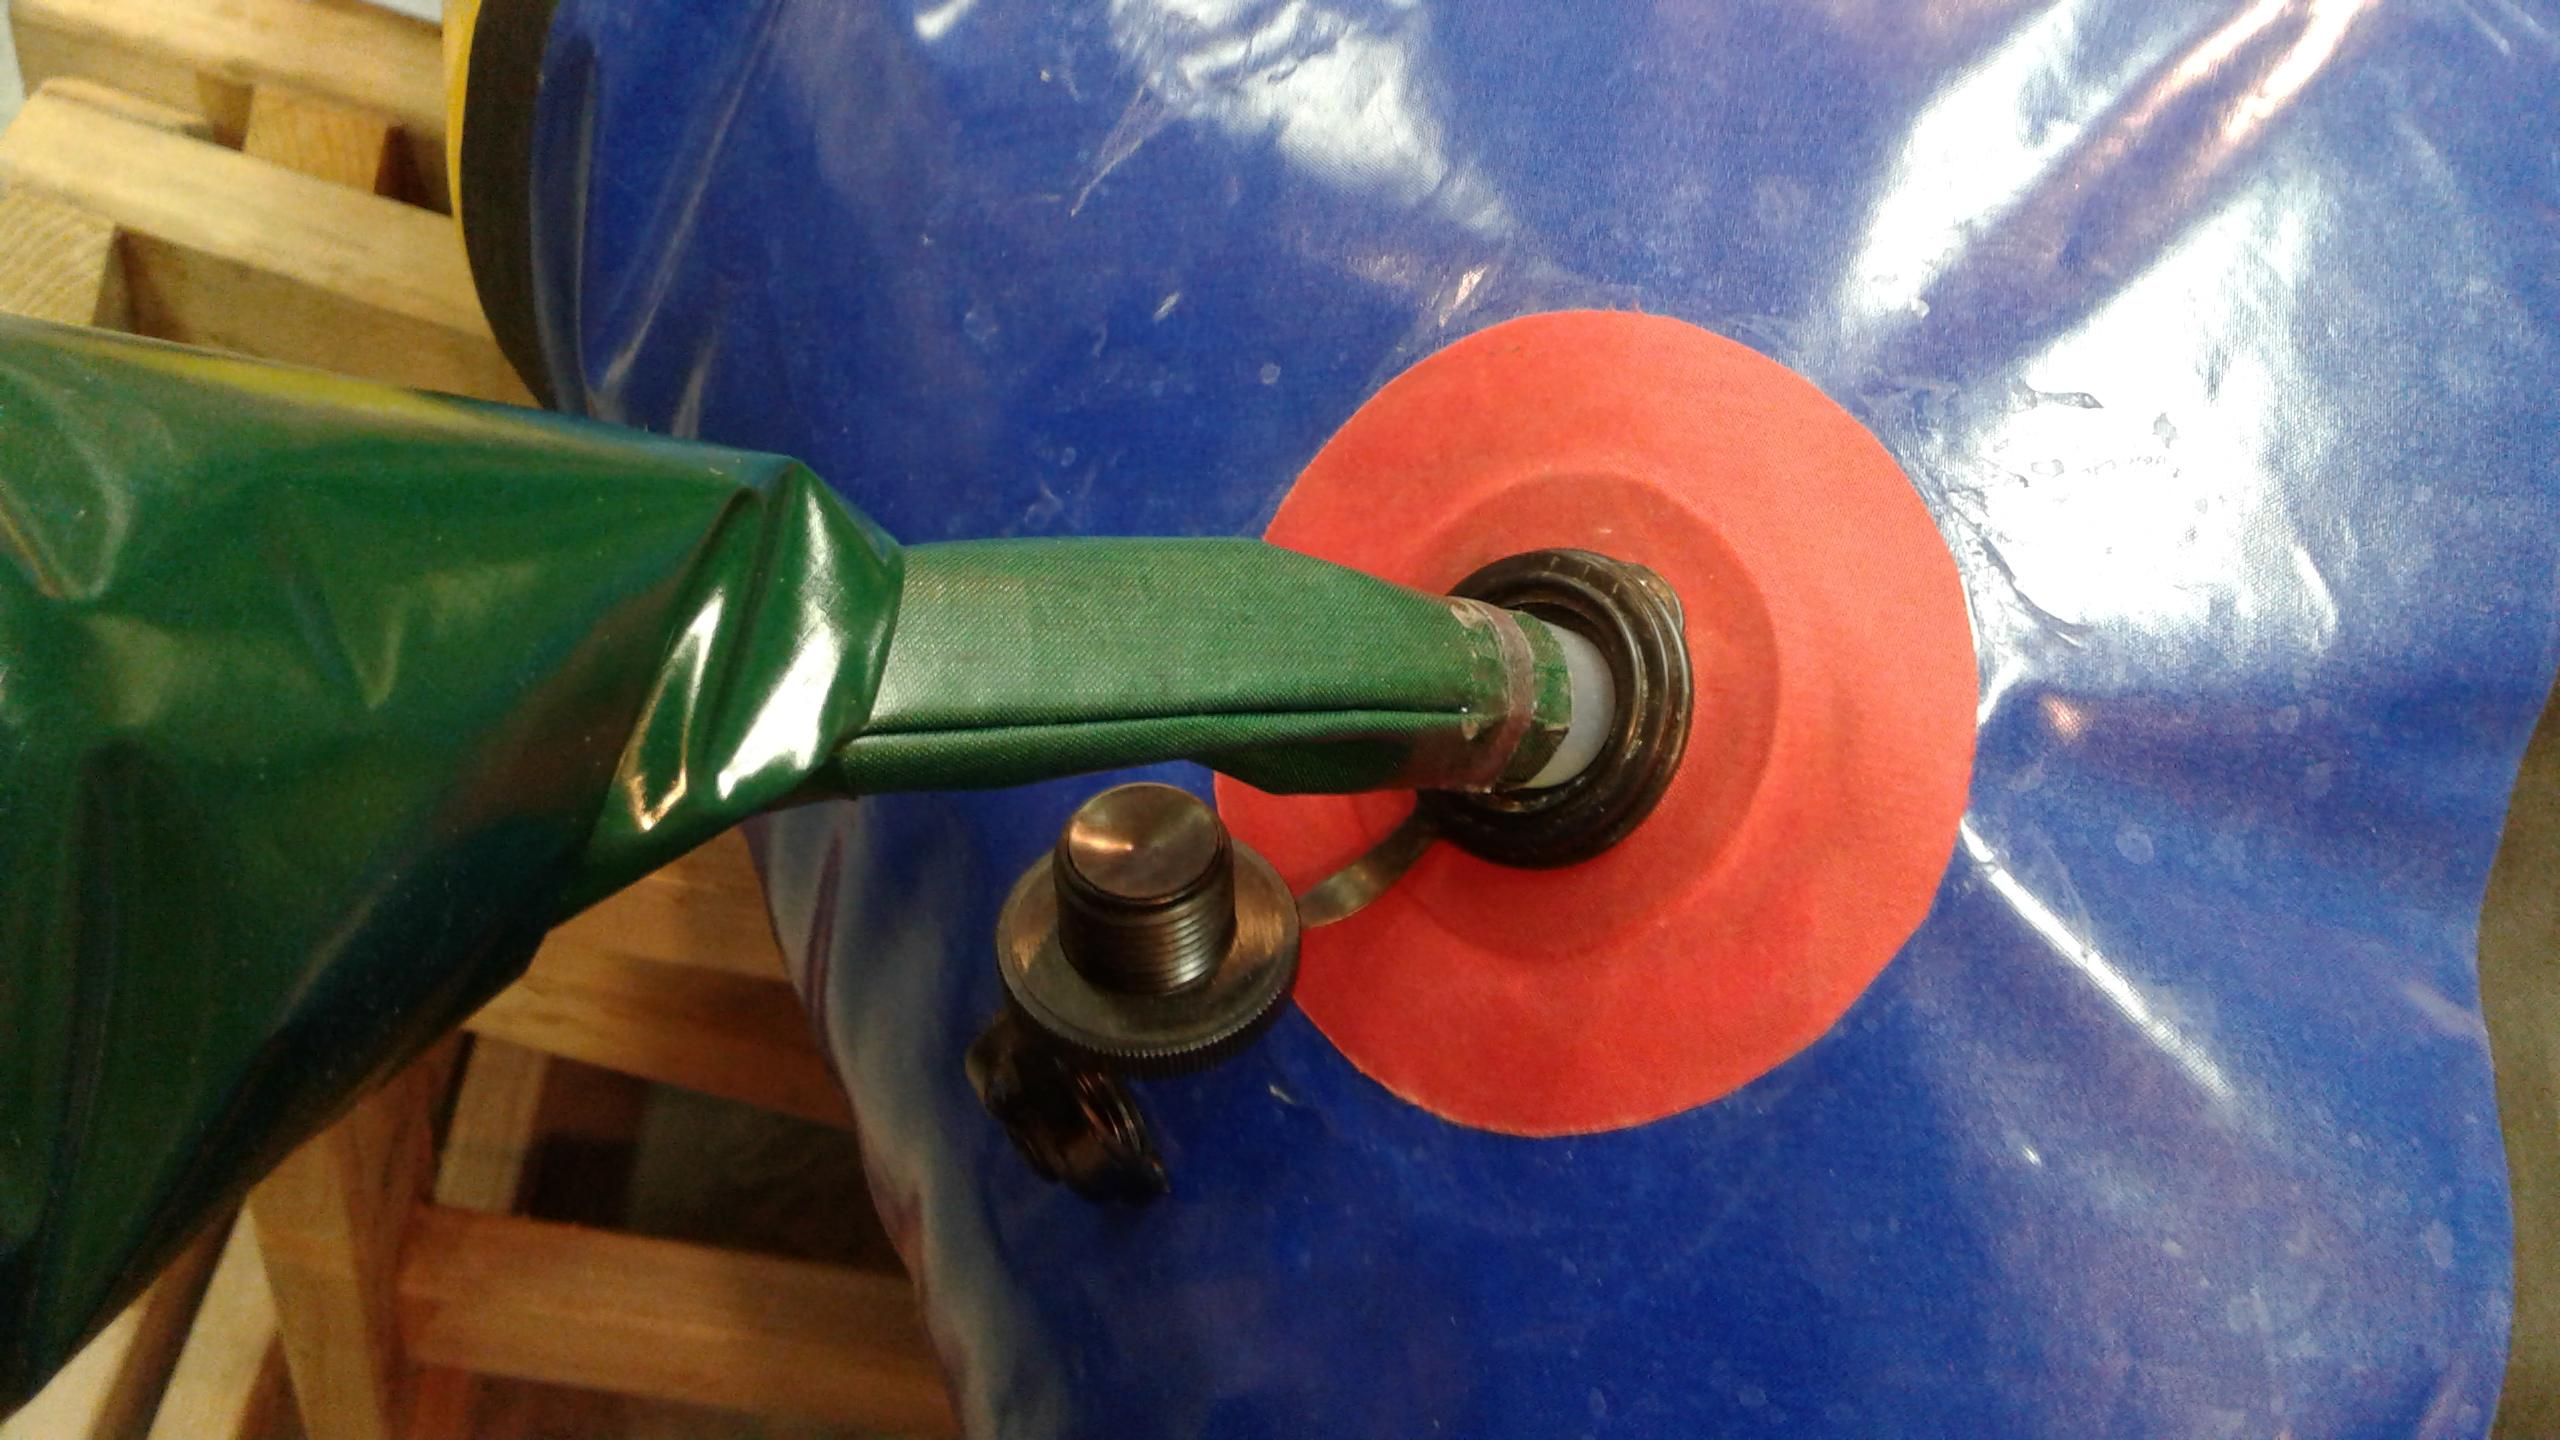
.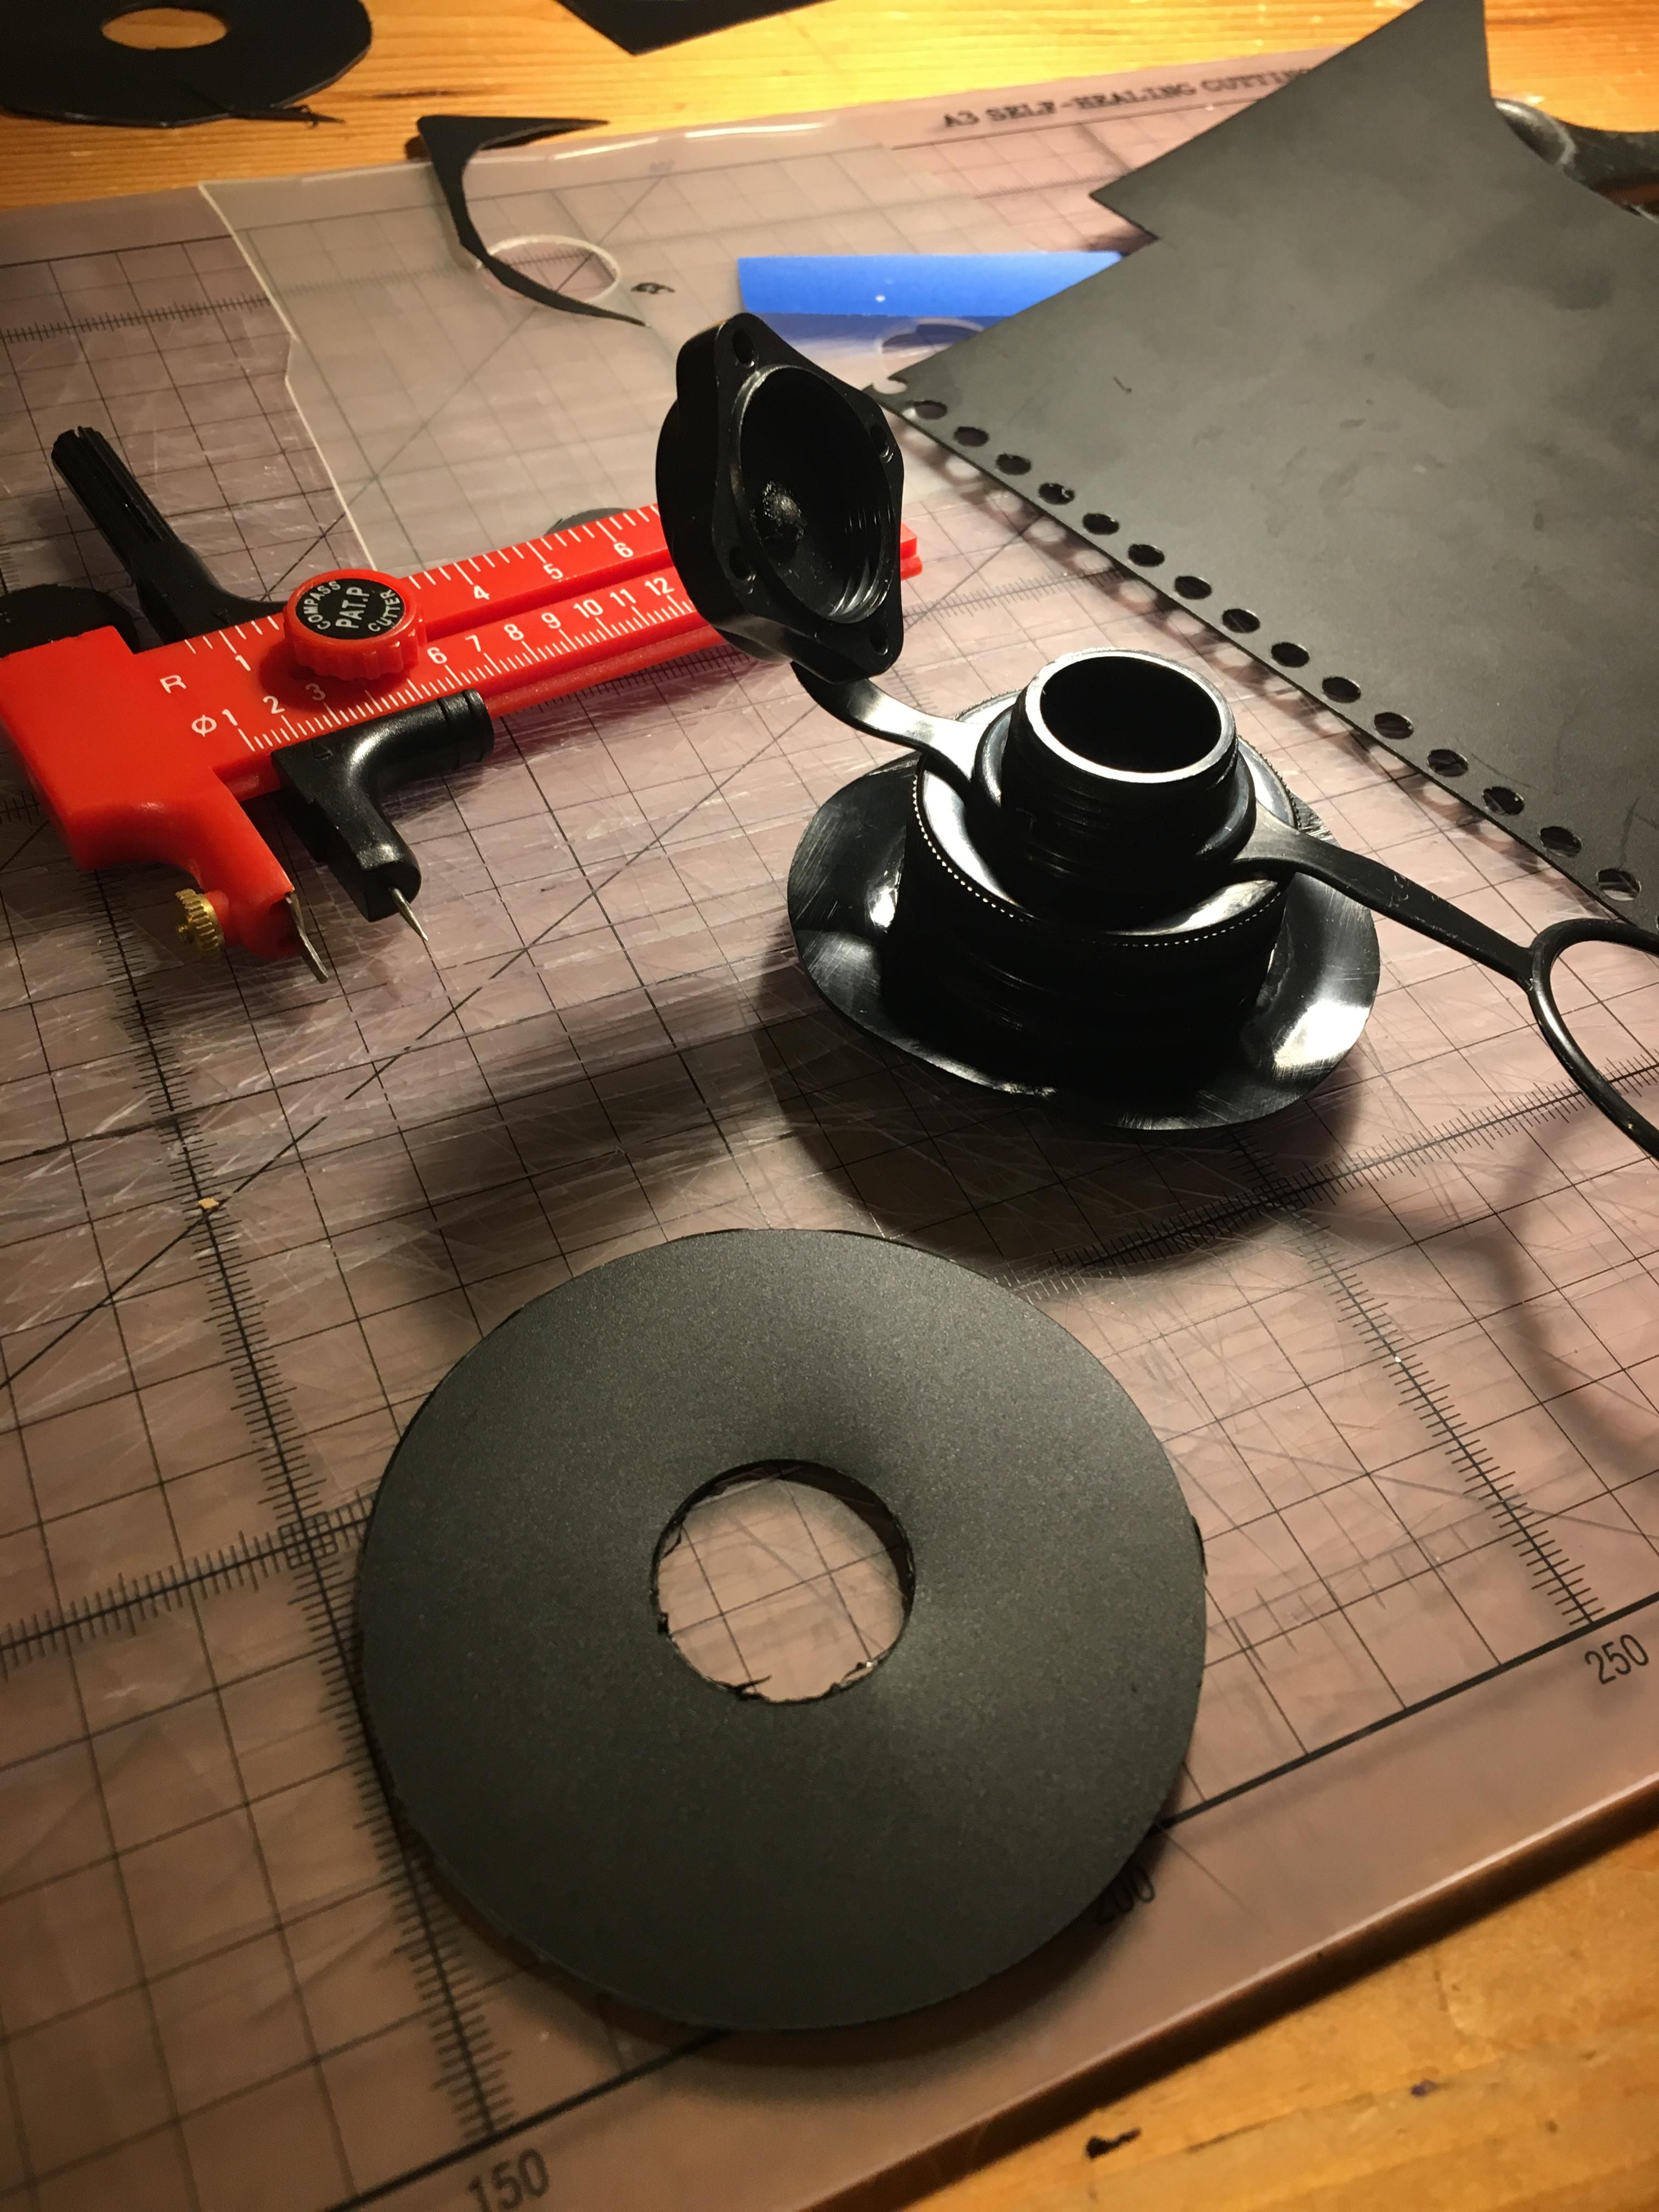 I’ve been playing around with different materials for a way to secure the inflation bag to a Boston valve. The best material I have found is some plastic from a spiral bound folder. It is flexible but fairly rigid, and virtually in breakable. With the hole cut to the right diameter, it just pushes over the thread of the Boston valve without having to screw it on, but provides a secure air tight seal. Fix this to a bag of your choice and it’s good to go. Ultralight, simple but it works.