Home › Forums › DIY Packrafts › Tips & Tricks › Reply To: Tips & Tricks
 Opie
<p style=”text-align: left;”>Here are some things I learned and ideas from my Green 2P build .</p>
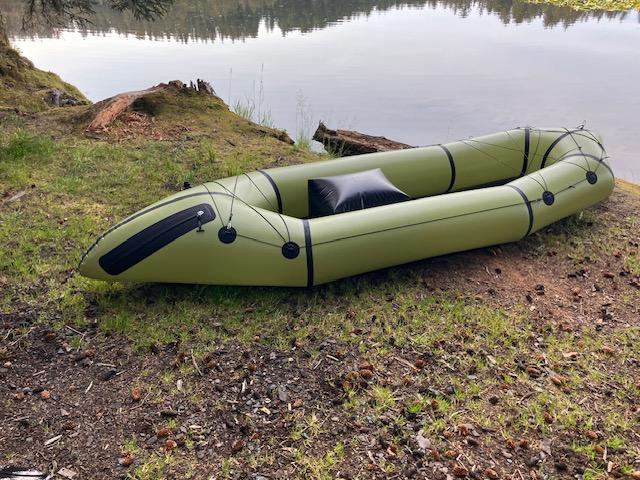
I personally preferred aquaseal fd over seam grip. I sealed every tube and floor seam on the inside only and used a 1-1.5cm wide application of sealant.
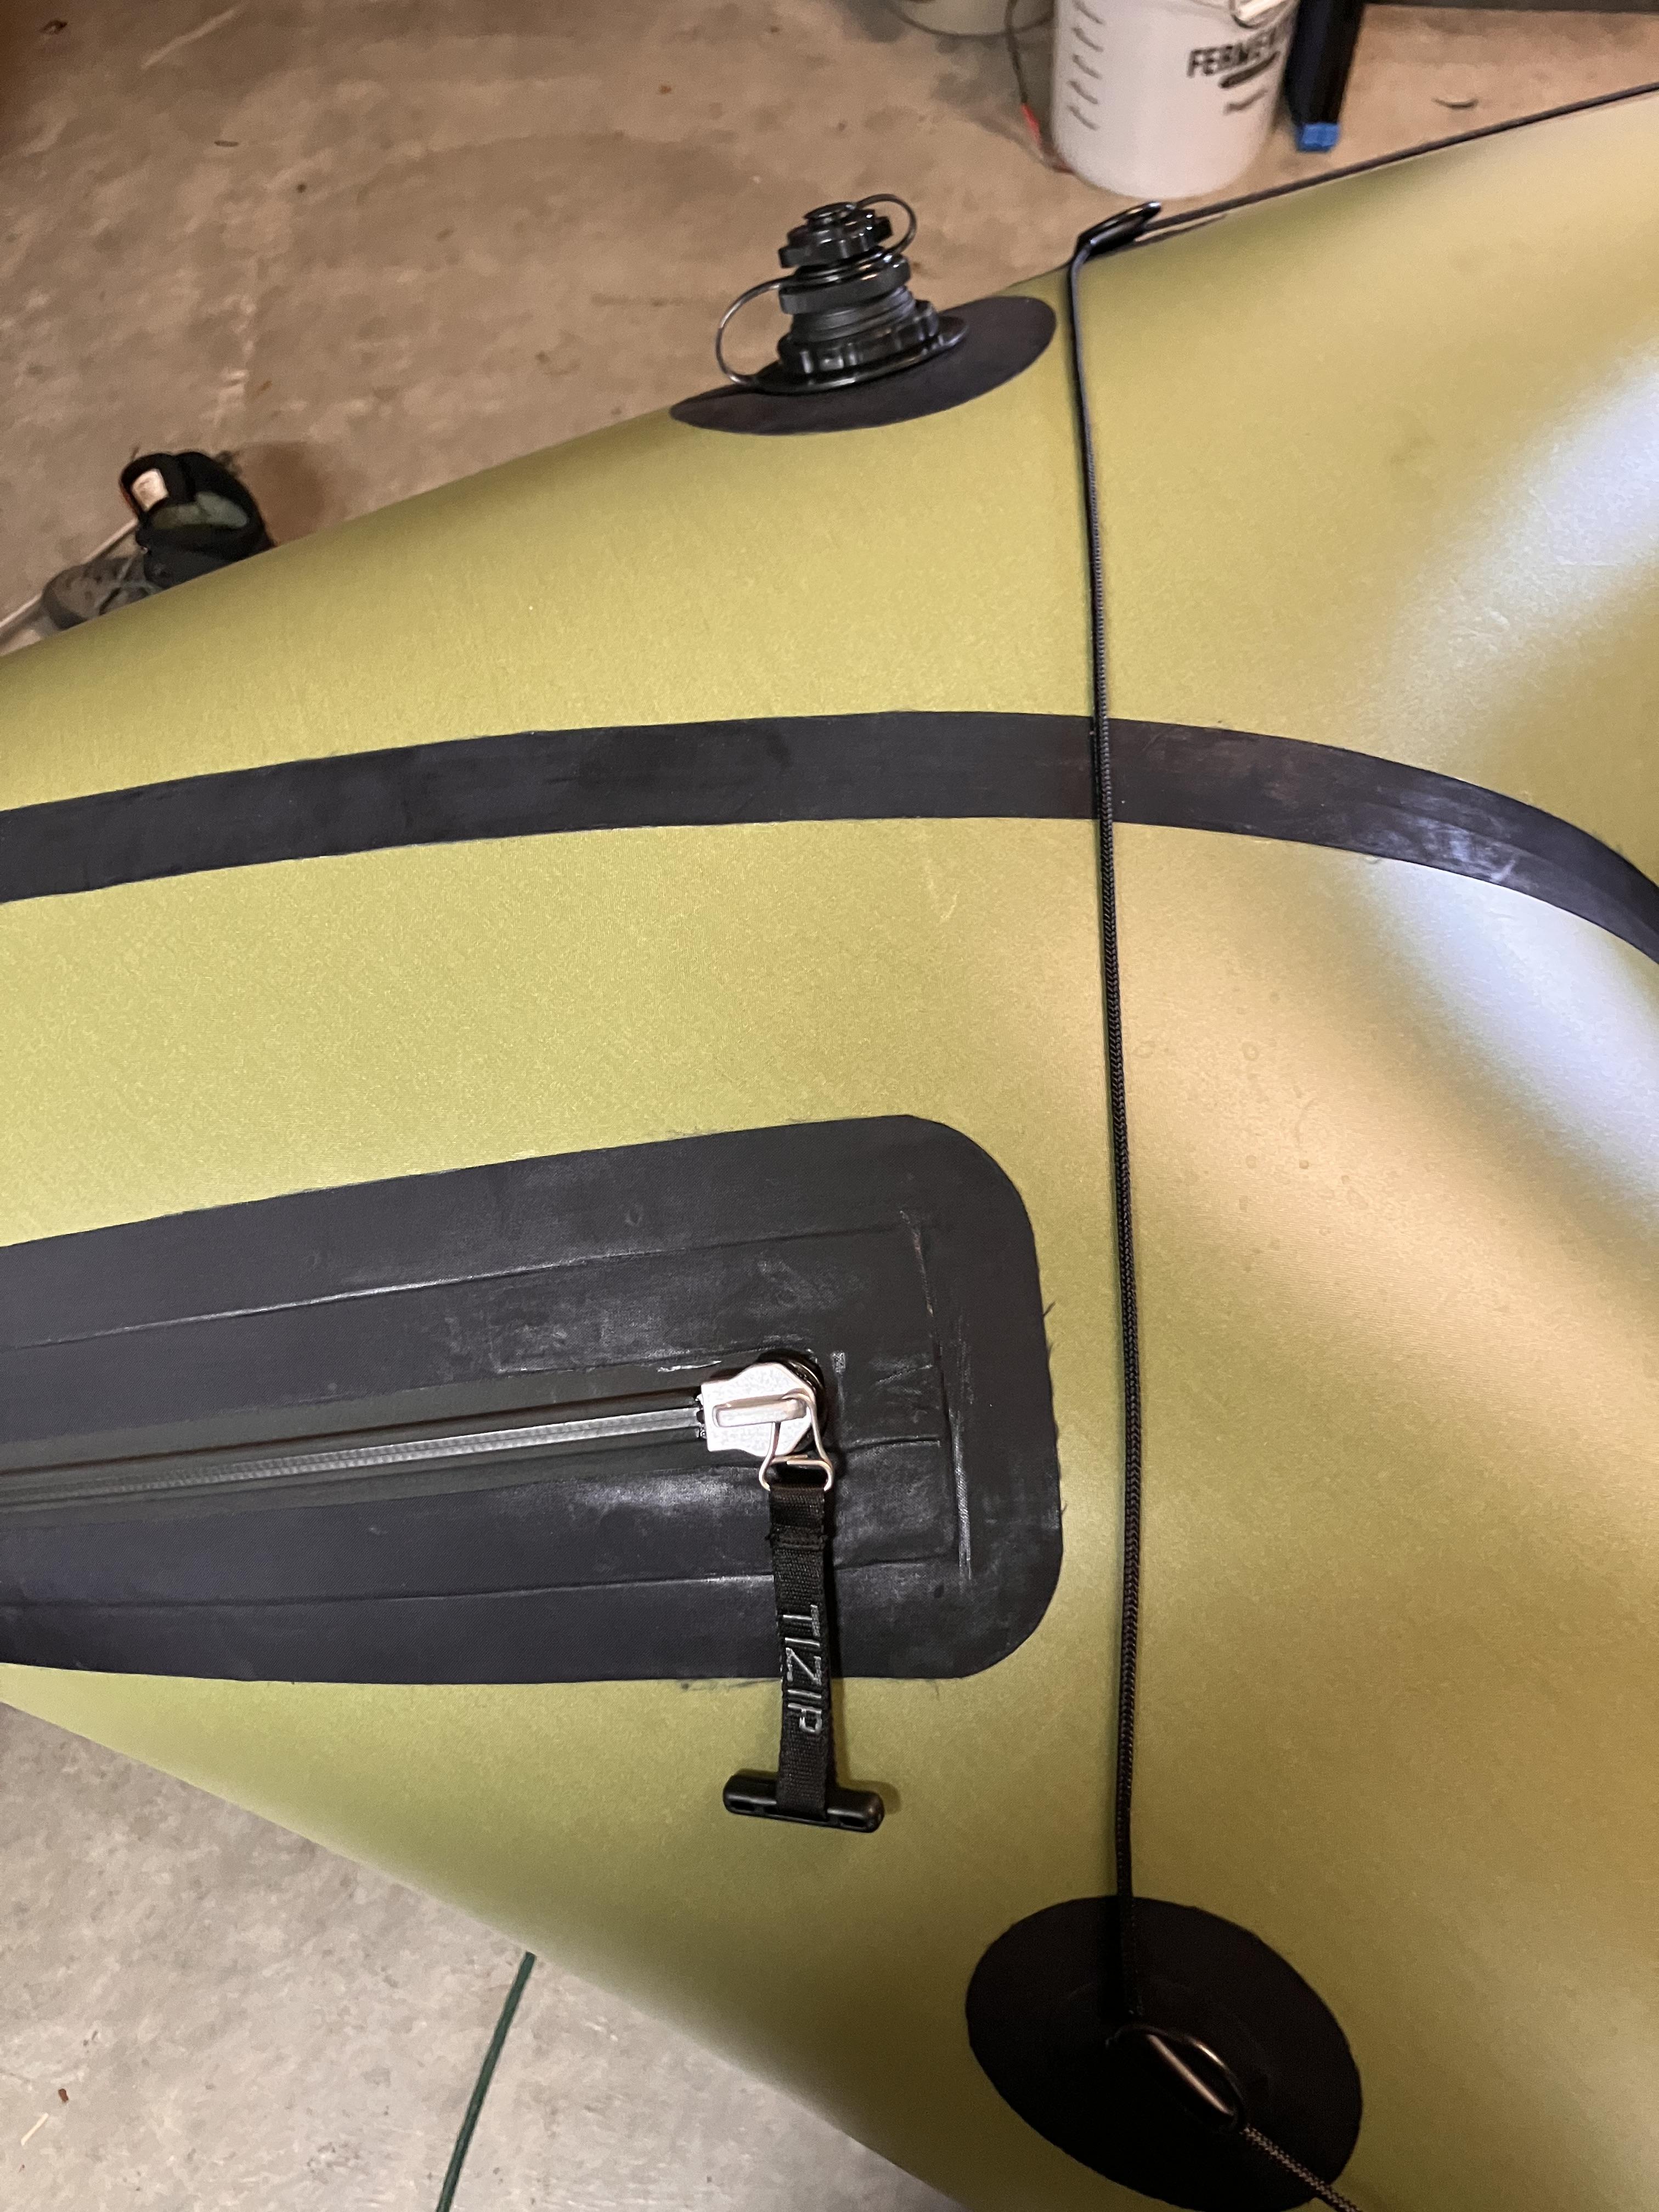
I installed the Boston valve and zipper using the recommendations however I moved the zipper forward (parallel to the seam but more towards the bow 1 inch, which I’m glad I did due to slightly trimming to make the stern seam even). I might have moved the inflation valve to match the distance from the seam to the same as the end of the zipper(about 150mm). This would have made installing tie down points easier to make symmetrical however the valve may be in the way to tie things down to the stern in that location.
I seam sealed the zipper flange to the tube material after it was completely installed into the panel. I don’t know if it helped but I know it didn’t hurt anything.
I installed the Boston valve before I welded the panel onto the floor and it worked very well.
Install the Boston valve and zipper into both panels then lay panels on top of each other to ensure they are exactly the same size/shape before attaching to the floor. I did not do this and I think my stern seam would have come out a lot more straight if I had. It is the only part of the raft that I feel I could have done a better job given my experience level.
I welded all the tie down points on while inflated. This was very easy to do but I made a demo video of installing while inflated that I will try to post. https://youtu.be/AjPfHmqTkBA?si=uzcMUYzyfIH3E_QI
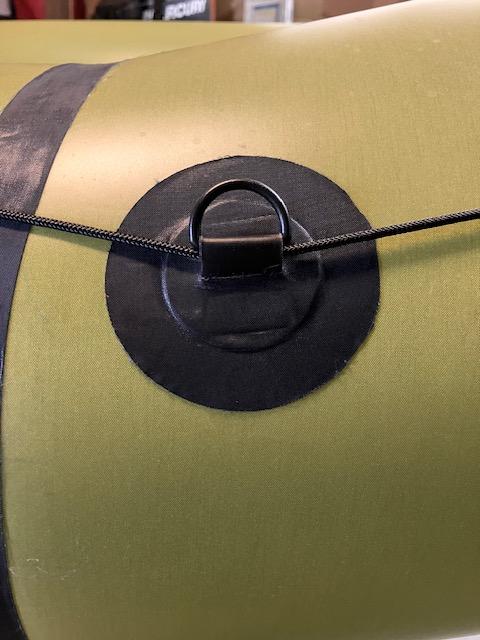
I placed the tie downs outward about 45 degrees from the top of the tube.
I made a jig from a 2×4 to hold the d ring and tab straight while assembling the tie downs. I also made a video for that. https://youtu.be/yWElGk-94PY?si=atYpiCYKCukSl5Wm
I cut the d ring tabs 60mm long. It’s a personal preference but I think it came out well.
I will likley add 3 more tie downs per side on tube section 3 but I ran out of d rings. The 2p raft has a lot of surface area for a solo paddler to use and the weight penalty will be worth it.
The inside floor slit backing piece I cut 5cm wide.
I welded the reinforcement strips to the floor as wide as my iron. This means the reinforcement strip to tube material is narrower but it helped me. It’s not centered from point to point but it protected the floor from over ironing.
I would have installed the tie down tabs in the reinforcement strip if I had read about them before I got to the attachment point step. It was a missed opportunity for me.
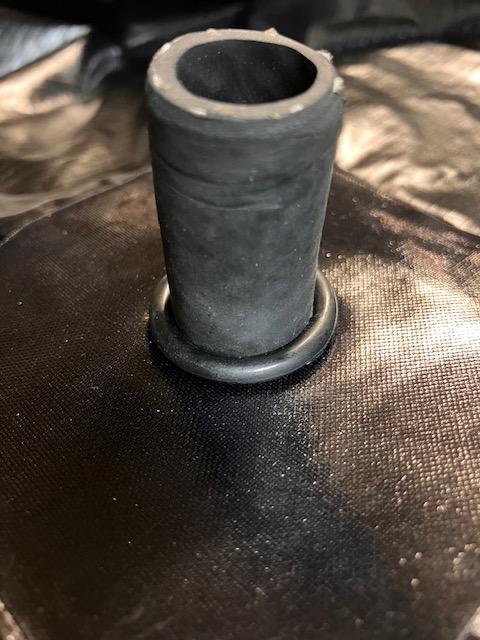
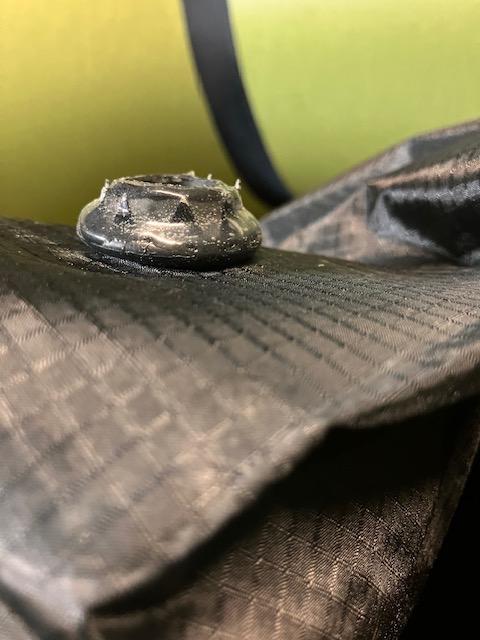
I used o-rings on the inflation bag hose to support the sealant better. I’ll post pics.
I made the inflation bag into a roll top bag as others have.
I used my silver sharpie to make very small dots. I noticed the welds don’t stick as good wherever the sharpie was placed.
<p style=”text-align: left;”>The seat was my biggest problem surprisingly. I would not recommend that as a first step. Being all black it’s difficult to determine your weld especially without the hours of experience you get from the raft. Use a metal straight edge to weld against to get ur seams perfectly straight and even. Use tailors chalk to mark your lines. Install a top flange over the Boston valve just like the raft. The biggest change I would do is to cut a 20cm slit in the seat to turn the seat inside out. Then weld a strip of fabric directly over the slit. I had to go this route after hours of battling the strip over the edge weld and needed to reweld the entire seat. My second seat will go much better however I am installing a tpu zipper in the seat for storage so the slit should not be necessary.</p>
<p style=”text-align: left;”>Let me know if anyone has any questions or would like measurements of zipper/valve/ tie down locations.</p>