Home › Forums › DIY Packrafts › Heat-sealing tools › Reply To: Heat-sealing tools
 Kwok Wah Lai
Hi there,
Thanks for the inspirations.
I am going to make it from the kit and have to have a sealing iron.
Got no Clover Mini here so have to do modification on my 20W ham soldering iron.
That is what I could do with limited mech and metal resources at home.
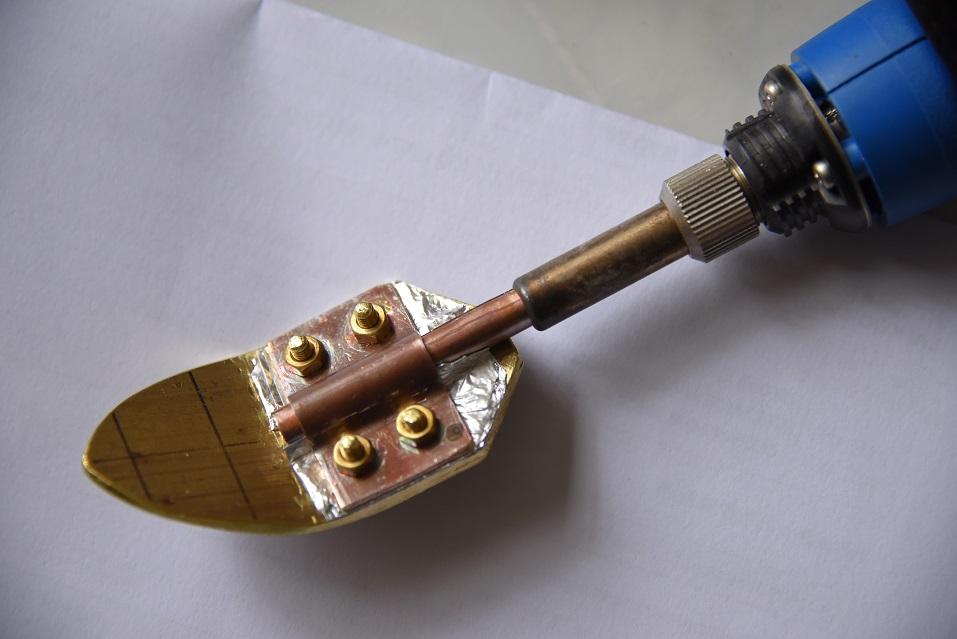
Got a piece of an inch wide and 1/8 thick brass metal to make the tip, this is what it look like after some sawing, drilling, filing and bending.
Adjustment of temperature is, similar to others, by taking power from my 400W living room lamp dimmer.
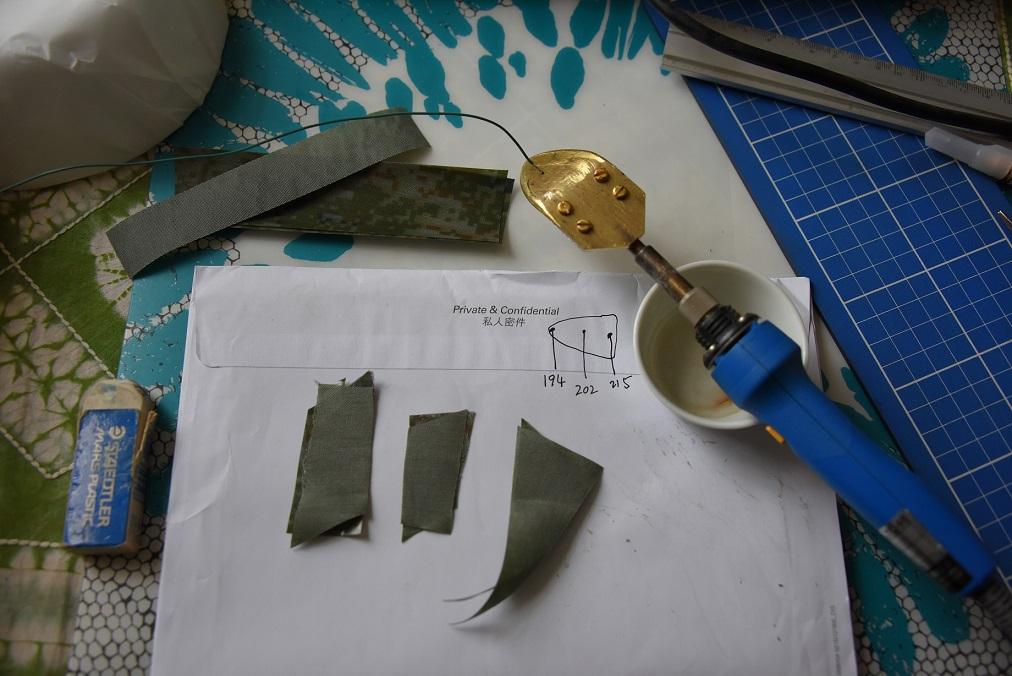
Then practiced sealing with some scrap fabrics and found the tip was too wide for 20mm width seam straps, so narrowed the tip down to about 18mm wide and filed the bottom edges in round shape.
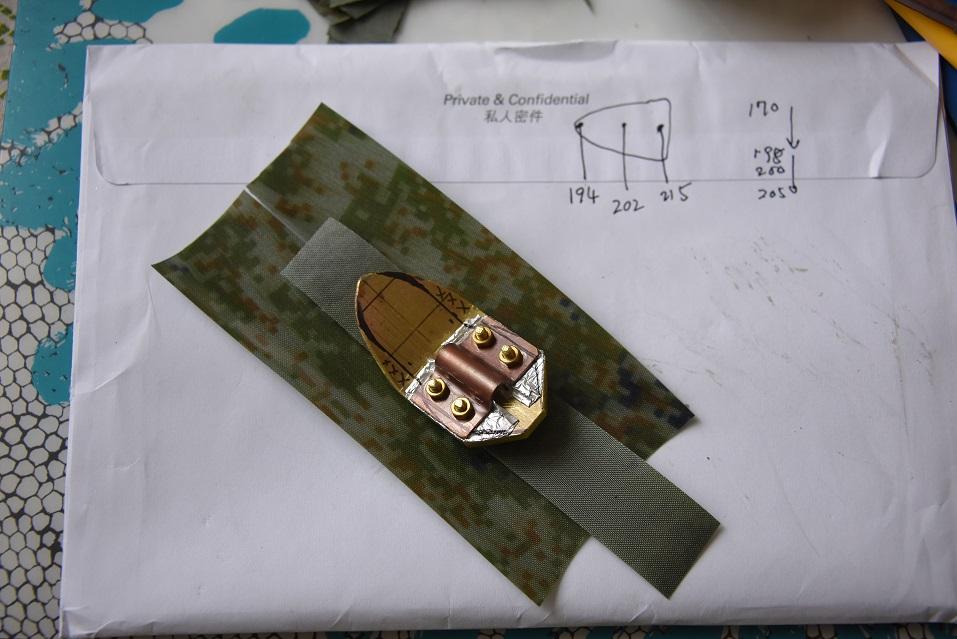
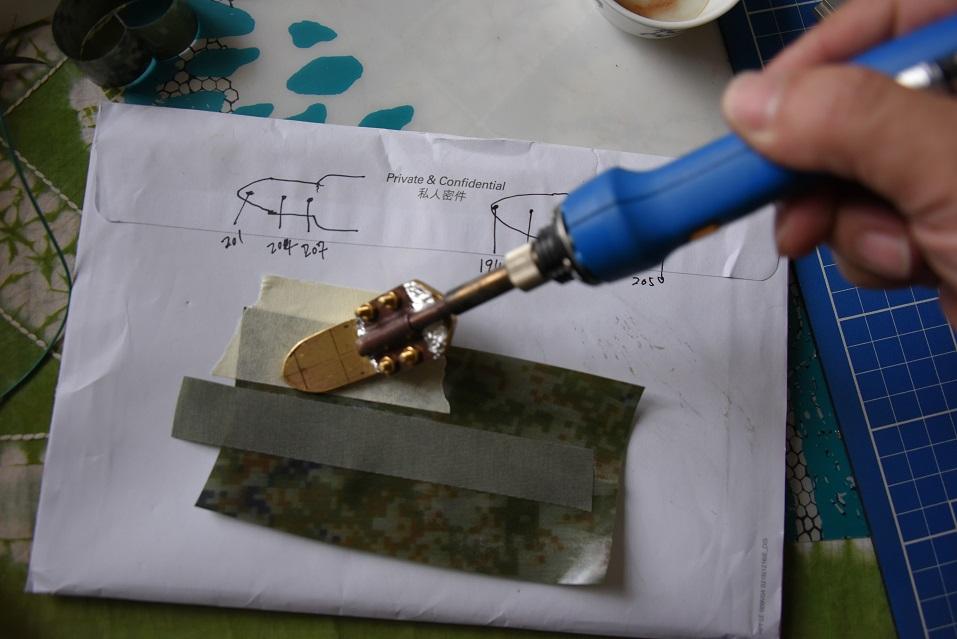
Tried again sealing, this time handling is good. Placed the tip flat on the fabric and press while sliding with back and forth motion about a distance of one and a half inch for few seconds then press and hold the fabrics with an eraser rubber for few seconds before releasing. I’ve got some papers placed under the fabrics.
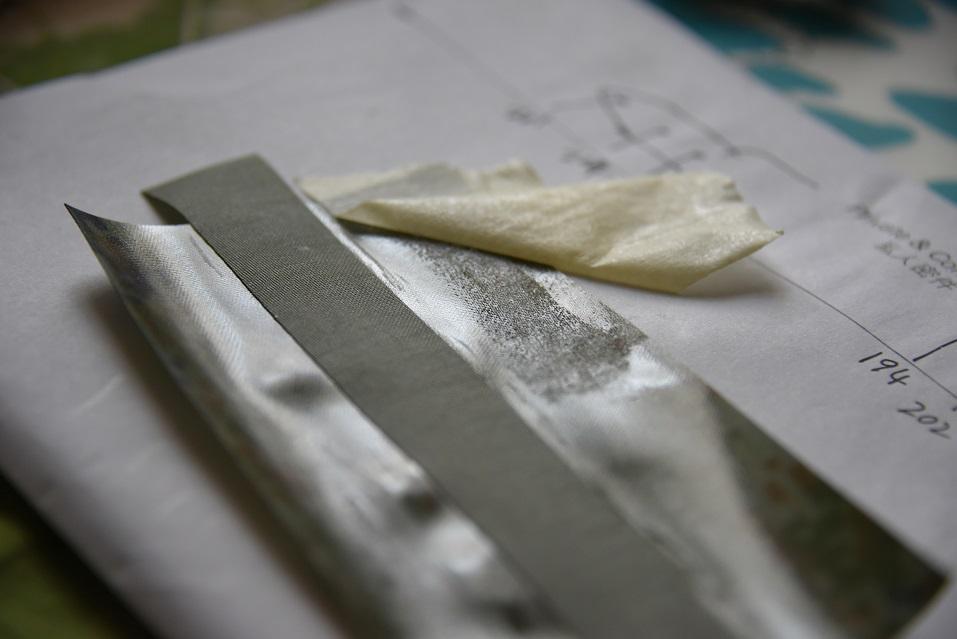
Repeated the sealing with dimmer knob set from low to high positions, if temperature is low (roughly below 190deg.C) the bonding was like sellotaping and fabrics were peel-able apart easily.
When temperature was set too high (roughly above 210deg.C), fabric’s surface was darken a bit fast and tpu melts quickly together with more wrinkle arround the sides of tip.
When temperature was set to about and between 200 and 205deg.C, fabric wrinkles a little bit upon ironing but the bonding is strongest.
I used a K-type thermocouple and a multi-meter to measure tip’s bottom surface temperature before soldering, however, the reading gives only rough figures of temperature due to un-calibrated setup.
Also, as heat capacitance of this tip is low (few 10th grams of metal), so temperature regulation is bad that temperature drops after few seconds of tip’s contact with fabrics and a 20W heater power was not quickly enough to heat charge up the tip again to the set temp. I have to wait for sometime between two ironings.
I still do not have confident to solder the raft, hence, I wish to practice more soldering first before going ahead with the real thing.
So I used some scrap fabric materials to make a hiking water bag.
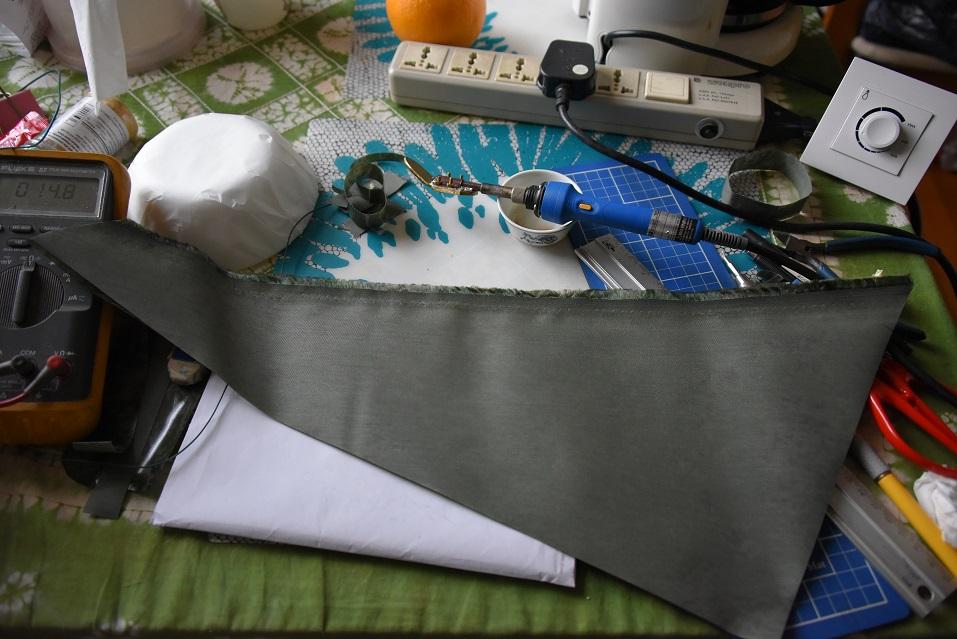
Cut the top of a PVC bottle and used some Aquaseal to glue it to the bag.
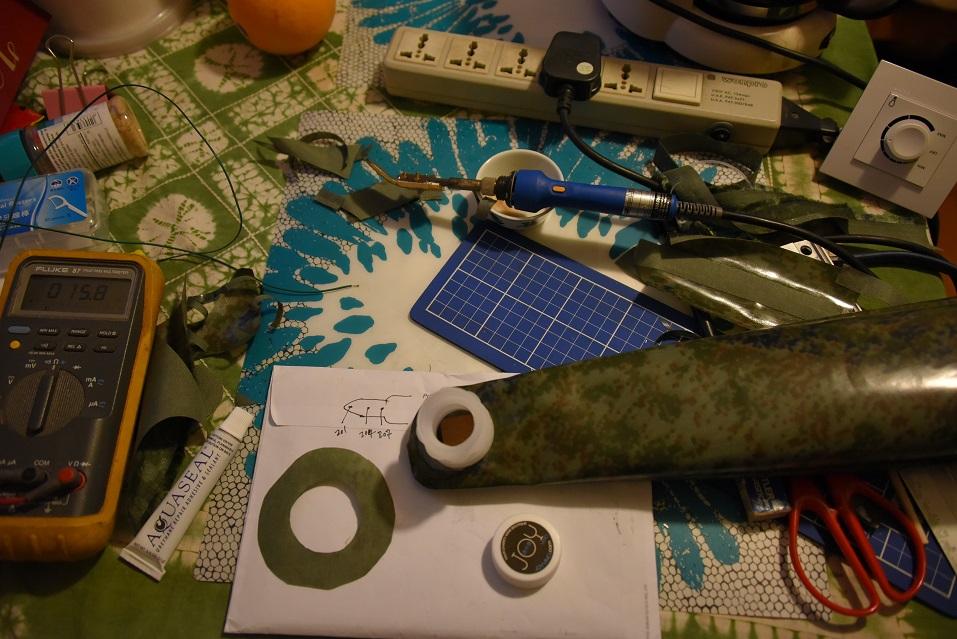
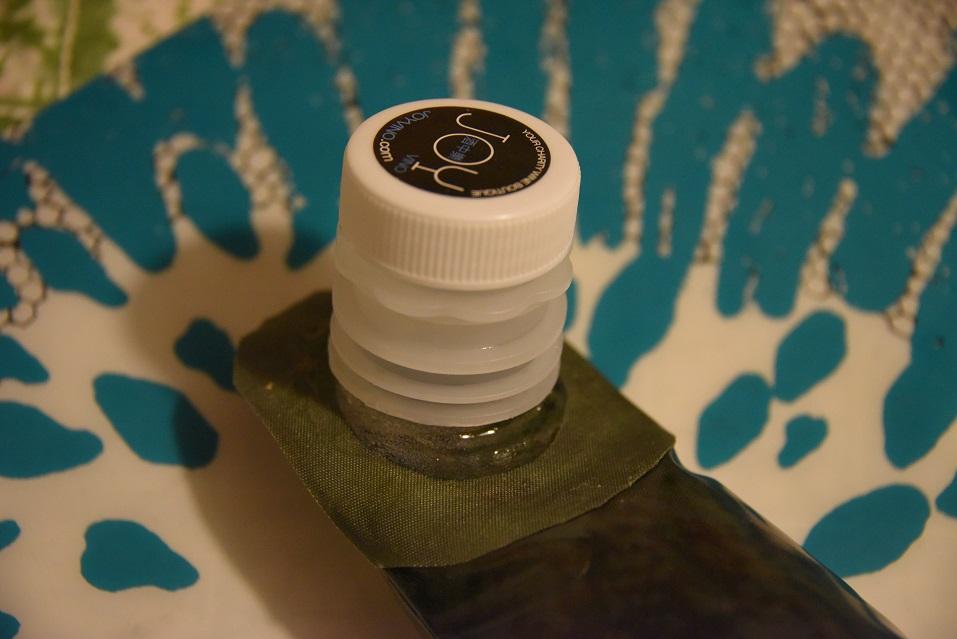
Final product will hold about 2 tall AL cans of beer.
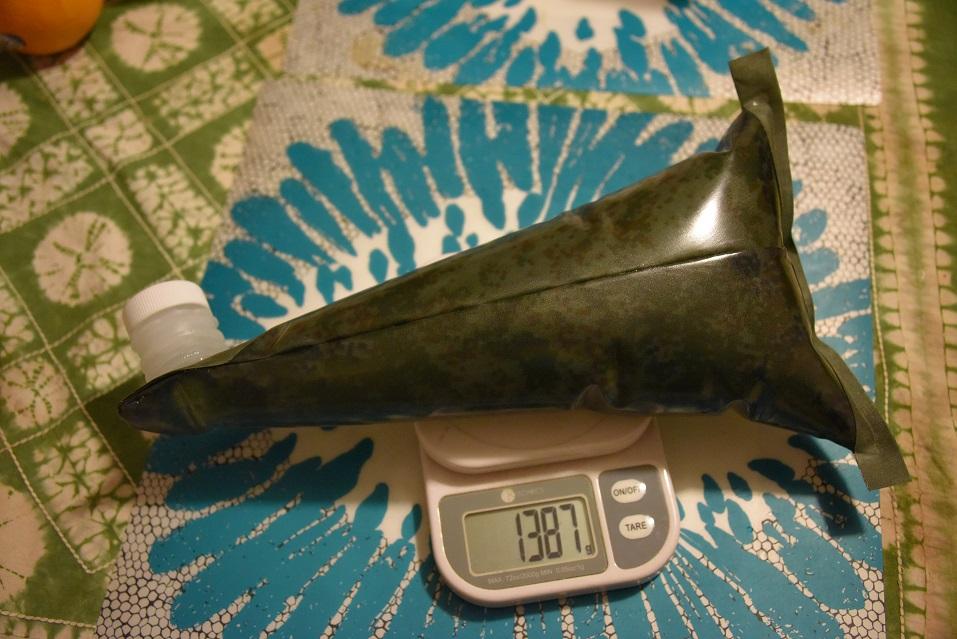
The two bottom corners were soldered good, no leaking by applying heat only but there is leaking at the junctions on the middle of bottom, due to where too much of fabric folding together, I guess.
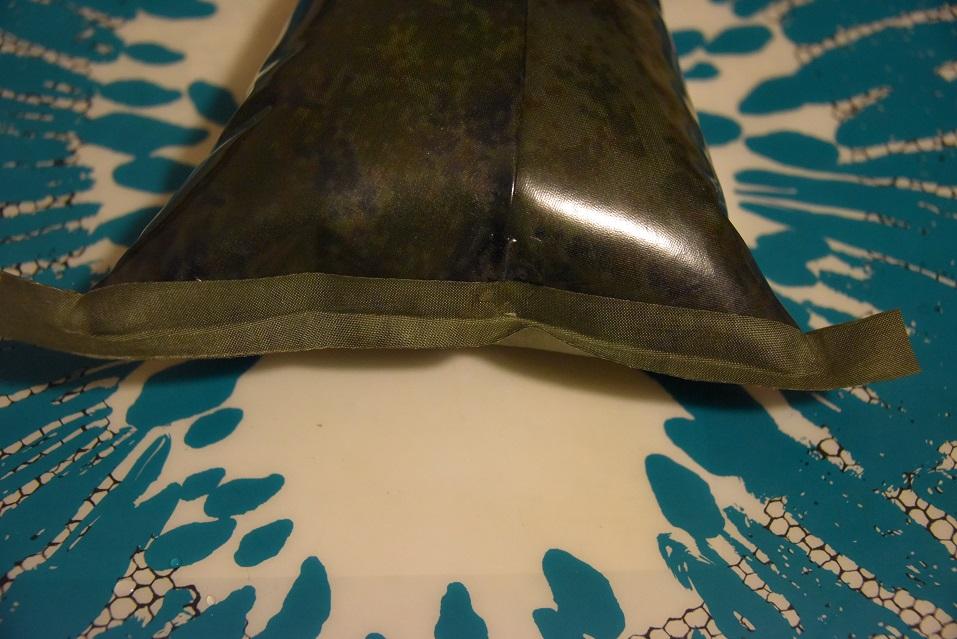
So I applied some Aquaseal to the gaps, they cured after an hour into a flexible layer of rubber and the bag is no more leaking now when squeezed.
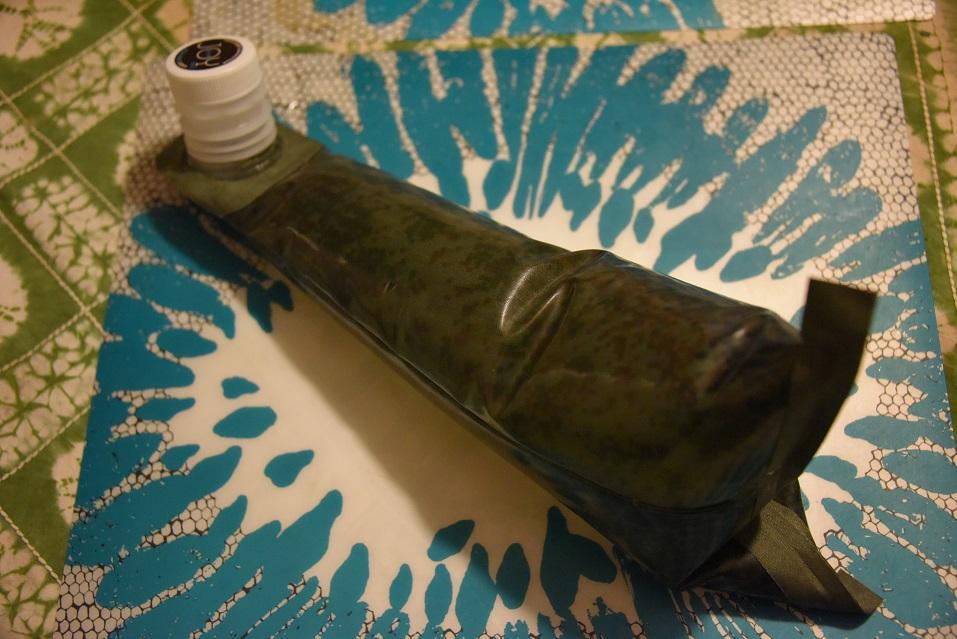
But it smells, with odor of the glue…
I will try some more soldering practice before doing the real stuff.
Thanks for reading.