Home › Forums › DIY Packrafts › Heat-sealing tools › Reply To: Heat-sealing tools
 Bruce
Comparing Heat Sealing Irons: Clover Mini-Iron, Coverite, Top Flight, and Jandga Electrothermal Products
By: Bruce Campbell
Date: September 4, 2017
Background: I built my first DIY packraft using a Clover Mini-Iron and an old household Iron. They worked, but the Clover is slow and fragile. The old household iron was a challenge to keep hot enough.
Coverite and Top Flight irons are 165 Watt tools developed for heat-sealing and shrinking thin plastic film (fabric) onto model aircraft.
The Jindga Thermoproducts leather clothing iron is a 220 volt 150 amp Chinese appliance. It feels solid and heavy duty, and it worked with it’s 110 adaptor in a US 110 volt outlet.
In this comparison I will try to detail what I’ve learned about each iron, its dimensions, temperatures attainable, and various features.
Coverite and Top Flight irons are 165 Watt tools developed for heat-sealing and shrinking thin plastic film (fabric) onto model aircraft wings and fuselage to create a smooth lightweight surface. In the world of boat building I know of one “Skin-on-Frame” ultralight kayak and canoe designers suggests one can use the film as a lighter, smoother alternative to paint or varnish on heavy nylon fabric covering a kayak or canoe frame, though at significant cost. I have never used Aircraft film.
Model Aircraft fabric requires less heat than I use for TPU coated nylon-66 fabric. I find the TPU coated fabric seals best with an iron in the 205 to 225 degree Centigrade (C) temperature range. The Nylon 66 melts at temperatures over 240 degrees. The hottest of the model aircraft fabrics, Monokote, requires temperatures from 100 to 175 degrees C. Low temperature model aircraft fabrics may only need 65 to 80 degrees C.
Given the price range, one would expect significant temperature variation, perhaps 20 to 40 degree C from one iron to the next. But I found much better accuracy, all three Coverite were set for a maximum heat at 199 to 201 degrees C, identical to the Top Flight iron. The thermostats in these irons provide about a ten degree cycle. From the factory this means they hit a peak temperature of 199 to 200 degrees, then cool to 189 to 190 degrees before the thermostat kicks back on and heats back up to 200 degrees.
In use, the heat transferring to the fabric and its underlying base, cools the iron down much further, often under 175 degrees. At the lower temperature the fabric may appear to have “wetted” and sealed, but it is only lightly stuck together and will readily peal apart. To avoid this I prefer a hotter iron, one that doesn’t cool below 205 degrees in the thermostat cycle, as measured with my infrared thermometer or the Coverite thermometer.
While this is just barely hot enough to melt the TPU coating, I preferred to increase the temperature range on all of the irons by adjusting the thermostats in each from 1/8 to ¼ turn. The hotter iron cycled
While it is possible to test the iron’s temperature on scrap TPU coated fabric, I recommend using a thermometer so you be sure the peak temperature is not going to melt your nylon and so you can check it over time. Coveright sells a fine, inexpensive thermometer. I use an inexpensive infrared thermometer. One could easily use an oven meat thermometer. A thermometer lets you know the high and low temperature at your desired setting. It gives you confidence in your iron’s performance.
Dimensions: Coverite is 48mm wide while the Top Flight is 42mm wide. The Coverite is wider because it has rounded “wings” on each side for smoothing around aircraft wings and in tight places. They are both 120 mm long.
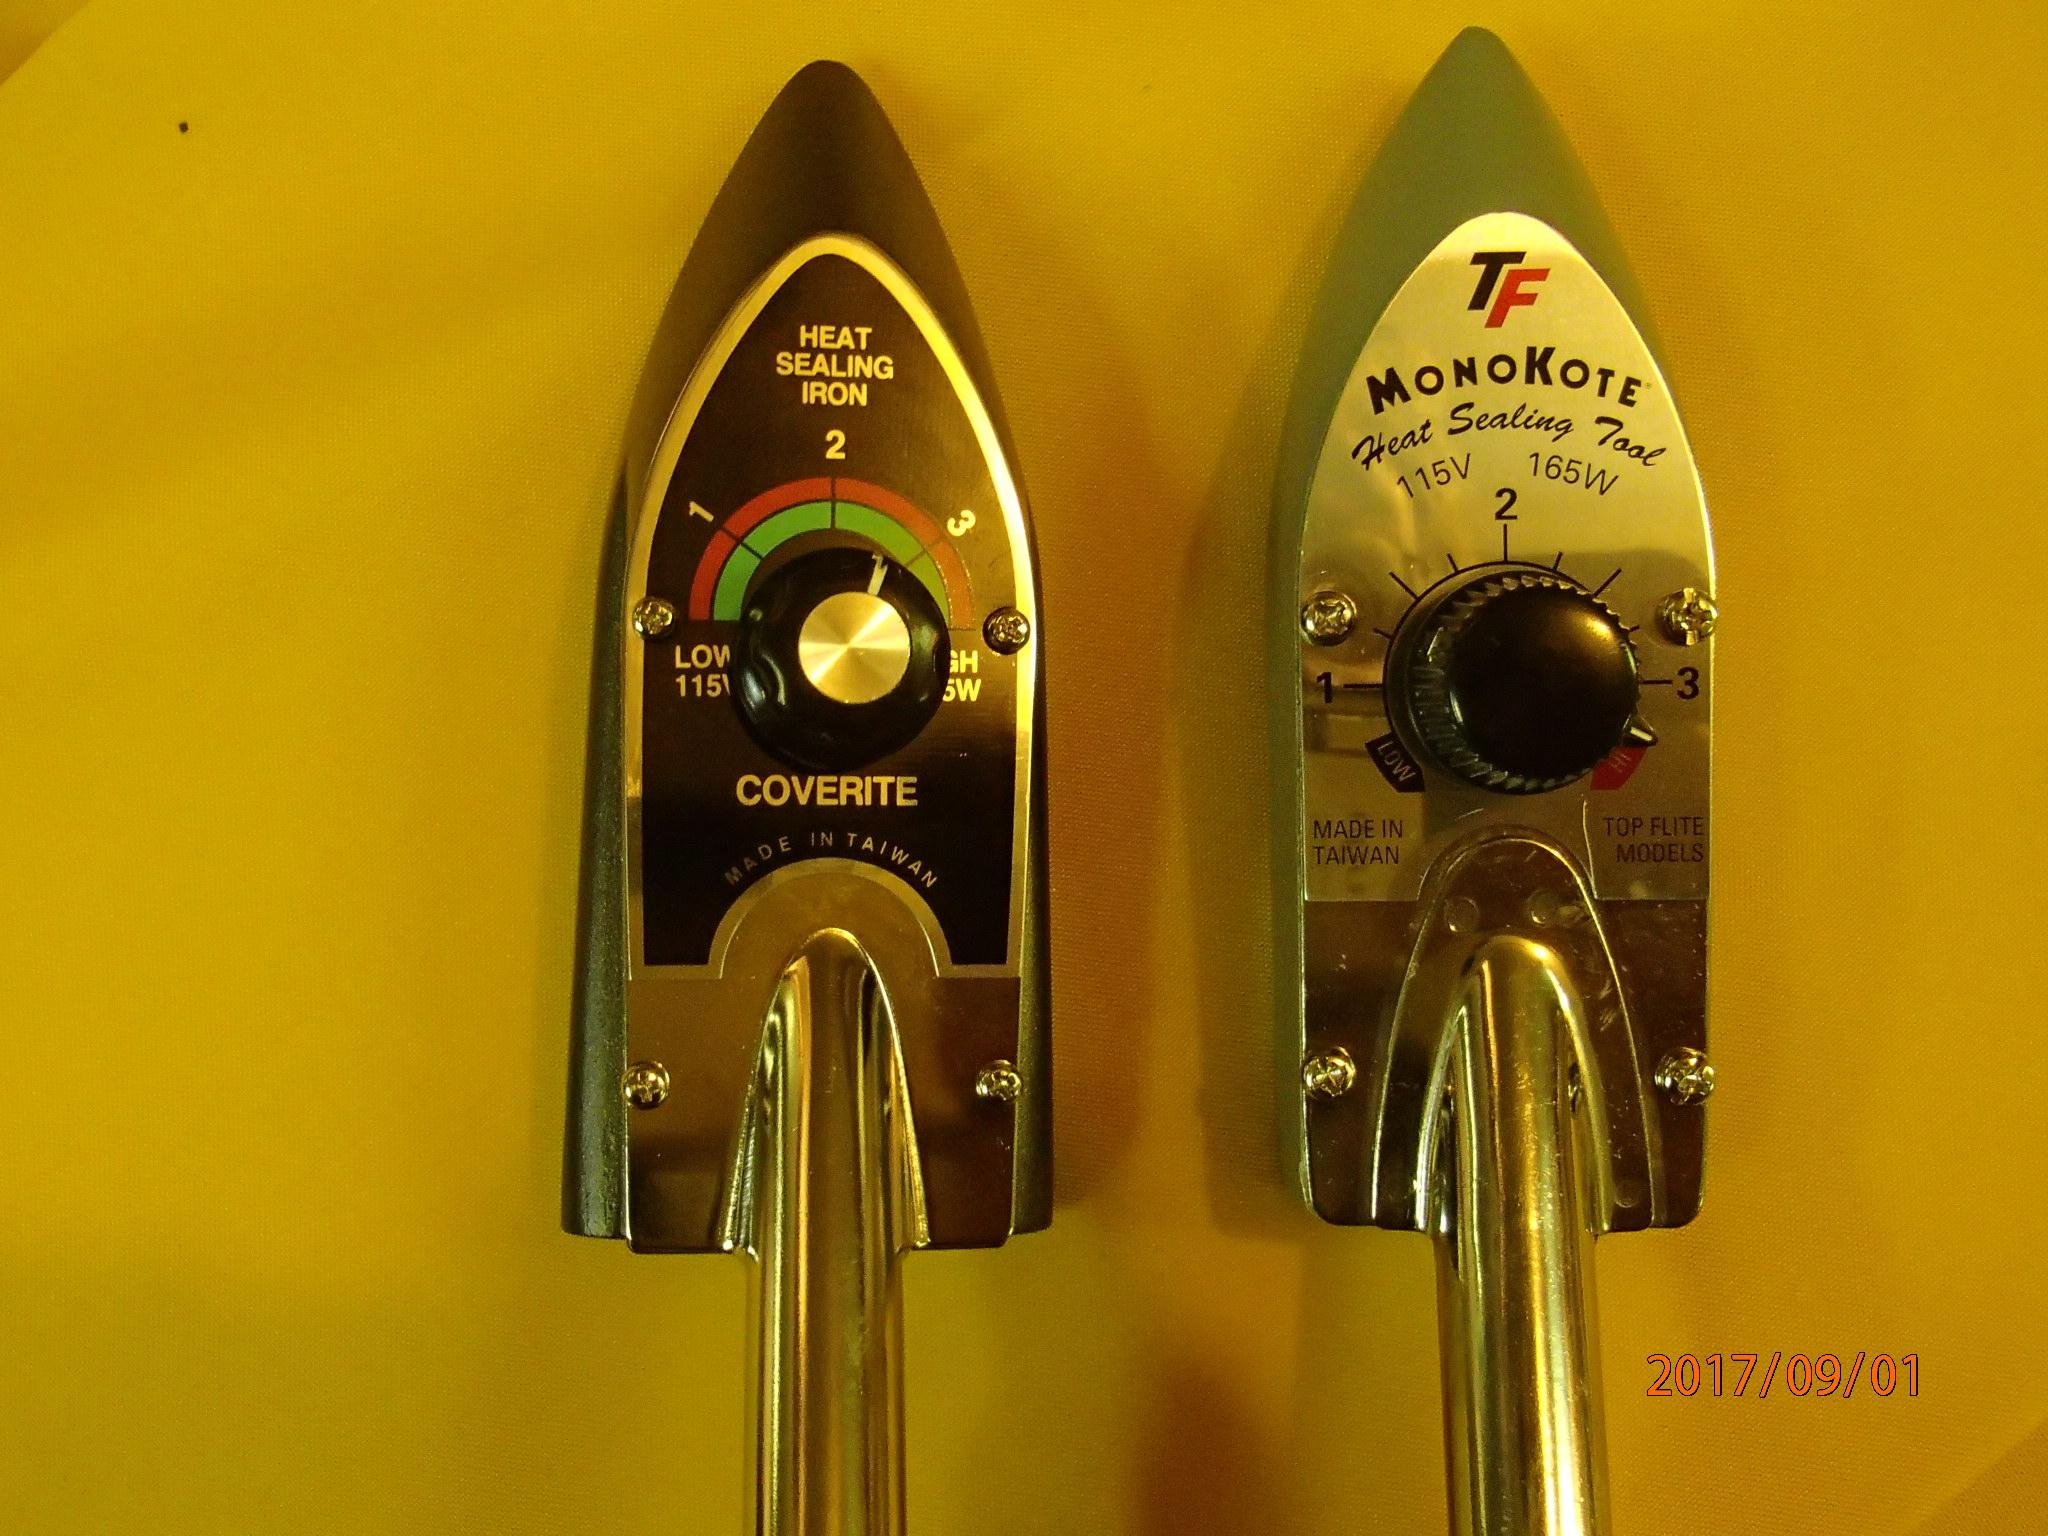
The Coverite handle, left, is a single piece that should prove to be stronger and less prone to failure.The handle on the Top Flight, right, is spot welded to the metal cover for the iron.
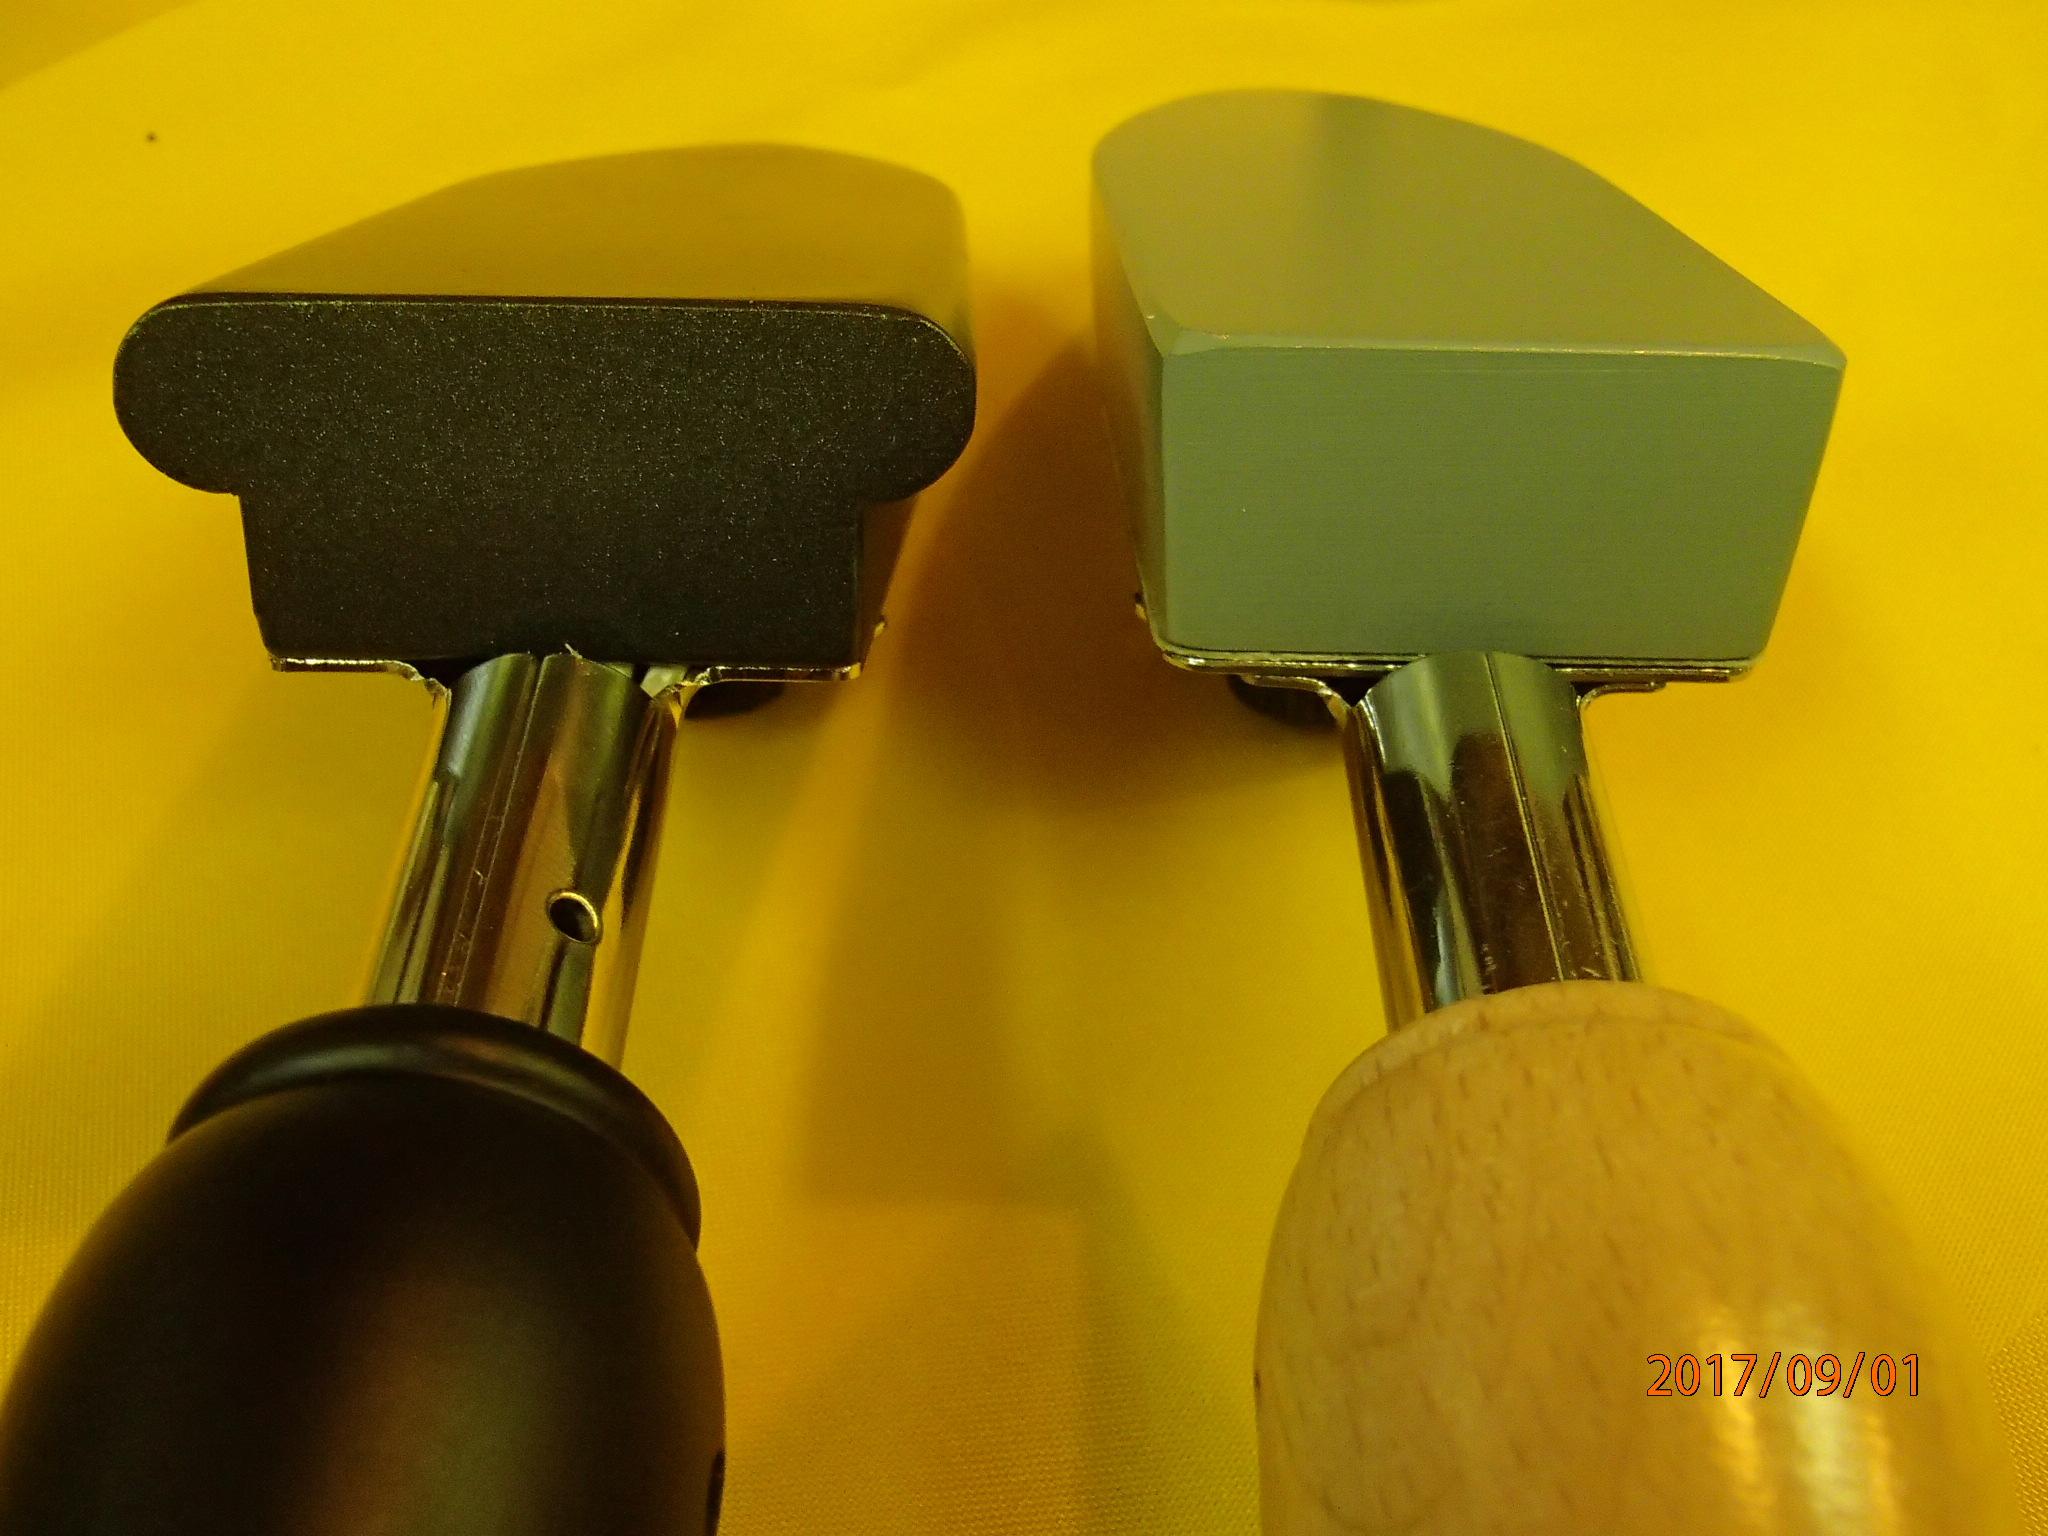
The rounded ‘wings’ of the Coverite on left, square Top Flight on right.
Similarities:
Both have similar ceramic heating elements, the same ceramic tip on the thermostat, and both are adjustable with a fine screwdriver inserted into the brass stem under the knob.
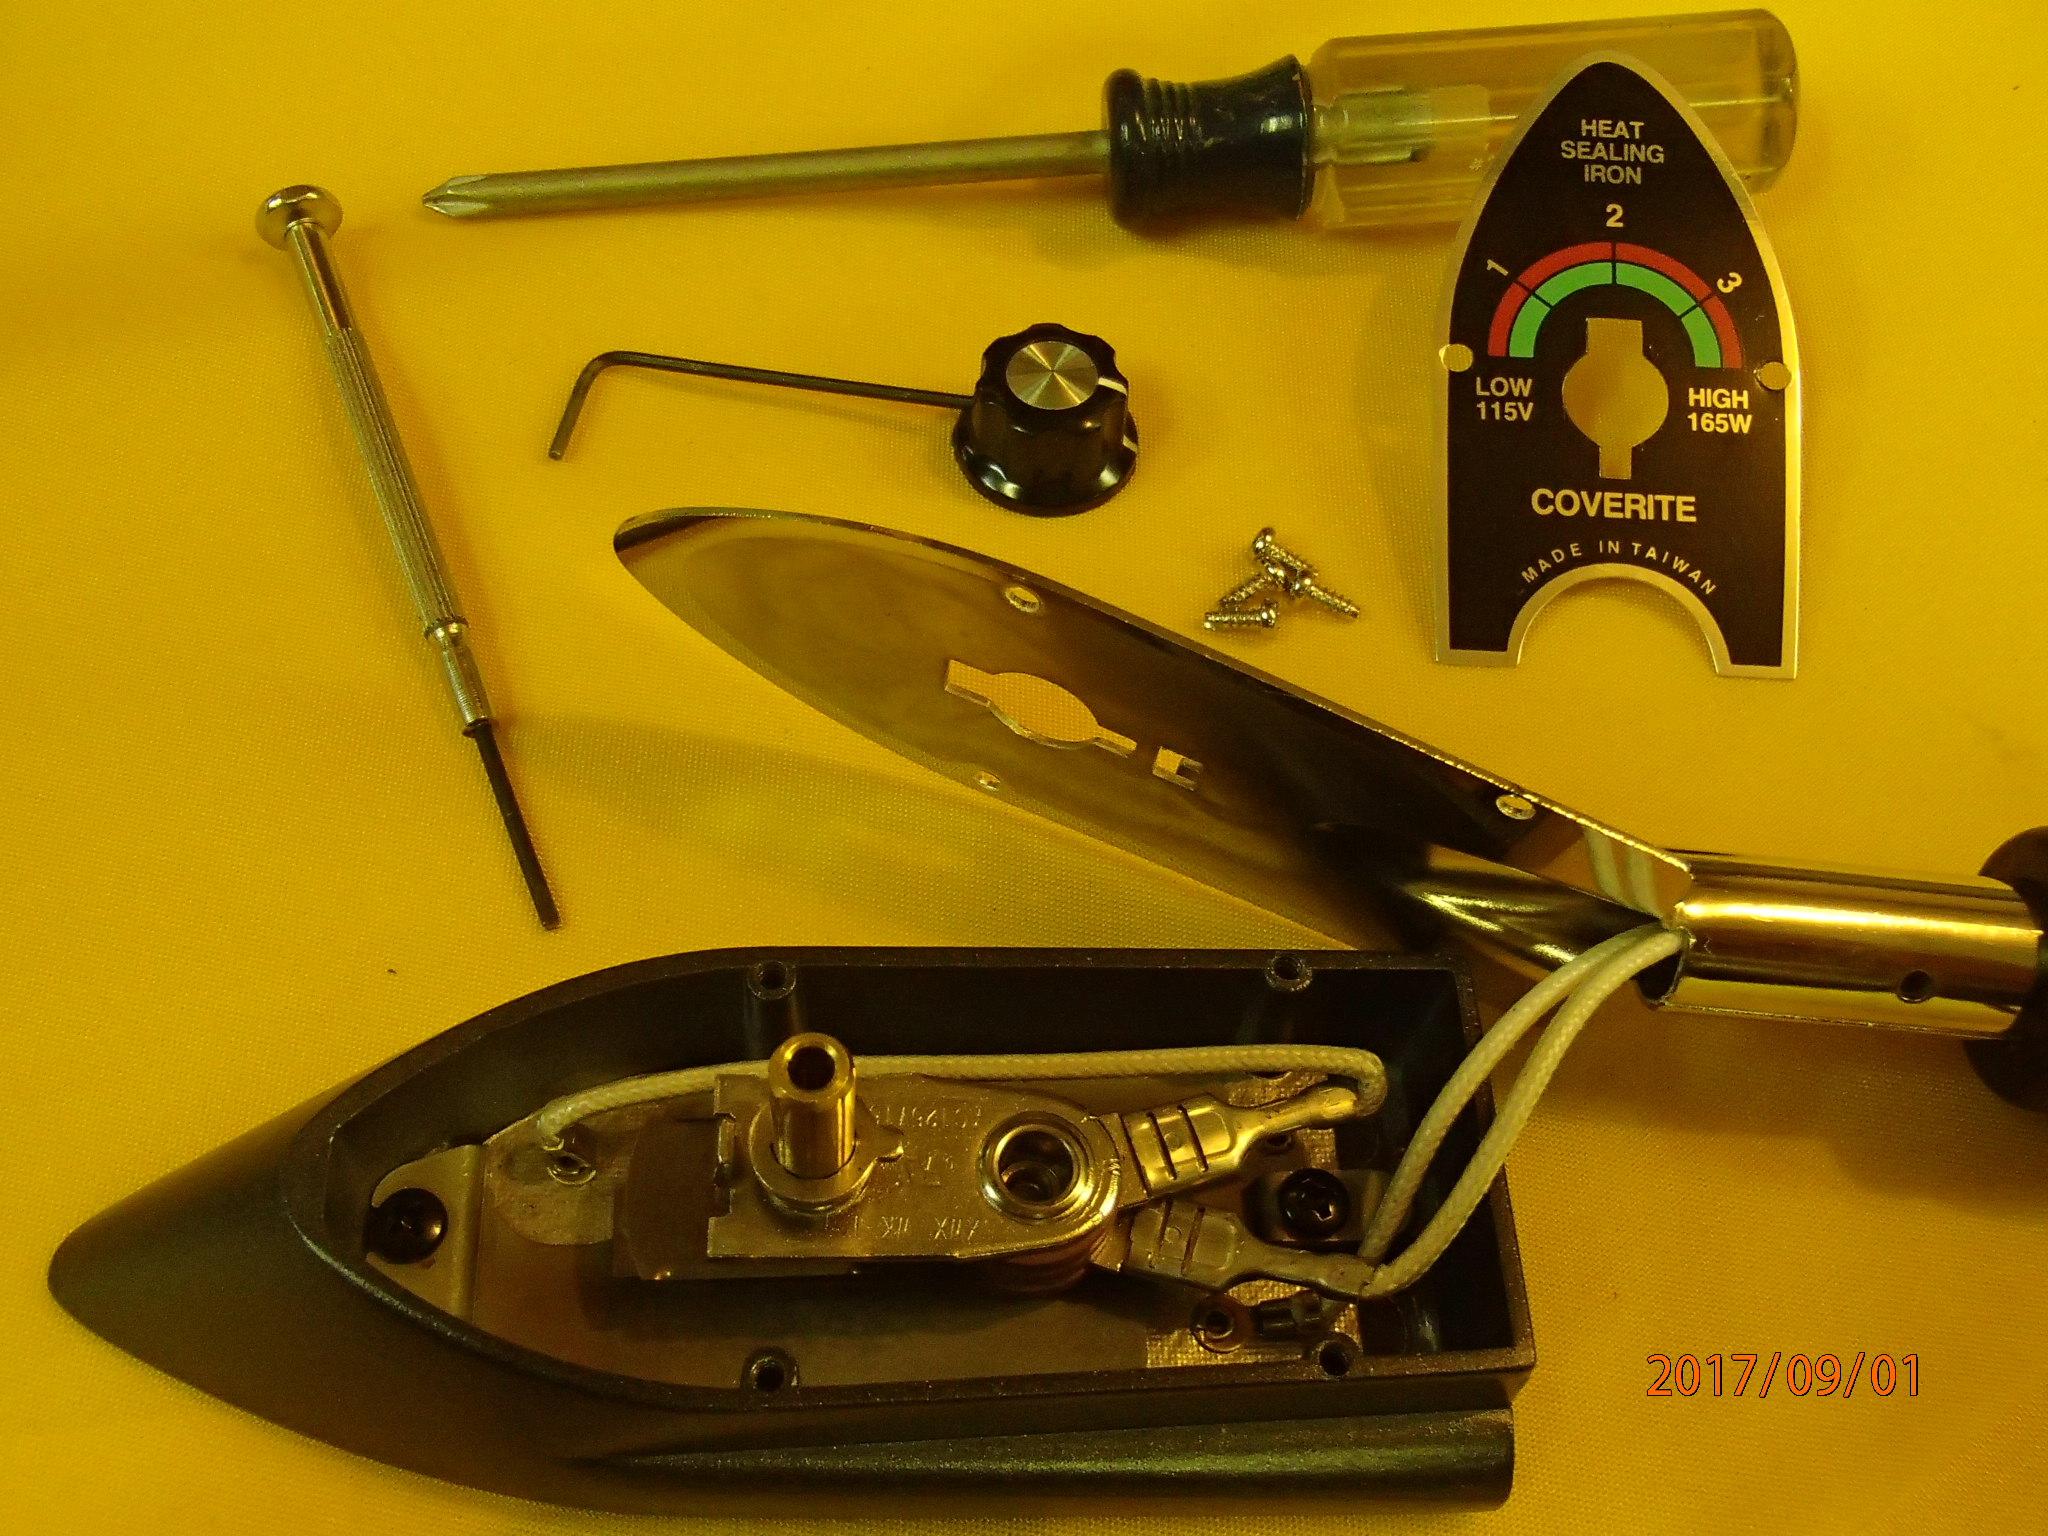
The Coverite internal components are firmly attached to the base of the iron with two black screws. The wiring has glass fiber or other high temp insulation. While the core heating element and thermostat appears identical from my visual inspection. In my opinion, the wiring and solid attachment of the Coverite is superior.
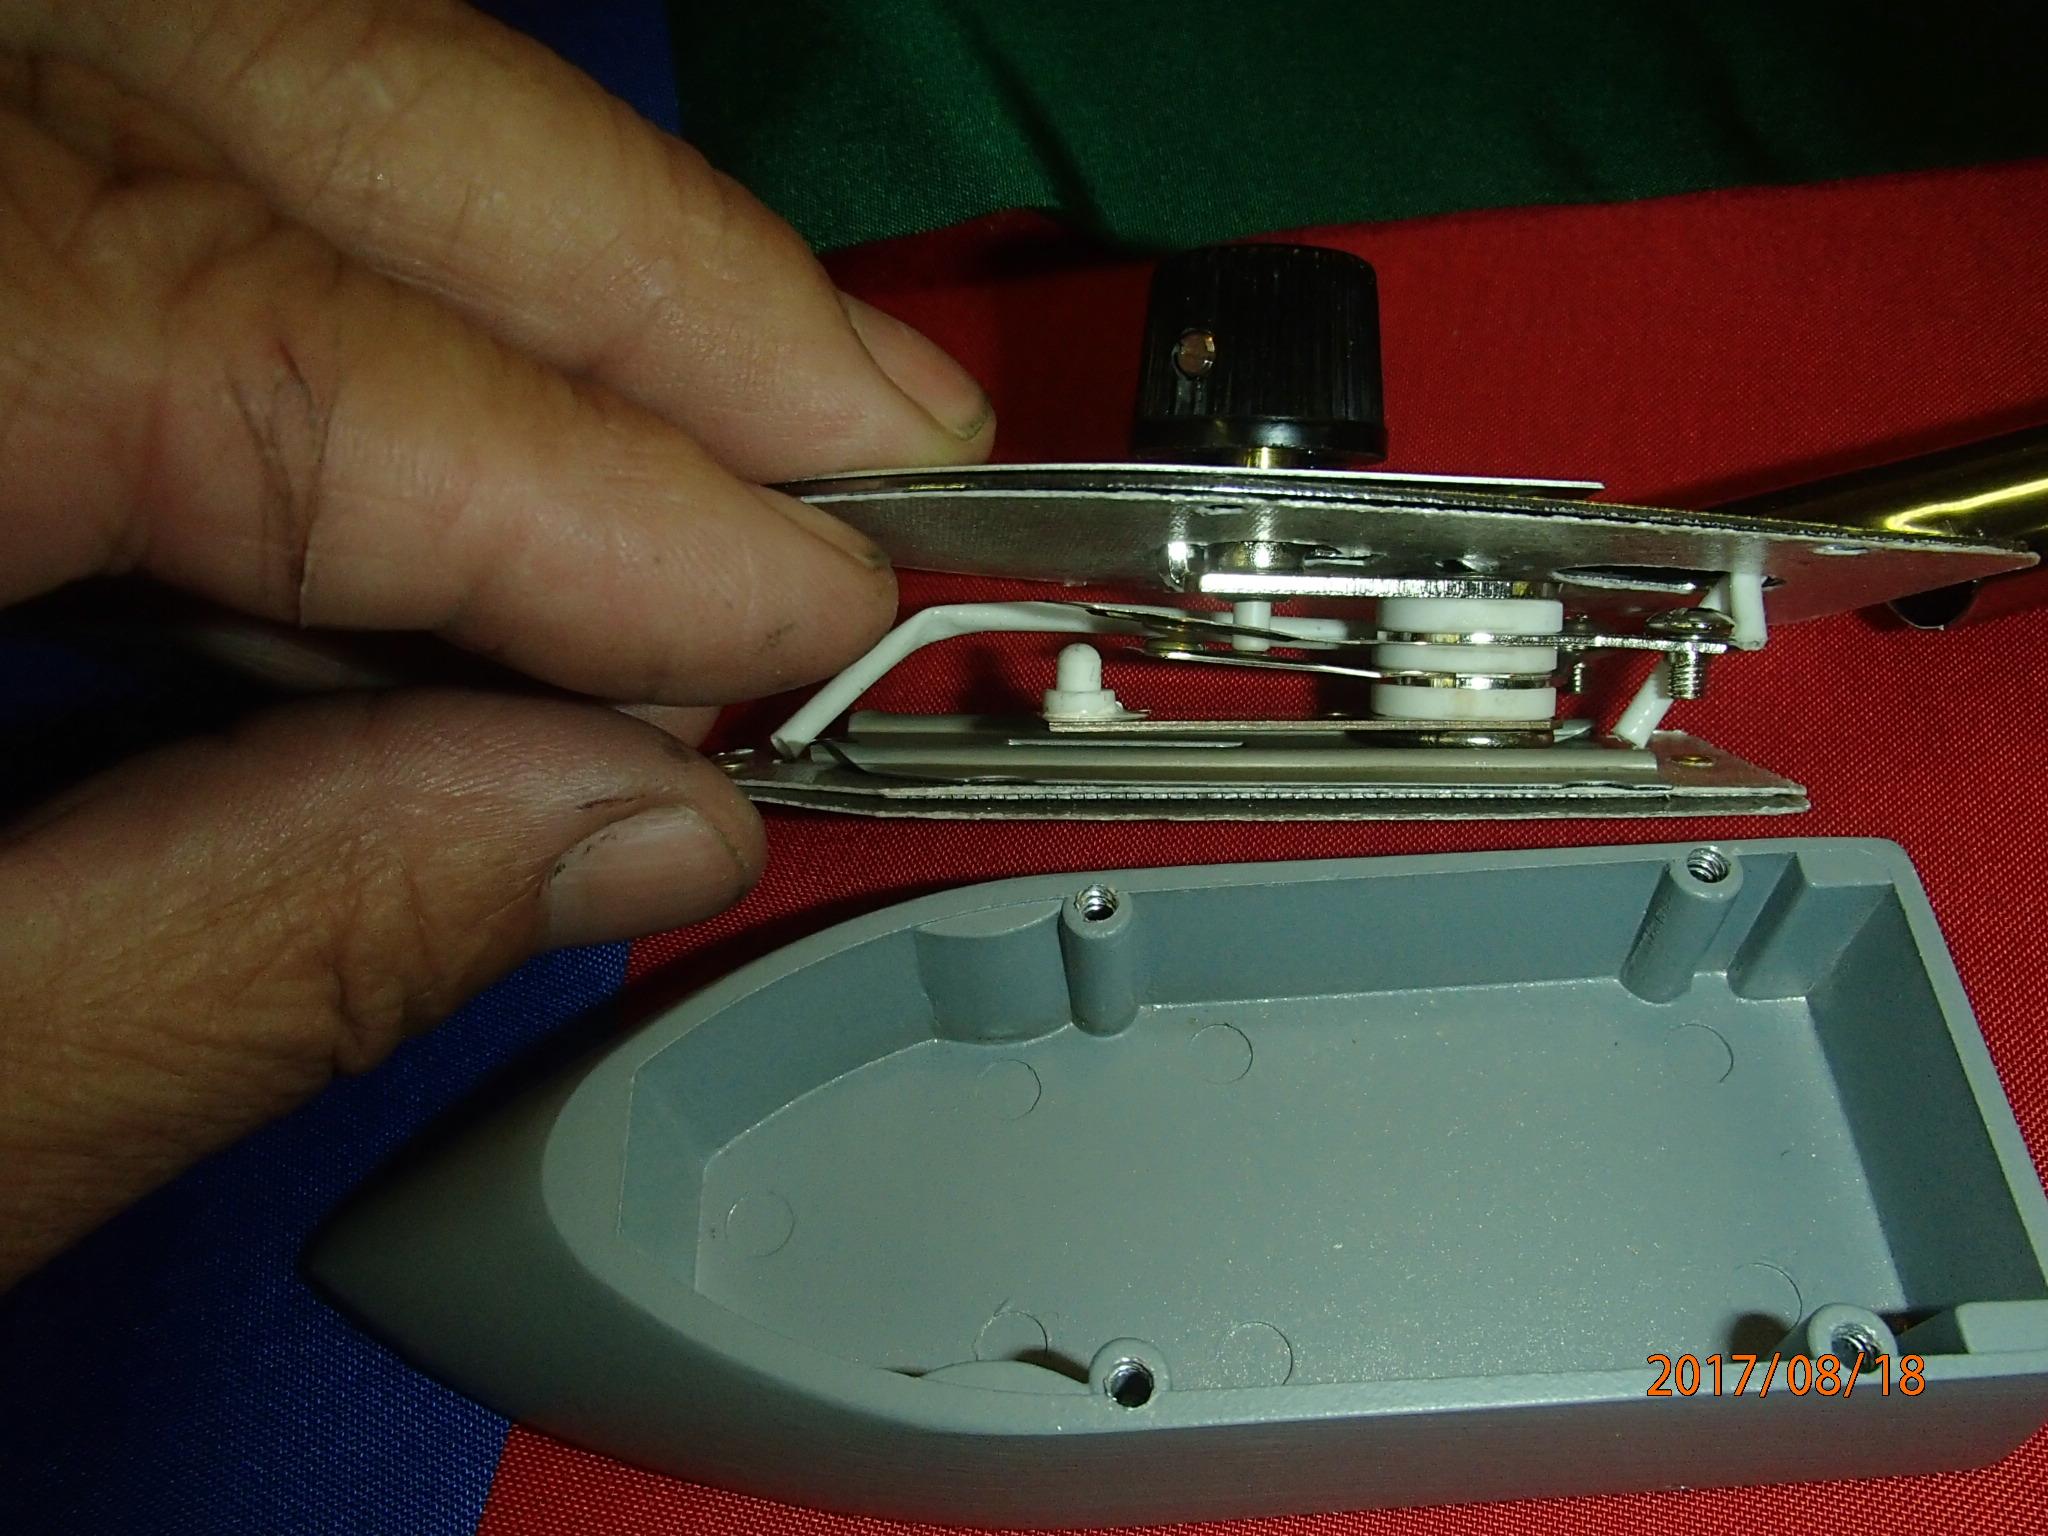
The internal parts for the Top Flight are not screwed to the bottom of the iron foot.
Both irons use what appears to be the same thermostat with superior ceramic tip. The white ceramic tip on the bimetallic thermostat is visible in the center of the photo above. The ceramic tip raises as the iron heats to break the circuit. The irons all rise about 10 degrees C before the ceramic tip breaks the circuit. They then cool 10 degrees for the circuit to be reenergized and begin to heat the foot of iron. The hottest part of all the irons is obviously in the center of the foot.
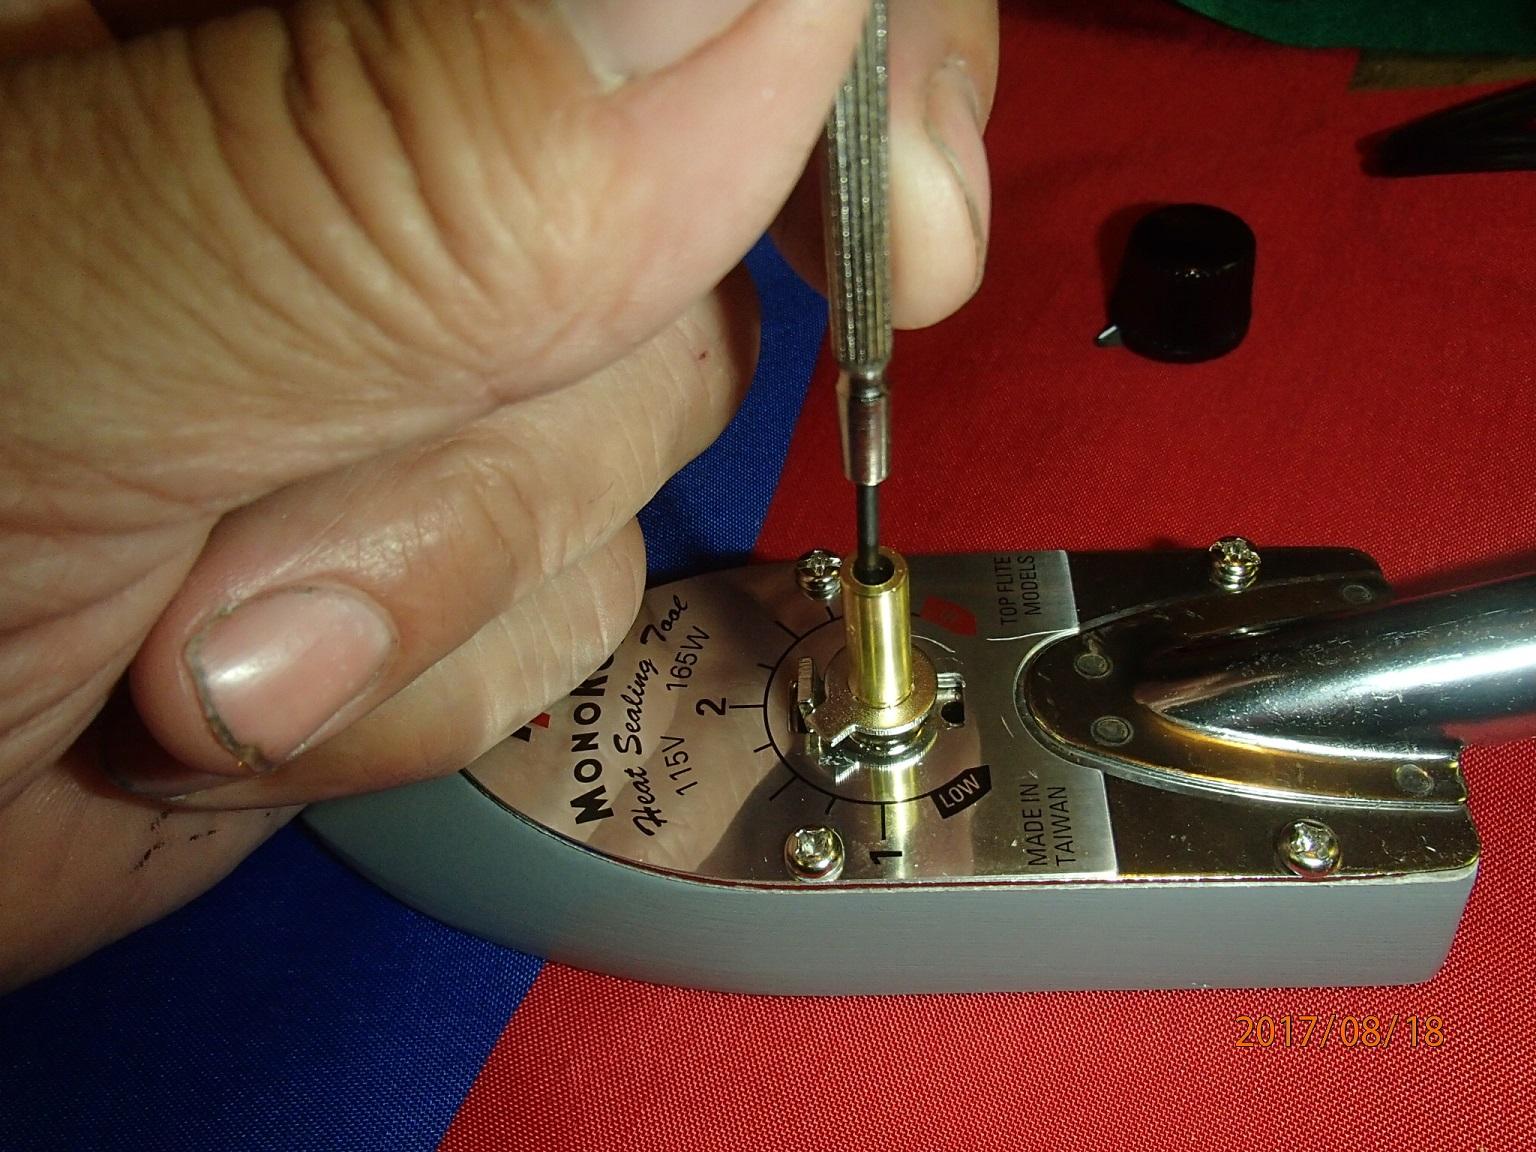
The temperature range of the thermostat is adjusted with a fine screwdriver inserted into the brass stem under the black plastic knob. A counterclockwise turn increases the heat range. It does not take much. If you need to adjust the peak temperature of your iron start with 1/8 turns and measure the temperature again. If the iron gets too hot, the thermostat may fail, ruining the iron.
The Jindga Electrothermal Products 220v 150 watt heating iron is designed for ironing leather goods. It is a very solid feeling iron with a narrow but massive aluminum foot. The thermostat dial reads from 50 degrees to 350 degrees Centigrade. It has a very nice red light indicating when the current is on and the iron is still heating, blinking when it is at temperature, and off when the thermostat has cut the current off.
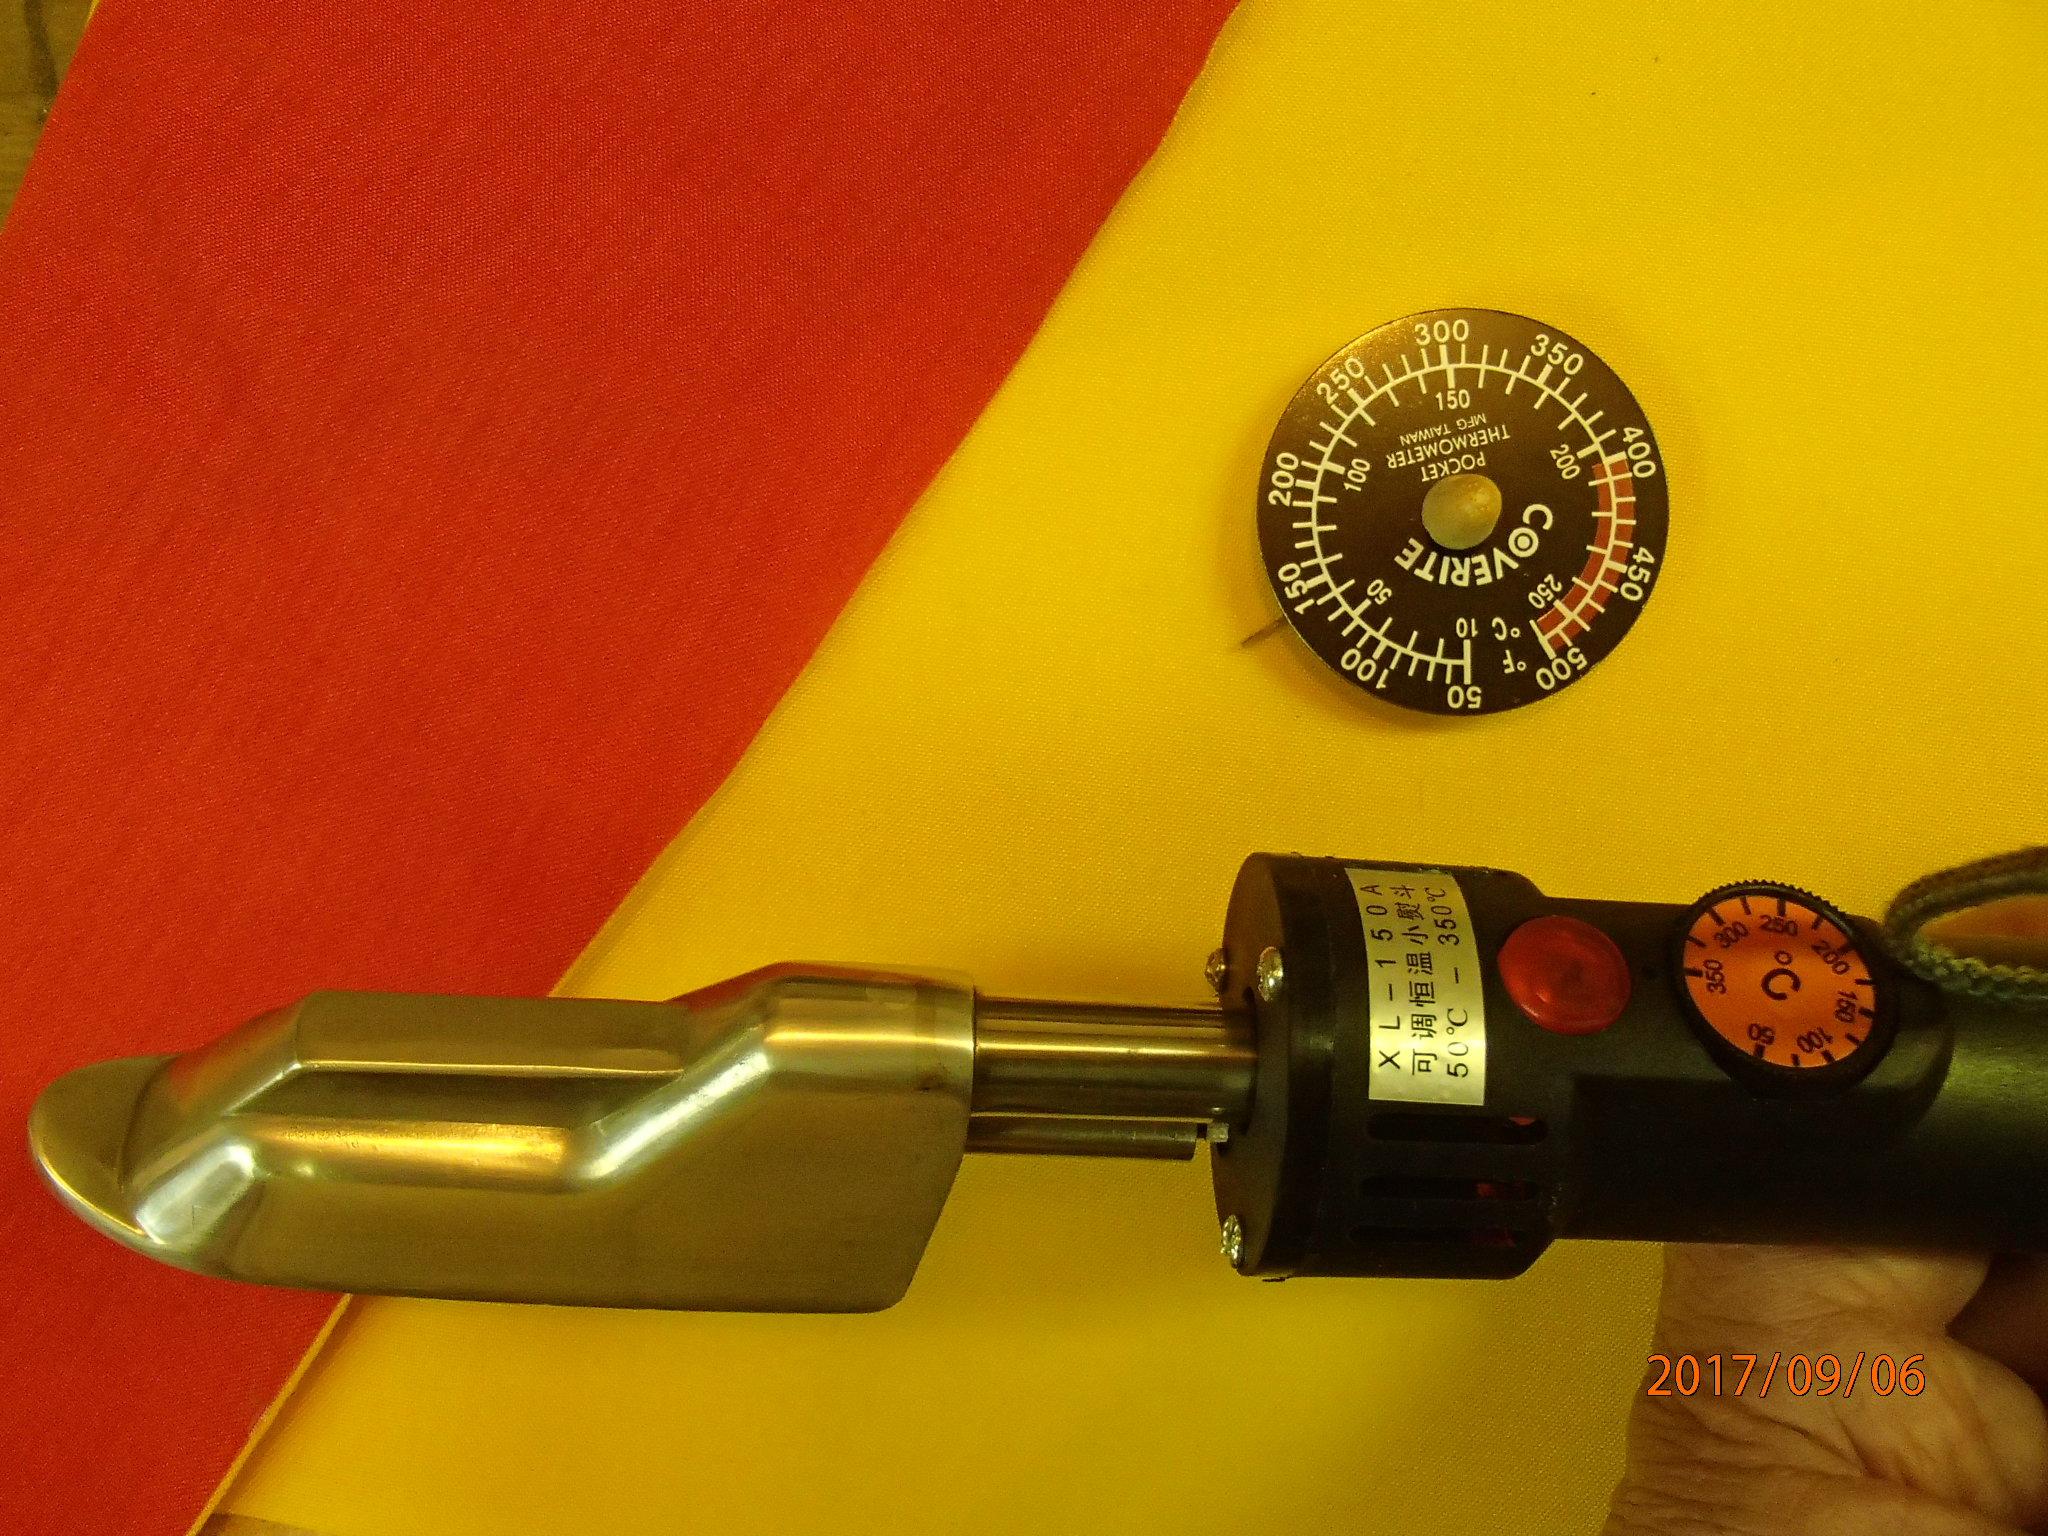
It is a three wire, grounded, Chinese 220 volt appliance, which as I understand it is similar to a European 220 volt wiring. As such, one leg is 220 volts and the other neutral, the third wire is a ground. Some internet advice indicated one could use US 220 volt, which is composed of two 110 legs, each out of phase with the other. If you can figure this out, you might be able to use the iron on 220, I found I didn’t have to because it came with a simple converter plug for US 110 volt outlets and it worked. I can only recommend using it on 110 volt current, because that’s all I’ve tried. Lyn St. George, the original discoverer, used it with 220, and the aluminum blistered. I don’t know why.
I’m sure it isn’t as hot as it would be in a 220 volt circuit, but it got plenty hot, measuring up to 225 degrees, and probably hotter, but I simply turned the thermostat down to find my preferred 220 degrees C. It is easy to bump the thermostat dial and inadvertently change the setting, so I put a piece of masking tape over it.
The Jindga iron is 27mm wide and 85mm long. The bottom is rounded in the narrow dimension, and it has an upswept nose. It comes with a heavy three wire cord that ends in an “I” style three prong plug. A US adaptor was included.
Using the irons
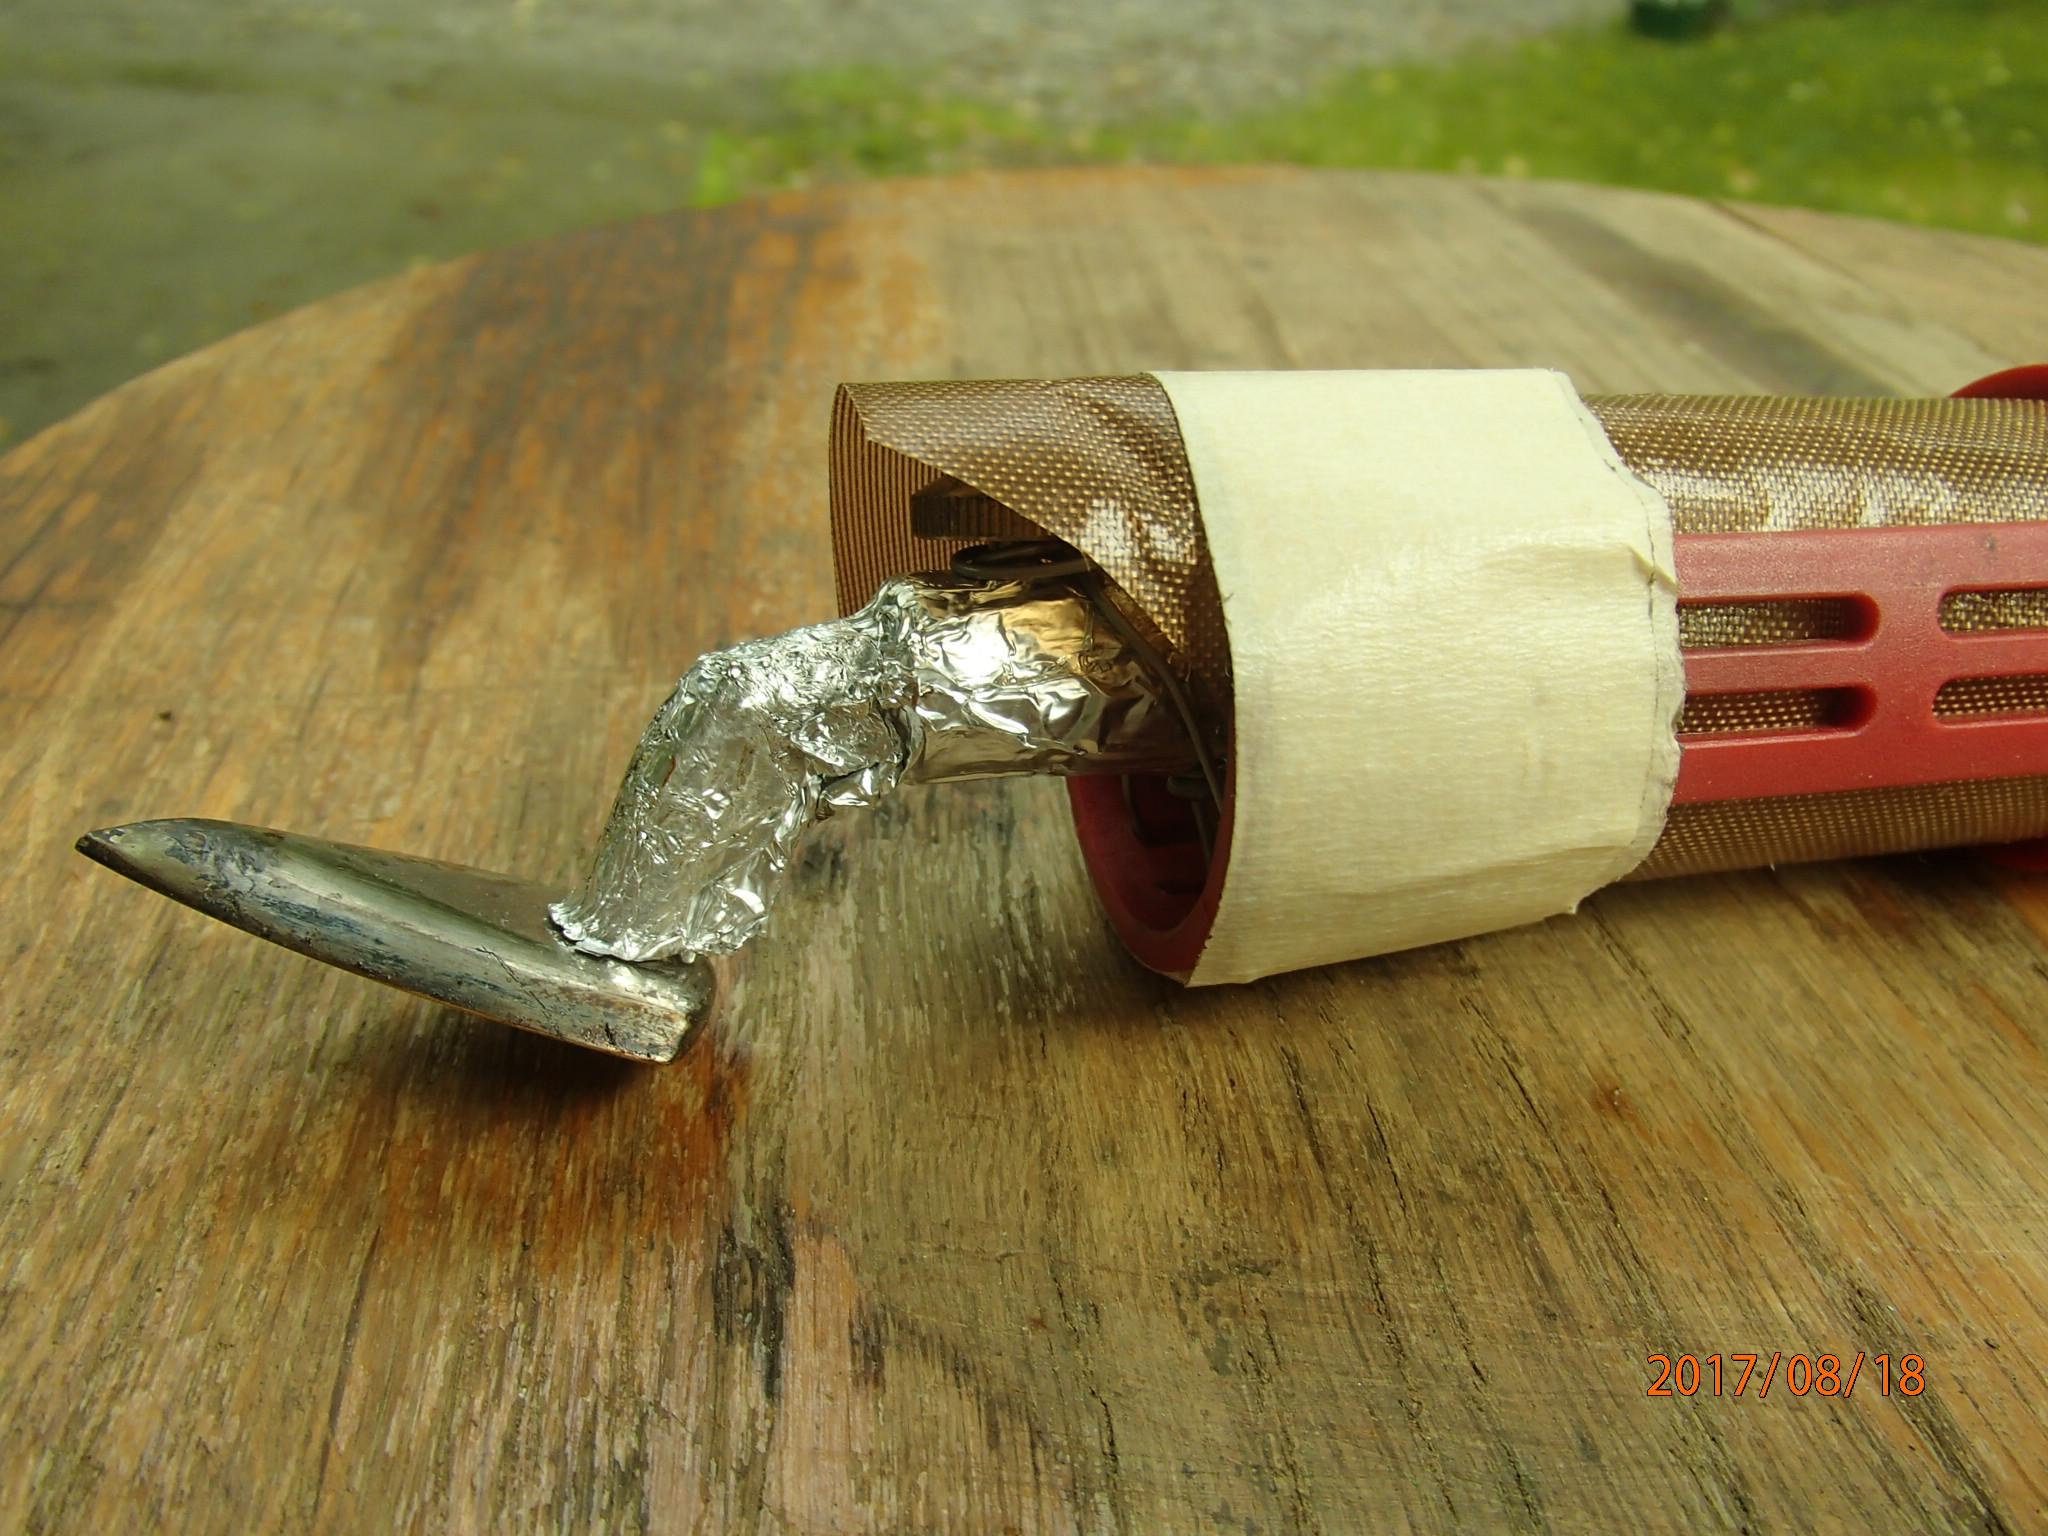
Clover Mini-Iron: I built my first raft with a Clover Mini-Iron and an old household iron. The Clover is precise, but slow. The tiny foot cools very quickly as it moves across TPU coated fabric, and it takes a long time for heat to transfer from the element down the thin stem to the wide foot. As I got more experienced with the iron I found myself setting it aside to build heat. The iron would get too hot, hot enough to melt nylon, so I always rubbed it on my smooth wooden surface, and across a small piece of test fabric before touching my raft assembly. And I always kept the iron moving on the raft fabric. To pause or hesitate risked melting the fabric when first touching the iron to the fabric. Unfortunately, the Clover is fragile and one cannot push it solidly against the fabric or it will break. I fashioned a wooden handle to fit over the foot and could press down on the handle while lightly gliding the iron along a seam.
I used an old household iron for larger areas, including sealing in the double bottom and sealing the inside of the tubes to the bottom over a wooden form. The household iron was faster, provided it was set hot enough. It was very easy to move it too fast and get only a very light “stick” between the two layers. At other times it got so hot the TPU coating bubbled and frothed. While the household iron felt like a lot of heat was being transmitted to the fabric, I found I often had to slow down and let it fully melt the TPU coating, going back over and over to work out air bubbles. Yes, I could get plenty of pressure to form the seal.
My current favorite iron is the Top Flight because I have it set to a heat cycle of 215 to 225 degrees C. This is hot, and requires keeping the iron moving when first touching fabric, but it also retains enough heat that one can keep moving over larger areas of wider seams, like the 4 cm tube to bottom seams of a raft. I also prefer the Top Flight because it is 8 mm narrower than the Coverite irons, and because I prefer the flat sides of the Top Flight.
The Coverite irons are better built, and as I get them adjusted to my preferred temperature range I’m sure they will meet or exceed the Top Flight when width is not a problem. This would be true when using a wooden form to determine the seam width.
The Jindga Iron’s narrower 27 mm wide foot is desirable. However, I found it to be slightly too rounded. It required moving it back and forth to melt even a 2 cm width of fabric. It needs a flatter foot to heat more fabric at a time. The rounded foot makes sealing a larger area, even a 20mm wide seam, difficult to seal without trapping air bubbles and it goes much slower. Modification needed: I simply filed the foot flat.
Update: After I filed a 15mm flat on the bottom of the Jindga iron, its performance is greatly enhanced. The iron stays hot, it doesn’t lose heat like the other irons, due to its massive aluminum foot and the nature of the heating element. Using 110 poser, it heats slowly, perhaps 10 minutes of more. The blinking light lets one know when it is at temperature. Measuring with the Coverite thermometer, I do not see a temperature swing, nor does it appear to loose heat from short heat sealing efforts, like the other irons. I will definitely give this iron a hard workout in my tandem build, and will report back.
Conclusion: The Model Aircraft irons have great attraction for wider seams, such as joining tube to floor. The narrower Jindga Thermoproducts iron has a lot of potential to improve speed and quality of the heat seal in seams. I always have my Clover to fall back on!
Further research: I hope to test one of the military surplus 110 volt, 150 watt heat sealing irons next. Cheapest alternative yet. But I sure wish they could be purchased new!
Thank you for wading through this long review!
Bruce Campbell