Home › Forums › DIY Packrafts › Heat-sealing tools › Reply To: Heat-sealing tools
 Bruce
Update and current recommendations
I tested the Valad HS-3T heat sealing iron. It is the one unit I could not recommend for use with TPU coated Nylon-66 fabric.
The Valad Electrical Company hand held Heat Sealing Iron, model HS-3T, is a 165 watt stainless steel iron that I purchased for $15, well used, on eBay. It can also be purchased new for $750 from the Valad Electrical Company in Tarrytown, New York. I was drawn to the iron because of its narrower foot. Unfortunately, It is the one iron that did not work for TPU coated nylon fabric.
The Valad failed my review for two reasons:
1) The thermostat has a 30 degree C temperature swing (50 degrees F.) causing it to swing from too cool to melt the TPU coating, to too hot and melting the nylon. There is no happy medium.
2) The nice Stainless steel foot was too thin, causing the foot to have two hot spots that were much hotter than the rest of the foot, and I was unable to prevent the hot spots from melting the nylon fabric.
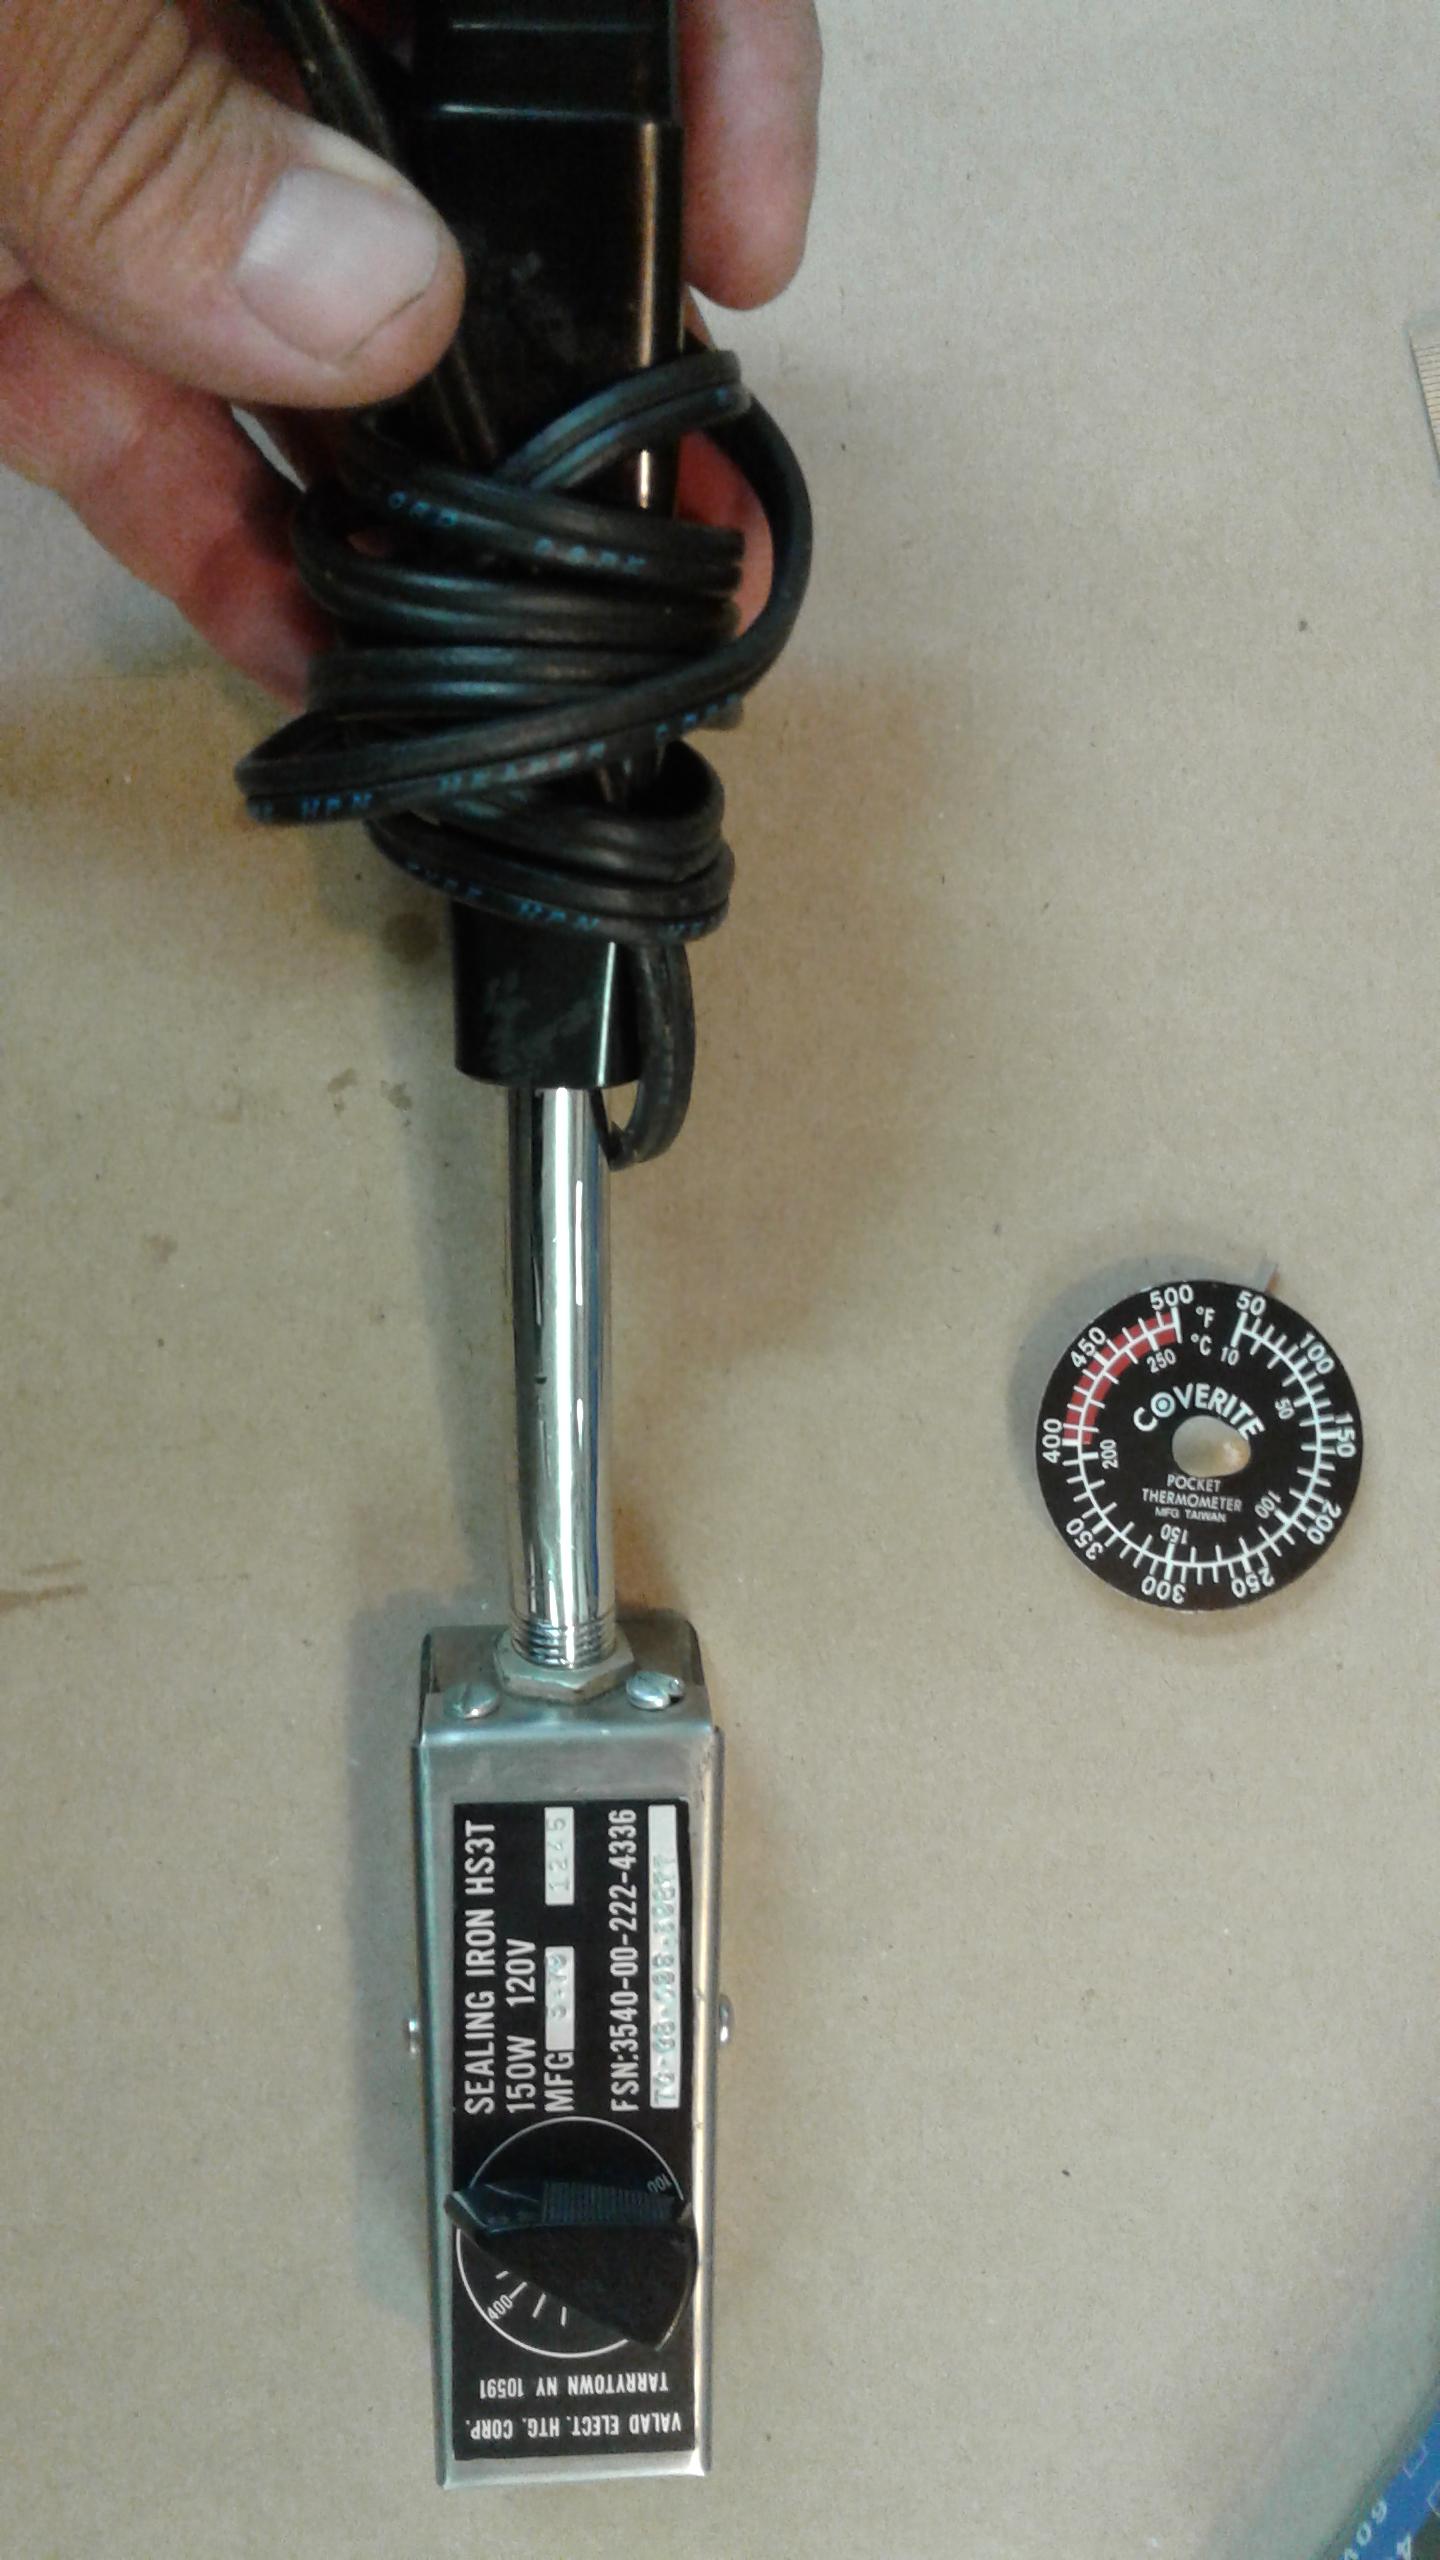
The Valad foot is about 32 mm wide, but the thermostat temperature swing is to great for use with TPU nylon fabric.
I also purchased an inexpensive 60 watt soldering iron and slid a tight fitting piece of copper refrigerator tubing over the tip. With the tubing off the iron, I flattened the tip and reinserted it to the iron.
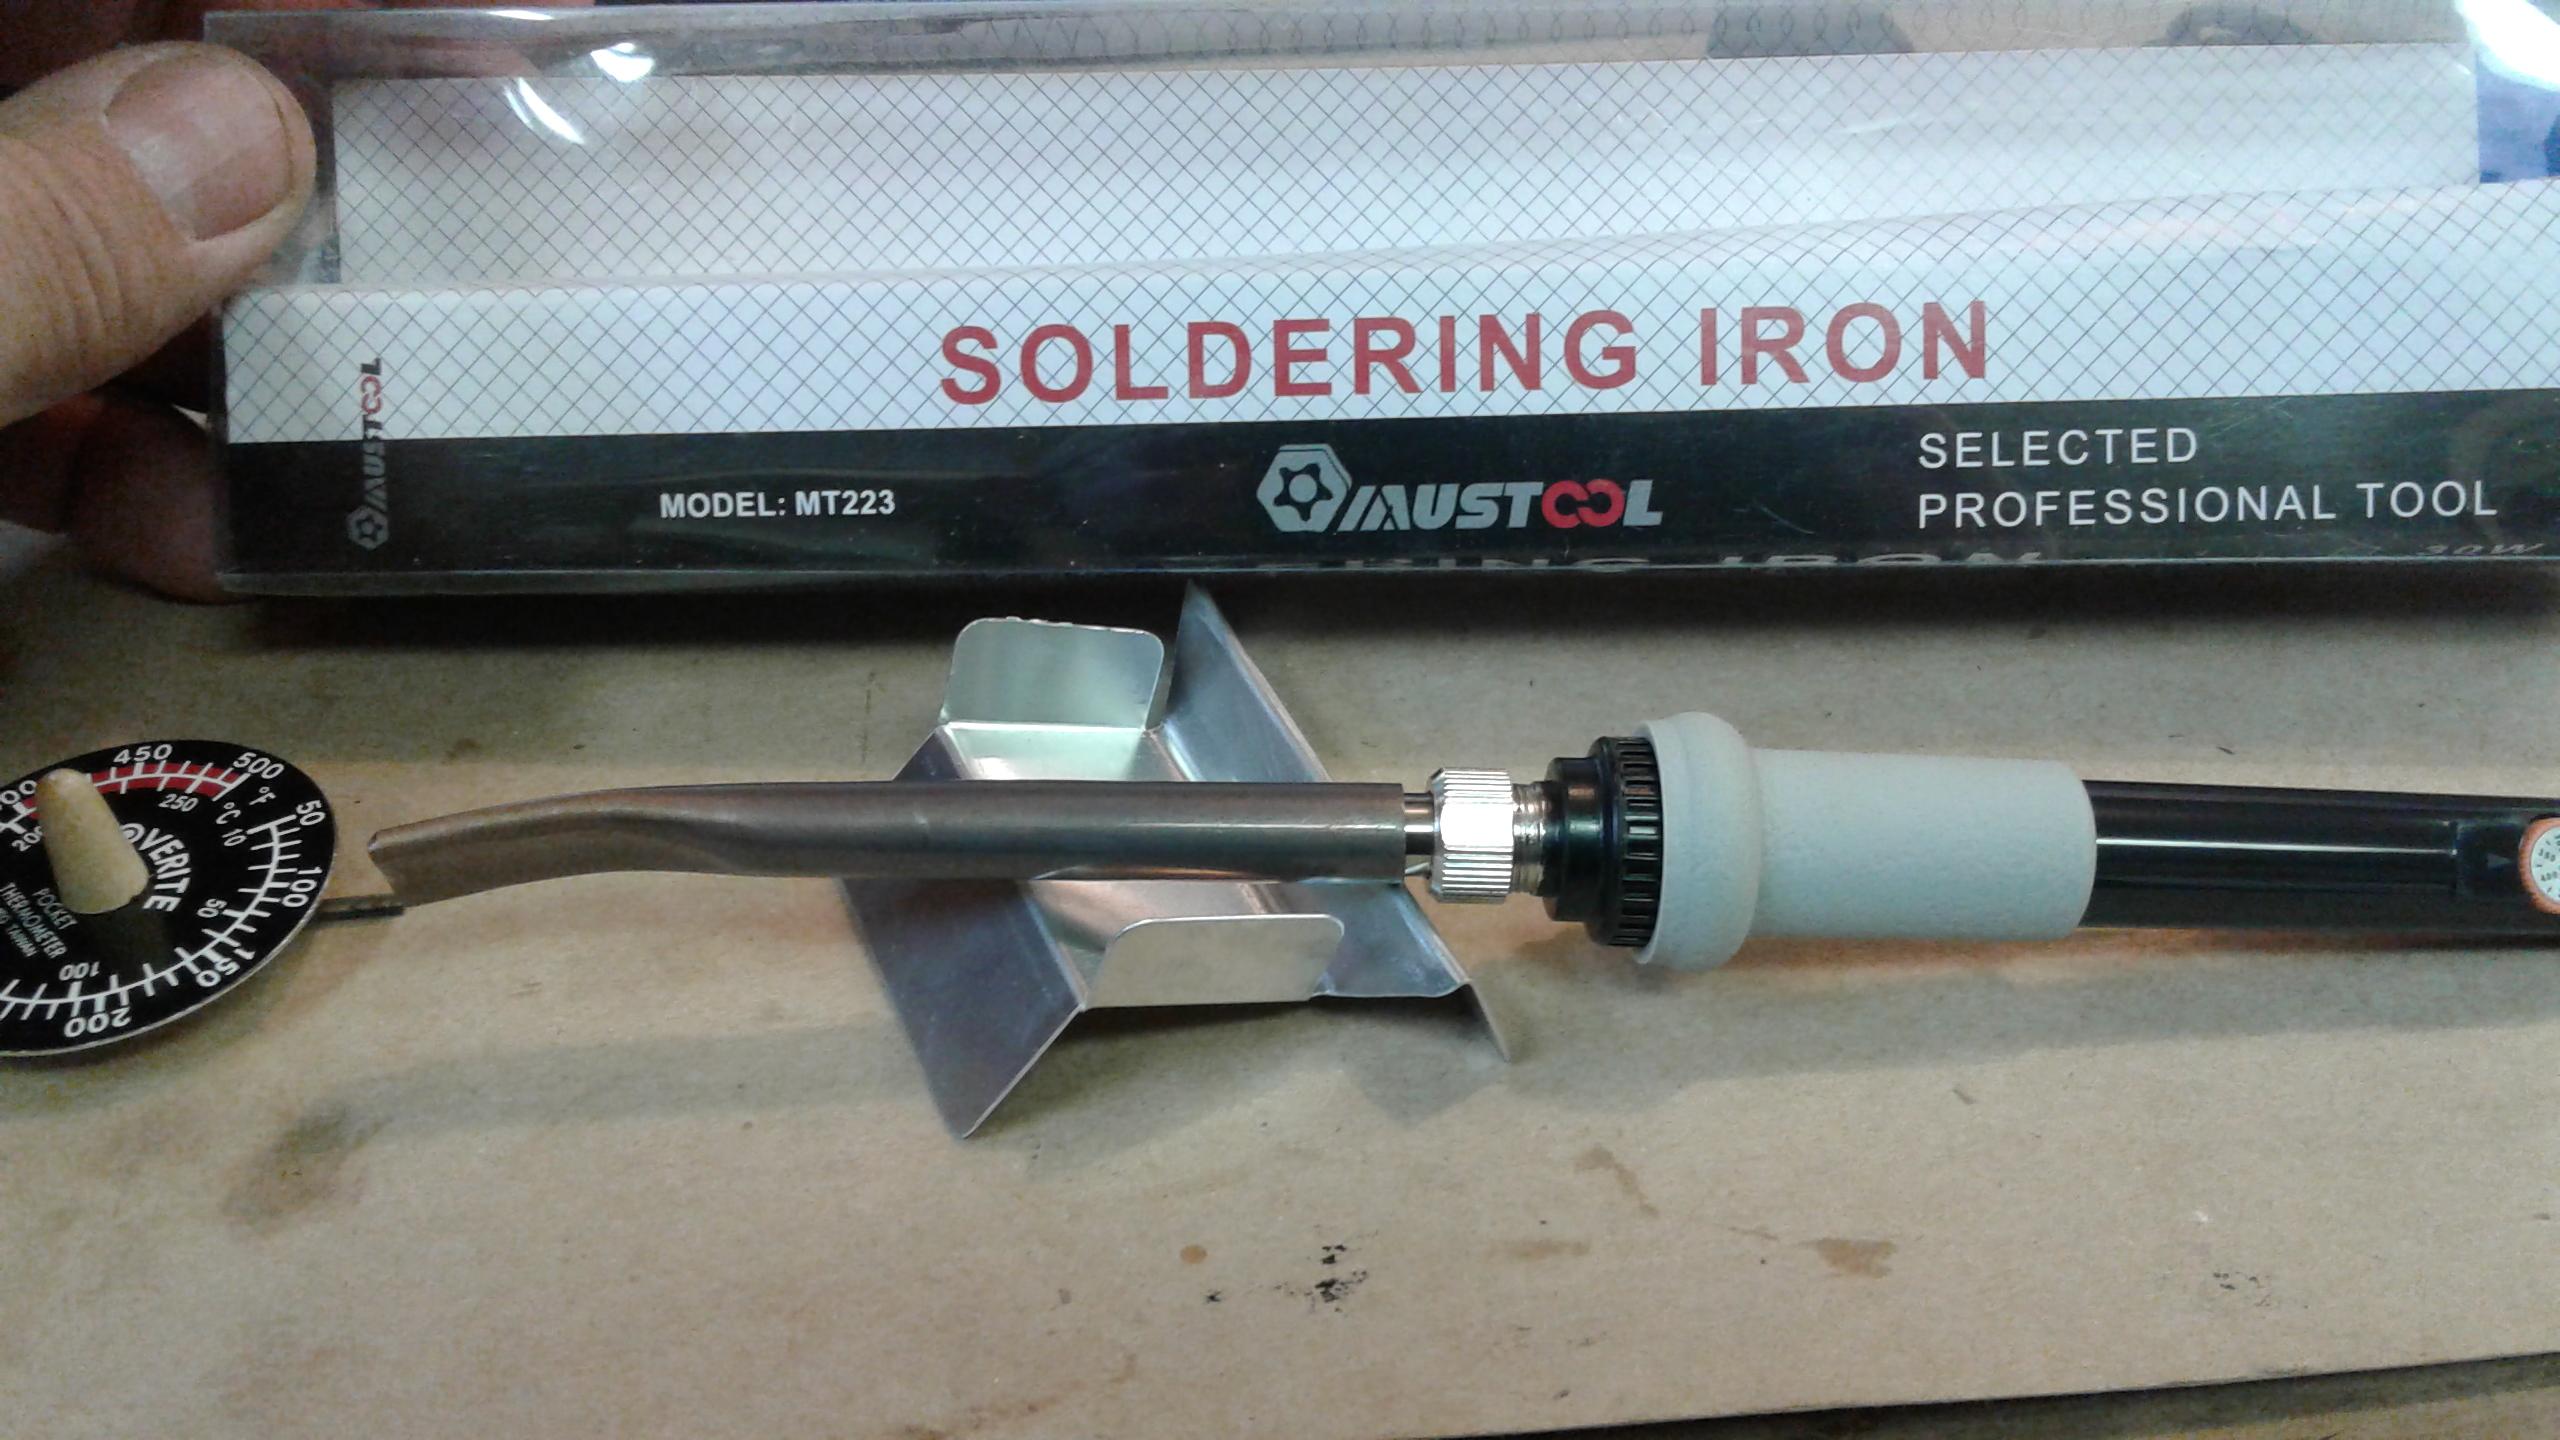
The tubing heats slowly, and it feels much like a Clover Iron in use. I was able to get a temperature reading with the Coverite pocket thermometer. When I set the thermostat dial to 300 degrees C, the foot measured 200 degrees C. It is quite possible that it would continue to heat up if one set it aside while working on something else. Same as my Clover Iron. That is why I always have a piece of test fabric to pass the iron over before touching the packraft!
The simple homemade copper foot quickly transmits heat into the fabric. It cools quickly below the temperature needed for a full seal. Just like any iron of this size one has to move slowly down a seam and check for full adherence!
Updated conclusions:
I recommend either the Top Flight $20-30 or the Coverite $20-30 (TowerHobbies.com) heat sealing irons PLUS a Coverite pocket thermometer, digital infrared thermometer, or an oven thermometer. You need a thermometer to check the peak temperature, and to confirm the change when you adjust the peak setting of either iron. Out-of-the-box, I find them too cold by 20 to 30 degrees C.
A Clover Mini-Iron, $24, Amazon, needs reinforcement BEFORE you use it. A thin steel wire over the heating element and just barely tight under the red plastic guard. The narrow foot works seams, but it is very slow. Greatest problem using the iron is how slow one must go to prevent having a partial seal that doesn’t hold under pressure.
The Jengda 220 volt iron, purchased thru Aliexpress for $29 has potential. I have only used it on 110 volt US circuit. To use it I first filed the foot flatter. And I taped the thermostat in place because it is easy to bump. The high mass of the aluminum foot retains heat making it a faster option than the Clover.
I made a copper foot for a 60 watt soldering iron. The iron heats well above the temperature we need. A thicker piece of tubing might increase the thermal mass. One has to tape the thermostat dial in place or it too can be bumped out of whack. It is a low heat mass option and is slow to use.
Hope this helps,
Bruce
Fairbanks, Alaska