Home › Forums › DIY Packrafts › Heat-sealing tools › Reply To: Heat-sealing tools
 Bruce
Modify your Model Aircraft Iron for optimum performance building a packraft.
Model Aircraft irons generate heat fast. They have the strength to press firmly on the melted TPU and seal a seam. I got mine at a great price. (https://www.towerhobbies.com/cgi-bin/wti0001p?&I=LXB357&P=0). But the shape leaves much to be desired.
The bottom is too flat, too wide, the sides have too steep a taper, and the tip is too round. So I reshaped one, Confession: the moral effort was huge – taking a file to a brand new tool was really hard. But it was so successful I can unconditionally recommend the effort. Wow, this simple reshaping makes it a really great tool for building packrafts!
(Disclosure: I teach classes thru Folk School Fairbanks, and we are approaching 30 DIY Packrafts, solely due to DIY’s fantastic product.)
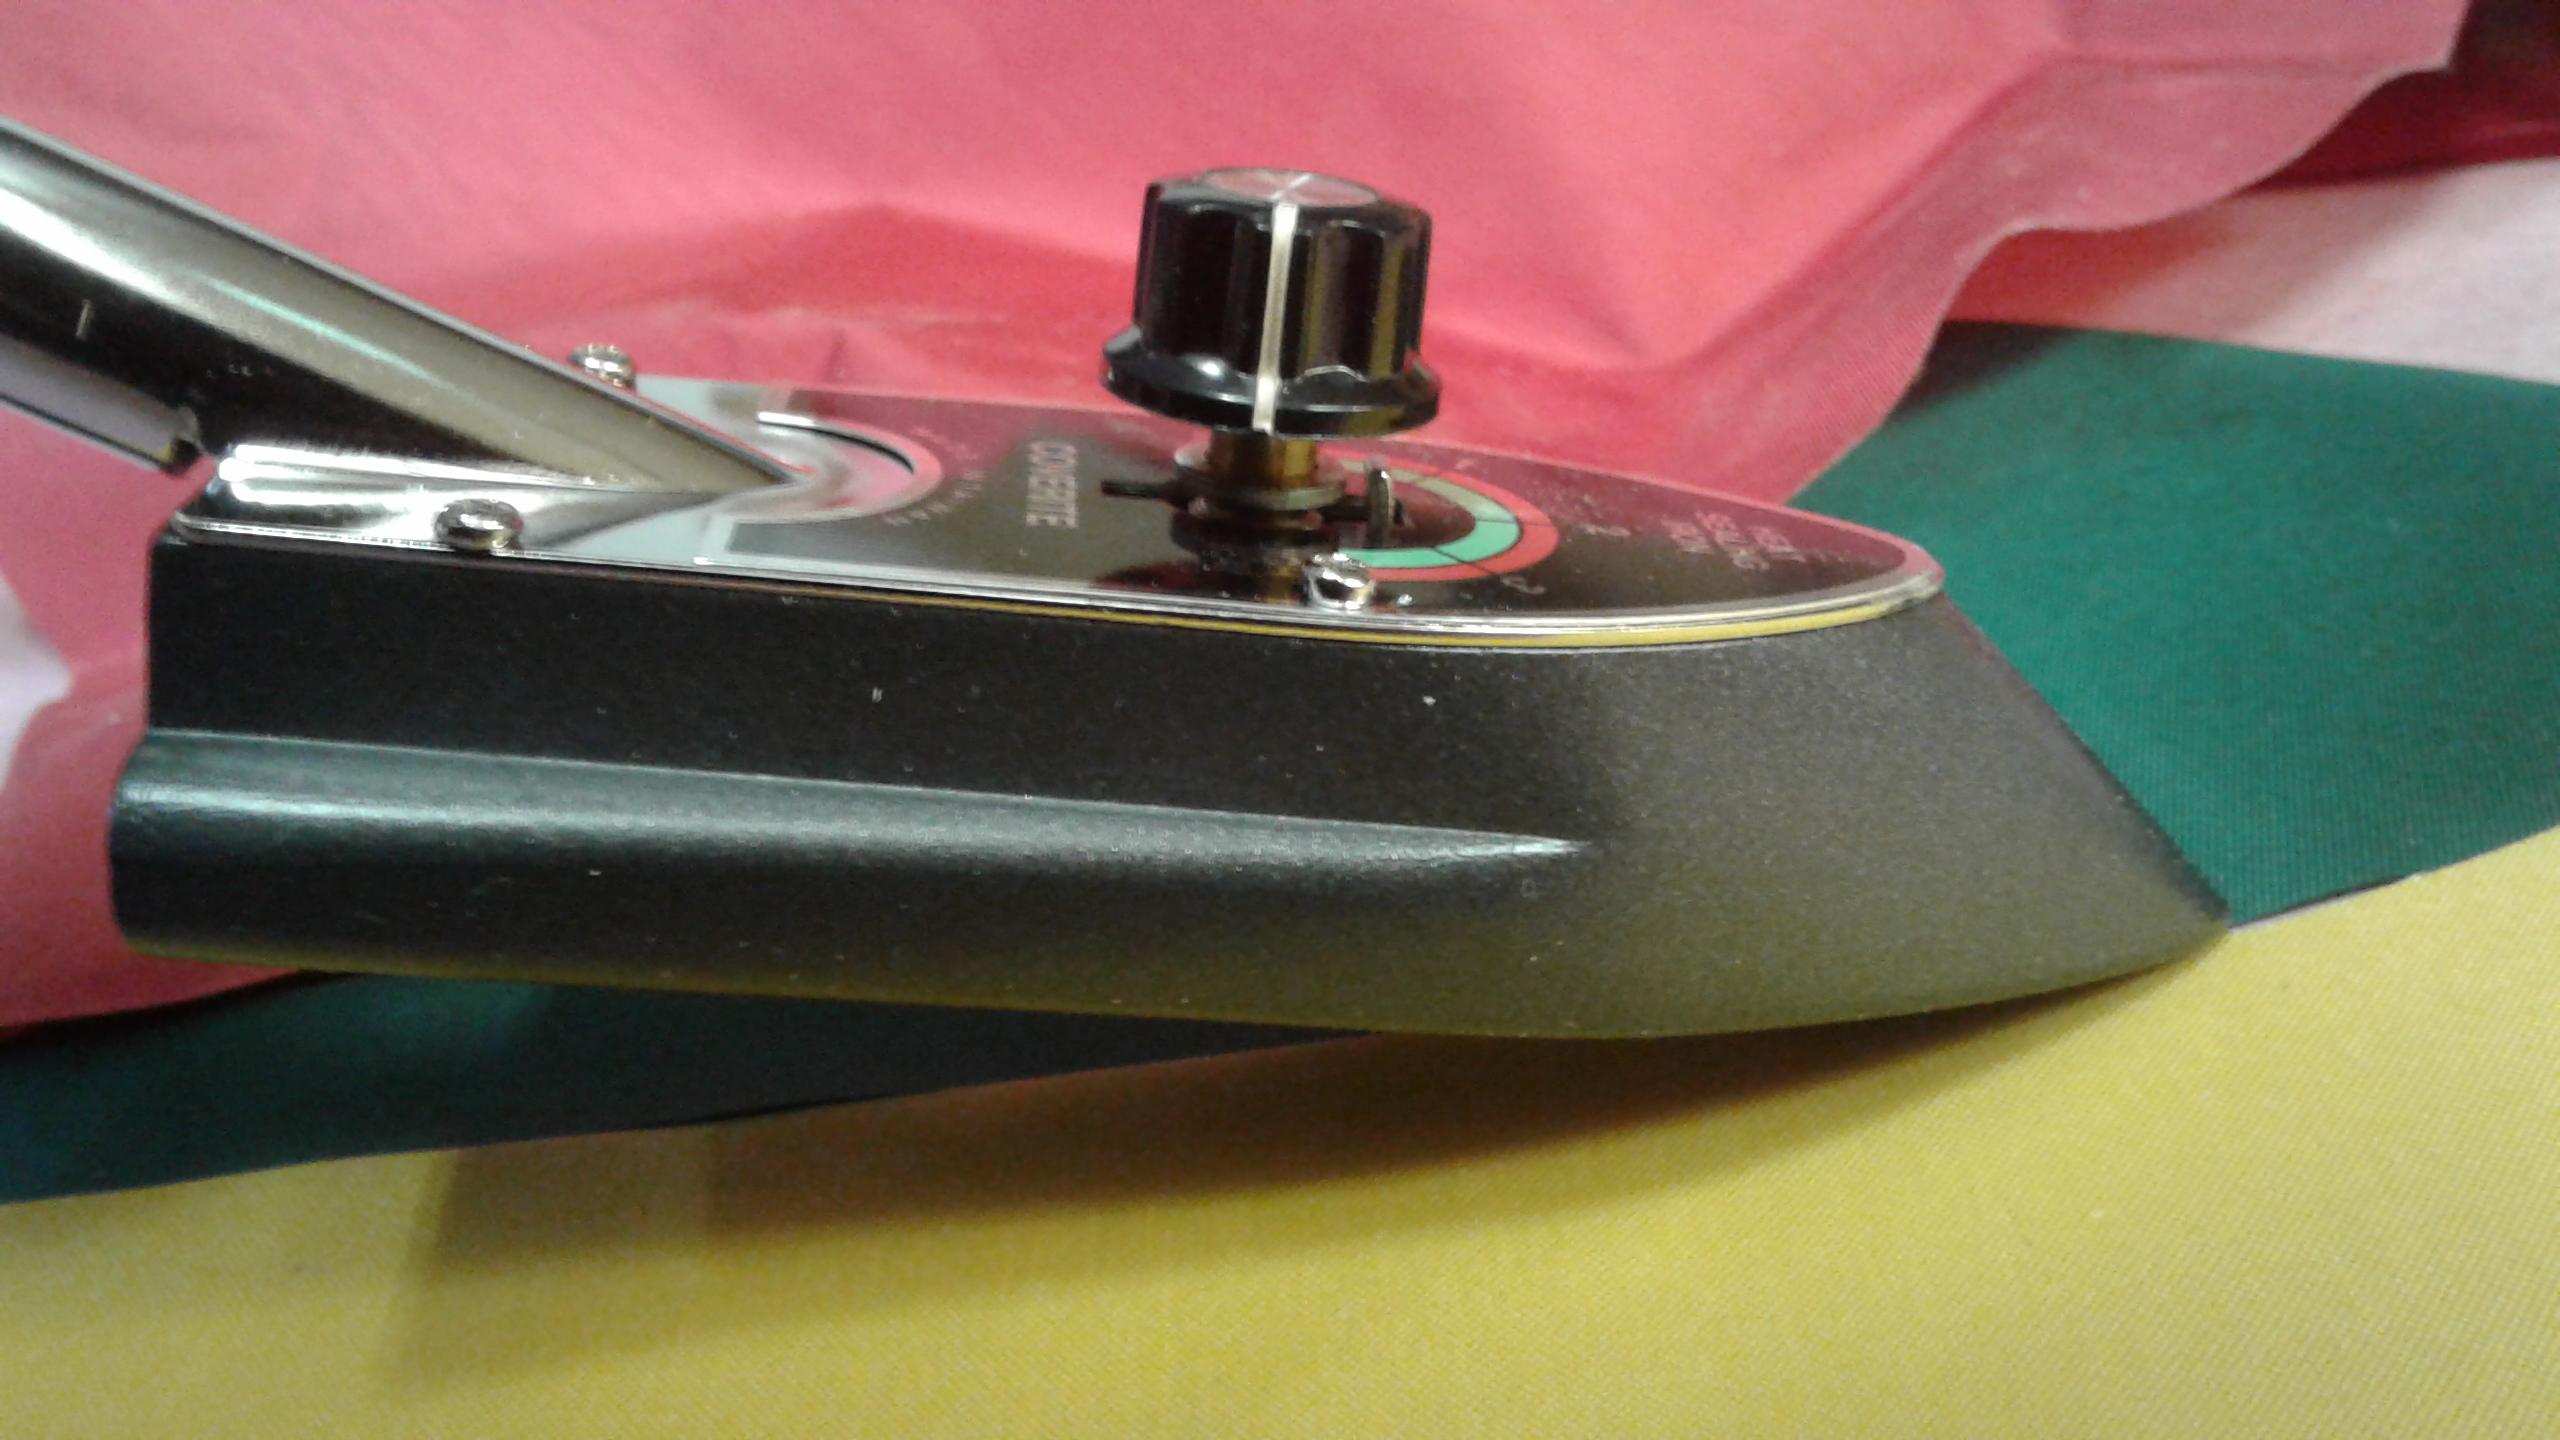
As purchased the bottom is flat so you must use it all at full width or none. The tip is too pointy to be of any use and the sides are too rounded to be of much value.
Goal: Flatten the tip to 10 mm. Round the bottom from 25 mm to 10 mm. Establish a 90 degree flat side about 10 mm wide.
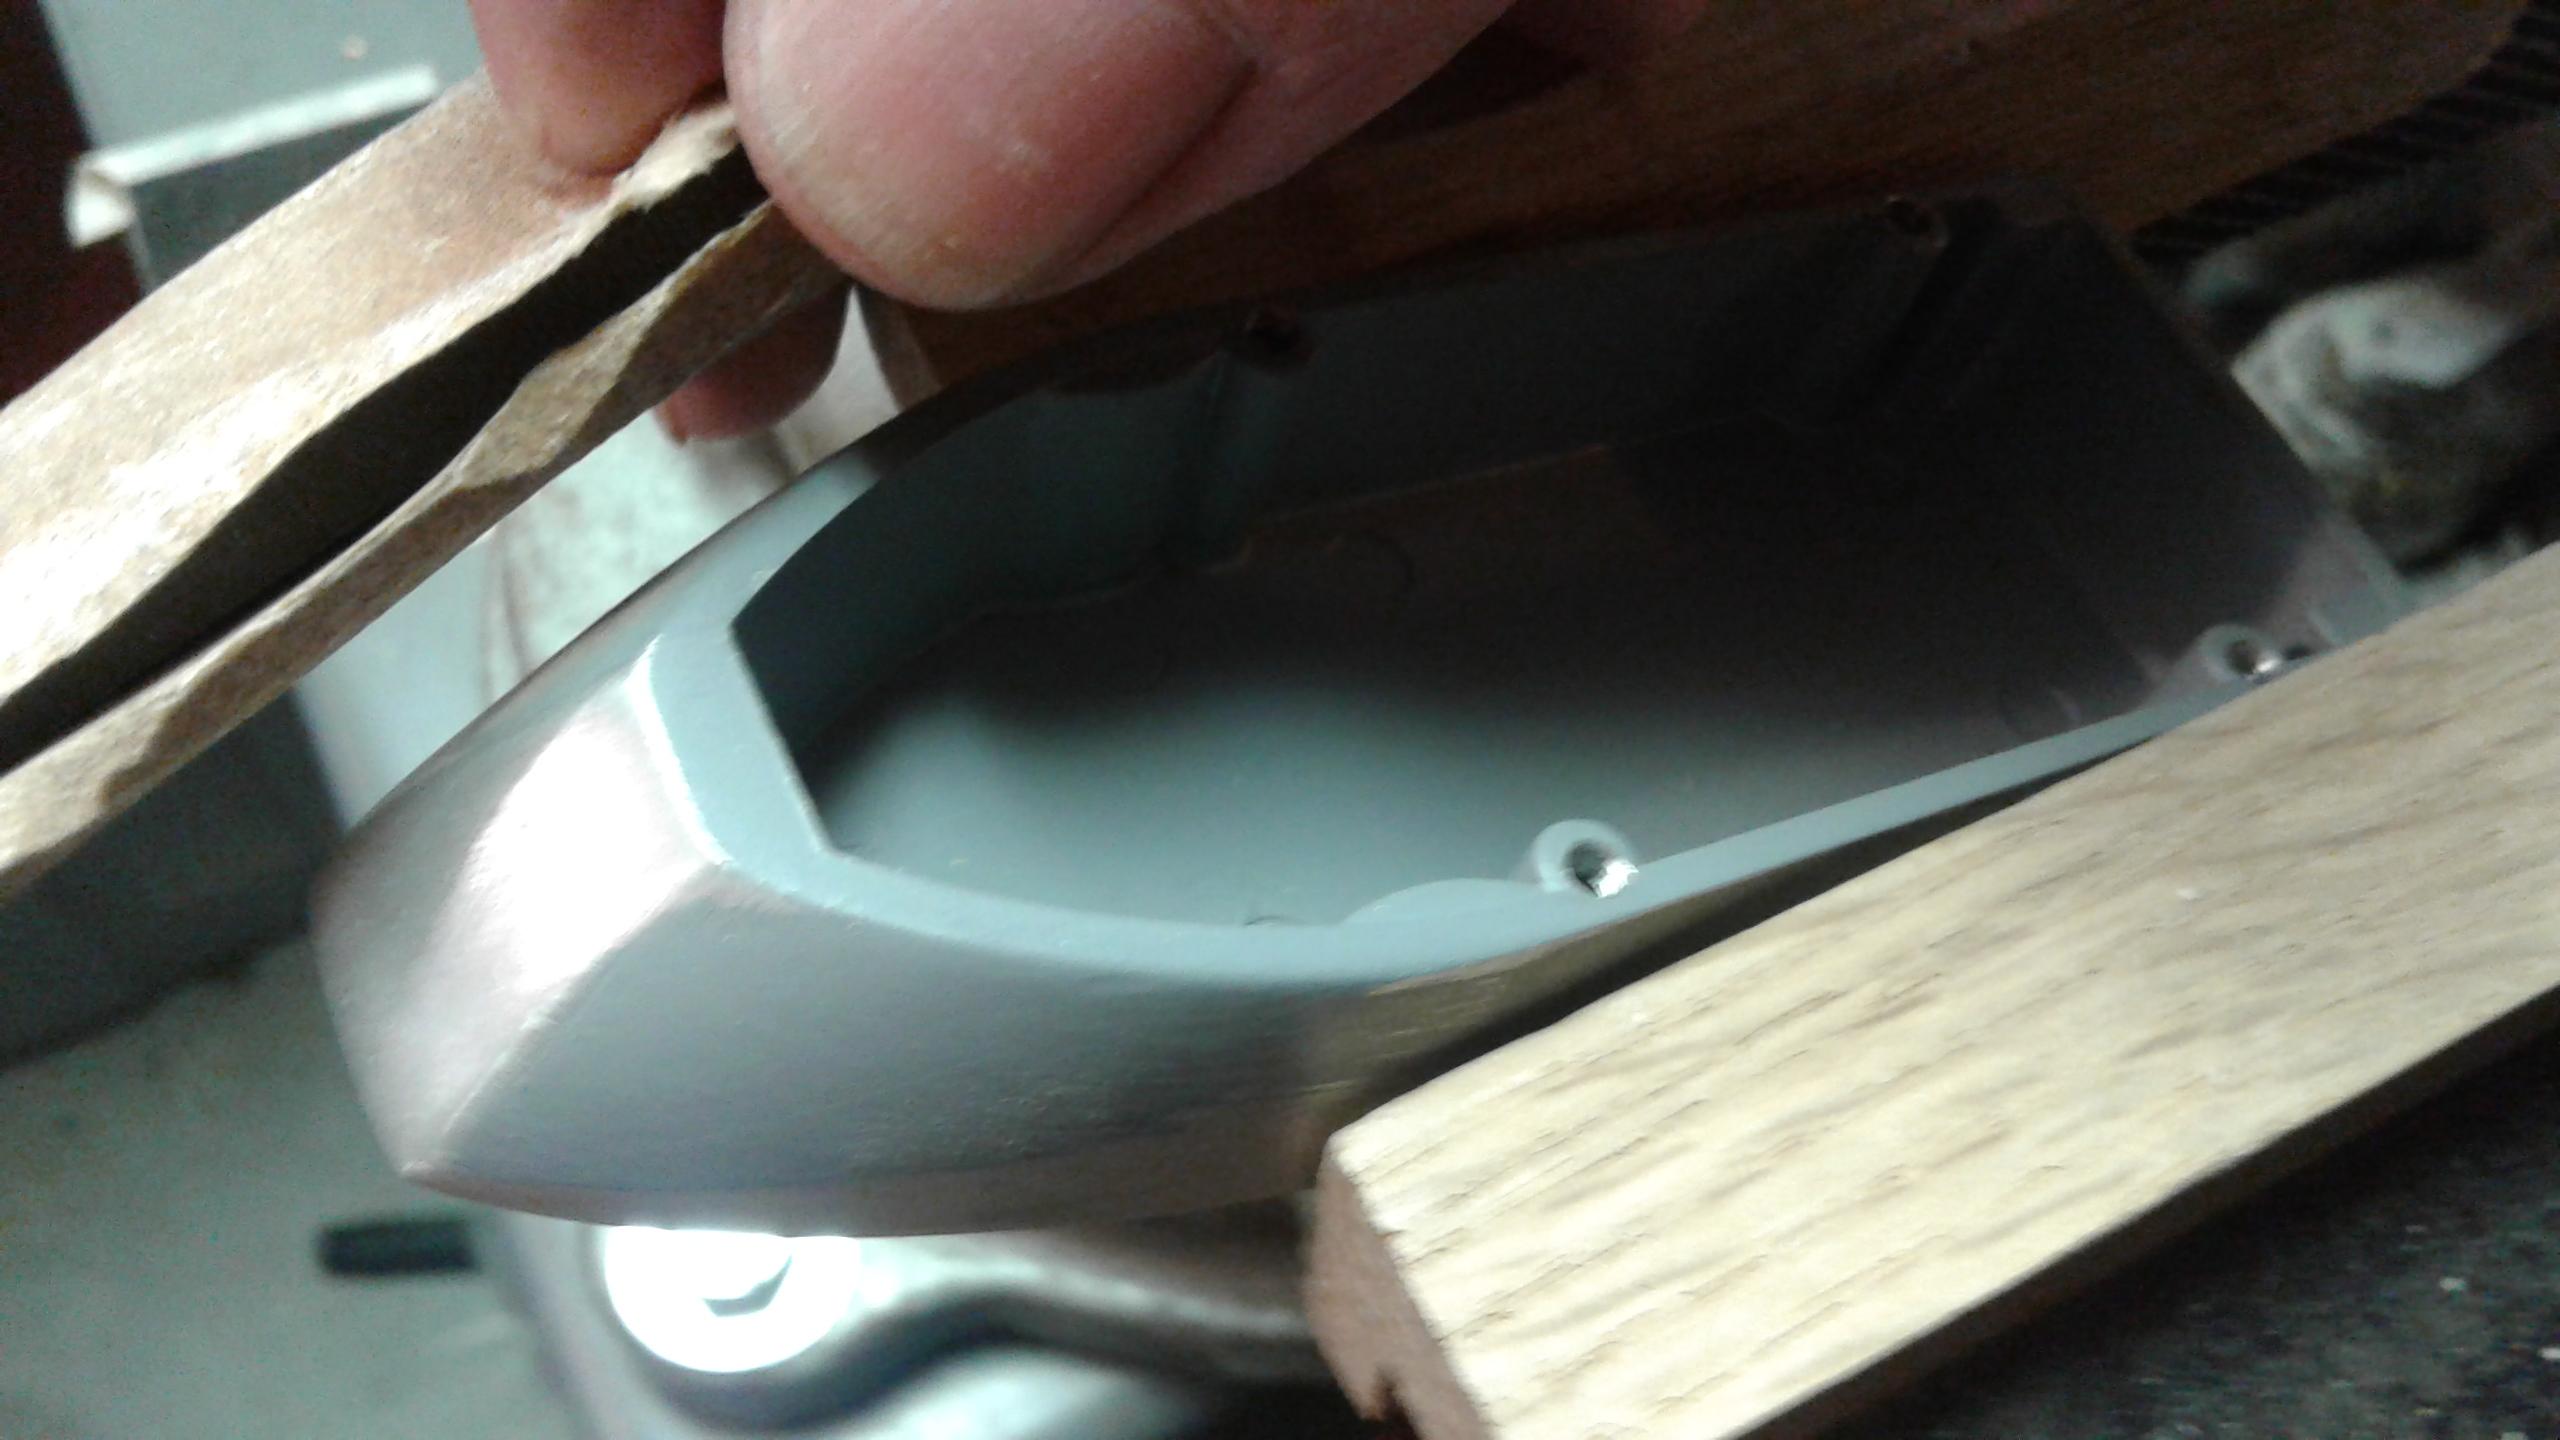
Photo 1 flattening the tip of a Top Flight iron. Note: I recommend removing the heating elements first.
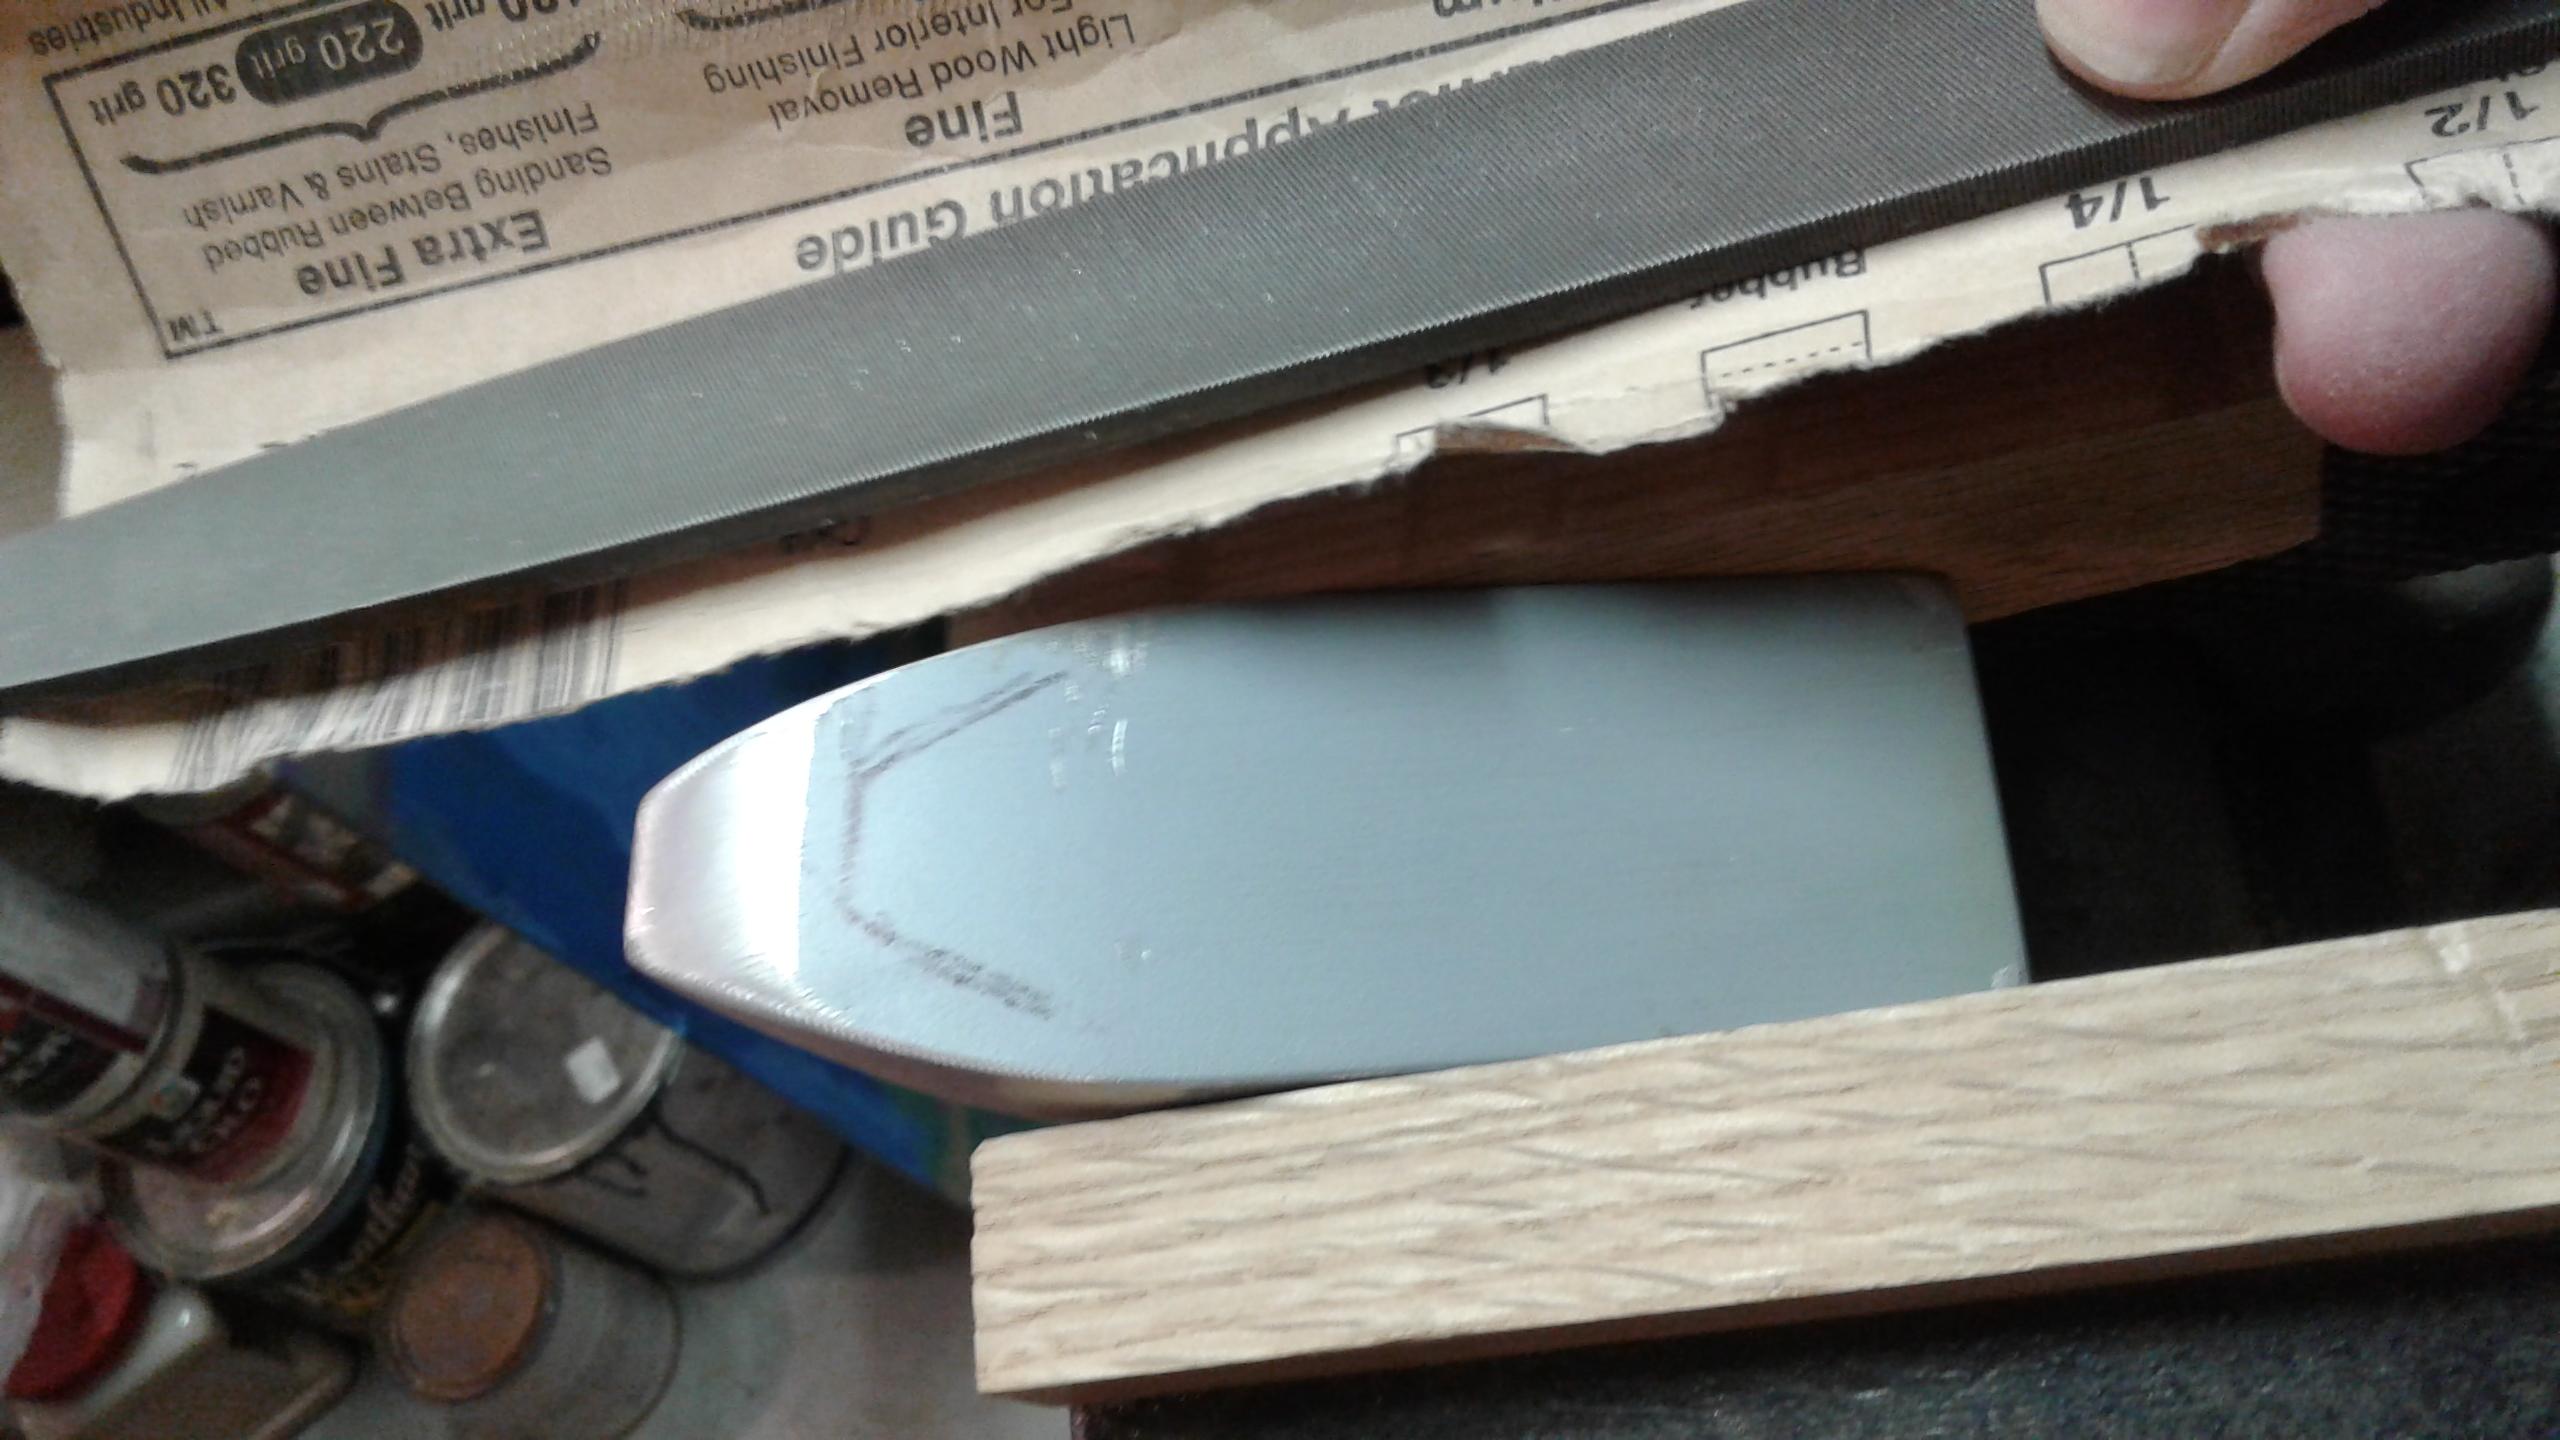
Round the bottom beyond the internal hollow (outlined with marker).
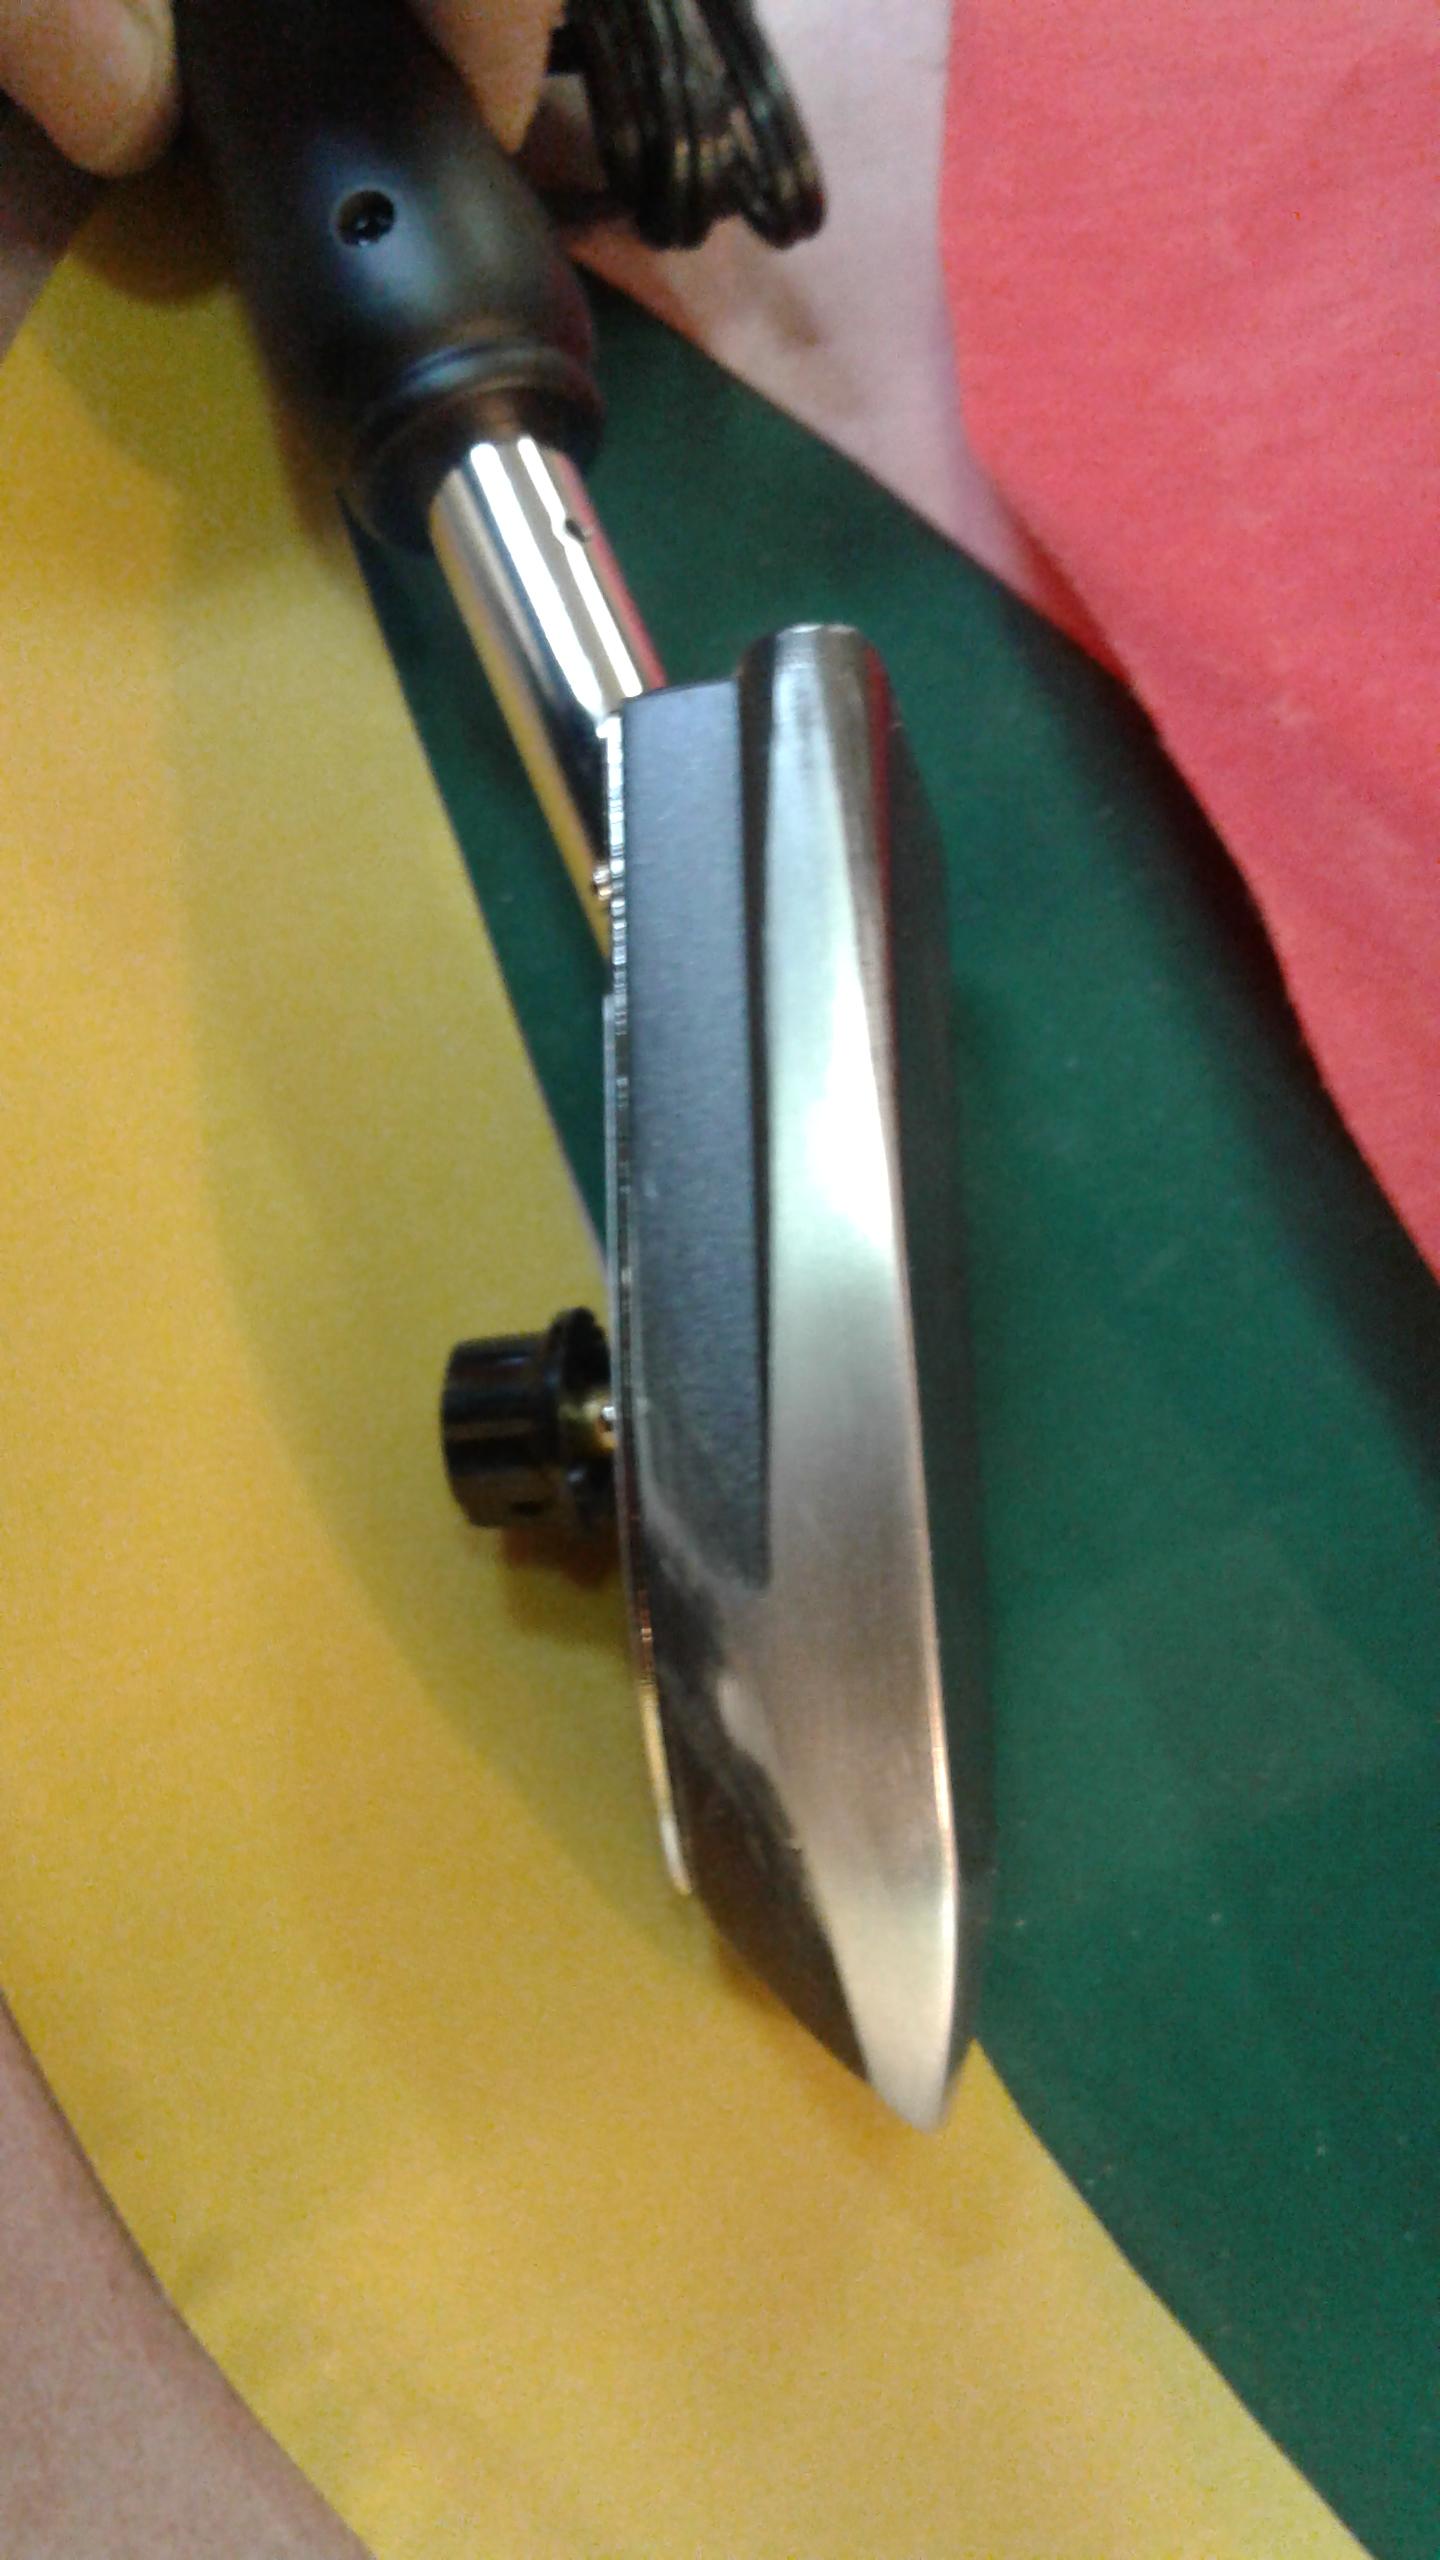
You can see the flattened sides on a Coverite, Flattened at 90 degrees to the bottom. You can also see the front of the bottom is rounded up. Iron has been reassembled.
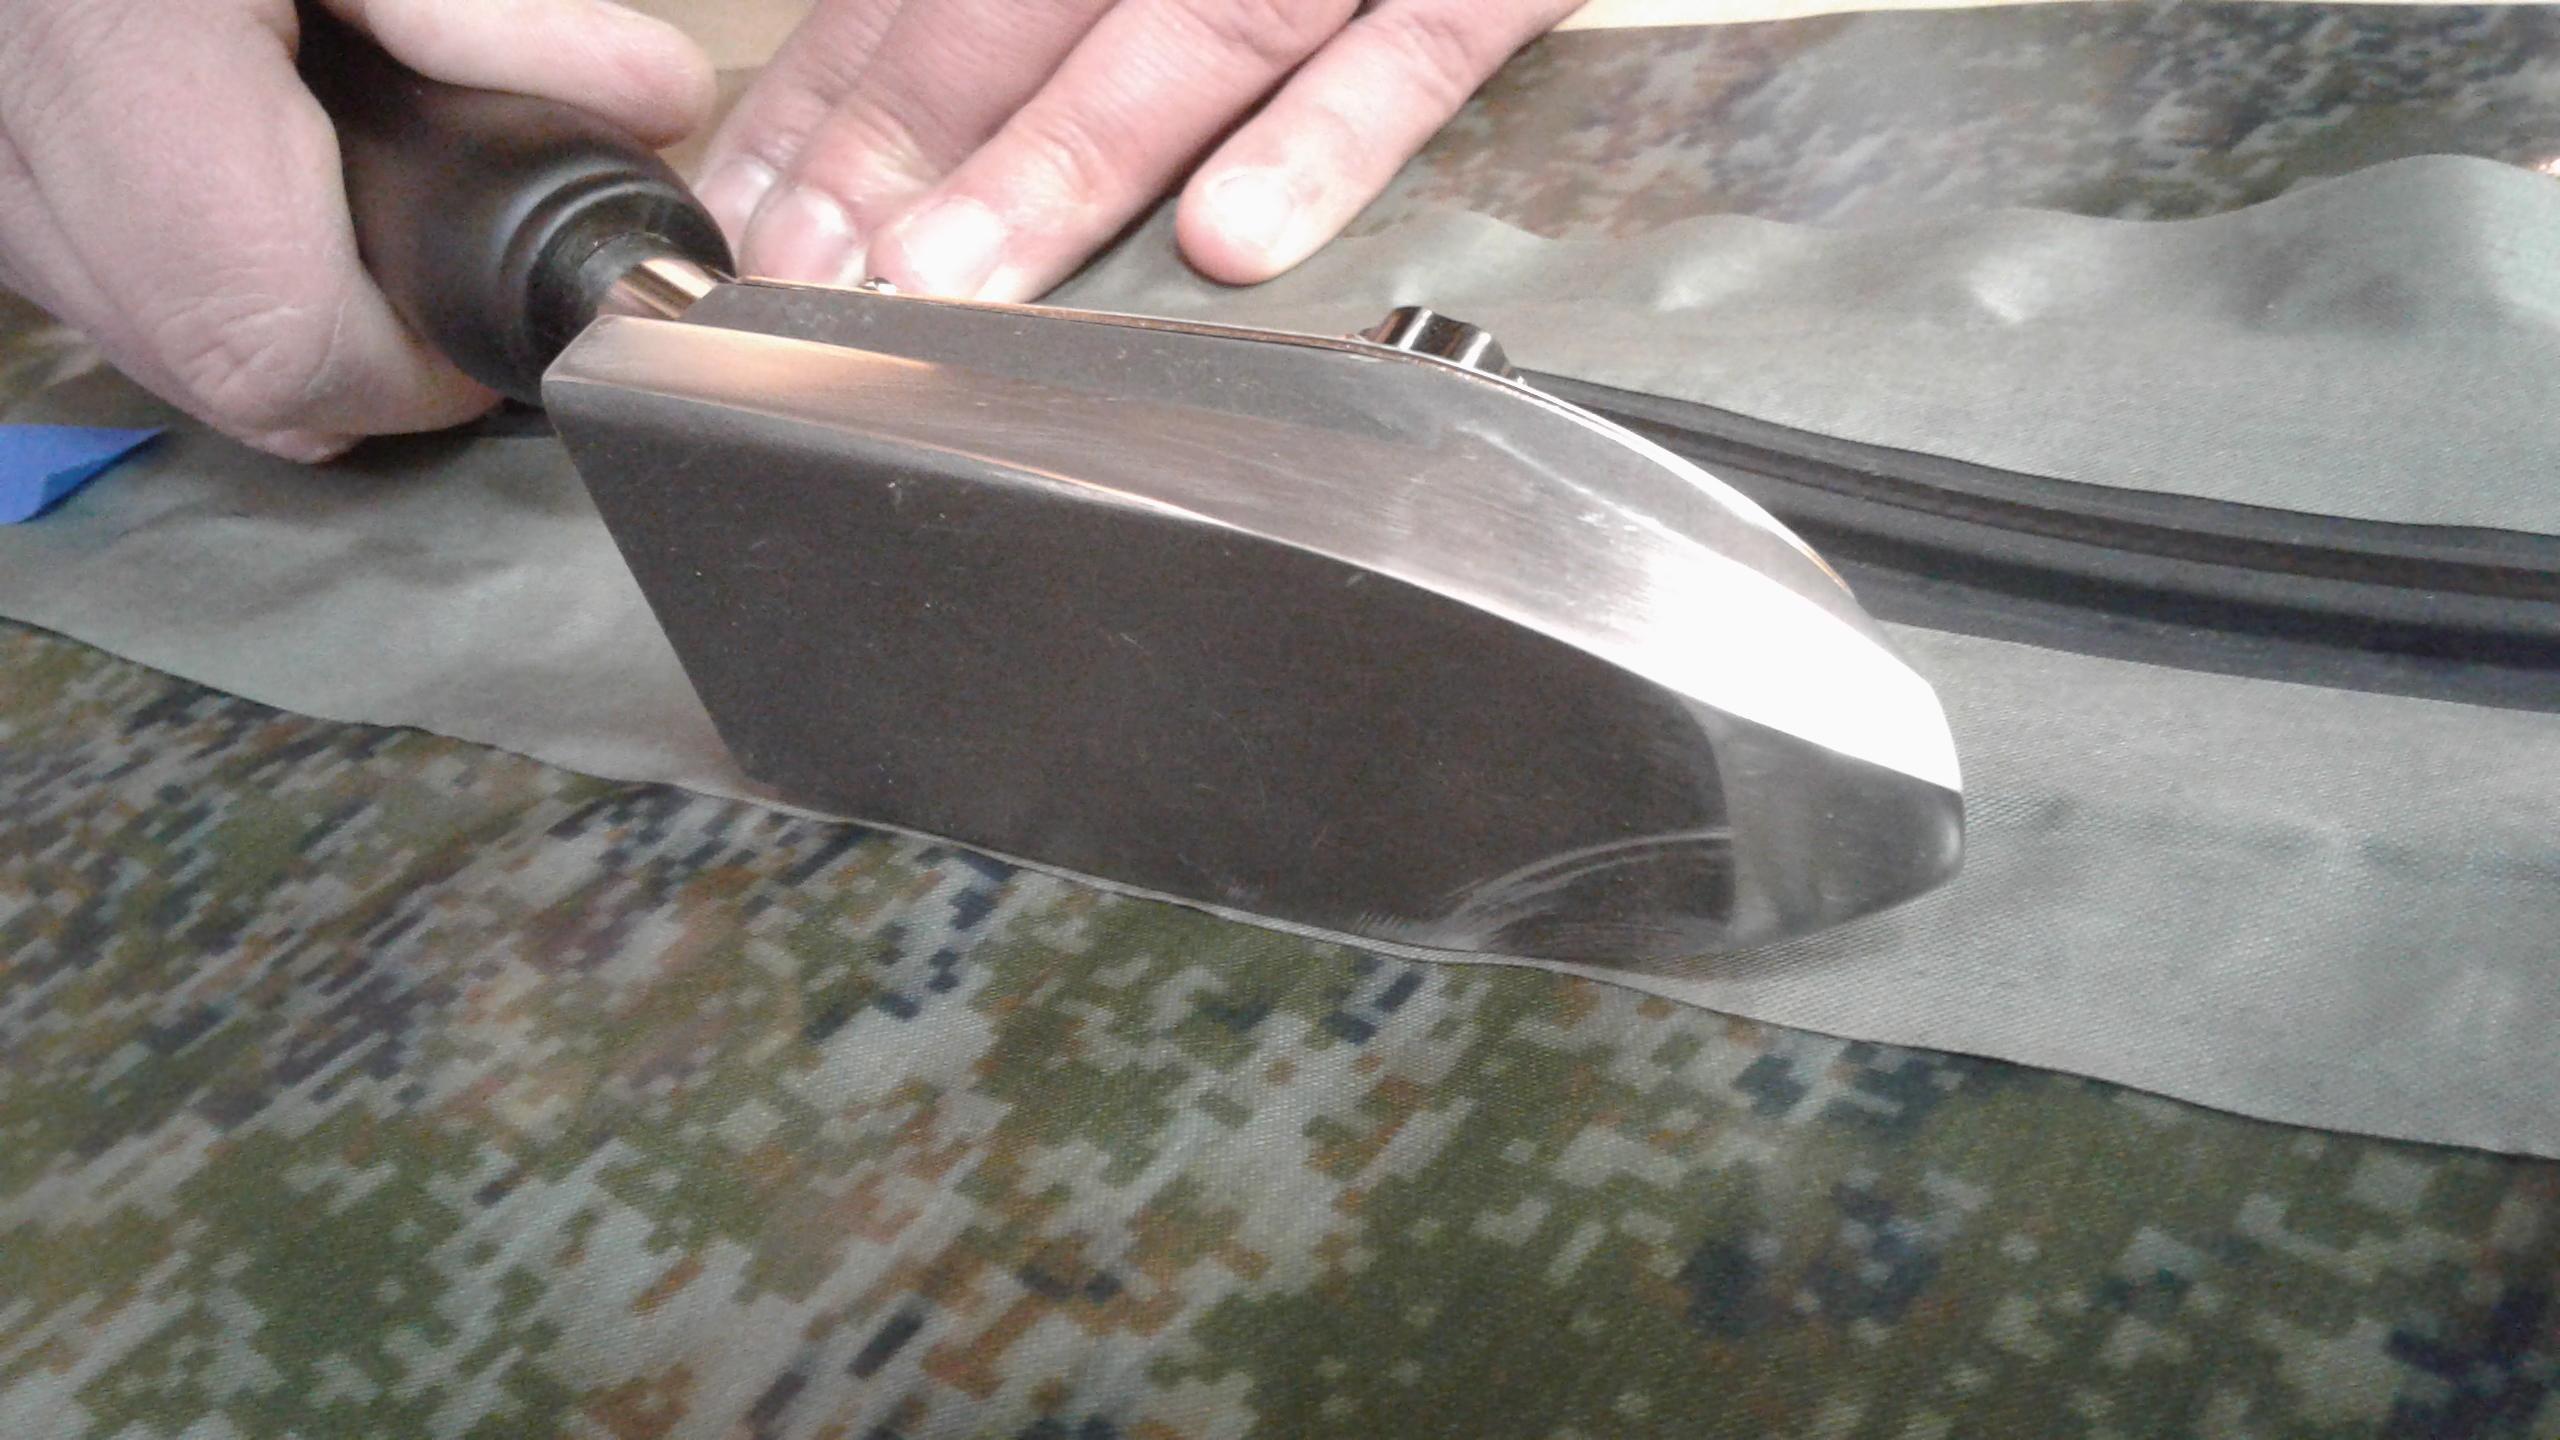
Flattened side working the edge of a zipper installation. Note again the rounded bottom and blunt tip. The blunt tip is great working the ends of the seam tape!
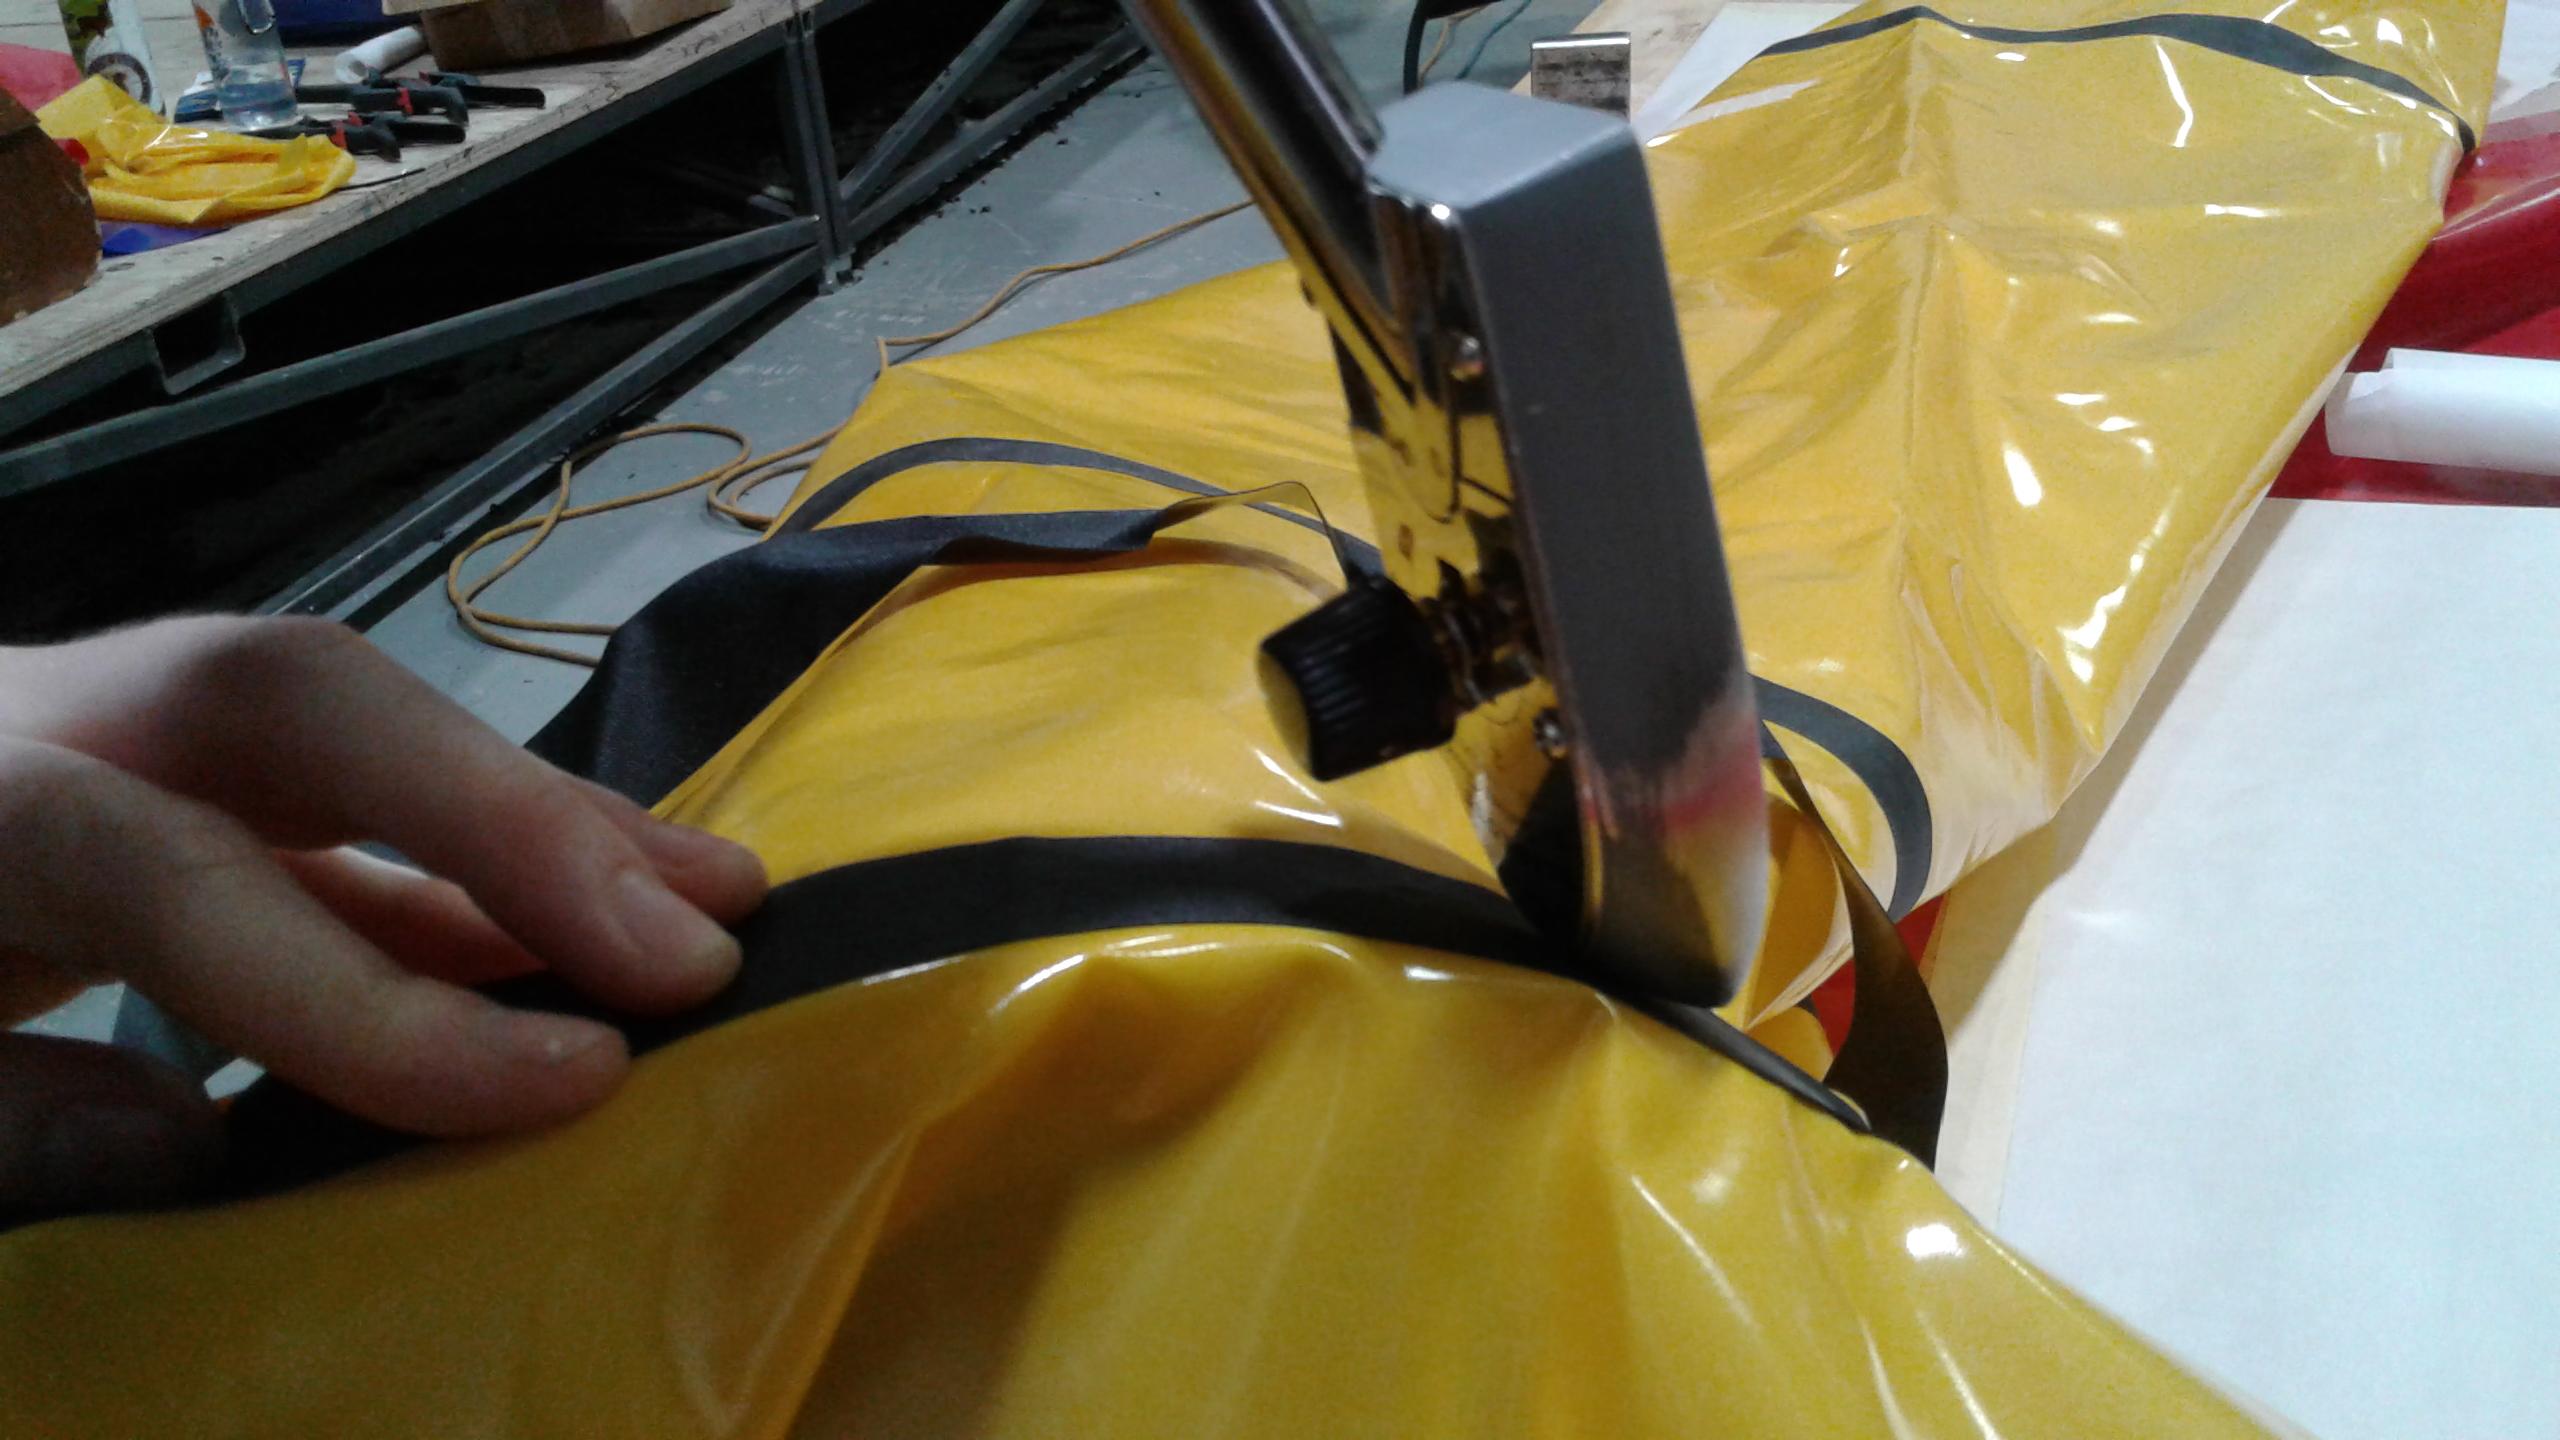
Flattened tip working along a seam. Yes, this is a V2 being assembled in V3 sequence!
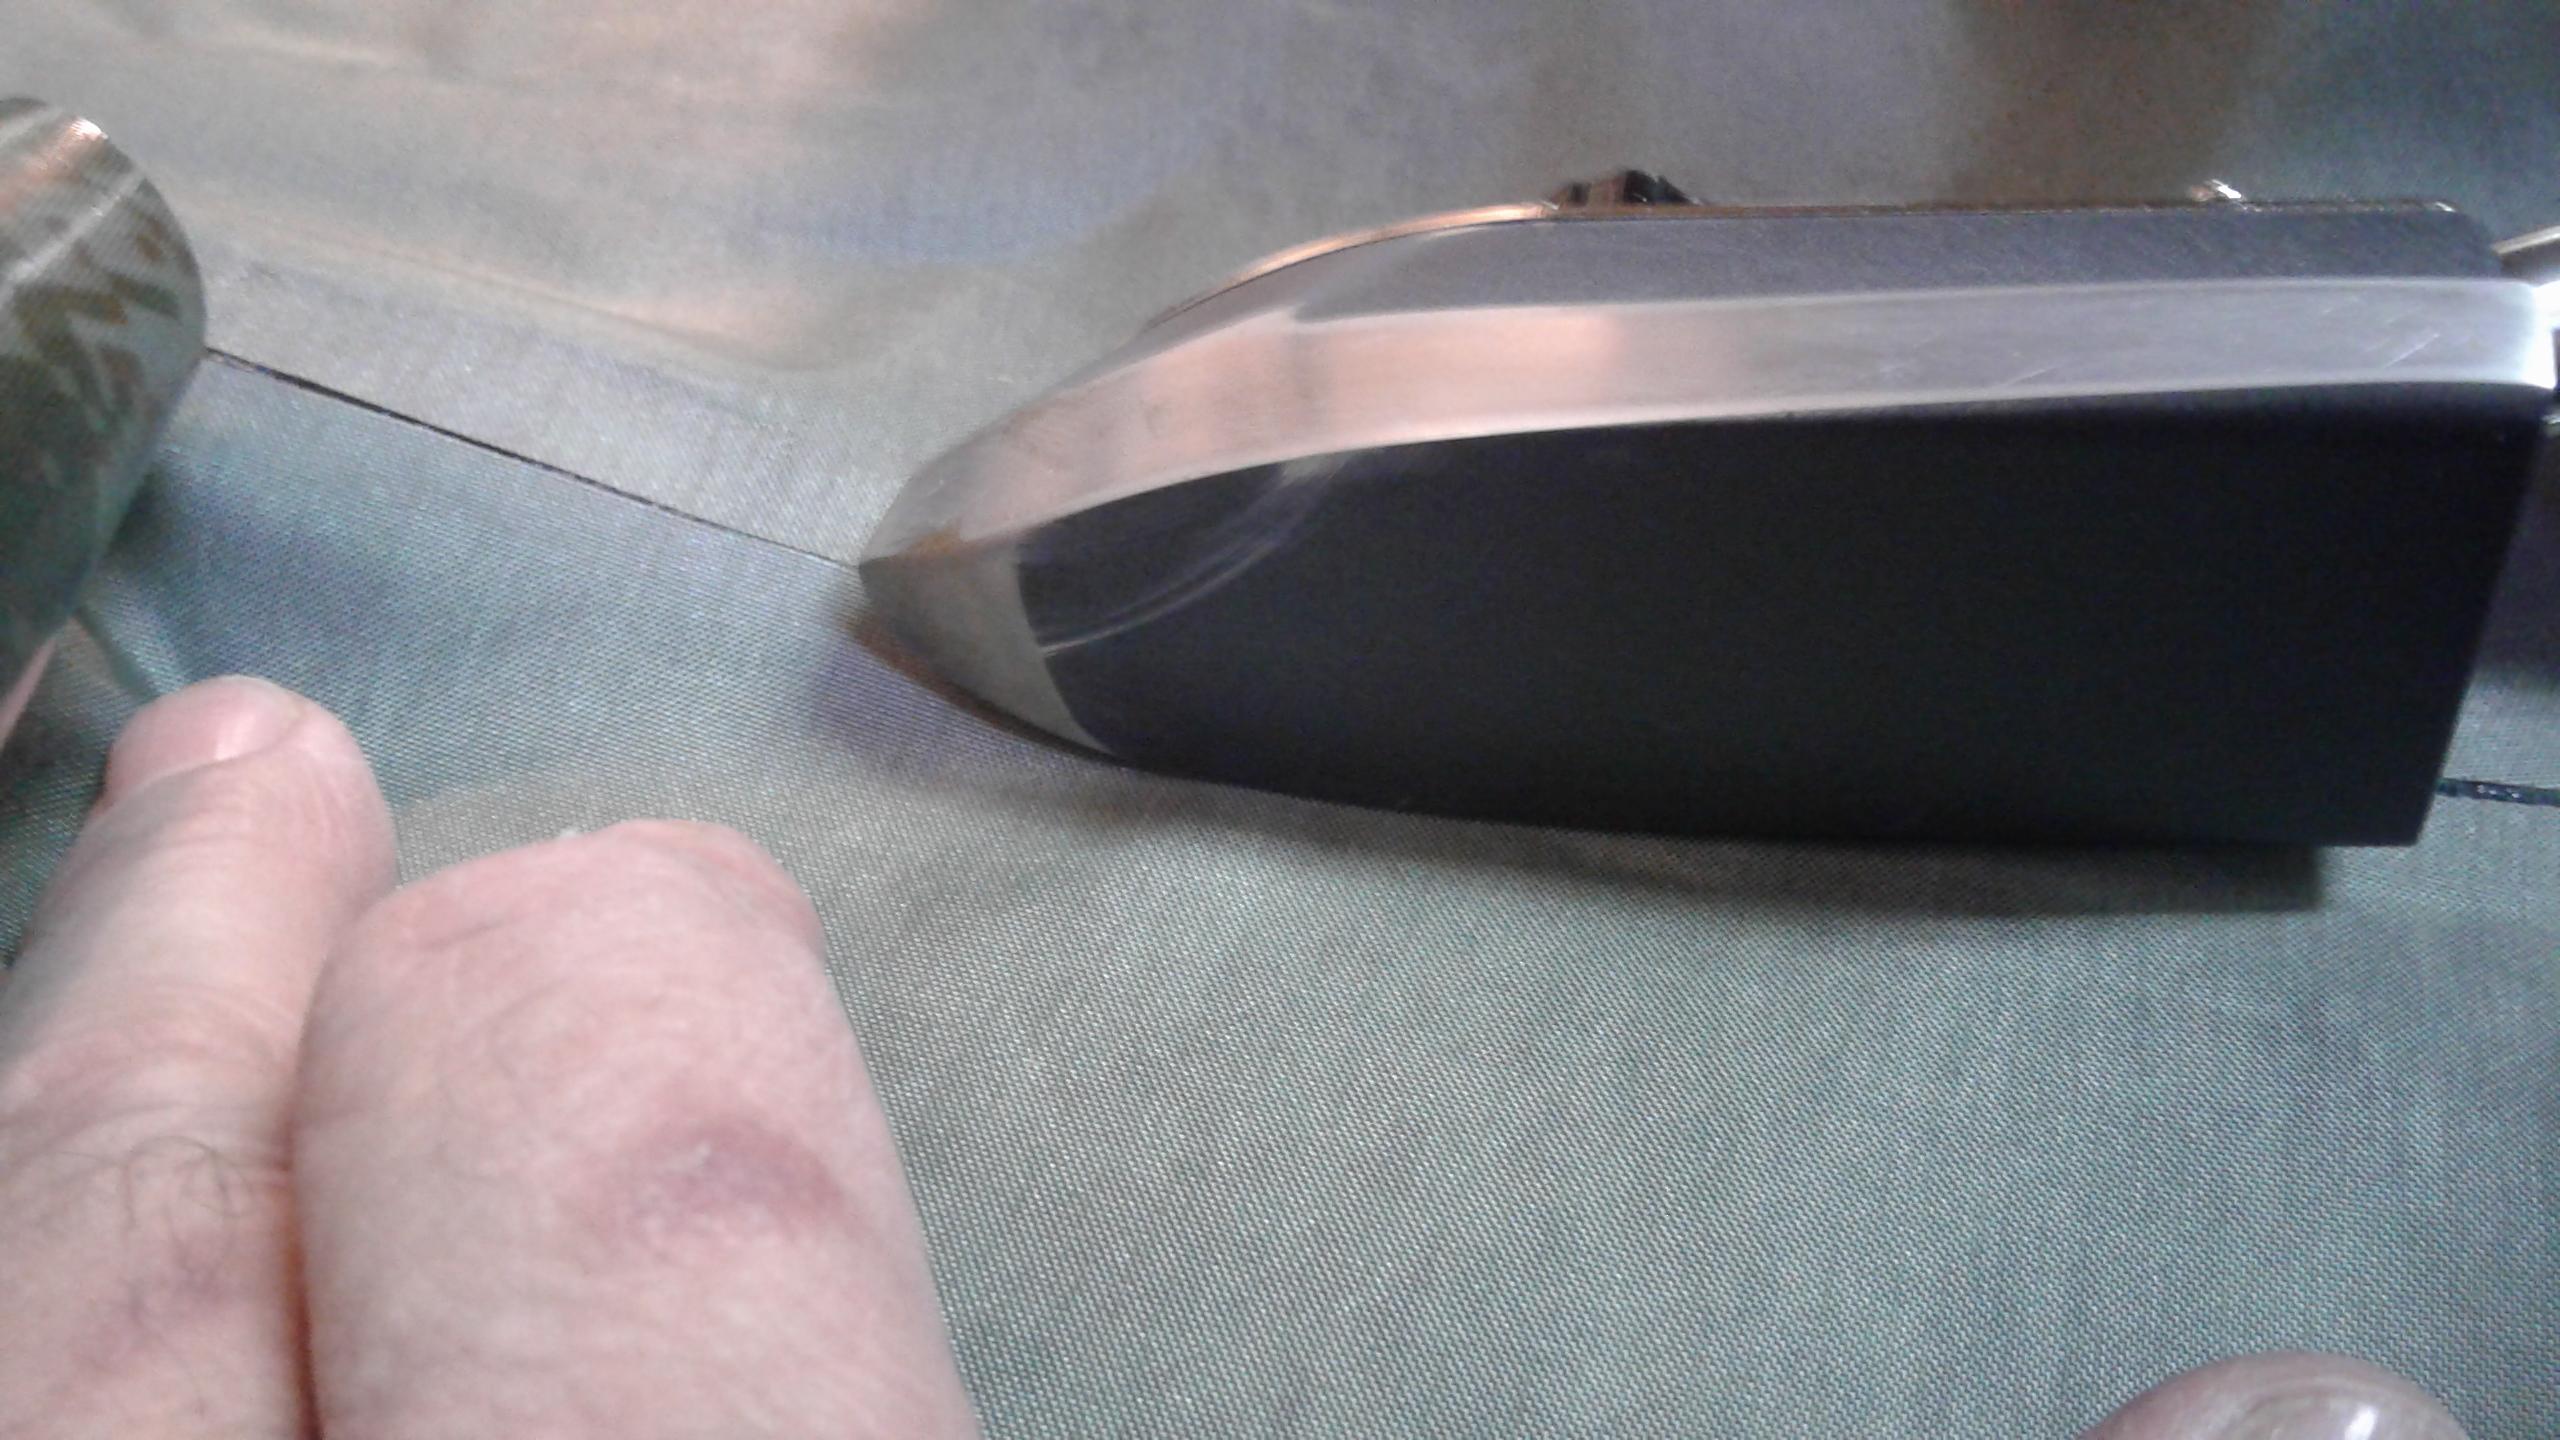
Flattened side working on the inside of a seam. Flattening the side at 90 degrees to the bottom prevents touching the top plate on the iron. Also note the bare aluminum showing where the bottom was rounded.
Rounding the forward end of the iron allows one to use just the tip, without having the full width of the iron in contact. After flattening the sides, I found I could round the Coverite from about 25 mm in width to 10 mm at the tip. The 10 mm blunt tip is really handy.
And yes, after using a file for the first, I had the moral incentive to use my grinder with an aluminum disc for the second and third. Faster, but you will still need to smooth it with a file, 220 grit sand paper, and extra fine steel wool. Then rub it on a scrap piece of fabric to be sure it is polished enough and won’t leave aluminum rubbings darkening your fabric!
Reducing the amount of aluminum in these irons improves the heat transfer. The 165 watt heating element seems to heat even faster. Having both sides flattened allows one to flop the iron over if one side is cooling too fast. (Not as common as it is with a Clover. It is possible to get overconfident, having vast amounts of heat, and still go too fast down a seam.)
I hope this is helpful.
Bruce, Fairbanks, Alaska
P.S.: I have both Top Flight and Coverite model aircraft irons. Matt is right, the Coverite is the better iron. It has a solid handle, while the Top Flight is spot welded. The Coverite thermostat looks better and the heating element is internally screwed to the base. And I got the Coverite for less than the Top Flight. Oh, and if you are worried about totally messing up your base, Tower Models sells a replacement base for about $7.