Forum Replies Created
-
AuthorReplies
-
-
November 8, 2017 at 6:56 pm #4893
aaron.scott77
ParticipantI’ve built a couple of 3D printers and throughout that process I’ve always bought a few spares for when things go up in smoke.
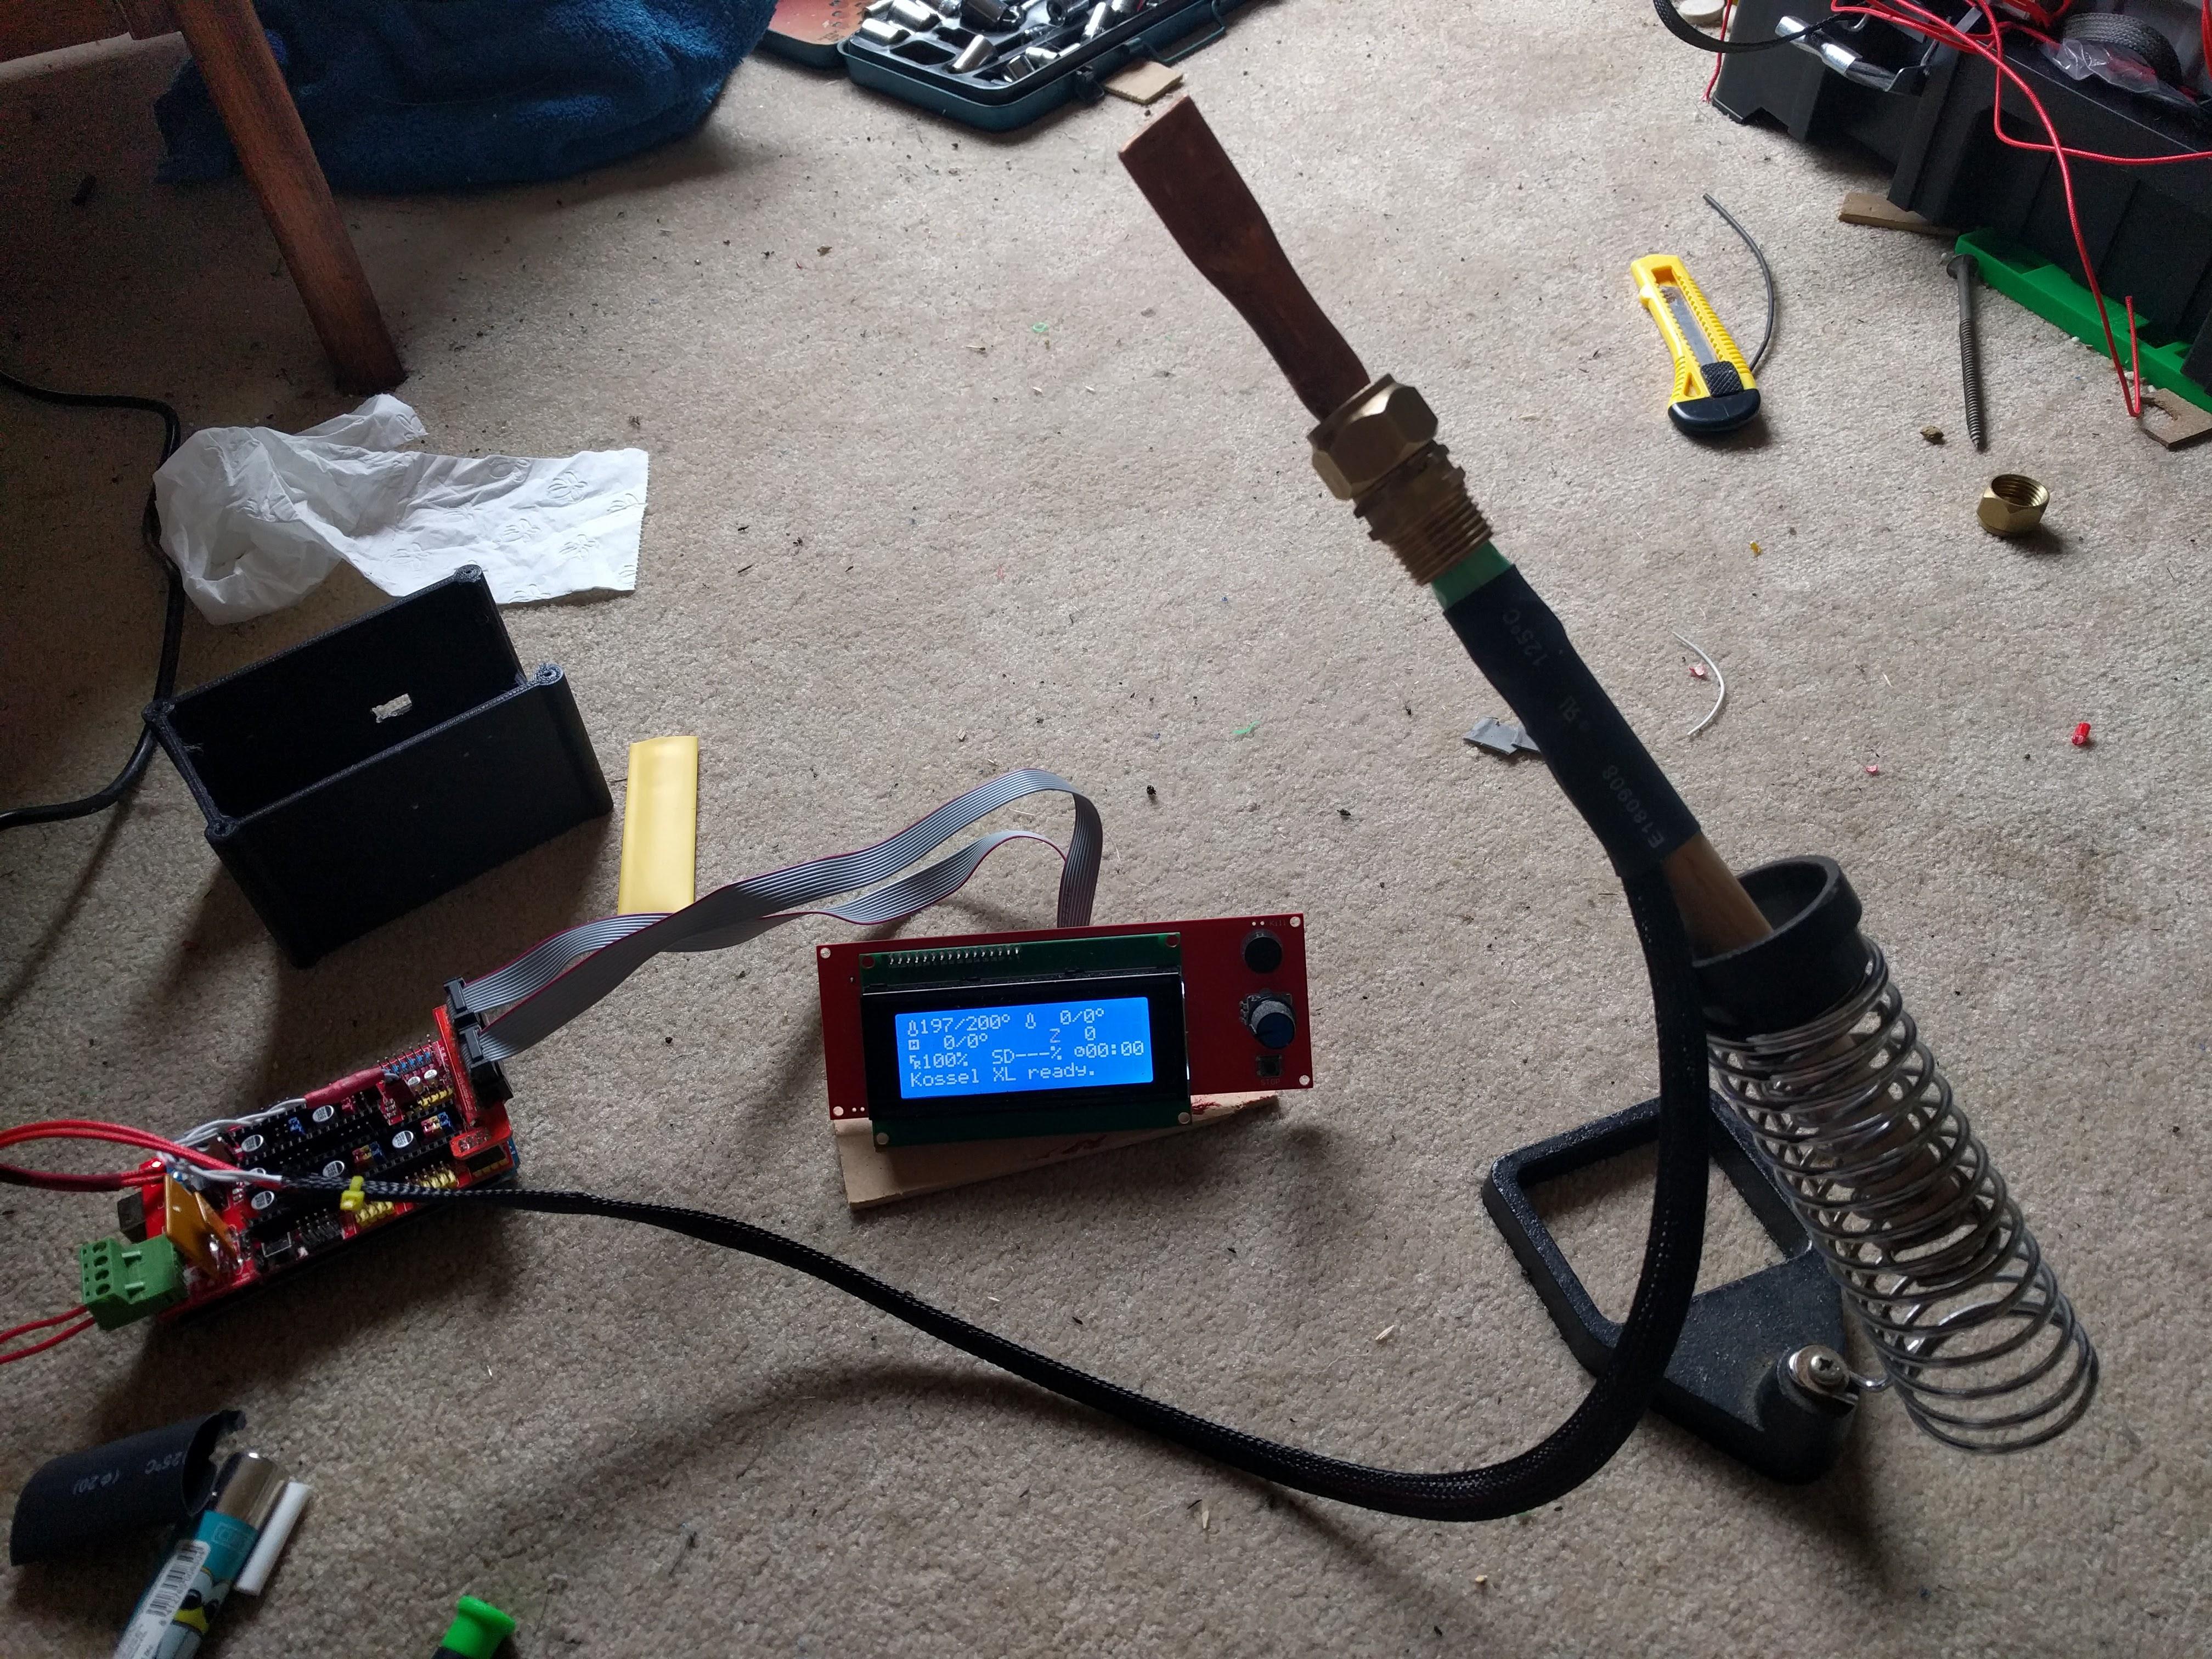
I had a spare control board and heater cartridges. So it was an easy job to mount the heater cartridge inside a piece of copper, along with a thermisistor and heat sink compound.
So I’ve managed to get a PID controlled heat sealer. Totally over the top, but if you’ve got the parts lying around doing nothing.
https://en.wikipedia.org/wiki/PID_controller
Eventually the wooden handle got scorched so I ended up dismantling an old soldering iron and mounting it all on the end of that. I also moved the temperature sensor to the outside because I suspected the internal temp was much hotter than the external surface temp.
The heater is a 12v ceramic cartridge:
I guess you could probably drive one of these with an adjustable 12v power supply.
-
November 9, 2017 at 2:15 pm #4909Participant
In answering my question..
I measured the temperature on the surface of the copper and found it was about 30 degrees C cooler than the reading from the other sensor.
So that bit of insulation is making a huge difference. In 3d printer land the sensors are often held on using silicone gasket sealant rated to 340 degrees. I think I will probably go that route now.. or bite the bullet and get an iron.
-
November 8, 2017 at 5:29 pm #4892Participant
I dialled the temp up to 235c last night and overall it seemed to work a bit better for the 1000D.
My temperature sensor 5+ cm’s back from the sealing area and it is held in place with some heat resistant cotton wrapped around the copper tube. So I’m thinking as its basically an insulator that its probably reading much higher than at the actual sealing area.
I think I have a spare sensor so I should just measure the temp on the sealing area for comparison so I actually know what is going on.
The couple of sections I did last night had only a couple of small bubbles.
Cheers
-
November 7, 2017 at 3:50 pm #4880Participant
Hi,
I have a question regarding heat sealing the tubes to the 1000D fabric.
I’ve notice that air bubbles like to form after I’ve sealed the fabric and left it to cool – 10+ minutes afterwards. So I’ve been placing a piece of timber with some weights and leaving it.
This seems to minimise the bubble formation. Then I heat / repeat over and over. I get to the point where I think well a couple of small bubbles shouldn’t be an issue?
Just wondering if anyone might have any suggestions?
It is the different weight of material – differential expansion with heat?
Is my iron not hot enough? I built a temperature controlled iron out of 3D printer parts, it uses a bit of flattened copper pipe, 30W heater cartridge and a thermistor to monitor temperature. Basically I can set it to a temperature and it will be computer controlled.
I bumped it up to 215 degrees – should I go higher? It seems to require a lot of heating to bond the floor. What temp will the fabric start to melt?
Regards
Aaron
-
This reply was modified 8 years, 8 months ago by
aaron.scott77.
-
This reply was modified 8 years, 8 months ago by
 Matt (Admin).
-
This reply was modified 8 years, 8 months ago by Matt (Admin).
-
This reply was modified 8 years, 8 months ago by
-
-
AuthorReplies