Story submitted by Will Archibald, with minor editing for clarity by me (Matt). There are some good tips here, plus some good reminders at the end for how to keep your airtight zipper working well for a long time.
I built my packraft way back in the summer of 2021. I will admit that although I enjoyed building the raft, I had a few leaks and it took time to locate them all and seal them with Seam Grip+WP. I got it to the point where it was manageable, but then the zipper started leaking right in the teeth! You can not glue that! I could see cracks appearing in the zipper, getting worse and worse. I nursed the deflating boat for so long you would see me constantly inflating on the river – I could tolerate it, I told myself. What I could not tolerate however were the increasing incidents of the zipper not closing. The slider moved, but the teeth behind it were staying open. That meant no airtight seal, and with just a month to go before I go to the Nahanni, this would be a trip ender.
I avoided the replacement task, figuring it would be too difficult, too high a chance that it would not work – hell, I even considered buying another raft that was not DIY. One morning I decided to lube up the zipper, but this time it really wouldn’t close – right at the start, then the middle, then the end of the zipper – this raft is no longer river worthy!
Despite earlier thoughts of alternatives to DIY, I held true! I got a spare zipper off a friend and got to work replacing it. Here are my steps:
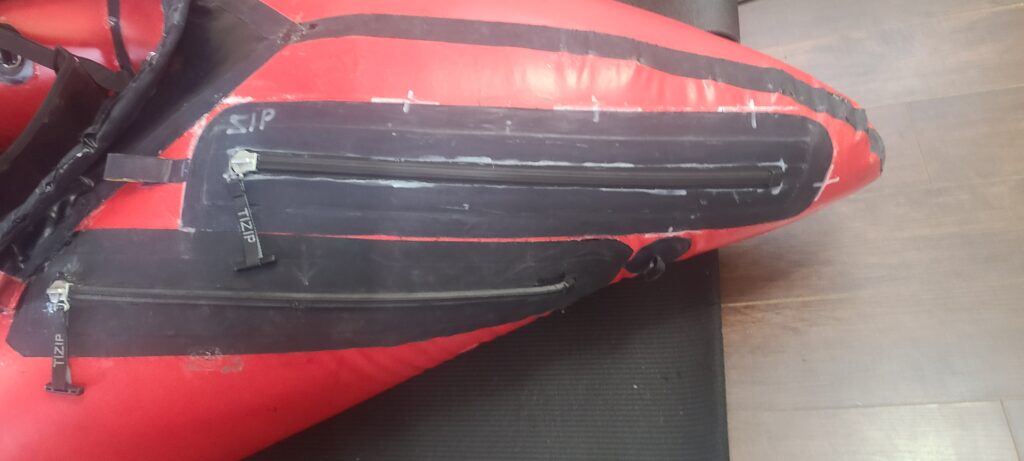
- Use the TPU slotted rectangle to find where on the raft you want to install your new zipper. I put mine right next to where my older zipper is. Remember that the raft is not flat, it’s a shape; use the slotted rectangle to figure out exactly where the zipper will be welded on, and where the hole will be for the zipper opening. Mark up your raft with the two rectangles – one for where the borders of the slotted rectangle will sit, and one for the zipper opening.
- Weld on the new zipper onto the new TPU fabric slotted rectangle. Get this 100% bonded all around by putting your finger into the zipper side and the outer to ensure a full seal is achieved. I found the TPU glue on the zipper to need much more time, heat and pressure to get the weld intact.
- Double check the zipper plus slotted rectangle still fits onto where you want to install your new zipper. Now is a good time to open and close that zipper. The first time opening is a bit difficult, and if for some reason you want to open it halfway through the next few steps you may damage your work if it’s too hard to open then. Also it’s a good time to make an optional grab loop.
- Now it is time to cut into your possibly 98%-99.999% airtight raft. Cut the new zipper opening, you will be surprised how tough TPU is to cut when it is not the edge of fabric, and not a small piece. I only cut out a rectangle that is just larger than the zipper opening, I did this for my first zipper. After this, realign to see how your zipper opening should match up to your new rectangular hole.
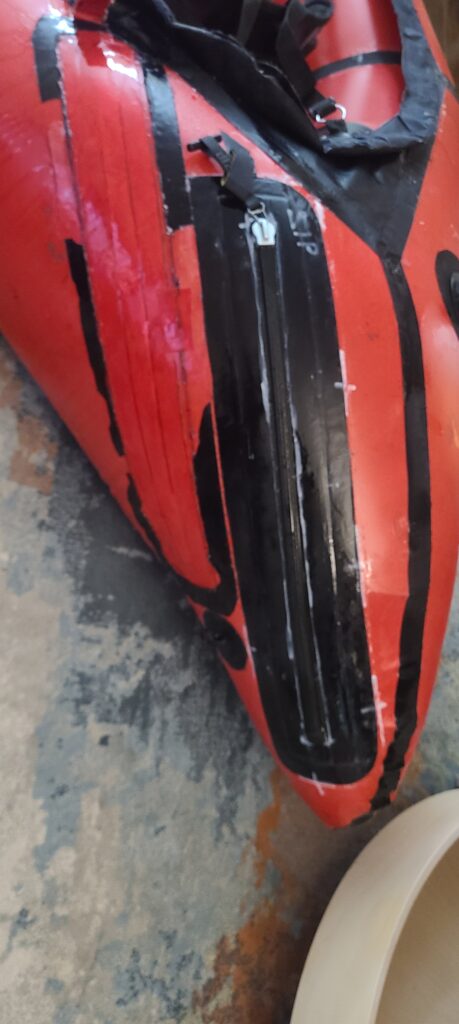
- Weld on the zipper plus TPU fabric slotted rectangle onto the raft. Take care not to create too many wrinkles. My raft is red so I can see the weld forming and I can see sections that are not welded well, I went over these to get a solid bond, and no leaks. If you made a grab loop, don’t forget to add this in. As above the rectangle opening I made it slightly wider at the close. It isn’t entirely necessary but this allows the zipper opening to be a bit larger to help get gear into the raft.
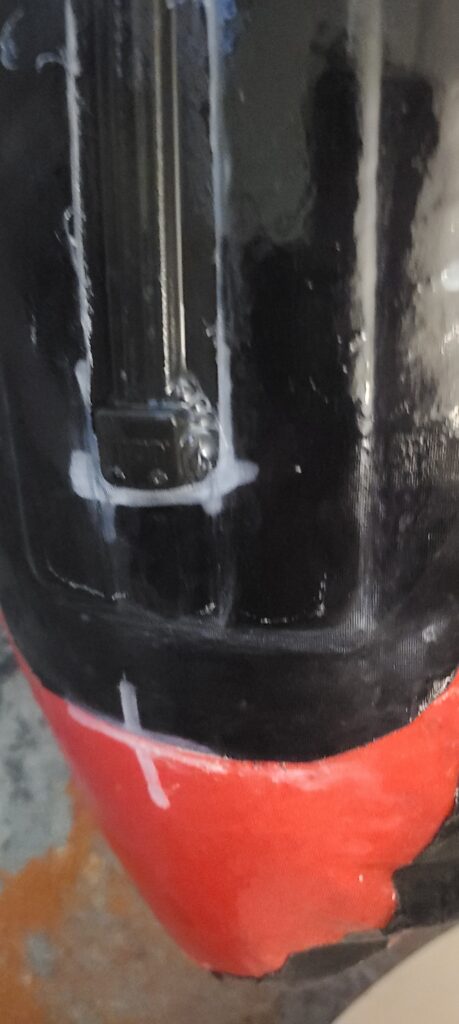
- You will now have two zippers on your raft. You could stop here but my old zipper is leaking; and it’s just another part that will become damaged, make the raft heavier etc etc. Carefully cut the old zipper out of the old slotted rectangle. As above when I first installed my old zipper, I only cut out a rectangle that is just larger than the zipper opening, this means I have fresh unused TPU to use to seal off the old zipper hole. I managed to cut the whole old zipper off the raft between the slotted rectangle and that fresh TPU. I made a slight nick in the TPU on removing, I adjusted the TPU patch to cover this. Much of the TPU bond from the old slotted rectangle peeled off which allowed for more TPU (Not that it was needed) to be used. Maybe the installation on my old Zipper could have been done with more care.
- Weld on a long TPU patch to cover the old zipper hole. If when you installed your old zipper you cut away all the fresh TPU sitting under the old slotted rectangle then you would need an wider and even longer TPU patch to cover over the old slotted rectangle. If this is the case then you will have even less room for your new zipper and slotted rectangle.
- Once it’s all welded, do some spot checks for leaks; I only had one at the bottom of my new Zipper, an easy dab of Seam Grip+WP fixed that.
Now my Packraft is river worthy, not leaking in the zipper, reliable for the Nahanni and beyond!
Moral of the DIY Packraft repair story: it can be fixed!
But.. from now on I will:
- Treat my Zipper with care.
- Give it lube.
- Be careful loading gear inside, make sure it’s not sandy.
- Not store the Zipper bent or in the sun.
Thanks, Will! – Matt
0 Comments