DIY Packraft

  • Home
  • Gallery
    • Pictures
    • Videos
    • DIY Packraft Customer Build Reports
    • Customer Pictures
  • How-To
    • Heat-Sealing
    • Useful Tools
    • Instructions – 2-Person Kits
    • Instructions – Atlin Kits
    • Instructions – Chilko Kits
    • Instructions – Skeena & Telkwa Kits
    • Instructions – Ultralight Kits
    • Roll-Top Drybag Kit
    • TIZIP Zipper Installation
    • Attachment Points & Tie-Downs
    • Footrest Assembly
    • Top-Up Valve Installation
    • Thigh Straps Installation
    • Back Band Assembly & Installation
    • Boston Valve Installation
    • Inflation Bag Kit Assembly Instructions
    • Packraft Fishing Rod Holder
    • Find & Repair Leaks
    • Spray Skirt Assembly
    • Spray Deck Assembly
    • Heat Sealing Iron Modifications
    • Pack, Carry, and Store a Packraft
    • Instructions – V3 Kits
    • Instructions – V2 Kits
      • Overview
      • Step 0.5 – Practice Heat Sealing
      • Step 1: Joining Tube Pieces to Floor
      • Step 2: Joining Tube Pieces Together
      • Step 3: Join Completed Tubes to Floor
      • Step 4: Double-Layer Floor or Joint Reinforcement
      • Step 5: Installing a Boston Valve
      • Step 6: Center Seams (last step!)
      • Making an Inflatable Floor
  • Blog
    • All
    • 2026
      • Meet the Chilko Self-Bailer
      • New Footrest Kit
    • 2025
      • MasterSeal Zippers in Stock
      • Introducing the Skeena XL
      • Tariffs on DIY Packrafts?
      • New Spray Deck Option
      • Removable Spray Deck
      • Iron Modifications
      • Off-Grid Heat Sealing Irons
    • 2024
      • Postal Strike Ended (updated)
      • Postal Strike – Good News
      • FedEx & Purolator Shipping Available
      • How to Buy a Gift Card
      • Fabric For Sale
      • Back Band Assembly Instructions
      • Backband Attach Point How-To
      • Slotted Attachment Point Video
      • Price Reductions!
      • Thigh Straps Available Now
      • Inflation Bag or Electric Pump?
      • Opie’s 2-Person Packraft Build Report
      • New Inflation Bag Assembly Instructions
      • New Heat Sealing Iron
      • Zach Schiada’s Telkwa Build Report
      • Video: The Fabrics
      • The first orange DIY Packraft
      • Inflation Bag Boston Valve Adapter
    • 2023
      • $200 DIY Packraft Coupon at Charity Auction
      • Beautiful New Packraft Fabric Colors
      • Replacement Spray Deck Stiffener
      • New Heat Sealing Video
      • Packrafting Safety
      • New Type of Airtight Zipper
      • Drybag Kits Now Available
      • Heat Sealing Forms For Sale
      • Bikerafting Gear & Tips
      • Customer Tips & Build Reports
      • New Payment Methods
      • Save $20 on a Skeena Kit
      • New Year, New Packraft Models?
    • 2022
      • All Kits are In Stock
      • Fabric Update (Dec. 13)
      • Hurry! $200 DIY Packraft Coupon Charity Auction
      • Ultralight Packraft Kits In Stock
      • An Online Packrafting Course
      • First Fabric Shipment Arrived!
      • Fabric Status Update
      • Packraft Trip Video
      • Pre-Orders Available
      • Packraft Kit Pre-Orders?
    • 2021
      • Only a Few Kits Left
      • State of Emergency – Possible Shipping Delay
      • $200 DIY Packraft Coupon Charity Auction
      • Customer Build Report
      • Current Order Processing Times (updated)
      • How to Modify Your Order
      • Packraft Kit Availability Update
      • Online Packrafting Clinic
    • 2020
      • My Month-Long Packrafting Trip
      • Get Email Updates
      • I’m Back/Fabric Delay
      • Now Closed Until September
      • Today: Last Day to Shop ’til September
      • July 9: Last Call for Kits
      • Packraft Camping Video
      • DIY Packraft Closed for ~August
      • Video: How to Roll, Carry, and Store a Packraft
      • Packrafting Paddles & PFDs
      • Pandemic Update/FAQ
      • Bulk Fabric Sales Suspended
      • Notice: Colored Seats
      • Postal Service Suspended to 60 Countries
      • Coronavirus & DIY Packraft
      • New Packraft Floor Fabric
      • Ken’s DIY Packraft Fleet & Telkwa Build Report
    • 2019
      • How to Choose a Packraft (not just DIY)
      • $200 Coupon in Online Charity Auction
      • Backcountry Meal Planning
      • Spray Deck & Spray Skirt
      • A DIY Packraft Logo?
      • Book Review: Packrafting, by Molly Absolon
      • Book Review: A Long Trek Home
      • Convert a Kayak Paddle to a Packraft Paddle & Trekking Pole
      • The Perfect Ultralight Packrafting Water Shoe
      • Packraft Weight Capacity
      • First Look: Skeena
      • Website Redesign in Progress
      • New Video: Iron Temperature & Timing
      • Iron Modification Video
      • Success! New packrafts tested.
      • Surprise: Another New DIY Packraft Model
      • The Silicone Roller: my new favorite tool
      • Packraft Fishing Rod Holder
      • More 2-Person DIY Packraft Pictures
      • First Look: Updated 2-Person DIY Packraft
      • Ken’s DIY Packraft Build Report
      • The Online Review Economy
    • 2018
      • New Ultralight DIY Packraft – First Look
      • Two new fabrics in the shop
      • 14 Day Alaska Group Trip
      • Travel Notice: August 10-24
      • Tim’s Pontoon Kayak, Version 2
      • Tie-Down Video Posted
      • Convertible Spray Deck
      • Packrafting Events, 2018
      • Privacy
      • Camouflage Fabric in Stock
      • Website Speed Maintenance
      • Book Review: The Wilderness Paddler’s Handbook
      • Inflation Bag Video
      • New Seat Construction Video
      • FAQ Reorganized, New Content
      • Zippers & Green Fabric Back In Stock
      • Backordered Products Resupply Timing Estimates
      • New V3 Assembly Video (password protected)
      • Heat Sealable Boston Valves in Stock
      • Backordered Products Resupply Timing Estimates
      • Iron Modifications (more Forum gold)
      • Whitewater Fittings, a Packraft “Trailer,” and More
      • Back from Vacation
    • 2017
      • New Paddling Video
      • The DIY Packraft Kit Tester program
      • Holiday Notice
      • A Few New Videos
      • Another Improved Tie-Down
      • Bruce’s Voyageur 2-Person DIY Packraft – First Float!
      • Overseas? Save money by using a “freight forwarder”
      • V3 Kits Now Shipping!
      • How Fast is a Packraft?
      • V3 DIY Packrafts will start shipping early October
      • Lightweight Fishing Float Tube
      • More photos of the new V3 DIY Packraft
      • Paddling the V3 DIY Packraft
      • First Pictures of the new V3 DIY Packraft
      • Inflation bag kit instructions posted
      • New DIY Packraft Design Available Soon (and a small rant)
      • Inflation Bag Now Available as a Kit
      • New Seat Kit Instructions Posted
      • Review: Model Airplane Heat Sealing Irons
      • Quick review: New 40D Ripstop Fabric
      • Two New Fabrics Added to Shop
      • Fabric is Here! Actually and in Reality!
      • Fabric Shipment Update
      • Good News/Bad News
      • A Few Photos
      • 10% off Coupon Code for Group Orders
      • Another Fabric Shipment Update
      • New Shipping Options, Free Shipping Code
      • Now Using “Stripe” and Supporting Multiple Currencies in the Shop
      • Forum Spam – Private Messaging Disabled
      • Another *%#@ Fabric Delay!
      • Airtight zippers are back in stock
      • Time-Lapse Video of DIY Packraft Construction
      • Alternative lightweight inflation valves
      • Fabric Shipment Update 4
      • Fabric Shipment Update 3
      • Spray Deck Plans (V2)
      • New Fabric Update 2
      • Update: New Fabric
      • DIY 5-Piece Carbon Paddle
      • Inflatable Floor Guidelines
      • Improved Top-Up Valves in Stock
      • Tim’s Pontoon Boat
      • A few Multi-Color Kits Left (until resupply)
      • Field Repair Tape added to Shop
      • New Spray Deck (Pictures!)
      • Crowd Sourcing Green
      • Aquaseal and Seam Grip added to Shop
      • New Option: Self-Bailing and/or Inflatable Floor
      • Video – Finding & Fixing Leaks
      • Photos – Vancouver Island Paddling
      • TIZIP Airtight Zippers now in Stock
      • Video – Tomi testing his new DIY Packraft
    • 2016
      • Airtight zipper installation instructions posted
      • New Forum Added to Site!
      • Kit Instructions Finished!
      • New How-To Video
      • Second Instruction Video for Kits
      • Review: $25 Heat-Sealing Iron
      • Making Tie-Downs: Instructions Posted
      • Airtight Zippers Pre-Order Sale!
      • “Whitewater” Packrafting – Just for Fun
      • First Instruction Video for Kits
      • Colour Choosing
      • Video Showing How Plans & Kits Work
      • Fabric Comparison Video
      • New Plans Shipping Now
      • Update on Fabric, Kits, New Valves
      • Punctures, Leaks, & Repairs
      • Fabrics Coming to the Shop (Updated August 23)
      • Google Translate & a DIY carbon fiber paddle
      • Follow DIY Packraft on Instagram
      • Alpine Paddling
      • Inflation Bag
      • DIY Heat Sealing Iron
      • The DIY Packraft World Map
      • New Seat Design
      • New Facebook Page
      • Yellow Packraft Finished!
      • New Larger Packraft Plans!
      • Buoyant and Stable!
      • New How-To Video Posted: Joining Curved Seams
      • New How-To Video: Joining Side Pieces
      • Lake Paddling & 2-Person Test Video
      • New Video Up – Tracing and Cutting Your Fabric
      • Plans Available Now
      • DIY Packraft intro Video
      • 813 grams (1.79 pounds)!
      • DIY Packraft Pictures and Details
      • Plans Available Soon
      • Update
    • 2015
      • Coming in 2016!
  • Shop
    • Shop
    • Cart
    • Checkout
  • FAQ
  • Forum
    • DIY Packraft Forum
    • Log In
    • Activity Stream
    • Members
    • Register (Create an Account)
    • Lost Password
    • Password Problems
  • About
    • About DIY Packraft
    • Matt’s 30-Day Solo Packrafting Trip
  • Contact
    • Contact
    • Instagram
    • TikTok
    • Facebook
    • YouTube
    • Join the Mailing List

Activity

  • All Members 1,186
  • RSS
  • Profile picture of aaron.scott77

    aaron.scott77 replied to the topic Help & Questions re: DIY Packraft Construction in the forum DIY Packrafts 8 years, 8 months ago

    Hi,

    I have a question regarding heat sealing the tubes to the 1000D fabric.

    I’ve notice that air bubbles like to form after I’ve sealed the fabric and left it to cool – 10+ minutes afterwards. So I’ve been placing a piece of timber with some weights and leaving it.

    This seems to minimise the bubble formation. Then I heat / repeat over and…[Read more]

  • Profile picture of Matt (Admin)

    Matt (Admin) wrote a new post 8 years, 8 months ago

    A couple people have posted some great tie-down designs in the forum since I made my original tie-down video, and after several attempts at combining their ideas with my no-sewing policy, the following tie-down […]

  • Profile picture of Matt (Admin)

    Matt (Admin) replied to the topic New seat design in the forum DIY Packrafts 8 years, 8 months ago

    Hi Lyn,

    The manufacturer doesn’t indicate a pressure rating so I can’t guarantee anything, but I’ve tested them up to about 5 psi (350 hPa) myself and they showed no signs of stress.

    For reference, a 170 lb (77 kg) weight distributed over an area of 12 x 18″ (30 x 45 cm) on an inflatable seat exerts about 0.8 psi (55 hPa) – quite a large safety factor.

  • Profile picture of Lyn St George

    Lyn St George replied to the topic New seat design in the forum DIY Packrafts 8 years, 8 months ago

    Just received some of these new red inflation and deflation valves, and I’m curious as to how well the deflation valves hold. I originally got these for dump valves on the reserve air bags in the tubes, but am thinking now of adding them to the main seats in the rafts and my new sleeping mat (rather than just holding the inflation valve open). On…[Read more]

  • Profile picture of FloteBote1337

    FloteBote1337 became a registered member 8 years, 8 months ago

    FloteBote1337

    @flotebote1337

    View Profile
  • Profile picture of Matt (Admin)

    Matt (Admin) replied to the topic An Inflatable Drybag that fits through your zipper. in the forum DIY Packrafts 8 years, 8 months ago

    Great idea, Bruce! It looks durable and very easy to pack. Using a wooden form to seal the circular ends is a great idea, too – it’s a useful tip for anyone who wants to create round drybags of any type. Thanks for posting!

  • Profile picture of Bruce

    Bruce started the topic An Inflatable Drybag that fits through your zipper. in the forum DIY Packrafts 8 years, 8 months ago

    Concept: A double-wall, inflatable drybag you can slide through a TiZip and into your raft. You could make a single-wall bag with a zipper, but to my mind zippers are expensive and stuffing gear through them is awkward. Besides, we have all used simple roll down dry bags for decades, and they work just fine, but they can’t be inflated.

    If you…[Read more]

  • Profile picture of Timo

    Timo replied to the topic New users say "Hi" here to prove you are not a Spam Bot in the forum DIY Packrafts 8 years, 8 months ago

    Hi!

    Currently working my first V2 raft.

  • Profile picture of Timo

    Timo became a registered member 8 years, 8 months ago

    Timo

    @timo

    View Profile
  • Profile picture of jonw

    jonw changed their profile picture 8 years, 8 months ago

    jonw

    @jonw

    View Profile
  • Profile picture of Simon

    Simon replied to the topic New users say "Hi" here to prove you are not a Spam Bot in the forum DIY Packrafts 8 years, 8 months ago

    Hello,

    Eagerly awaiting a delivery, and if anyone has a good suggestion of a good heat sealing iron (EU plug) I’m all ears.

  • Profile picture of Simon

    Simon became a registered member 8 years, 8 months ago

    Simon

    @cliqs

    View Profile
  • Profile picture of Matt (Admin)

    Matt (Admin) wrote a new post 8 years, 8 months ago

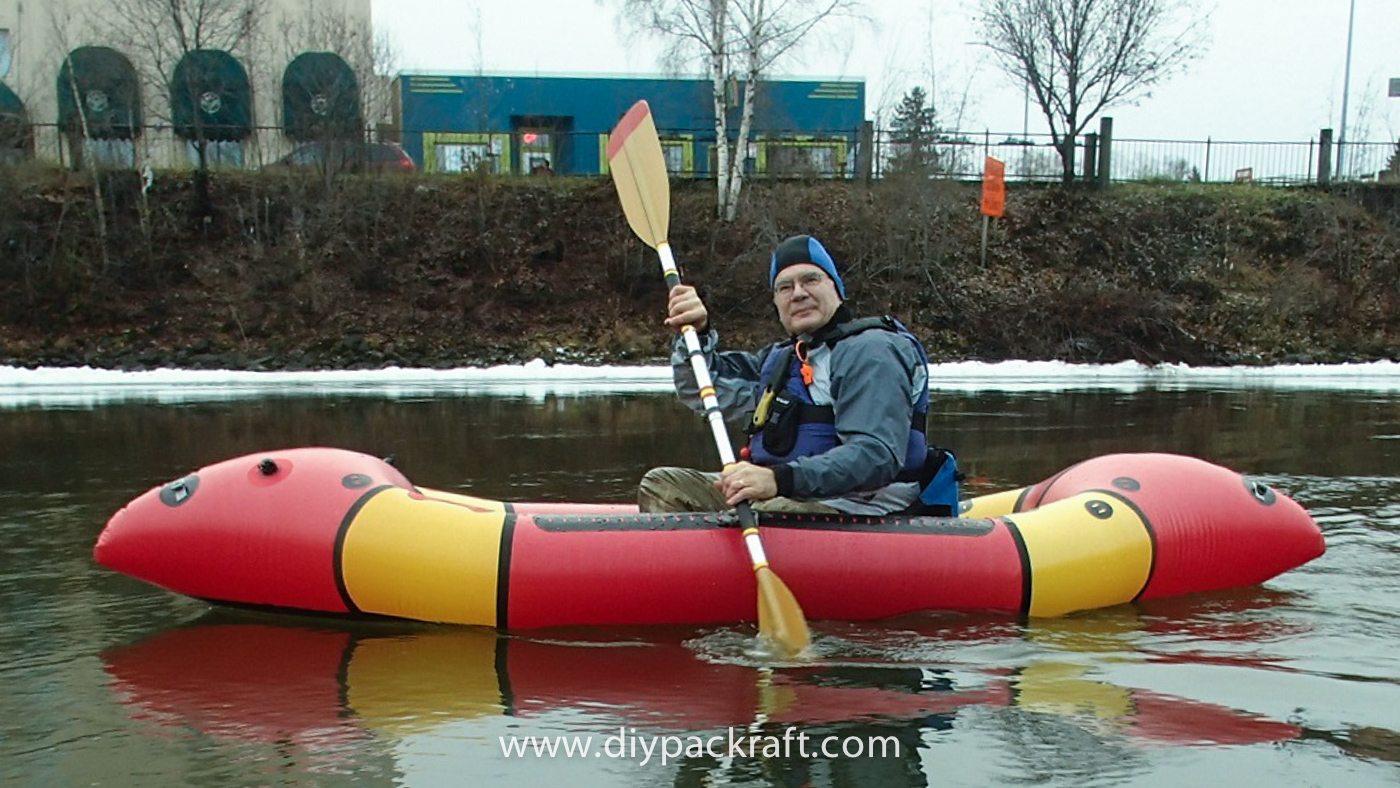
    Bruce C., a frequent contributor to the DIY Packraft forum and host of the popular DIY Packraft-making classes at the Folk School in Fairbanks, Alaska, has just finished this beautiful Voyageur 2-person DIY […]

    • Profile picture of jb3.14159265
      jb3.14159265 replied 8 years, 8 months ago

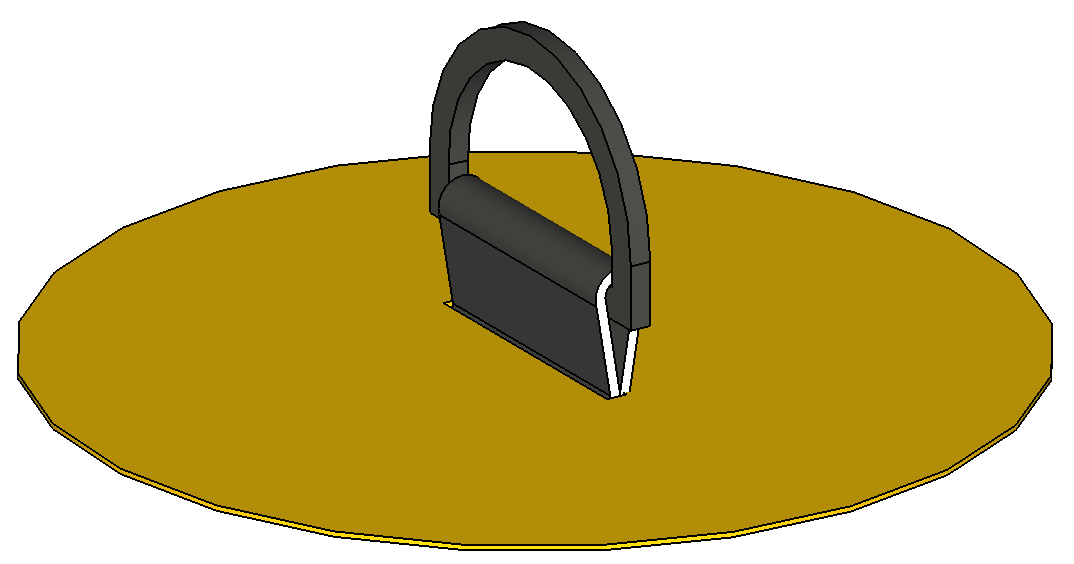
      The thing along the side of the packraft looks like adjustable points for tie downs? Is that correct and if so any idea how they were done?

      • Profile picture of Matt (Admin)
        Matt (Admin) replied 8 years, 8 months ago

        That’s correct – I believe they’re made out of the 1000D and 210D fabric with holes punched through, and they were heat sealed to the tube from the inside, before putting the packraft together. Cheers!

    • Profile picture of Matt (Admin)
      Matt (Admin) replied 8 years, 7 months ago

      Hi Kent, the construction method is the same as for the single V3 kits, so there’s not really any difference in difficulty – the seams are longer though so it might take a bit more time. Cheers!

    • Profile picture of Matt (Admin)
      Matt (Admin) replied 8 years, 7 months ago

      Excellent!

  • Profile picture of Matt (Admin)

    Matt (Admin) wrote a new post 8 years, 8 months ago

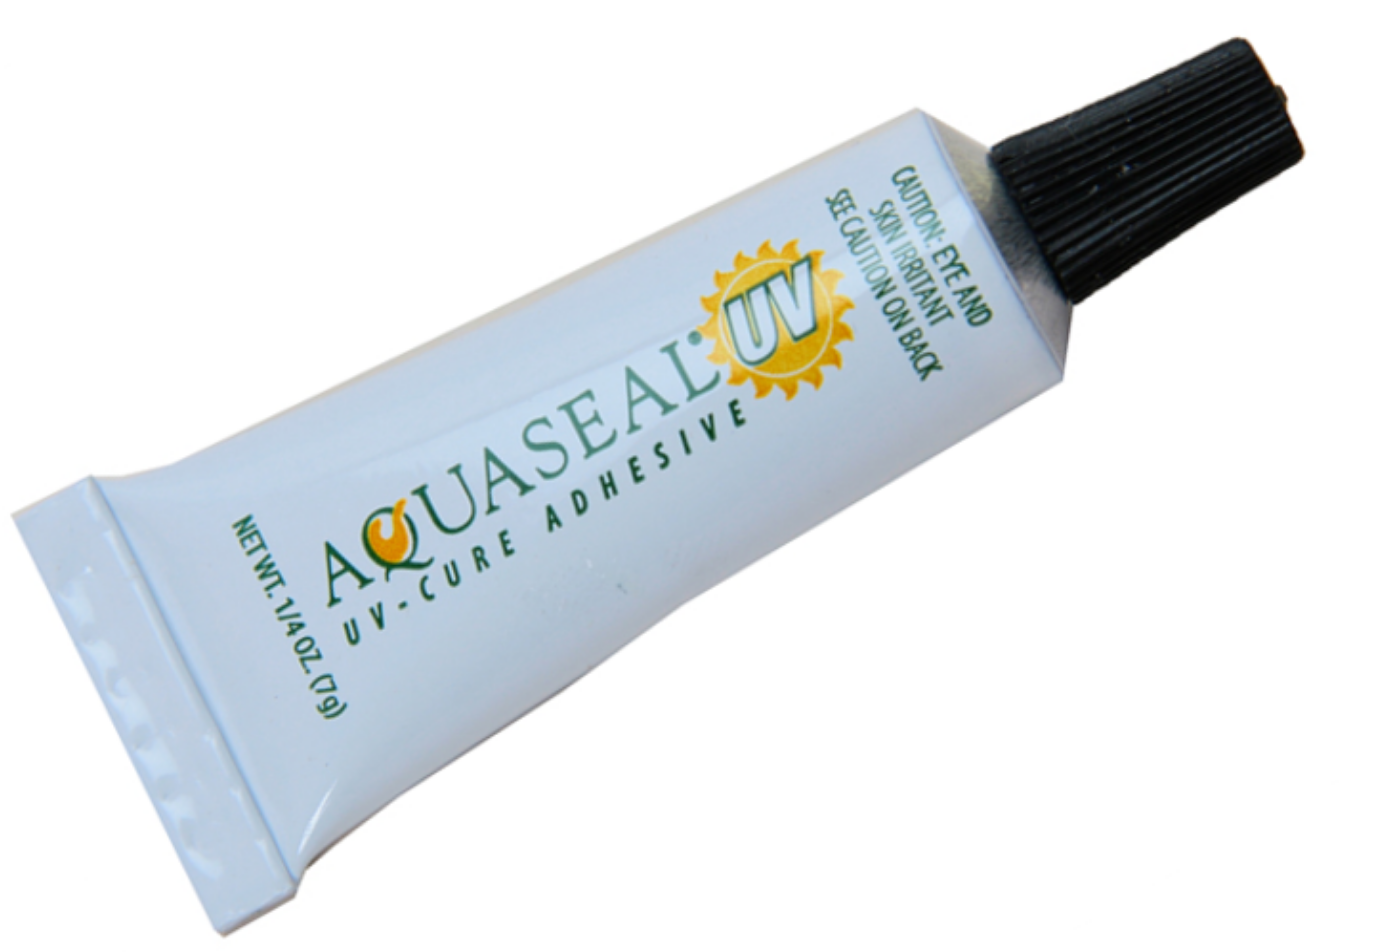
    Recently I realized that a fast-curing adhesive was missing from my field repair kit, and that if something goes wrong on a packrafting trip and field repair tape won’t do the job, I might have to sit around for […]

    • Profile picture of Barbara
      Barbara replied 5 years, 4 months ago

      As this seems to be an older posts and Aquaseal UV doesn’t appear in the shop anymore, are you able to confirm whether this is still the quickest curing glue you’d recommend for a field repair kit?

      • Profile picture of Matt (Admin)
        Matt (Admin) replied 5 years, 4 months ago

        Yep, I still recommend it. I’ve stopped selling adhesives because they’re not supposed to go through the mail and they’re not allowed into some countries.

  • Profile picture of Matt (Admin)

    Matt (Admin) replied to the topic DIY Packraft Photos in the forum DIY Packrafts 8 years, 8 months ago

    It looks fantastic! Thanks for posting, Bruce!

  • Profile picture of Dave

    Dave replied to the topic DIY Packraft Photos in the forum DIY Packrafts 8 years, 8 months ago

    Yes, totally! Interested to see how it handles solo as well.

  • Profile picture of Kwok Wah Lai

    Kwok Wah Lai replied to the topic DIY Packraft Photos in the forum DIY Packrafts 8 years, 8 months ago

    A beautiful piece of art, really! 👍🏿👍🏿👍🏿👍🏿👍🏿

  • Profile picture of Bruce

    Bruce replied to the topic DIY Packraft Photos in the forum DIY Packrafts 8 years, 8 months ago

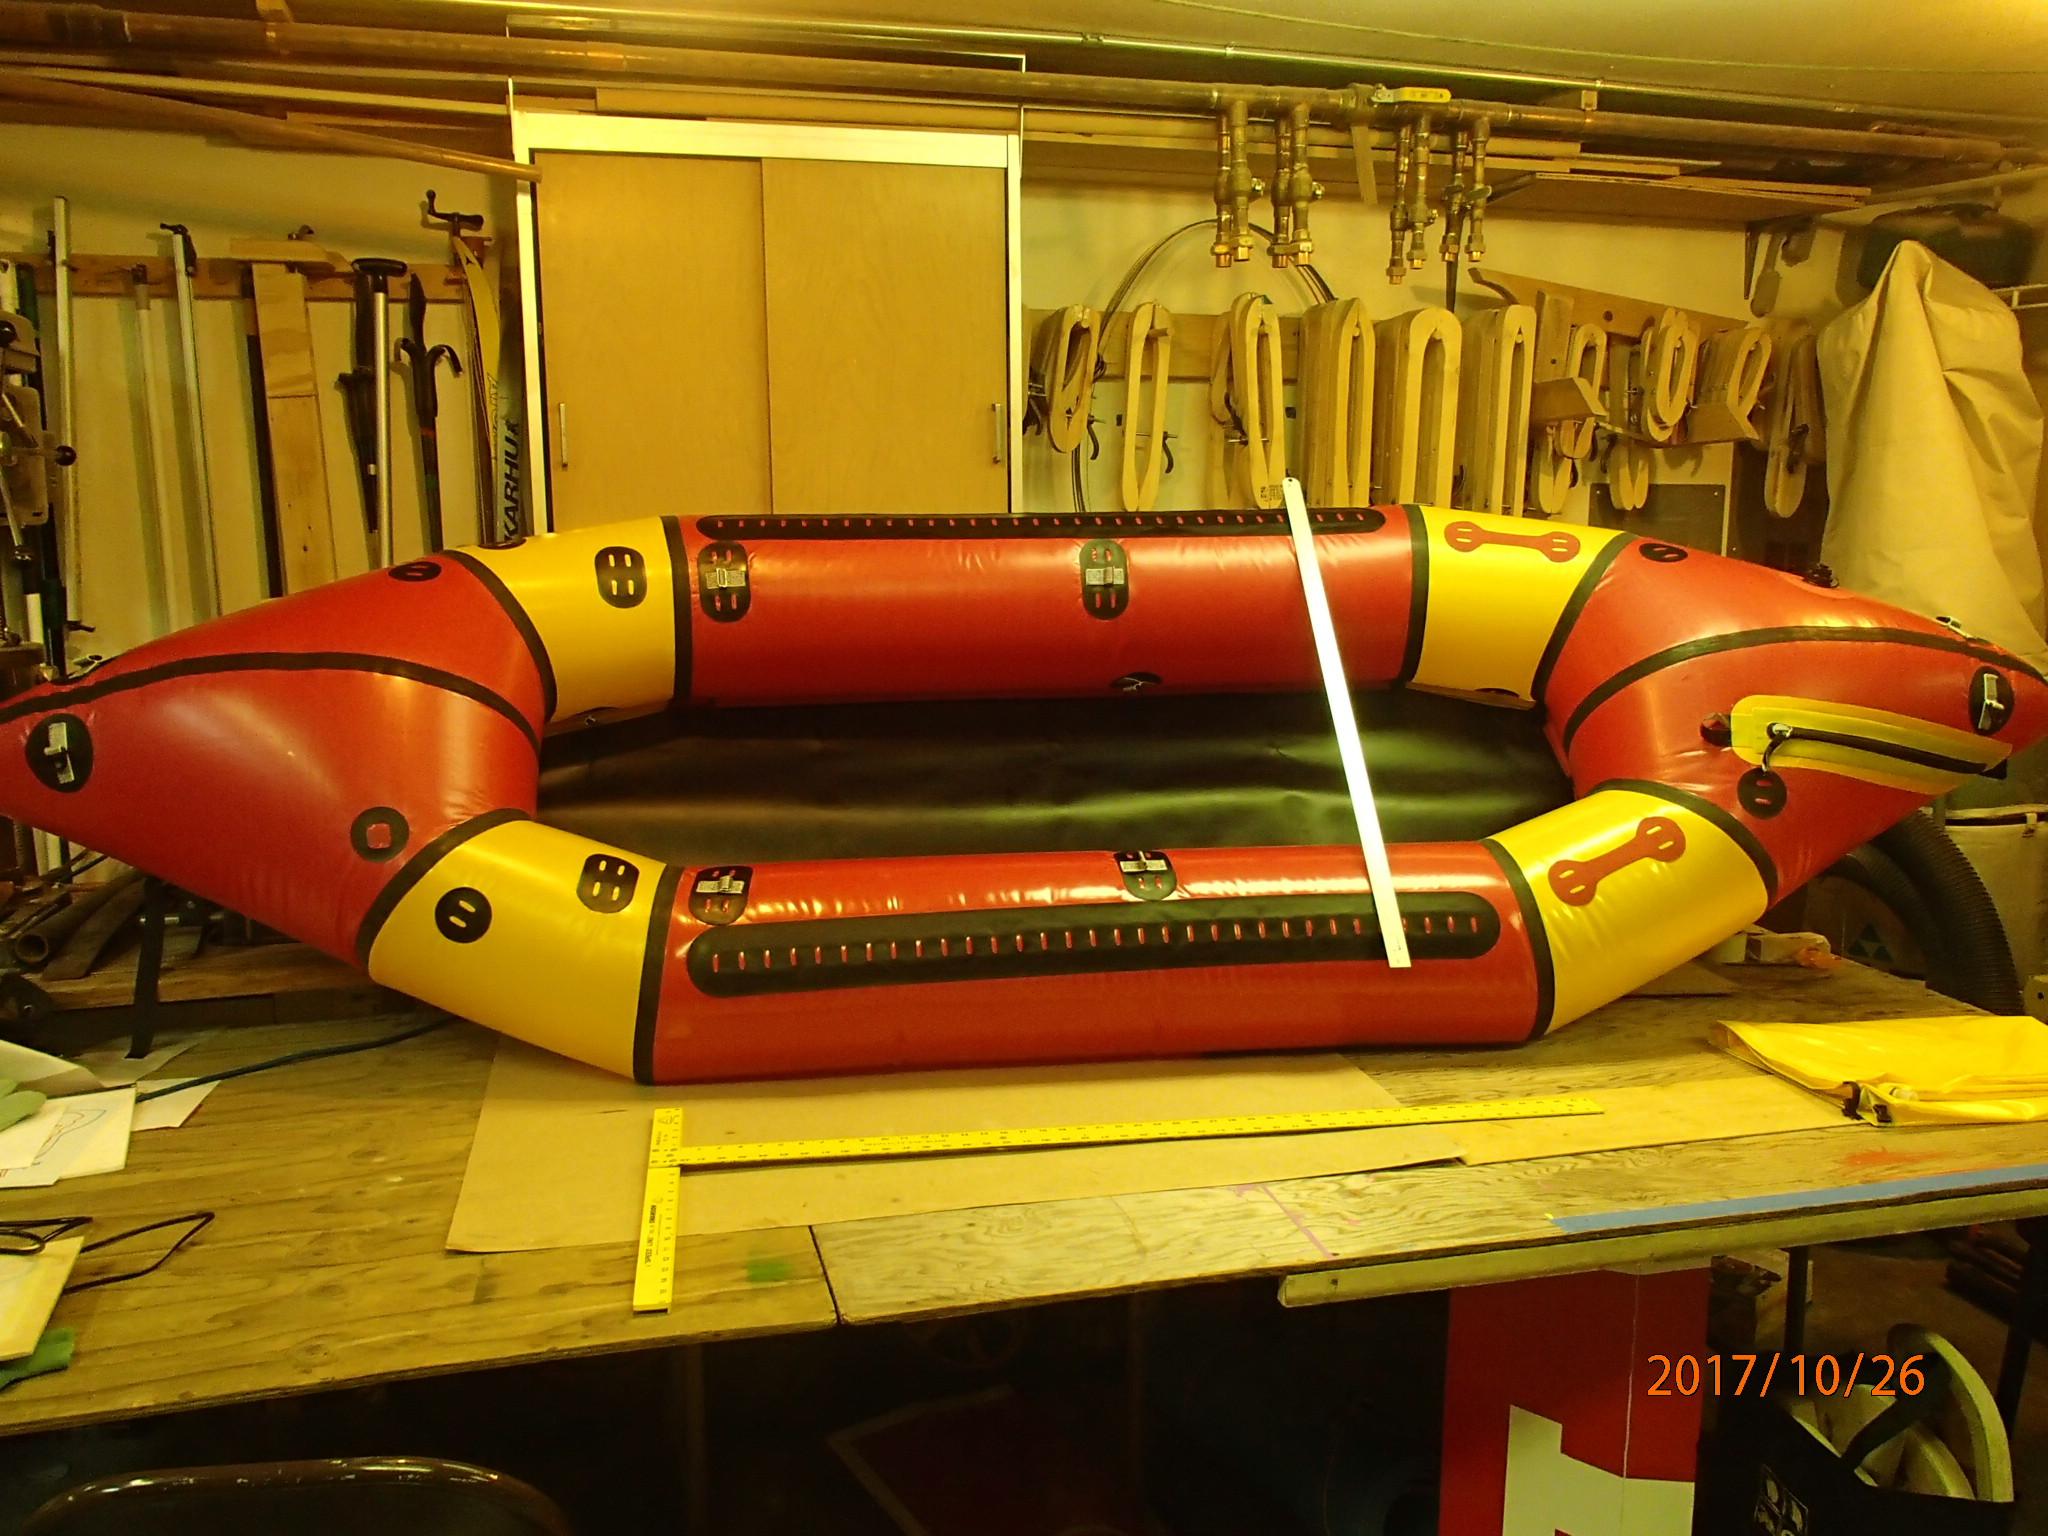
    V3 TandemFirst inflation of my V3 Tandem packraft! It is 11 feet or 3.5 meters long, interior is 182 cm long. I will have to search for a safe lead in winter’s ice to give it a try!
  • Profile picture of Bruce

    Bruce replied to the topic Heat-sealing tools in the forum DIY Packrafts 8 years, 8 months ago

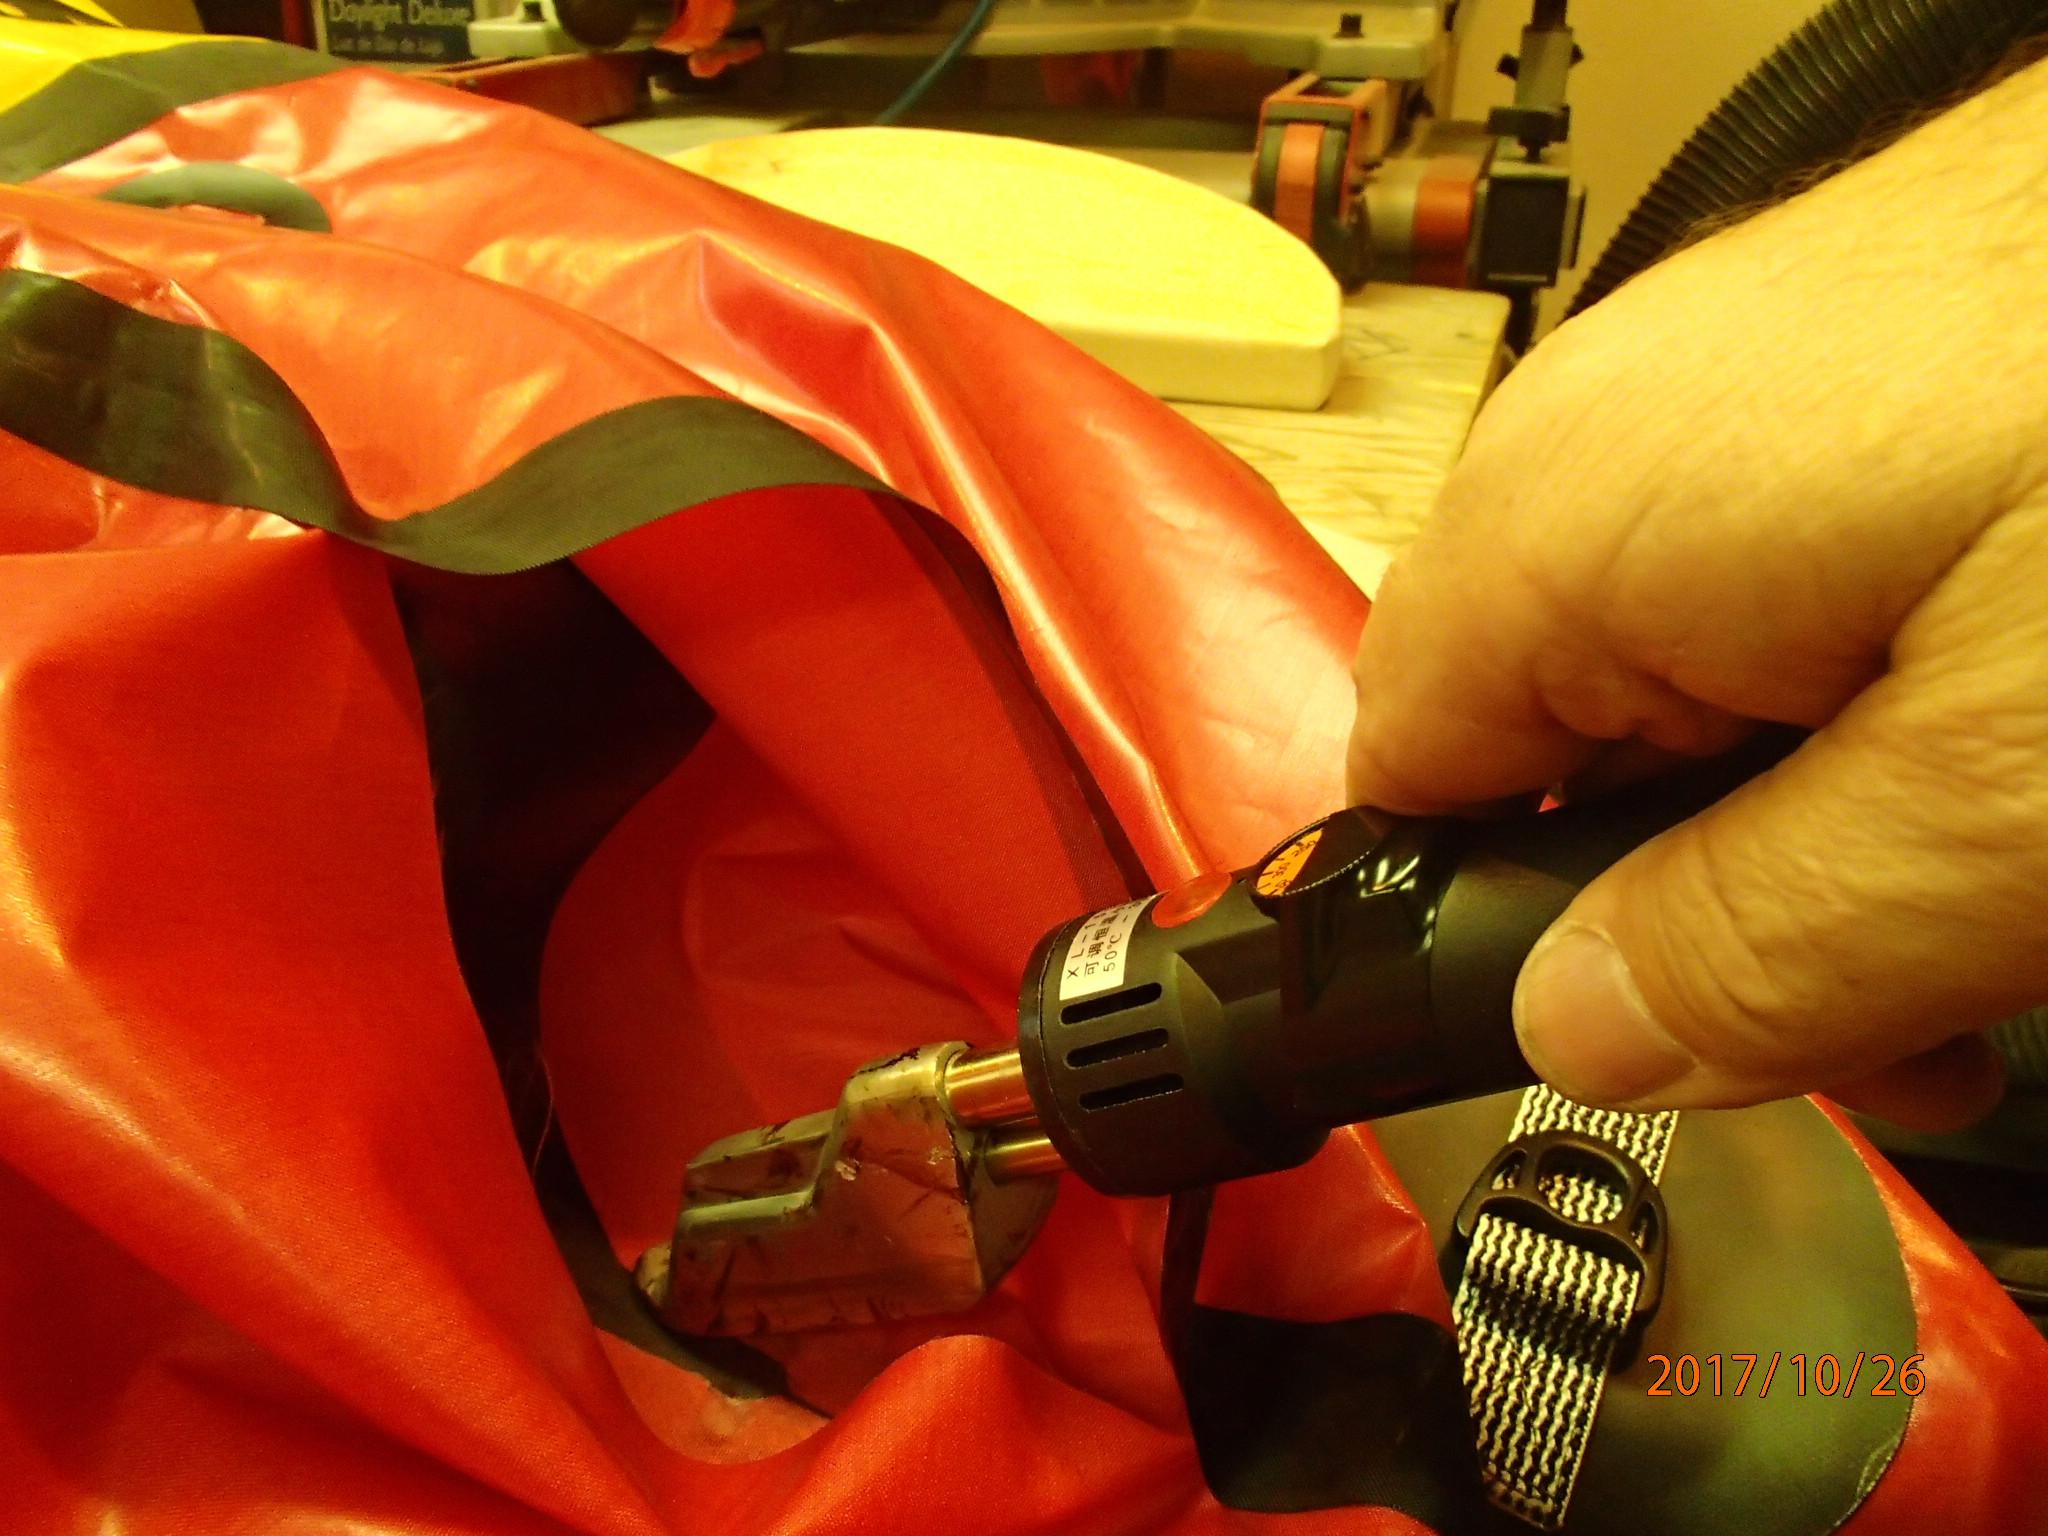
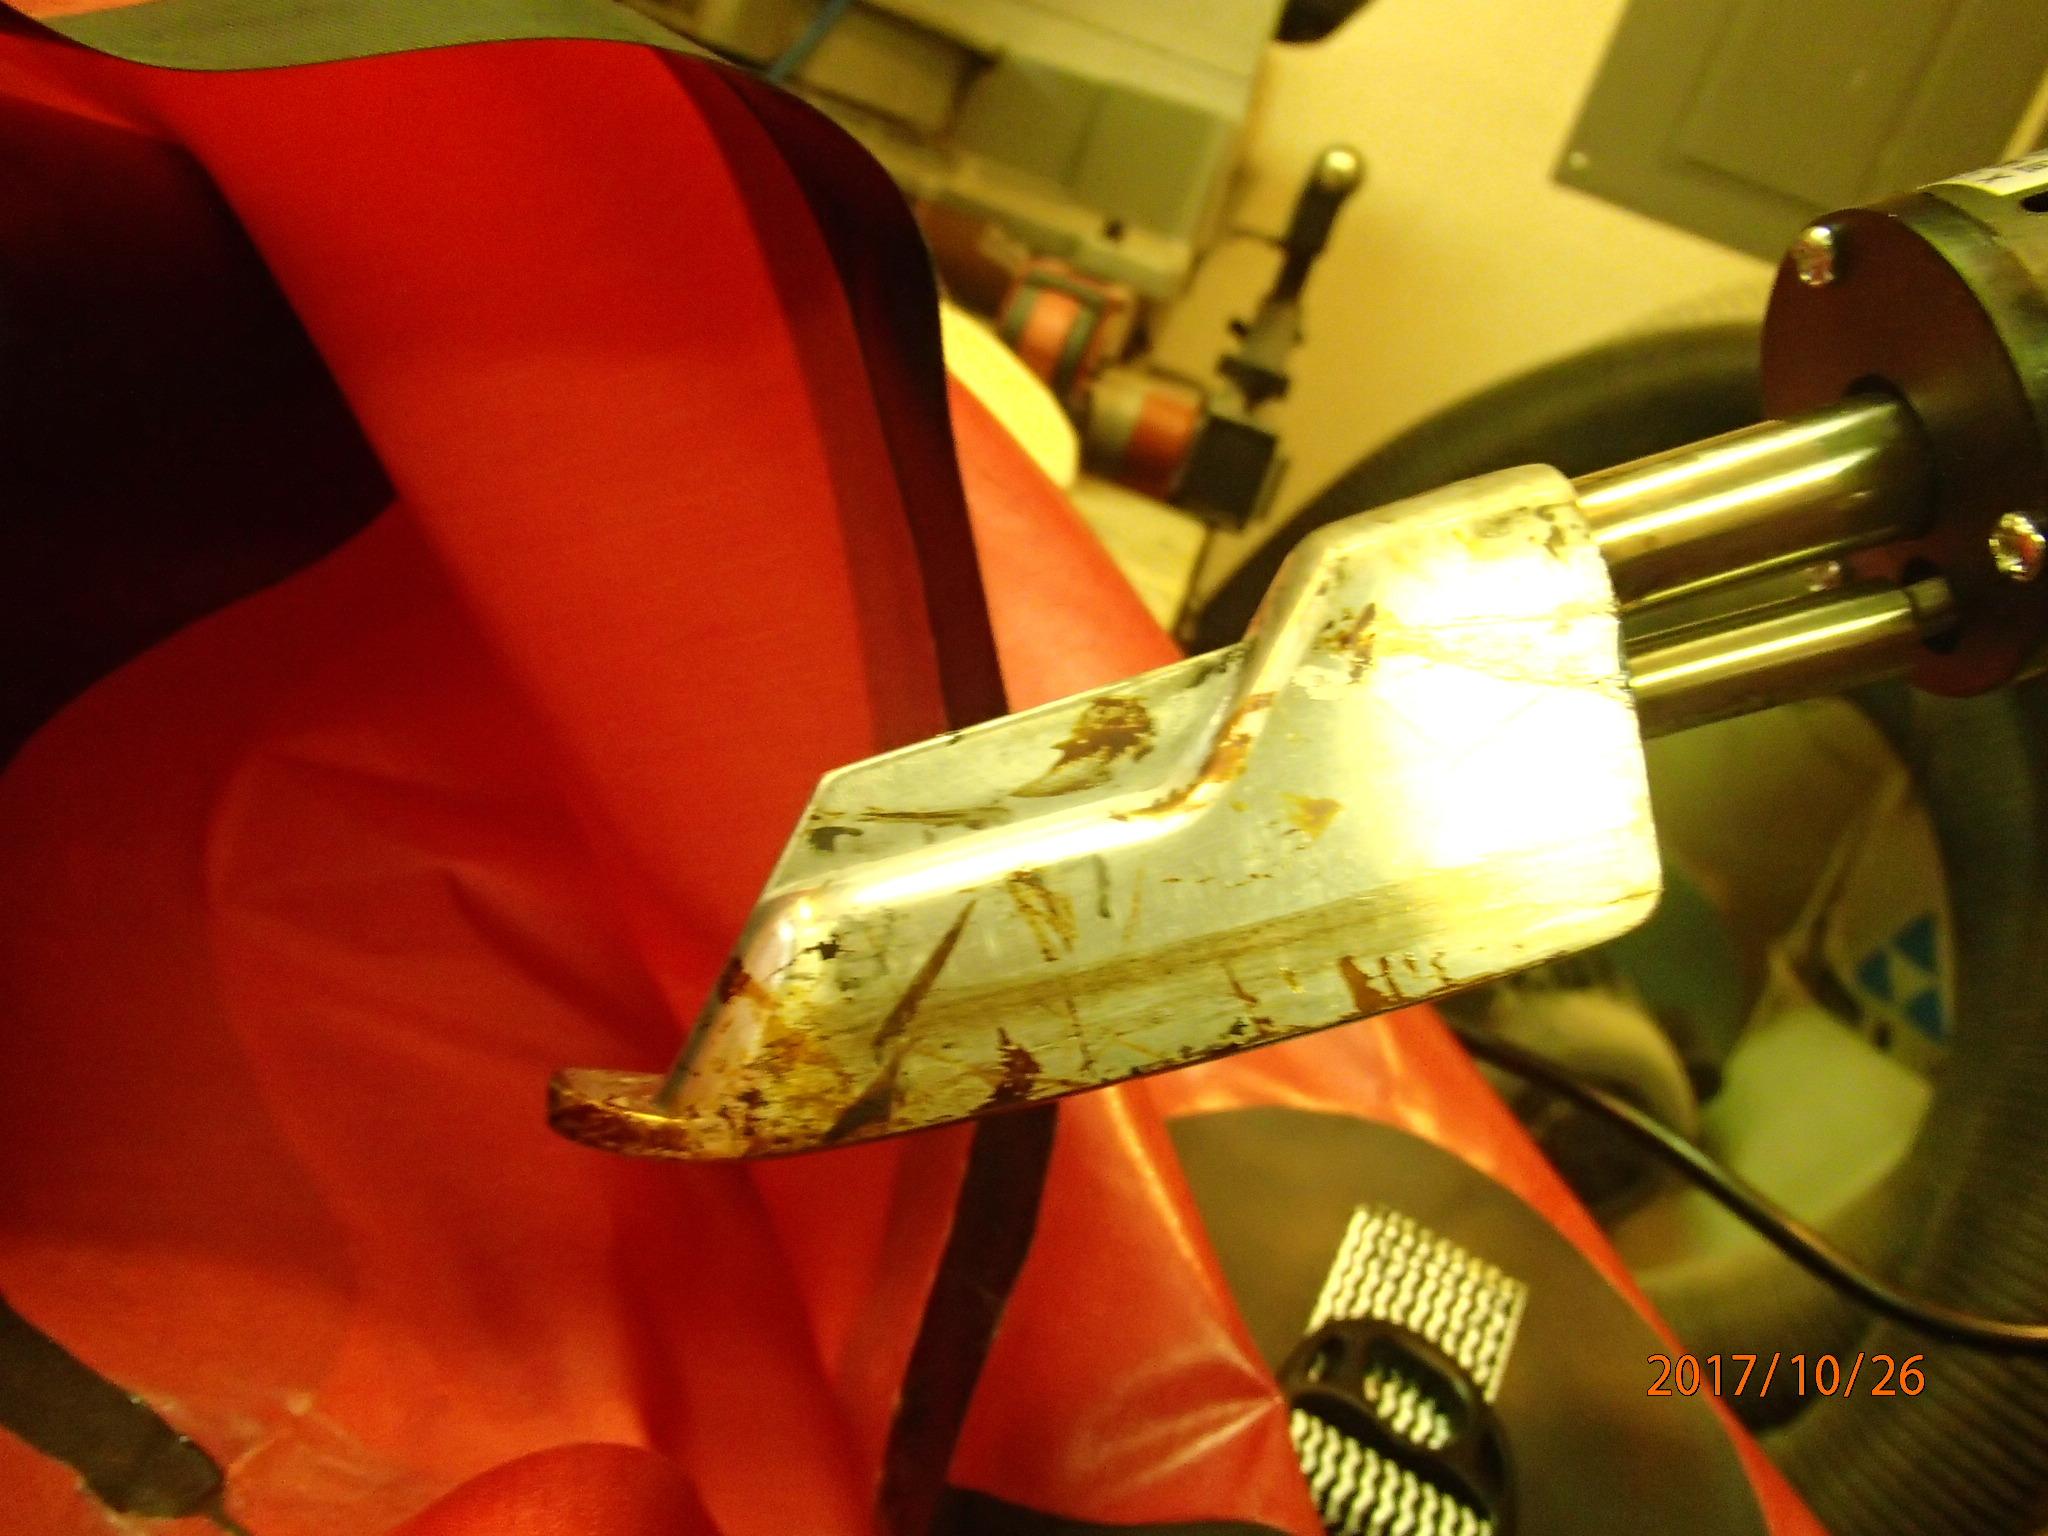
    The uplifted front of the Jingda Thermoelectric Products “leather” Iron, purchased through Aliexpress, makes it indispensible for tight spots and small corners especially when finishing the ends or reaching through bunched fabric.

    Jengda in a tight spot

    The tip allows one to reach and heat spots at high angles.Uplifted tip on Jendga iron.

  • Profile picture of Matt (Admin)

    Matt (Admin) wrote a new post 8 years, 8 months ago

    A couple of people in Australia and New Zealand have used freight forwarders to reduce shipping costs when ordering DIY Packraft kits, and I thought I should tell the rest of you about this potential cost-saving […]

    • Profile picture of aaron.scott77
      aaron.scott77 replied 8 years, 8 months ago

      It cost me about $80USD total to get it to Tasmania via a US freight forwarder.
      When I first ordered the site was quoting me $140 AUD postage which is a bit of a deal breaker.
      I notice now its only quoting about $100AUD.
      So I probably wouldn’t have bothered with the forwarder now.

      However the postage times from the forwarder are generally fast.
      They often have special rates for DHL, FedEx, UPS etc. So it ends up taking 2-4 Days from Los Angeles to Tasmania.

      • Profile picture of Matt (Admin)
        Matt (Admin) replied 8 years, 8 months ago

        Thanks for the feedback, Aaron. I’ve been refining the estimated weights used to calculate the shipping costs of the different kit variations so they’re closer to the actual weights, and that’s probably why the shipping price has changed. Smaller kits with lighter floor material and/or no extras can weigh under 3 kg, which is one of those thresholds where the price jumps up on overseas shipments. Thanks!

    • Profile picture of Matt (Admin)
      Matt (Admin) replied 2 years, 8 months ago

      Hi Eleonora, unfortunately I don’t have an answer for you and I doubt you will receive one here anytime soon because I have only a few customers in Italy and I don’t recall any of them having used a freight forwarder. You might be able to find more information elsewhere online – if so, please tell us here. Also, sometimes the direct route is the most cost-effective even if it isn’t cheap. Thanks!

  • Load More
Cart
Recent Posts
  • Tariff Refunds!
  • Meet the Chilko Self-Bailer
  • New Footrest Kit
  • Tariff Info for US Customers
  • Discount at Charity Auction
Recent Comments
  • Matt (Admin) on Inflation Bag Boston Valve Adapter
  • William Archibald on Inflation Bag Boston Valve Adapter
  • Matt (Admin) on Meet the Chilko Self-Bailer
  • lwschaef on Meet the Chilko Self-Bailer
  • Uncle Fred on Meet the Chilko Self-Bailer