
Forum Replies Created
-
AuthorReplies
-
krstahl
ParticipantI love the paint job. It looks like The Flying Hellfish is devouring the waves!
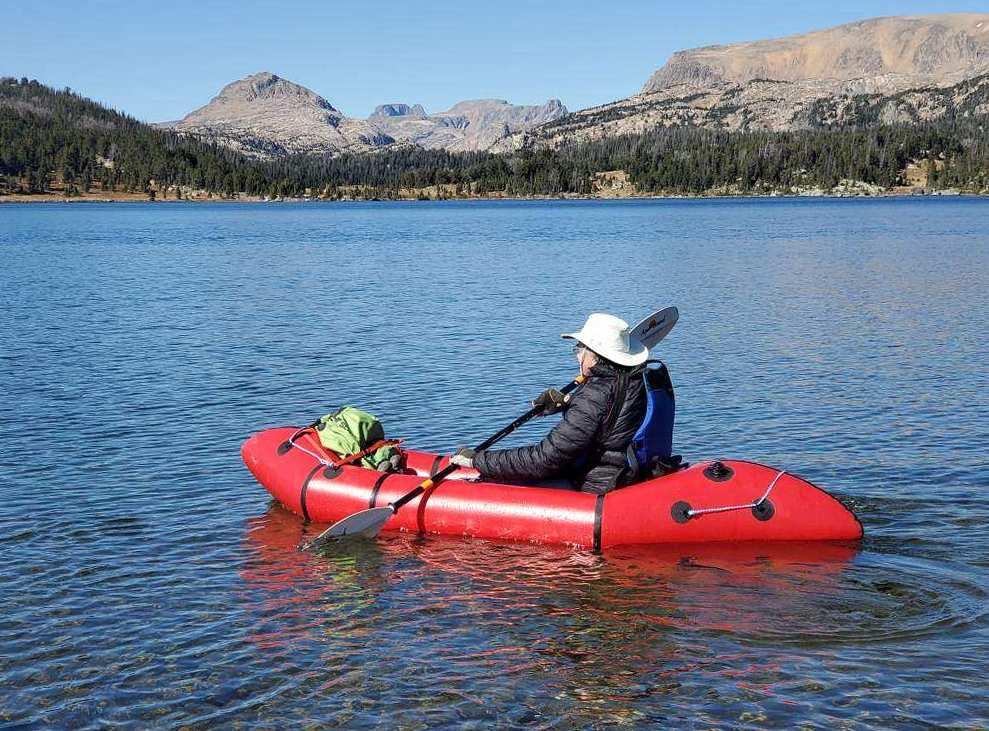
ParticipantI was finally able to get my Skeena onto a mountain lake. Here I am on Island Lake (9,500′) in the Beartooth Mtns of Montana in late September. The peaks in the center background are all over 12k’ in elevation. This is the first time I have ever seen ALL of the snow gone from the peaks, at any time of year, in my life time.
 Participant
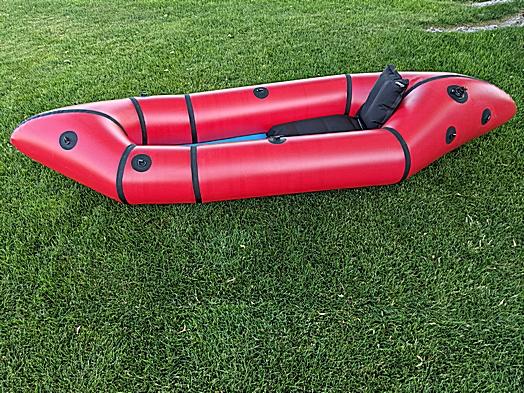
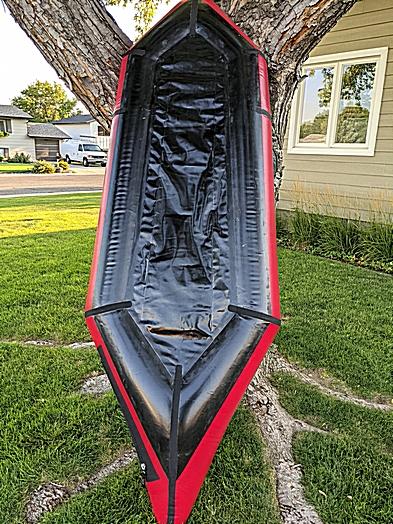
I just finished my 5th DIYpackraft (one V3, three Telkwas) and now my first Skeena. I found the process is getting easier but it still takes me about 35 hours. This one held air very tightly overnight despite 4 of the tiniest leaks in various places. The biggest mistake I made was using the Ty-zip location for the Telkwa instead of the Skeena. I wanted the Ty-Zip lower on the side but I forgot to take into account for the Telkwa’s higher, wrap-around floor when making the measurements. I think that will put the Skeena Ty-Zip under the water line when in use. That should not matter as long as the zipper stays tight and I don’t drag the zipper pull on rocks or debris.
 Participant
Pay close attention to the inside of the raft tub, i.e., at the junctions where the two tube ends and seal strip come together and are welded to each other and to the floor. Matt stresses this area for extra care during fit up and welding. Even so, those are the locations where I had most trouble. My second most source of leaks was at small burn/melt marks on the TPU next to the seal strips and around tie downs any where the iron slipped off the seal strip. Some of those are very tiny and may take several minutes to make a bubble with the soap test. I have built 4 rafts. My first deflates about 30% in a day (10 or 15 puffs to refill), my second about 10% in two days, and my third deflates about 5% in about three or four days. My fourth was given away so I don’t have stats on that.
On my first raft I even went so far as to seam grip the outside of all my seam strips but on that boat I did not apply seam grip to all of the seam internally. I also did a poor job of welding the seam strips to the tube because I was trying to build the raft too fast.
If you go to a rafting store frequently you will notice that even the factory made rafts will slowly lose pressure although over several weeks rather than days. Still, they will all lose some pressure over time.
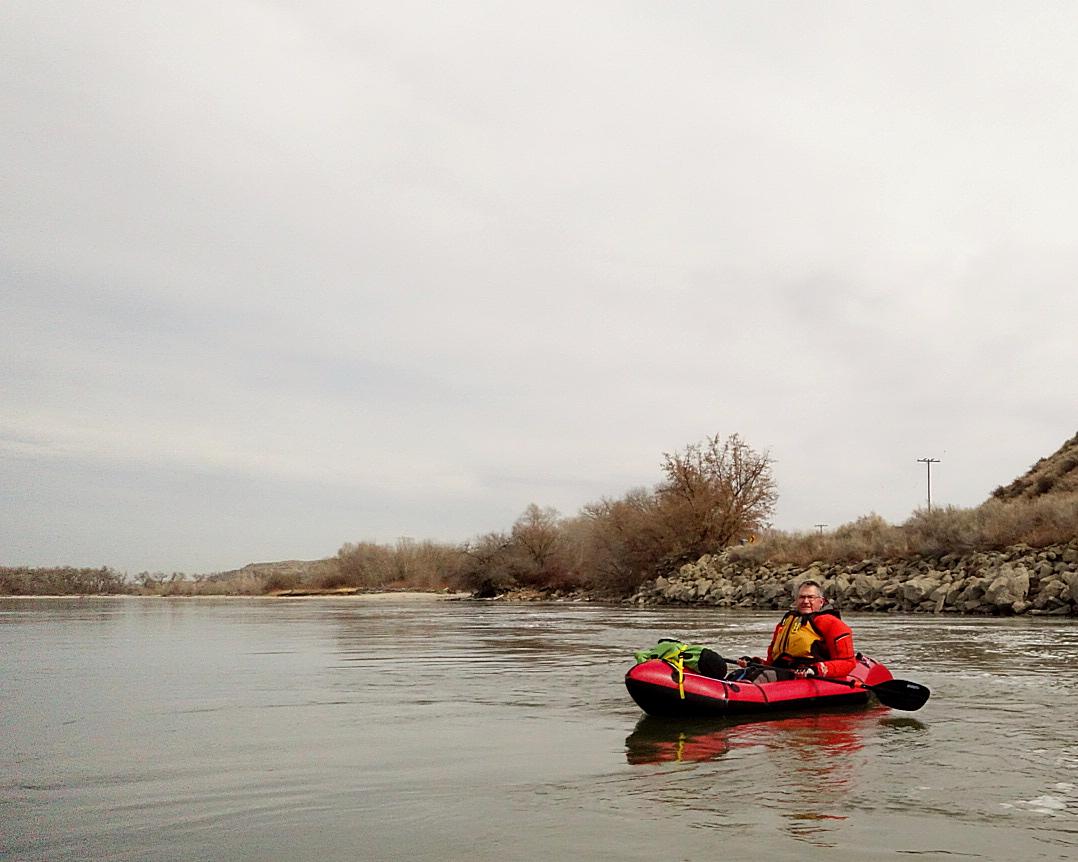
ParticipantA friend and I floated a 6 mile section of the Yellowstone River near Billings, MT in early March. I just had to try my newest Telkwa!
 Participant
ltk114,
I would be interested to give it a try if you really have given up on it. I live in Montana but get down to AZ (Grand Canyon) a couple times a year – no plans to get back there till late September. The seam in your photo looks like it needs a lot more heat. If that is the only type of error made then it might be repairable with some effort. If all the seams are like that then maybe just do them all again with more heat. If the welds of the tube sections to the floor are like that then maybe the raft would have to be turned inside out somehow. Or, maybe cut the seams at the center of the joint to reseal the floor welds and then re-do the outer seams with wider seam strips (that can cause wrinkling if the strips are too wide. Did you check your Black Baron temperature with an oven or meat thermometer? Mine was set too low (375F) out of the box. There are directions here on the forum of how to increase the heat for the Black Baron iron by accessing the rheostat. I had to do that with mine. I set mine for 405F – 410F. That made a huge difference.
If you really want to bag it, let me know.
ParticipantThanks for the feedback. Before I add handles I think I’ll practice a bit in the pool (all the rivers are frozen right now). I have long arms and I intend on having a blue camp mattress strapped to the floor. I can prob grab the opposite edge of that if needed.
January 11, 2019 at 8:56 am in reply to: New users say "Hi" here to prove you are not a Spam Bot #8621ParticipantGreetings All, from Ken in Montana. I’m working on the stern closure seam of my V3 kit today. This has been a fun project.
-
AuthorReplies
