Forum Replies Created
-
AuthorReplies
-
-
May 5, 2022 at 8:45 pm #16171
 BruceParticipant
In my experience, having outfitted numerous solo whitewater canoes and kayaks, and from talking to the most experienced of the local packrafters with more whitewater skills than I (Class IV WW Solo Canoe) the most efficient paddling seat location is as far forward as possible. This allows one to paddle with the modern kayak stroke.
Ideally the paddler would be in the center of the packraft. Like a kayak seat. However, this is too far forward for most packrafts. John and others want at least 8 inches (20 cm) between their backband and the back of the kayak. It’s a fine place for day gear in a 30 litre dry bag or small pack.
My favorite set-up is the DIY seat, with a back band preventing my Crazy Creek chair about 8 inches forward from the back of my V3 140. I put a throw rope, day bag / snack bag behind me. I don’t have room for anything at my feet.
For more about the stroke try Ken Whitting: https://www.youtube.com/watch?v=F2fGKNFEURw
Perhaps even better is Eric Jackson: https://paddlingmag.com/videos/eric-jackson-kayak-forward-stroke-video/
The “modern” stroke is what happened to kayaking and canoeing when they became Olympic sports. My old low paddle, bent arm stroke is obsolete and deemed inefficient. Habits being hard to unlearn, it is just so much better to learn it right first! My observation: If your arms are tired, oops, correct your stroke.
Notice in these videos that the paddler is pretty much in the center of the craft. When outfitting a solo canoe the rule is for the spine to be at the moment-center of the craft. Yeah, the spine, which is pretty far behind my belly button! Canoeist, however, don’t have legs out in front like in a kayak.
Enjoy!
Bruce Campbell
-
April 30, 2019 at 1:35 am #9512BruceParticipant
My daughter, age 10, finds it easy to re-enter her packraft by reaching across it and grabbing a webbing strap I install around the perimeter of the raft. It is just a 1/2″ piece of nylon webbing run through tie-down attachment points.
Having webbing around the bow, and another around the stern is sufficient too. I run it from 2R to 1R to 1L to 2L. and another strap from 4R to 5R to 5L to 4L. Having a thigh strap completes the grab point options. And I find the thigh strap the most likely point to grab onto if thrashed and blown out of the raft in a substantial hole or hydraulic.
To save weight, a strip of 1000D fabric is even better than the webbing. It is plenty strong (420 is probably fine too, but I haven’t tried it yet) light, and doesn’t pick up water.
I have heard plenty of stories of rafters who got tossed, only to have their feather light raft blow away faster than they can swim! So having something to grab onto as one falls out can save a long swim!
-
May 25, 2018 at 12:31 am #6487BruceParticipant
I tried several different heat sealing tapes. Bonds to the PU coating was unsatisfactory so I gave up. I was also unable to determine if the film of tape chemically matched the TPU coating. My understanding is that plastic welding and bonding only works between two identical or compatible plastics.
-
May 25, 2018 at 12:10 am #6486BruceParticipant
Great to know the Big Agnes fits my Voyager. An interesting complaint packrafters made about using their camping pads for the floor of their packraft was sleeping on a wet pad. A solution is to put the pad under the tent floor!
Bruce
Fairbanks
-
May 25, 2018 at 12:02 am #6485BruceParticipant
I’m fascinated with your successful application of 3m 5200. I bought the slow sure version and had no luck getting it to cure. Great looking craft, love the photos!
Bruce
Fairbanks
-
May 24, 2018 at 11:55 pm #6484BruceParticipant
Marcin, Yes, packraft inflation is limited to lung pressure, at or less than one psi. In contrast, I believe a full size NRS 18′ heavy duty raft is inflated to 2.5 psi, much higher pressure than any packraft should be inflated.
It is an interesting question, and I have just acquired a low pressure gauge to fit my NRS barrel pump so I can pressure test my seam weld quality. Gotta be fun blowing up sample tube sections?? Not having begun my tests, I suspect seams may hold several psi. However, I don’t intend to operate my rafts at higher pressure because I believe the 210D fabric is more likely to rupture on contact with a sharp object (stick, rock) as you increase pressure. More importantly, the goal of a packraft – light and small enough to backpack – is not compatible with carrying a pump.
I’m not set up to hot air weld, or I’d pressure test sample tube section from the double sided 1000D fabric. That would be a “mil-spec” raft! Ha!
Larger designs, like the tandem, use larger diameter tubes, increasing the “SI” (square inches) in psi. The one psi limit is a key factor in the design considerations. You can’t expect 210D fabric to work like RF welded hypalon or heavy vinyl 18′ oar rafts. Fortunately.
I was planing on pressure testing next winter. Sorry, gone boating.
Bruce
Fairbanks
-
February 9, 2018 at 1:38 pm #5439BruceParticipant
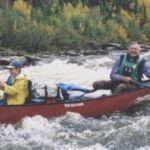
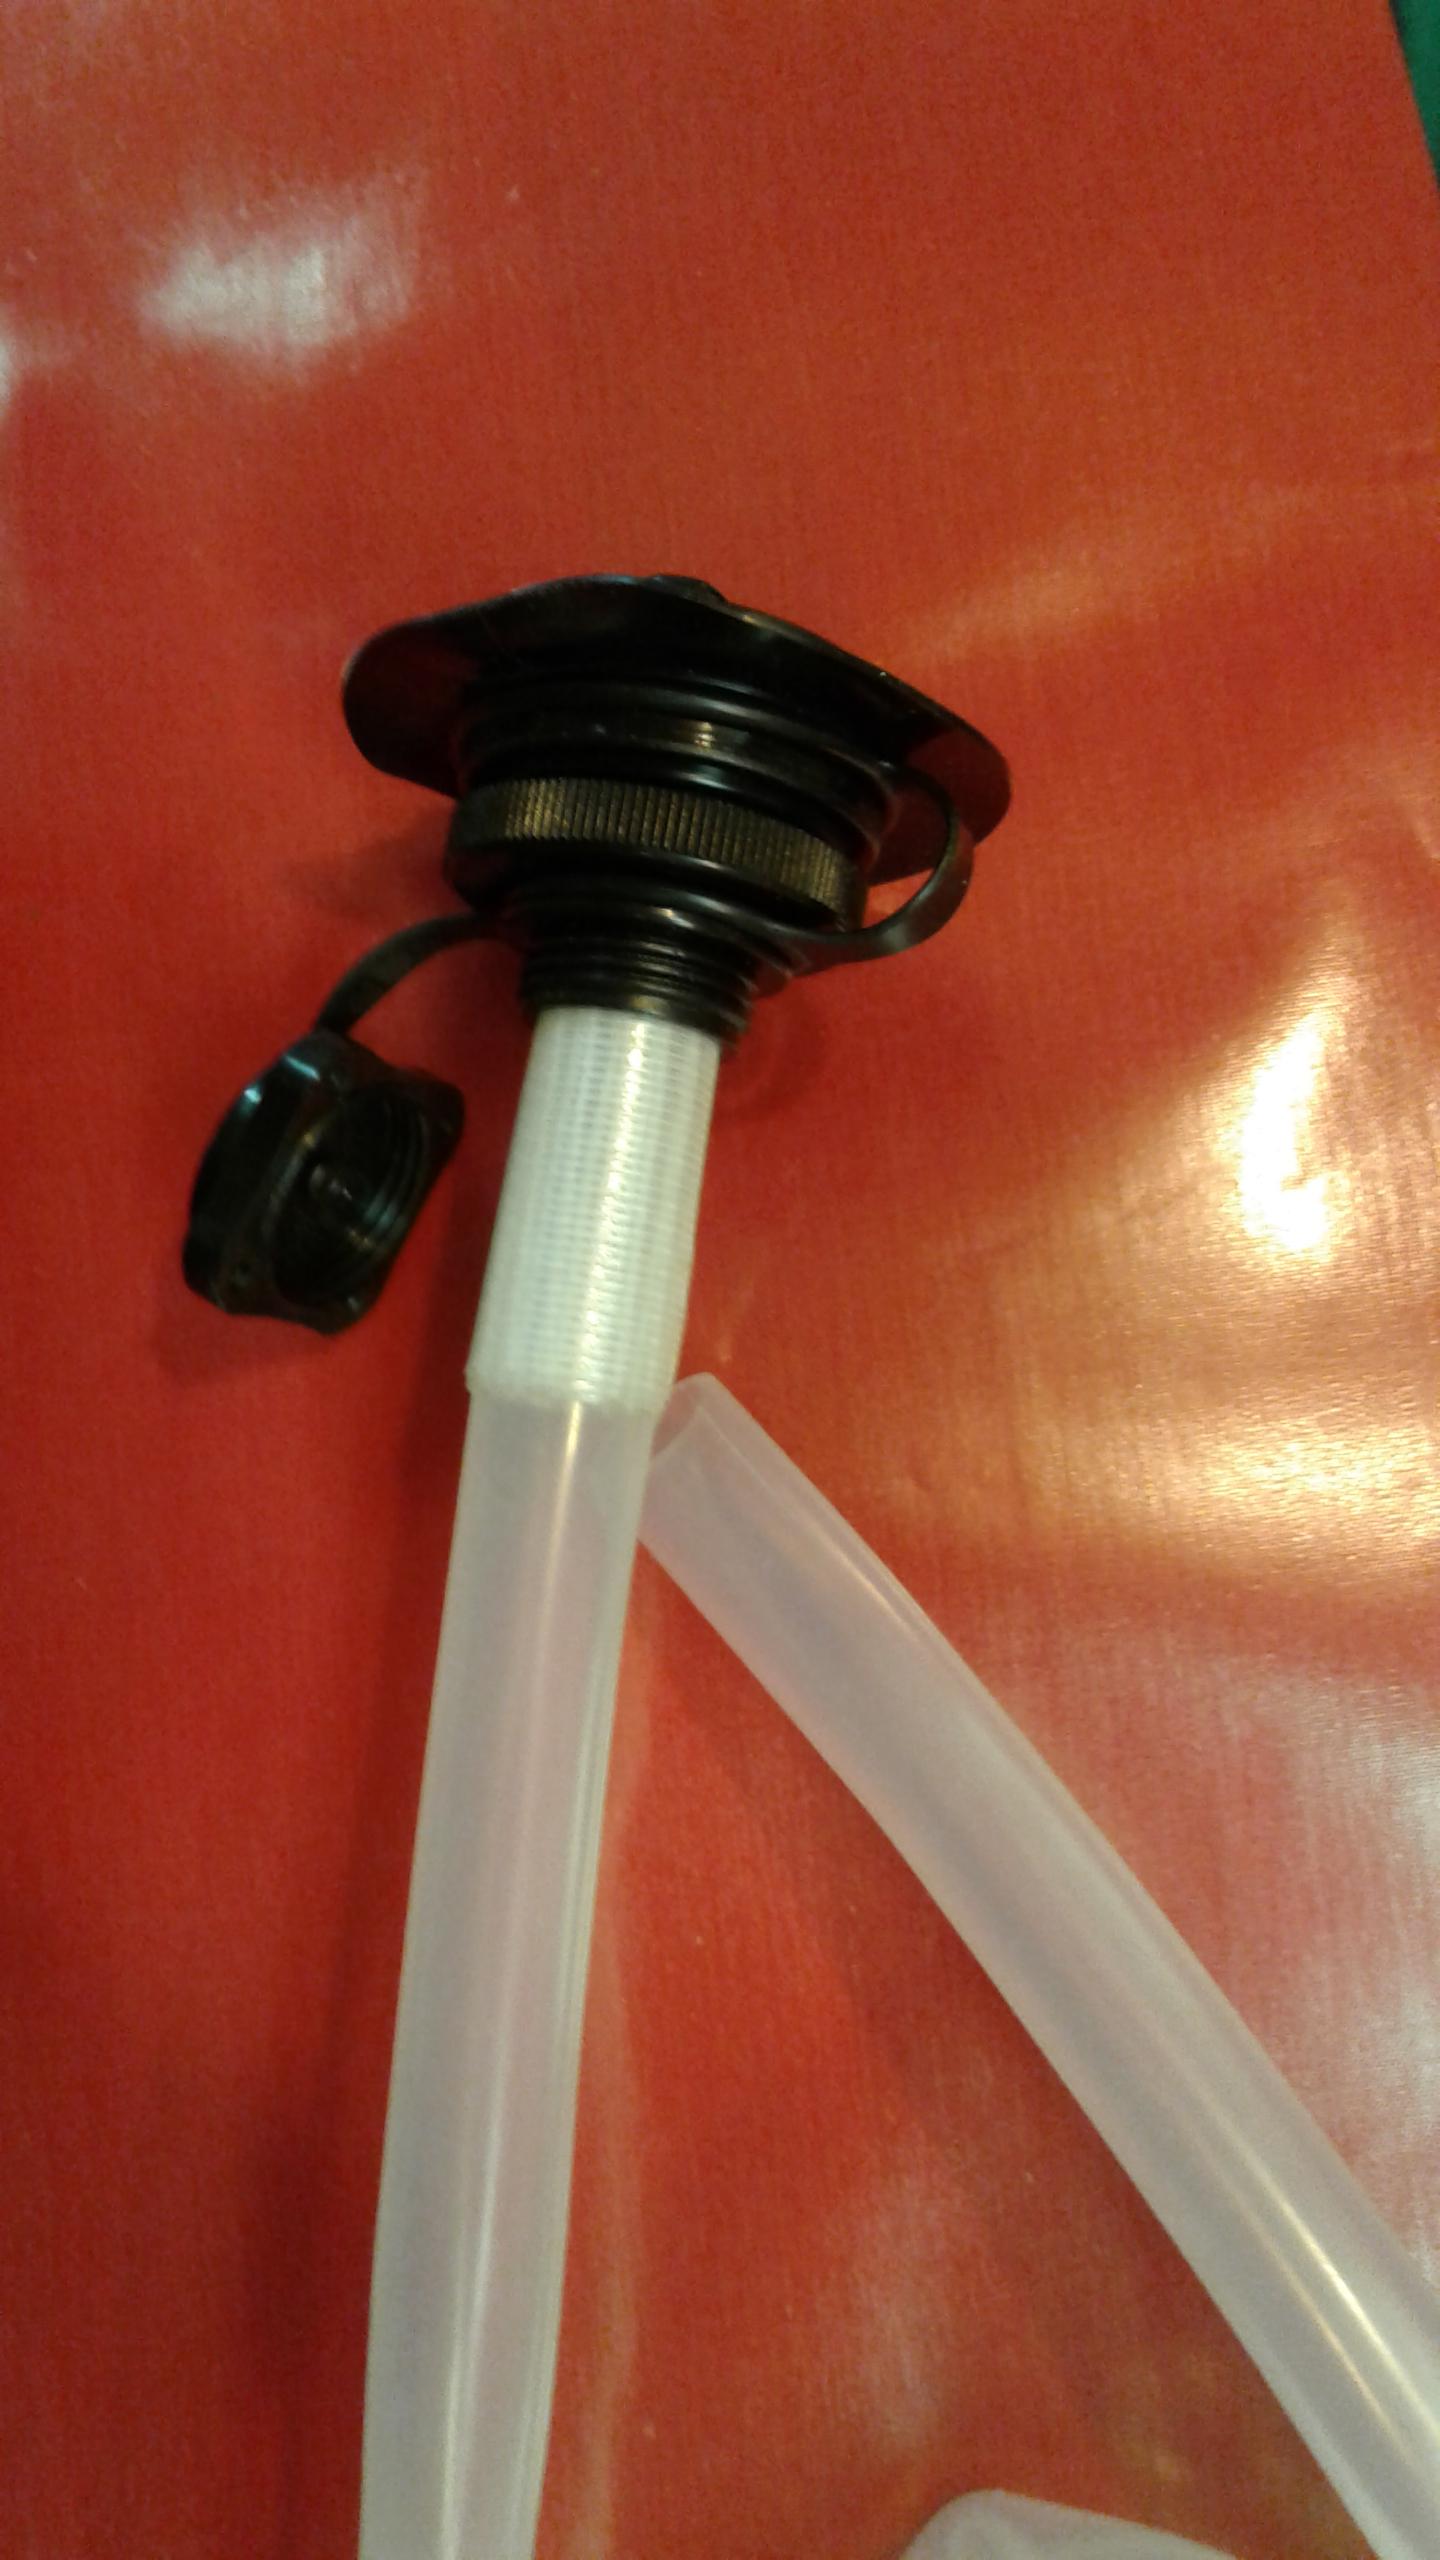
I installed a schnozzel in the inflation bag that came with my latest V# kit. The idea was suggested by Lyn. It originates from Exped Schnozzel Pump, makers of sleeping air mattresses.
I find the corner installation to be fast and simple. I used 210D fabric for the schnozzel so it wouldn’t twist and shut off during inflation.
To dashion the schnozzel seal a 210F tube on a taper. Glue it onto the tubing, then invert it and gule it again with heavy thread of, in my case, fishing line, and more glue. The fishing line “Frap” holds the fabric onto the tubing under the pressure of inflation. The glue just provides a seal.
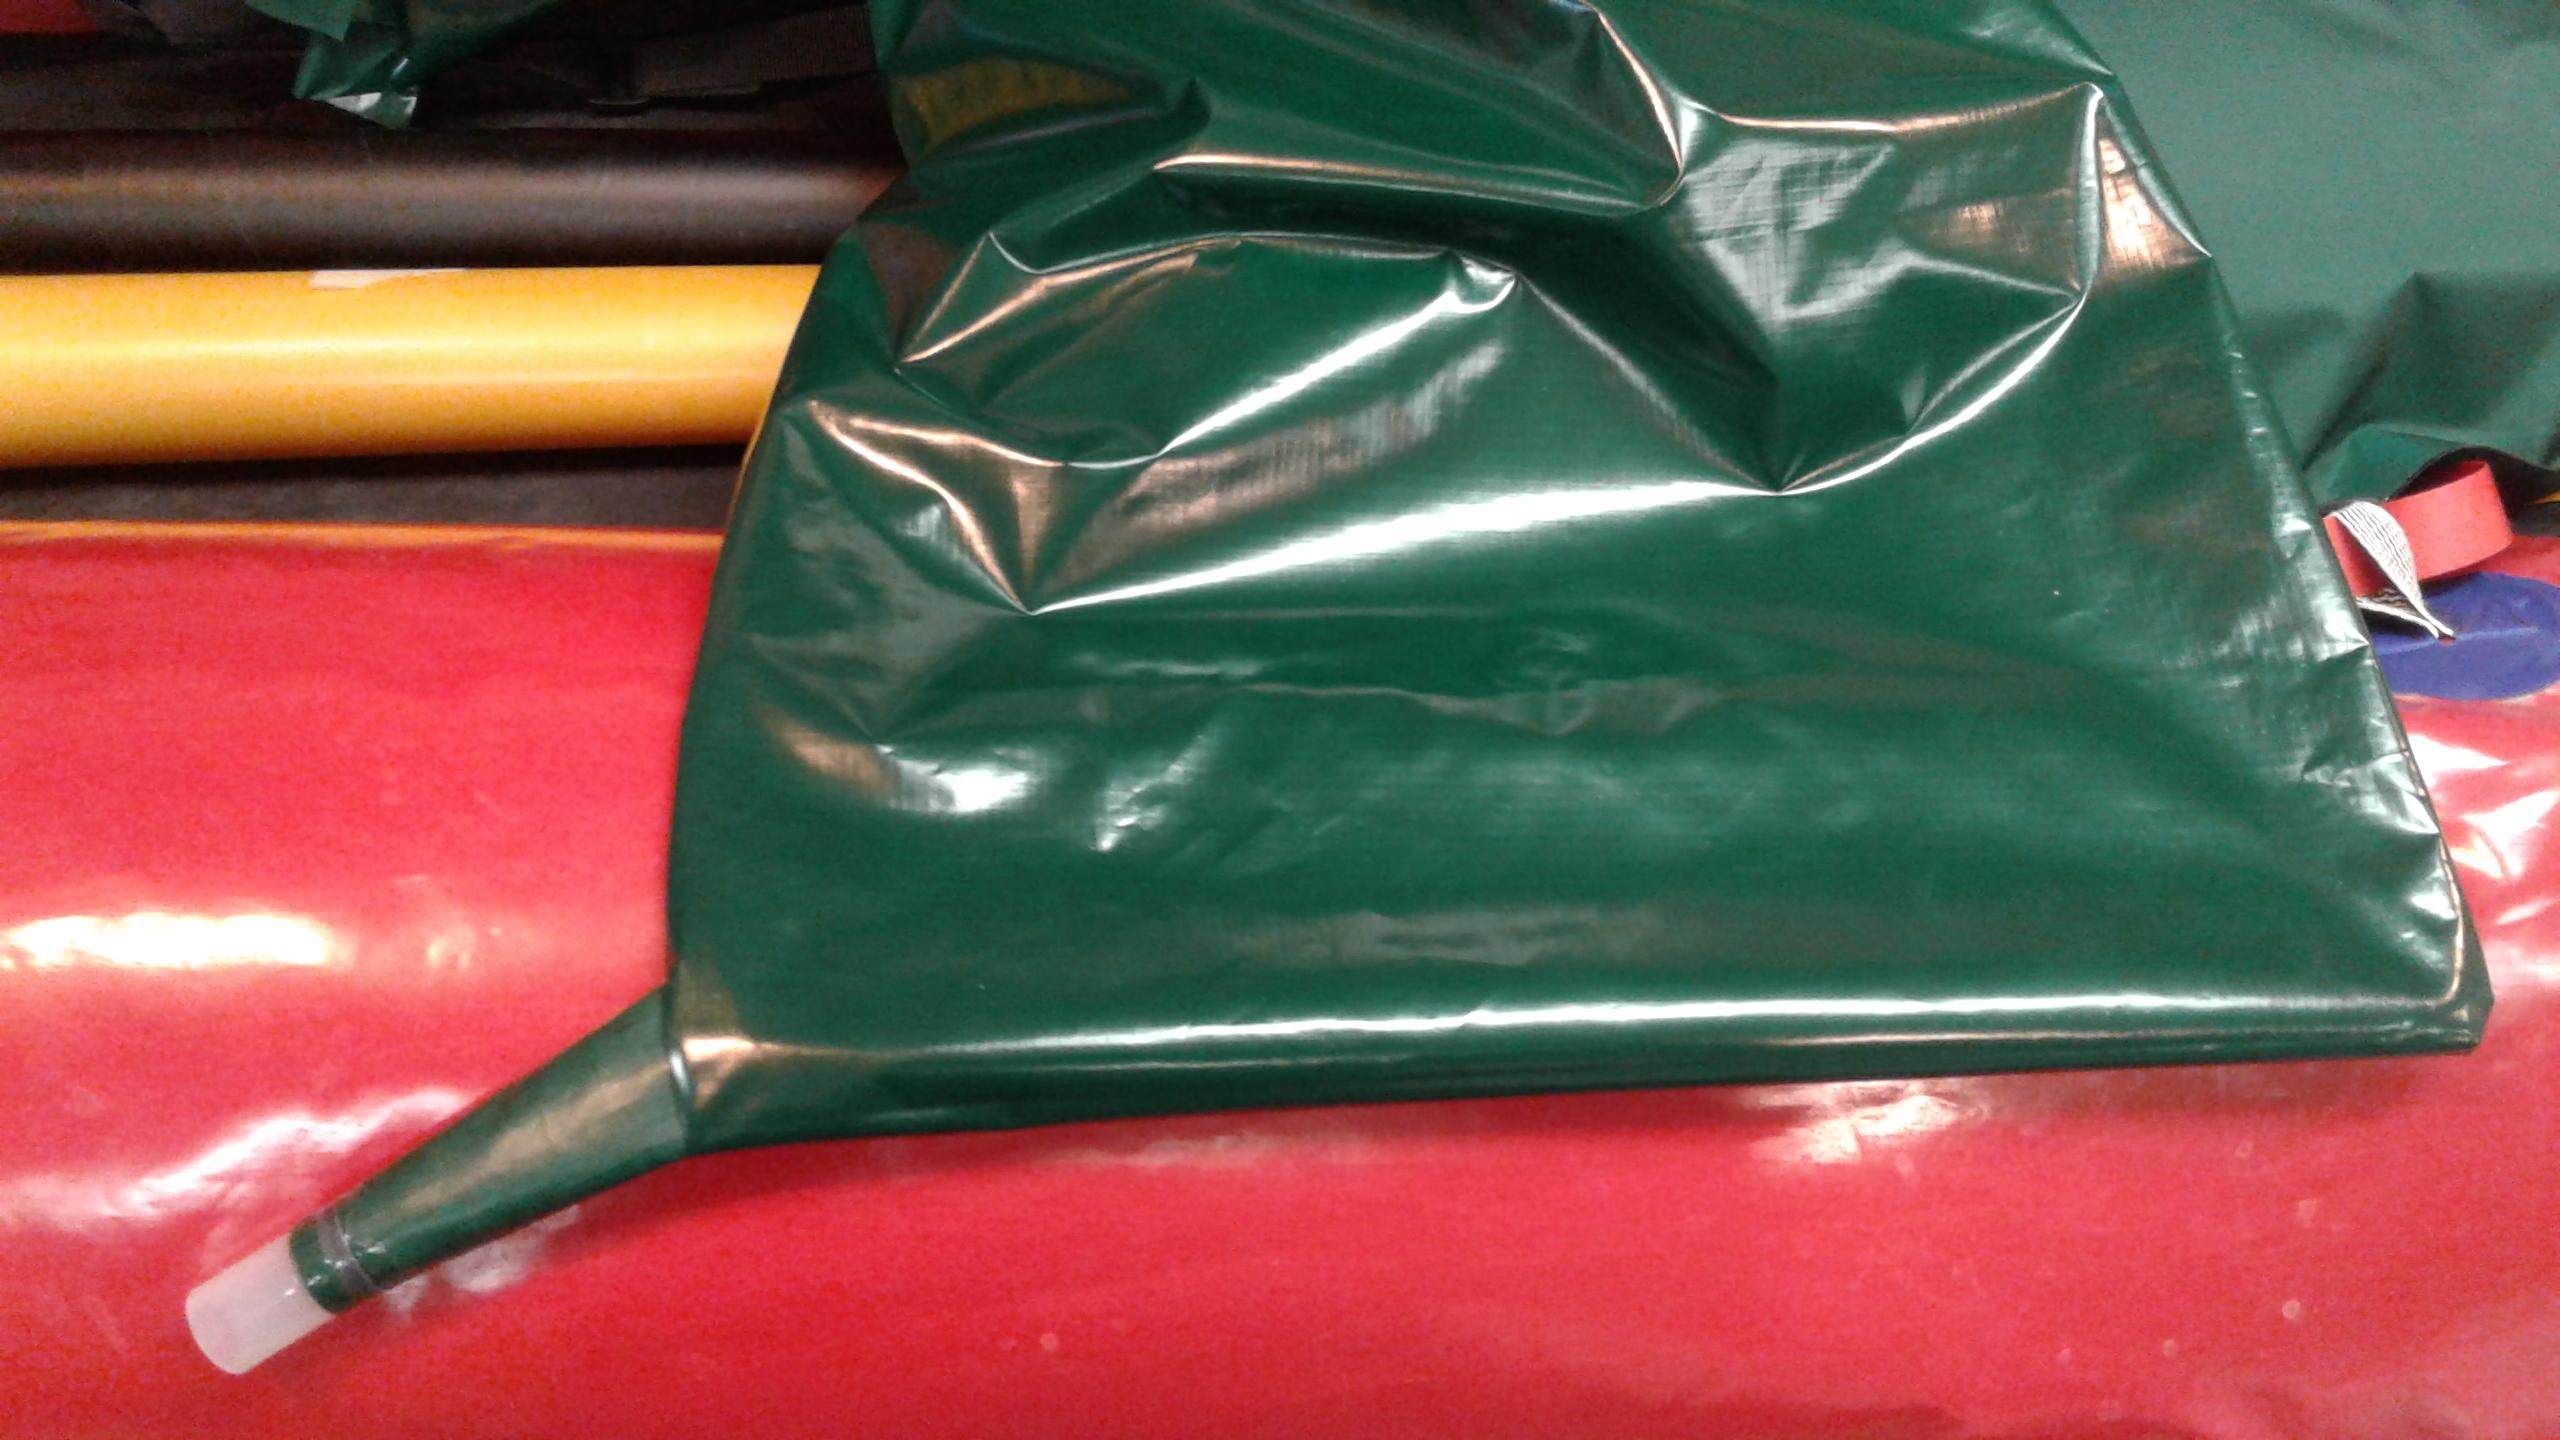
Up close.

I’m using clear 5/8″ IC x 7/8/” OD silicone tubing. It is slick and glue will not hold well, but the braided fishing line (Dyneema) holds great.
Stiffness of the 210D fabric prevents it from twisting closed as you inflate your raft.
Great idea, thanks Lyn!
Bruce
Folk School Fairbanks.org
-
February 5, 2018 at 12:37 am #5382BruceParticipant
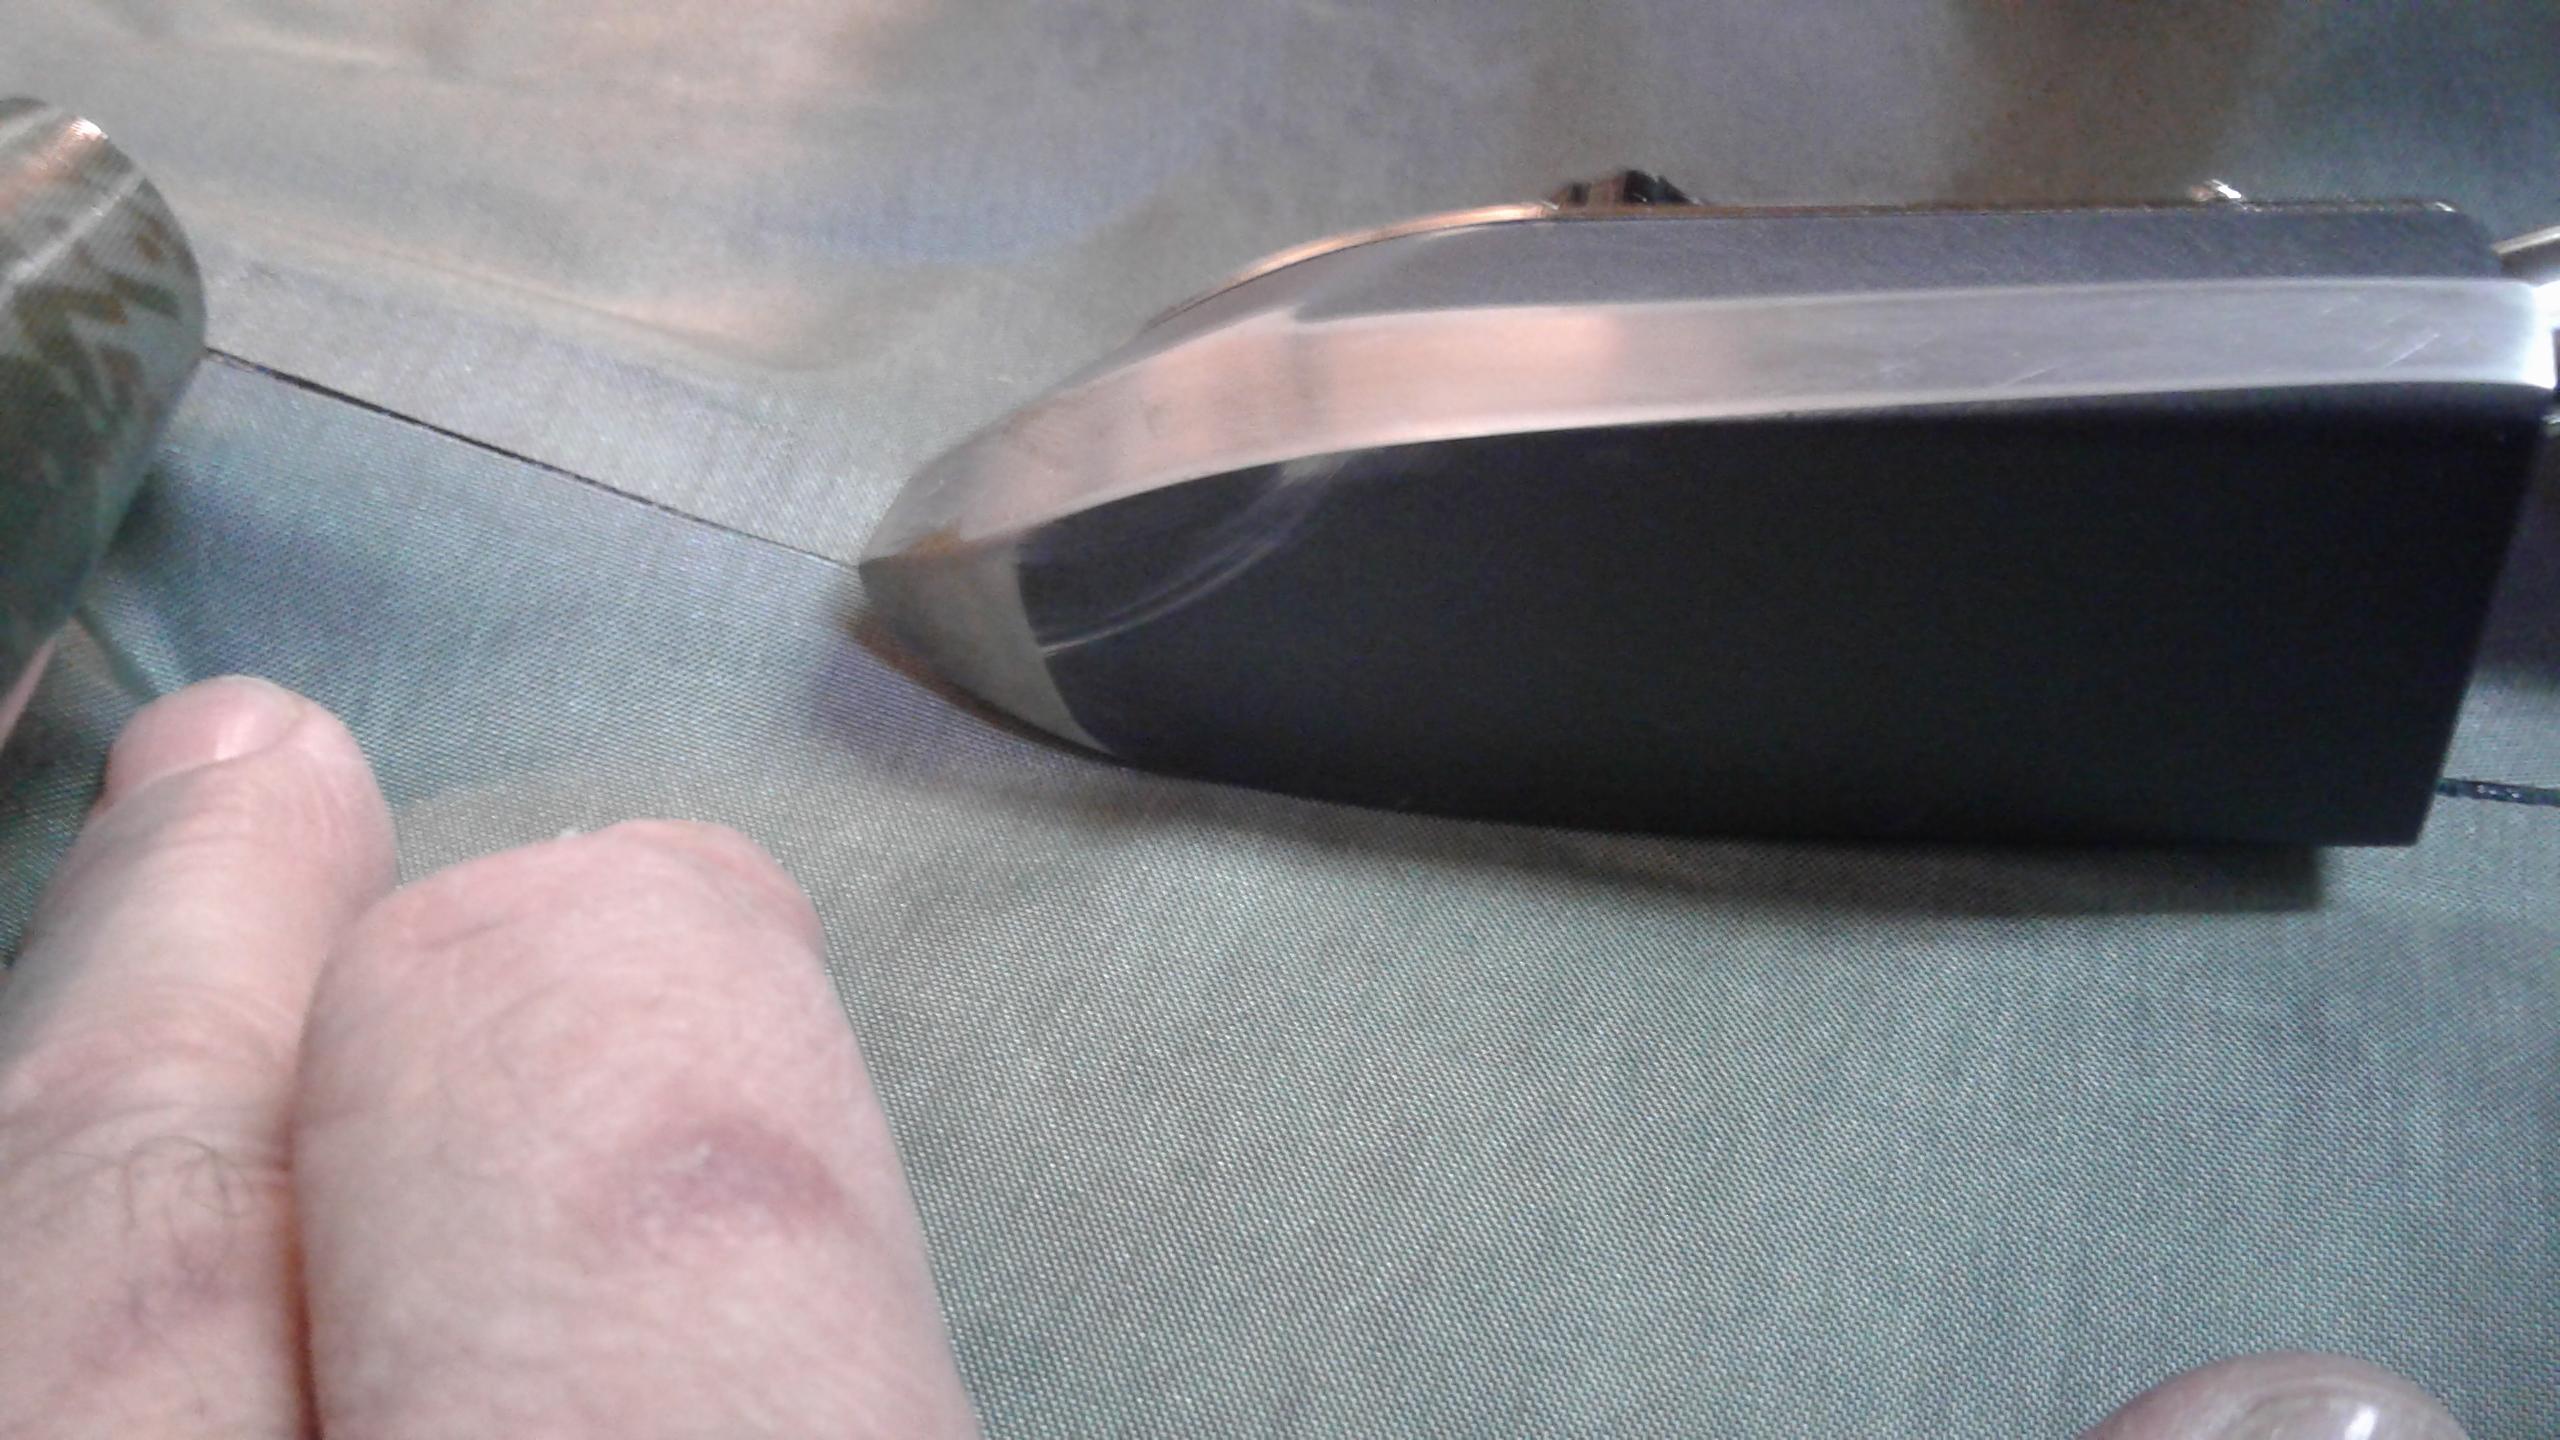
Modify your Model Aircraft Iron for optimum performance building a packraft.
Model Aircraft irons generate heat fast. They have the strength to press firmly on the melted TPU and seal a seam. I got mine at a great price. (https://www.towerhobbies.com/cgi-bin/wti0001p?&I=LXB357&P=0). But the shape leaves much to be desired.
The bottom is too flat, too wide, the sides have too steep a taper, and the tip is too round. So I reshaped one, Confession: the moral effort was huge – taking a file to a brand new tool was really hard. But it was so successful I can unconditionally recommend the effort. Wow, this simple reshaping makes it a really great tool for building packrafts!
(Disclosure: I teach classes thru Folk School Fairbanks, and we are approaching 30 DIY Packrafts, solely due to DIY’s fantastic product.)

As purchased the bottom is flat so you must use it all at full width or none. The tip is too pointy to be of any use and the sides are too rounded to be of much value.
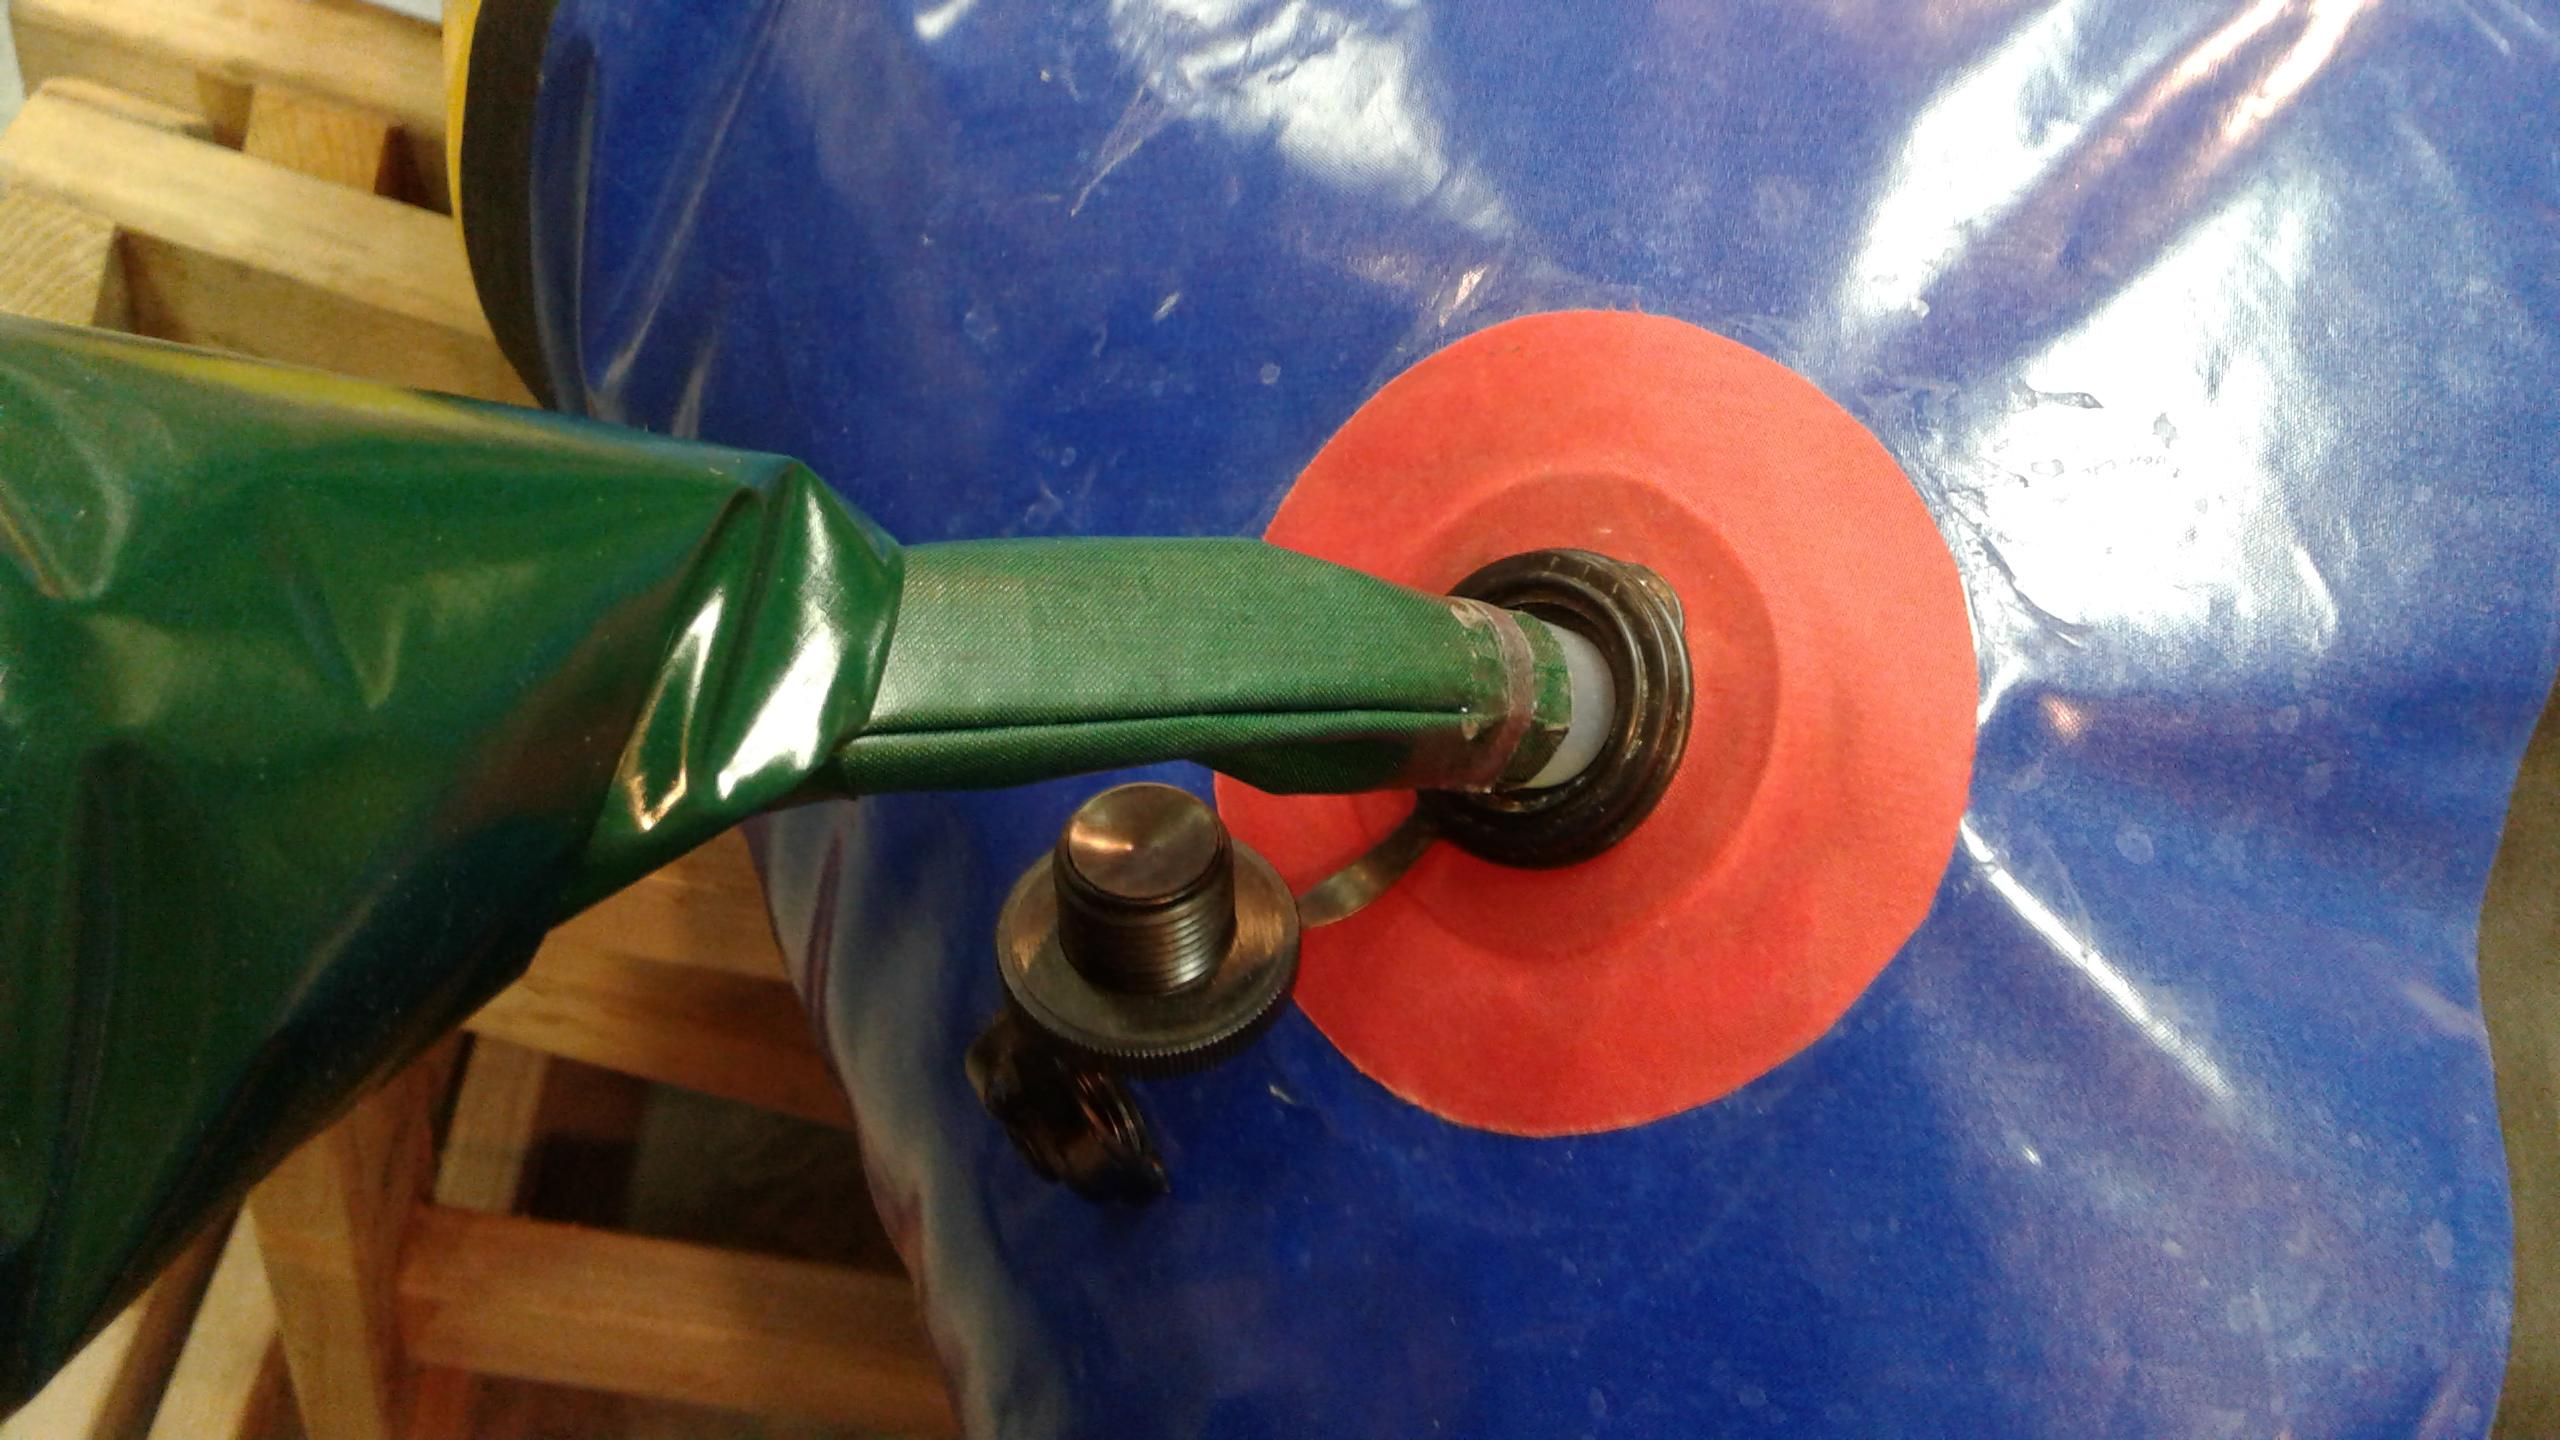
Goal: Flatten the tip to 10 mm. Round the bottom from 25 mm to 10 mm. Establish a 90 degree flat side about 10 mm wide.
Photo 1 flattening the tip of a Top Flight iron. Note: I recommend removing the heating elements first.
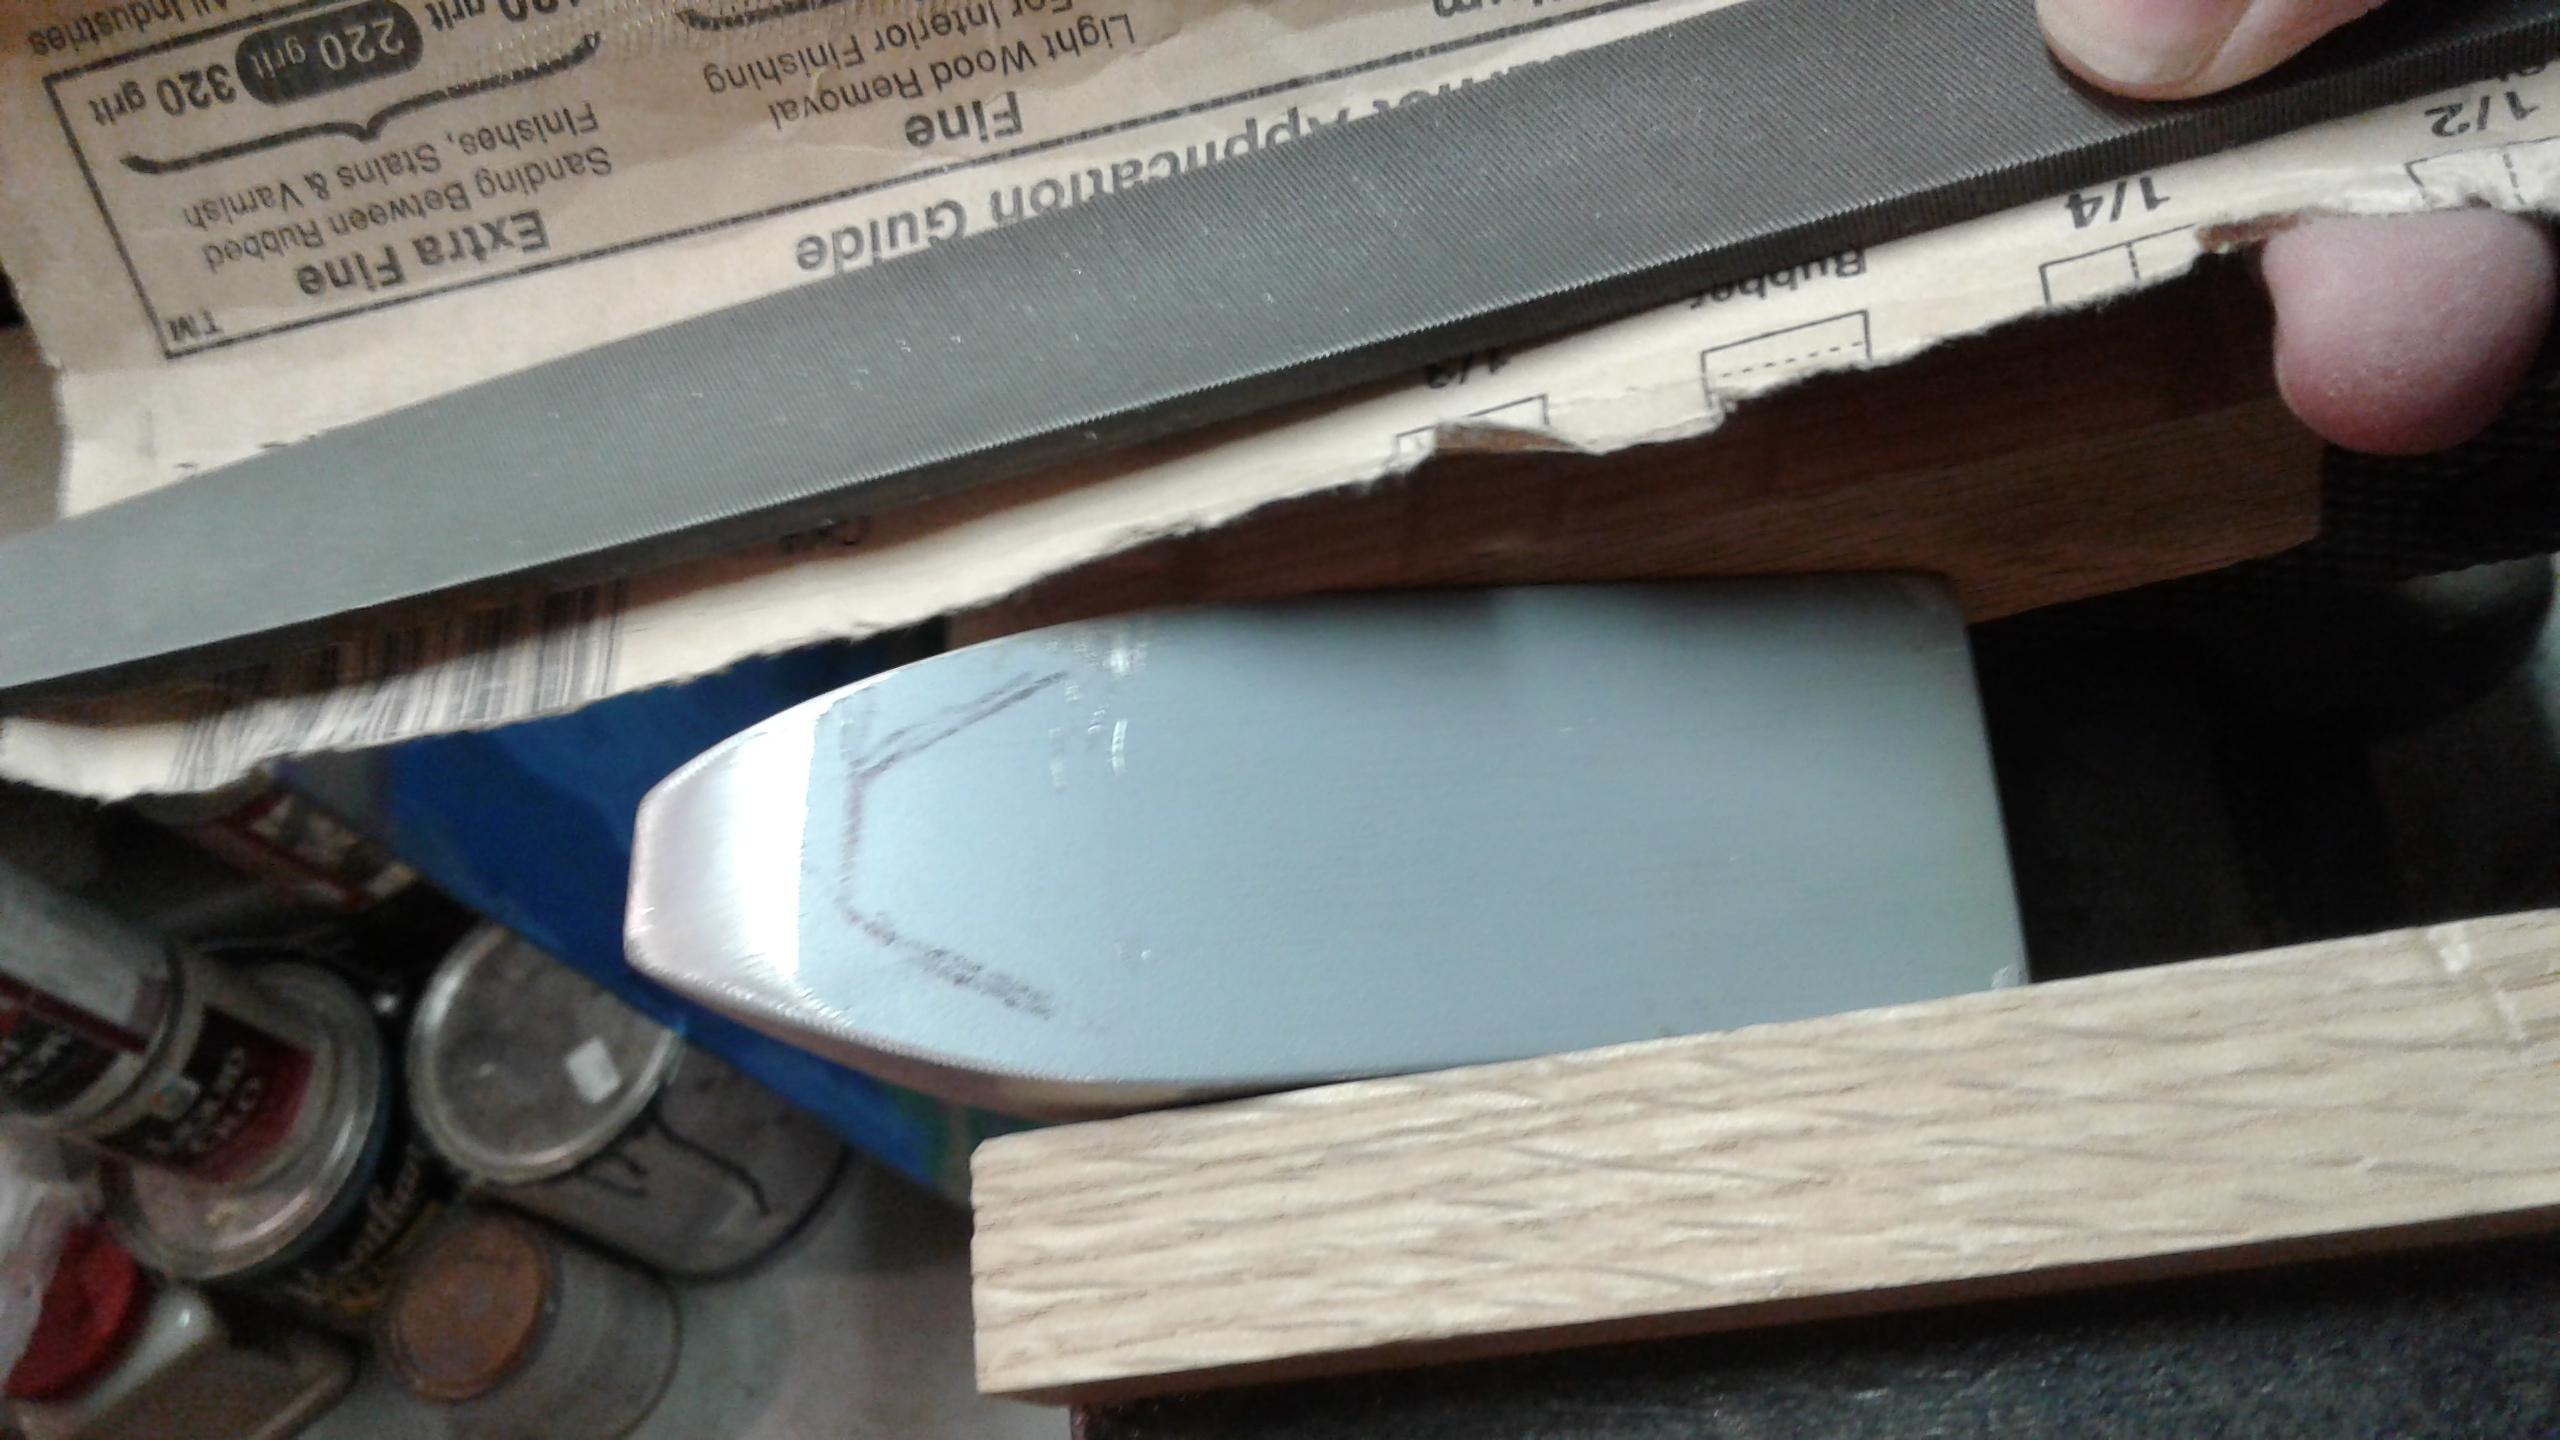
Round the bottom beyond the internal hollow (outlined with marker).
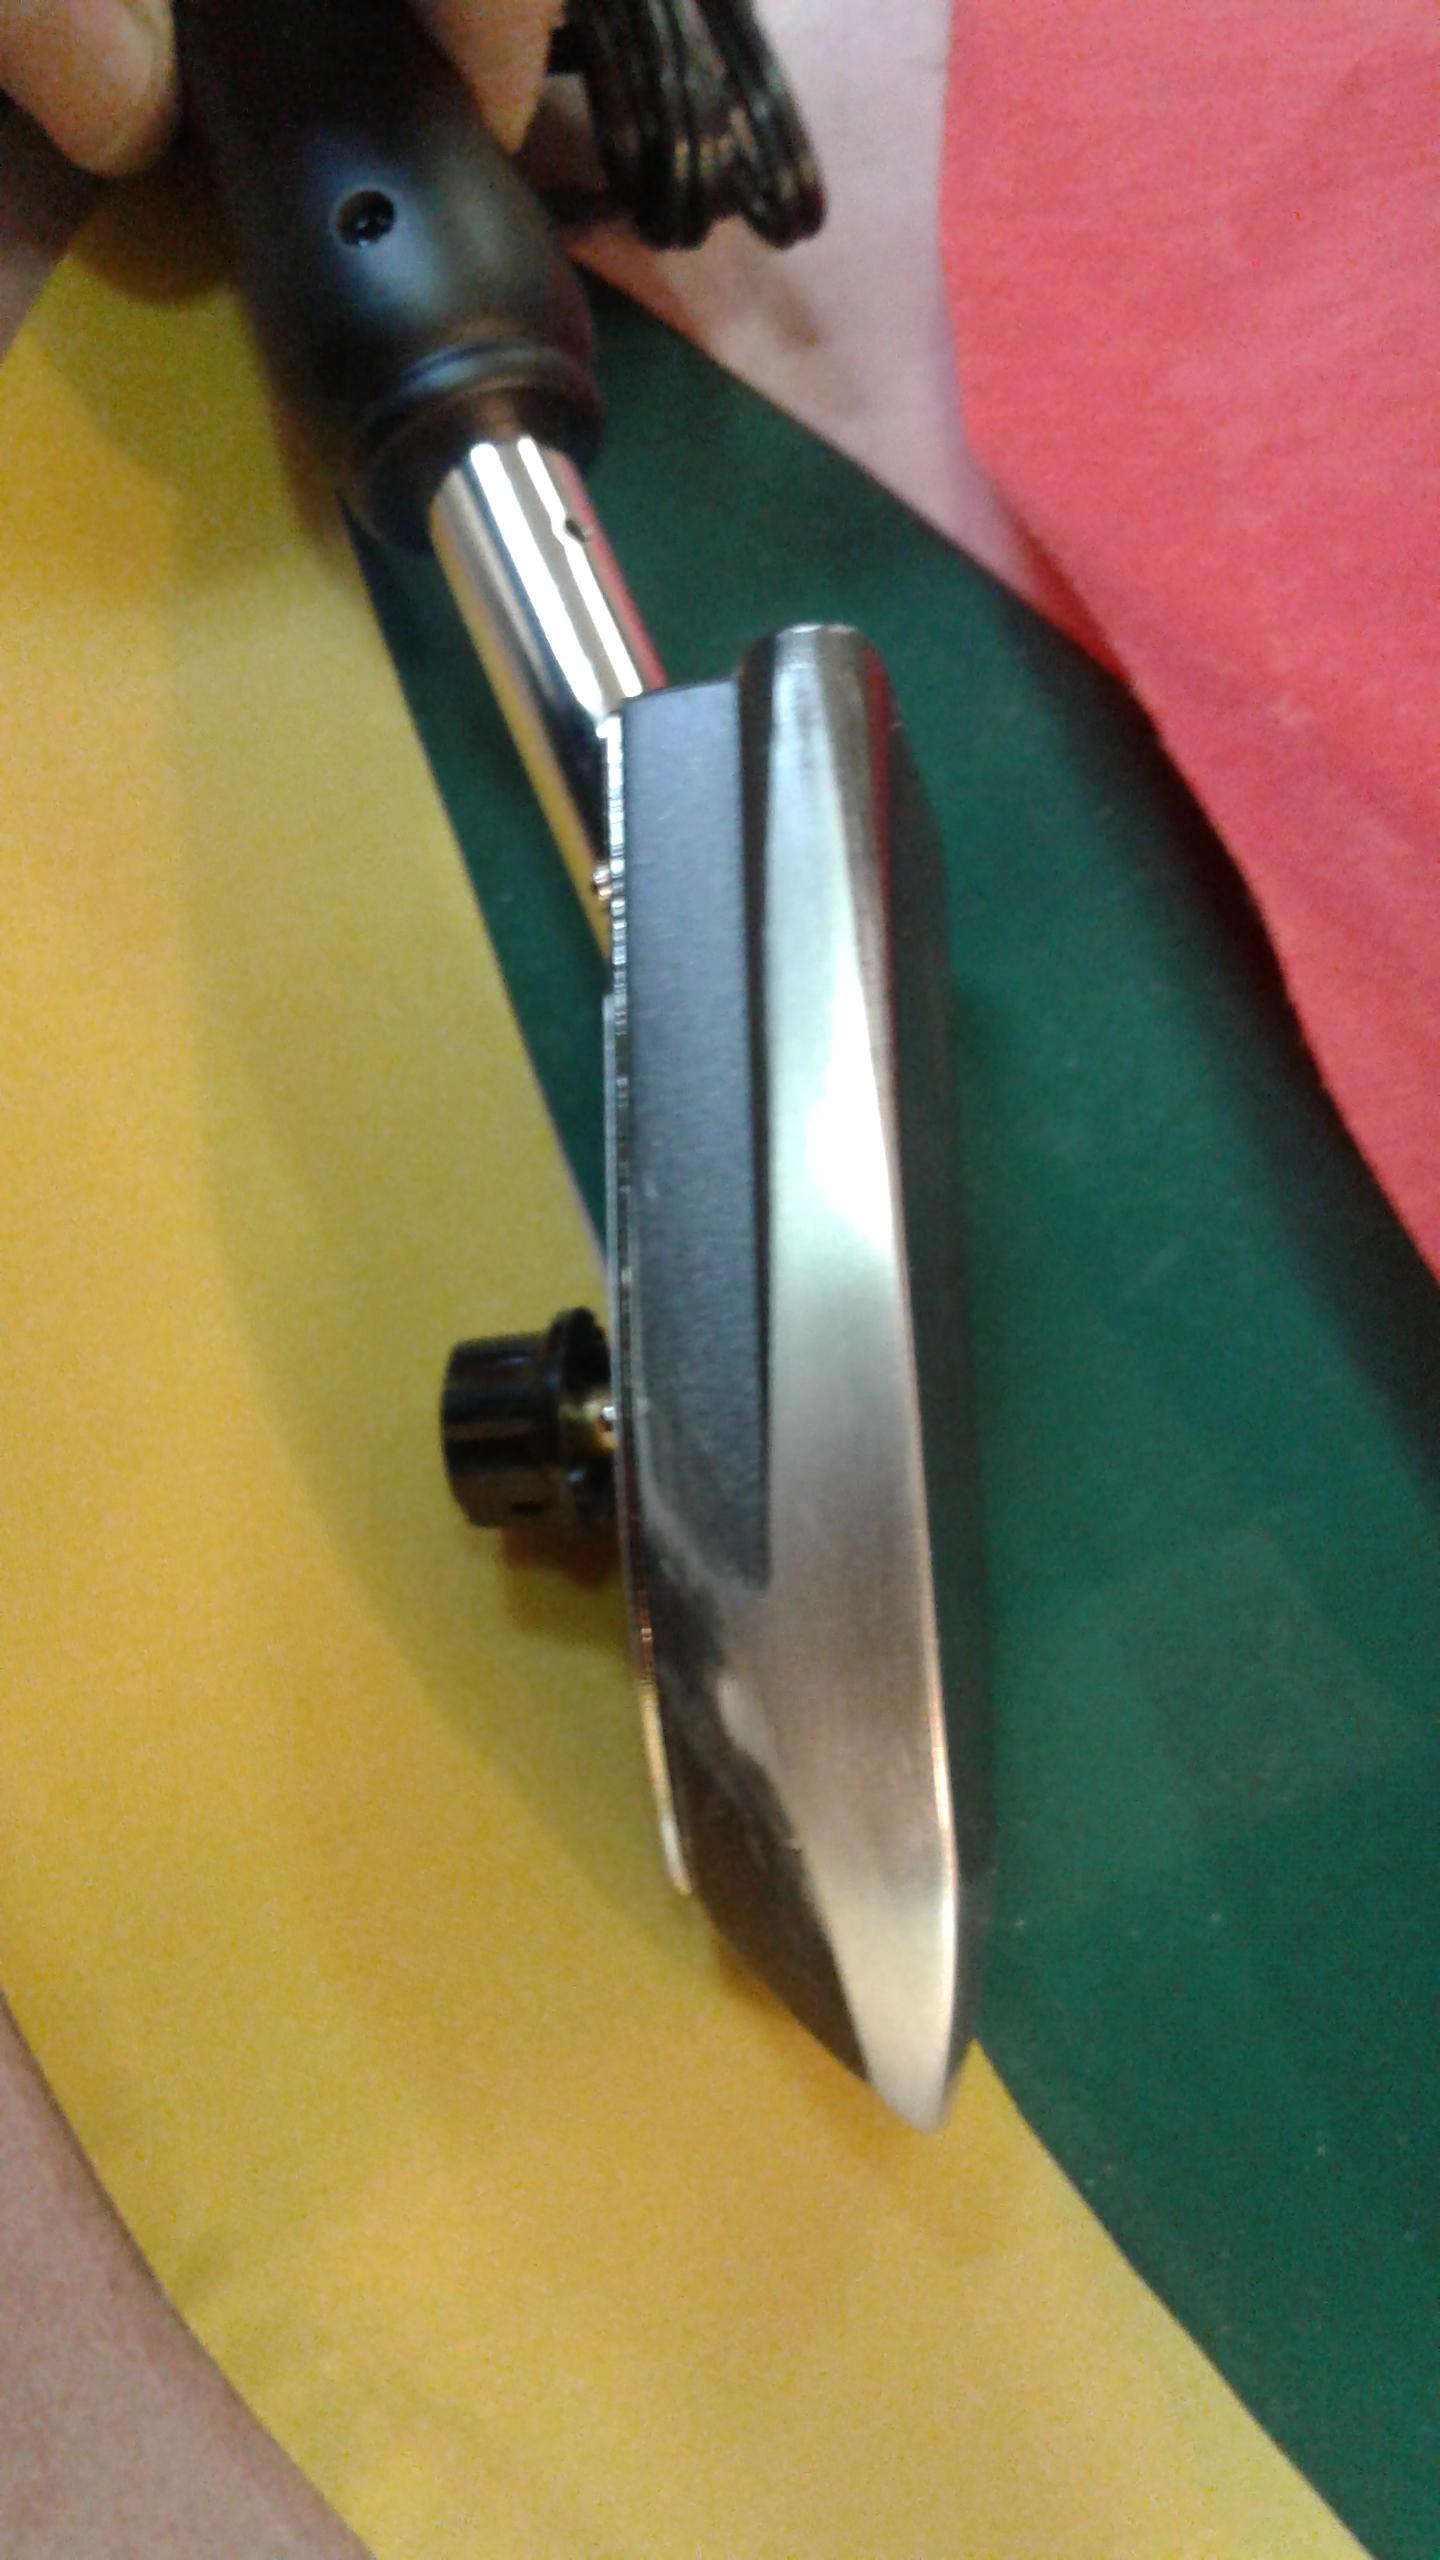
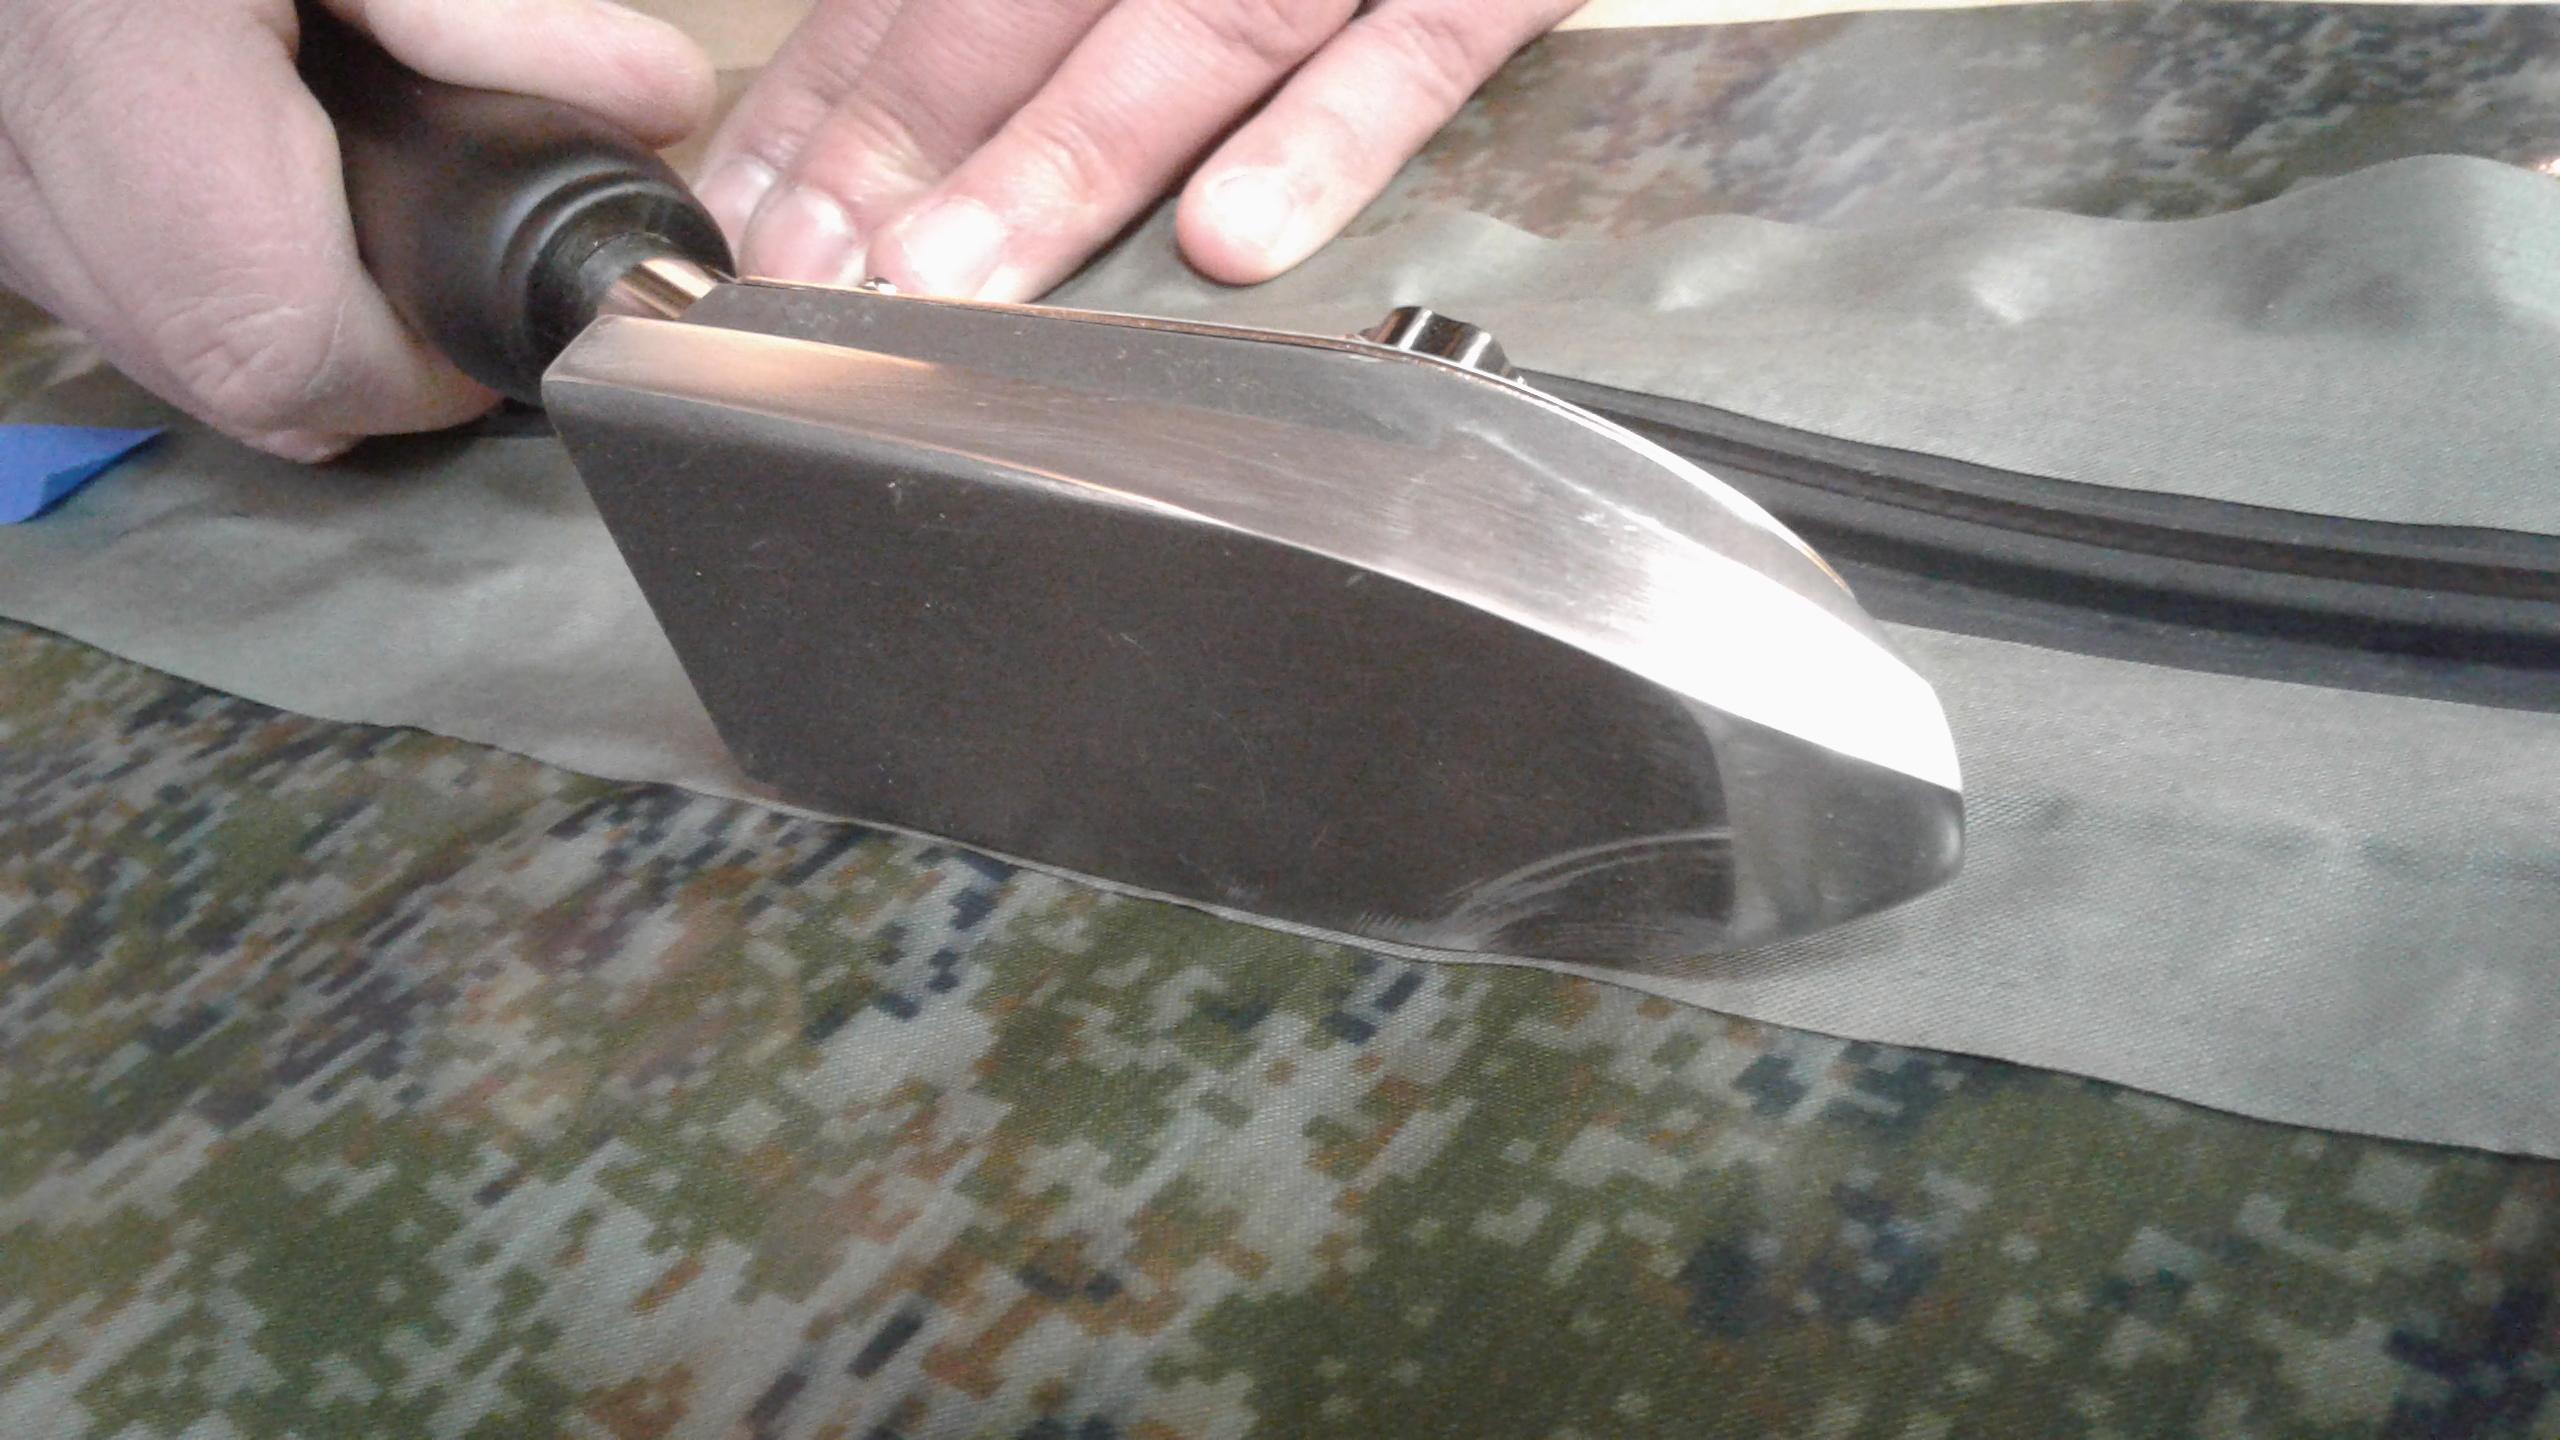
You can see the flattened sides on a Coverite, Flattened at 90 degrees to the bottom. You can also see the front of the bottom is rounded up. Iron has been reassembled.
Flattened side working the edge of a zipper installation. Note again the rounded bottom and blunt tip. The blunt tip is great working the ends of the seam tape!
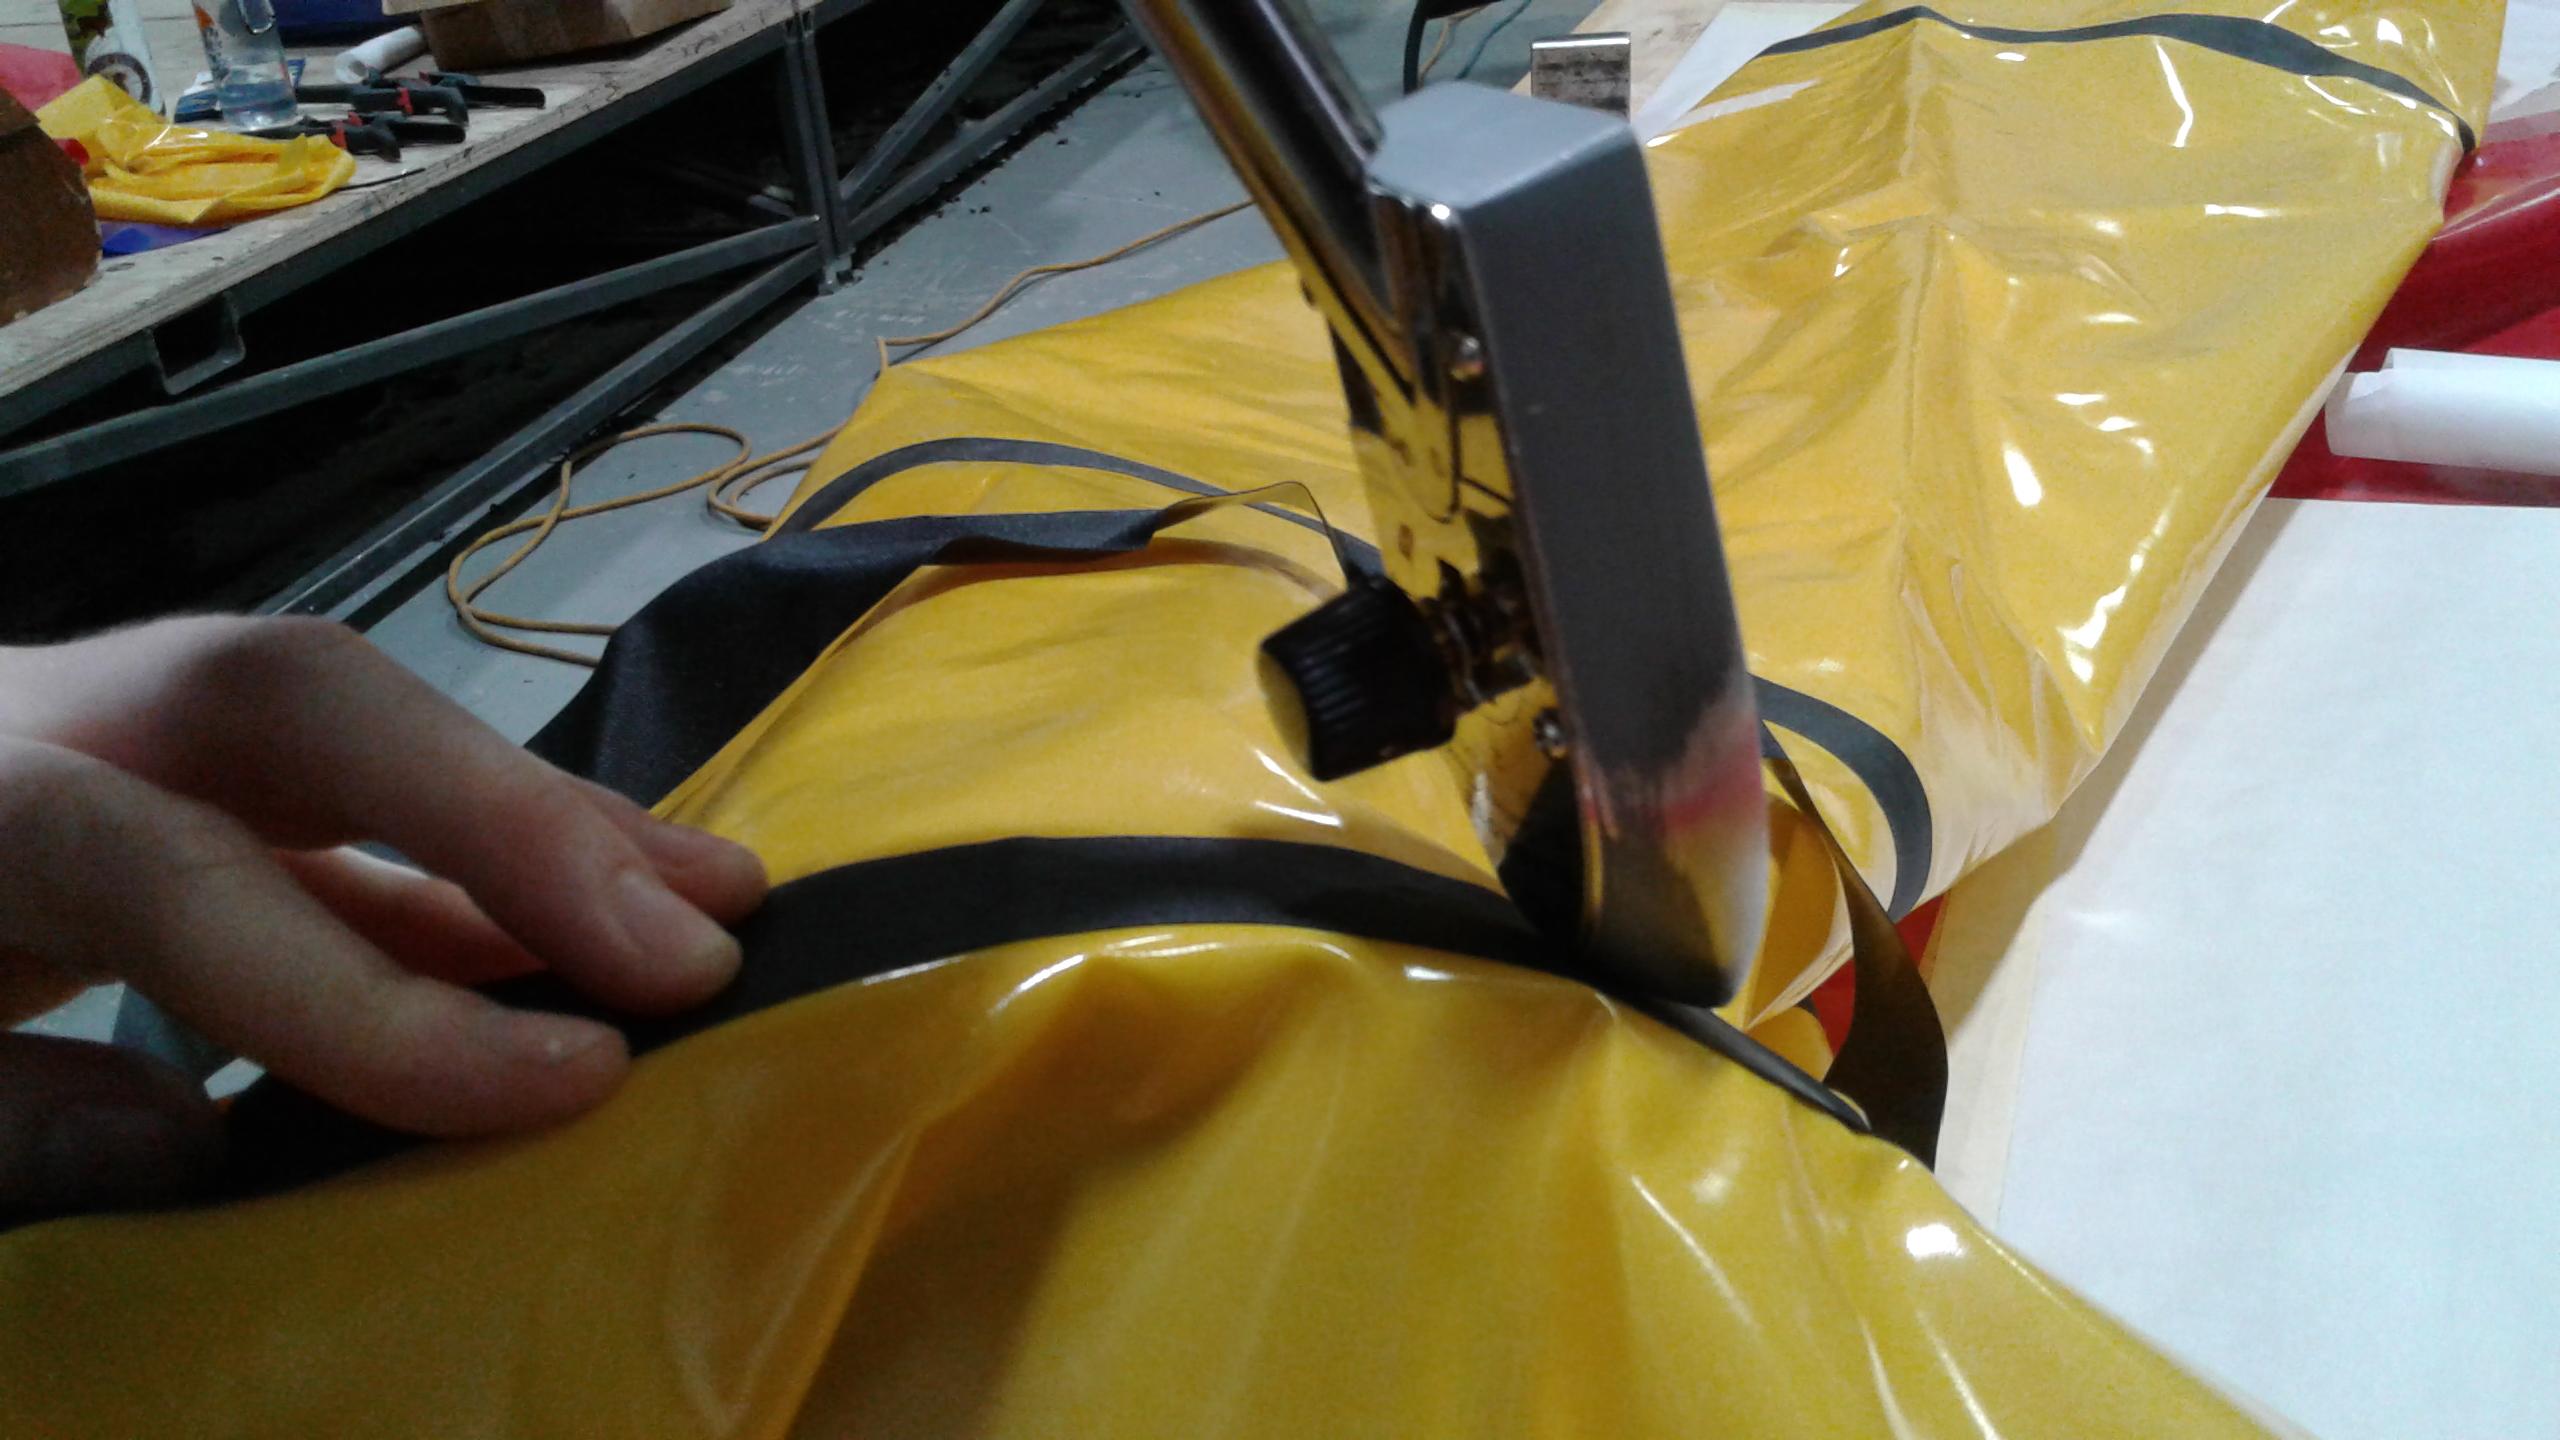
Flattened tip working along a seam. Yes, this is a V2 being assembled in V3 sequence!
Flattened side working on the inside of a seam. Flattening the side at 90 degrees to the bottom prevents touching the top plate on the iron. Also note the bare aluminum showing where the bottom was rounded.
Rounding the forward end of the iron allows one to use just the tip, without having the full width of the iron in contact. After flattening the sides, I found I could round the Coverite from about 25 mm in width to 10 mm at the tip. The 10 mm blunt tip is really handy.
And yes, after using a file for the first, I had the moral incentive to use my grinder with an aluminum disc for the second and third. Faster, but you will still need to smooth it with a file, 220 grit sand paper, and extra fine steel wool. Then rub it on a scrap piece of fabric to be sure it is polished enough and won’t leave aluminum rubbings darkening your fabric!
Reducing the amount of aluminum in these irons improves the heat transfer. The 165 watt heating element seems to heat even faster. Having both sides flattened allows one to flop the iron over if one side is cooling too fast. (Not as common as it is with a Clover. It is possible to get overconfident, having vast amounts of heat, and still go too fast down a seam.)
I hope this is helpful.
Bruce, Fairbanks, Alaska
P.S.: I have both Top Flight and Coverite model aircraft irons. Matt is right, the Coverite is the better iron. It has a solid handle, while the Top Flight is spot welded. The Coverite thermostat looks better and the heating element is internally screwed to the base. And I got the Coverite for less than the Top Flight. Oh, and if you are worried about totally messing up your base, Tower Models sells a replacement base for about $7.
-
January 30, 2018 at 6:11 pm #5318BruceParticipant
Lyn,
Thank you for a fantastic report and illustrations for using the inexpensive hot air gun. I greatly appreciate the 1600W is better than 1000W discussion. I tried my Milwaukee heat gun and while I can say it works, there is very little control. No temperature control at all other than distance to the work surface and speed of transit. Plus it blew so much hot air around I was heating places I didn’t want heated.
I especially liked your heat seal tie down points. very nicely done!
Bruce
Fairbanks -
December 15, 2017 at 5:53 pm #5152BruceParticipant
I come to packrafting as a whitewater boater. I have a solid kayak and canoe roll in class 3 or 4 whitewater. I started back in 1963, and am trying to figure out how to slow down a bit, but not leave the game behind.
That said, I think Mark Oates cautionary note to packrafters is critical: take a swiftwater rescue class, learn to use a throw rope, get introductory instruction to learn to read whitewater. See more Mark Oates outfitting discussion at: at: https://www.facebook.com/AmericanPackraftingAssociation/posts/1086691728061147
and: https://www.youtube.com/user/oatesma
And of course, the legendary Luc Mel at: https://thingstolucat.com/packrafting-equipment-guide/
Monica Morin, NPS, gives packrafting clinics, hoping to encourage packrafters to learn the basics of whitewater navigation and safety practices. Too many packrafters feel comfortable in their wide, stable craft in whitewater above their skill levels!
Understand that packrafts have specific performance limits. All packrafts. E.g.: They don’t side surf well. If you get thrashed and pop out packrafts blow away from you much faster than you can swim. So paddle with a partner! Better a group! Start in water you know you can handle. Stop and look ahead if you aren’t sure. Carry safety gear. Be prepared.
Enjoy,
Bruce
-
July 11, 2021 at 11:11 am #14881BruceParticipant
Terry,
You have a great kit awaiting, I will offer a few thoughts regarding your iron.
From the pictures it looks just like the leather irons I have. Mine just plug in and work. Eventually. It does take 20 minutes for them to reach temperature on 120v power. And they will go well beyond 220 degrees C.
Yes, I painted the sides flat black to use my infrared thermometer. Your stand looks superb.
Is it possible you have a poor ceramic heating element and need to order another iron?
Is it possible that the temperature control knob is maladjusted?
Before setting the tool aside for spare parts, you might consider full disassembly and a look at the knob to see if it got put in wrong. If that’s even possible.
Not having taken one apart I am not sure how the knob could be put in wrong, but it would be on the top of my trouble shooting list.
Its digital circuit is generally beyond my input, and I think might be responsible for smaller temperature swing than my model aircraft irons, which could vary given the price range these are sold at.
Those two points aside, I am very interested in knowing how your step up transformer works. Your observations on the use of the transformer will likely have value to many others. So I’m hoping you post your results.
Great topic. Best of luck.
Bruce
-
May 14, 2021 at 12:56 am #14435BruceParticipant
-
<li style=”text-align: left;”>Craig,I have several Hangar #9 irons. Short answer: they are all slightly different. Most have a 10 to 20 degree temperature swing to activate the thermostat. When activated the thermostat connects the current increasing heat. Heat rises 10 to 20 degrees.
- Fairbanks
Do buy a thermal infrared thermometer and watch the iron cycle. If it is rising more than 20 degrees during the top heat cycle, the bimetallic thermostat control may be worn out and you need a new iron.
My preference is a temperature cycle between 200 and 220 degrees C. I sometimes need to make tiny adjustments in the thermostat knob to achieve the desired top temperature. It is common for model aircraft irons to have a top temperature just under 200 degrees, necessitating an adjustment. See how below.
Bruce Campbell -
April 10, 2021 at 6:13 pm #14160BruceParticipant
Barbara,
I have used one of the Petite Press irons. They have a pretty weak handle that prevents using much pressure to seal the seam, and they are low wattage, if I recall it is a 40 watt iron. It’s owner found it very slow to bring a seam up to temperature and seal. He gave up and got a model aircraft iron.
As others have noted, the 165 watt model aircraft irons have been in very short supply. Perhaps R/C enthusiasts are all building drones, and no one heat seals light fabric onto model aircraft?? Who knows. At this instant, RC Planet has the Hangar 9 for $19.99. The Hangar 9 irons I have did not require internal adjustment of the thermocouple. They just need to have the sides ground to a nice 1 cm flat usable surface, and I like to grind a clipped nose I can tip upside down and get into folded or overlapping seams. Grinder, file, and/or sandpaper is all you need. I really like the amount of heat, and the ability to flip it from side to side and have a fresh hot surface. Use your infrared digital thermometer to make sure it stays between 205 and 225 degrees.
I agree with Matt that the Ali express adjustable, 150 watt, leather irons are the best and most available. The hard part is finding the key search words. I googled “Ali express leather iron” a couple minutes ago and was given several choices, including one for under $10 with free shipping. They are normally $21 to 35. I bought simple white plastic plug adapters. Matt opens them up and simply rewires them to a 120 plug, I’ll do the same – one of these days. I then paint the sides with High Temperature Flat Black Stove paint. This allows me to check the temperature with an infrared thermometer. Alas IR thermometers can’t read bright shiny reflective surfaces. I tape the temperature dial to keep it from getting bumped. And I recheck the iron temp frequently. These can get way to hot! The upturned tip is really nice for tight corners and seams.
Hope this helps.
Bruce
-
April 10, 2018 at 7:40 pm #6018BruceParticipant
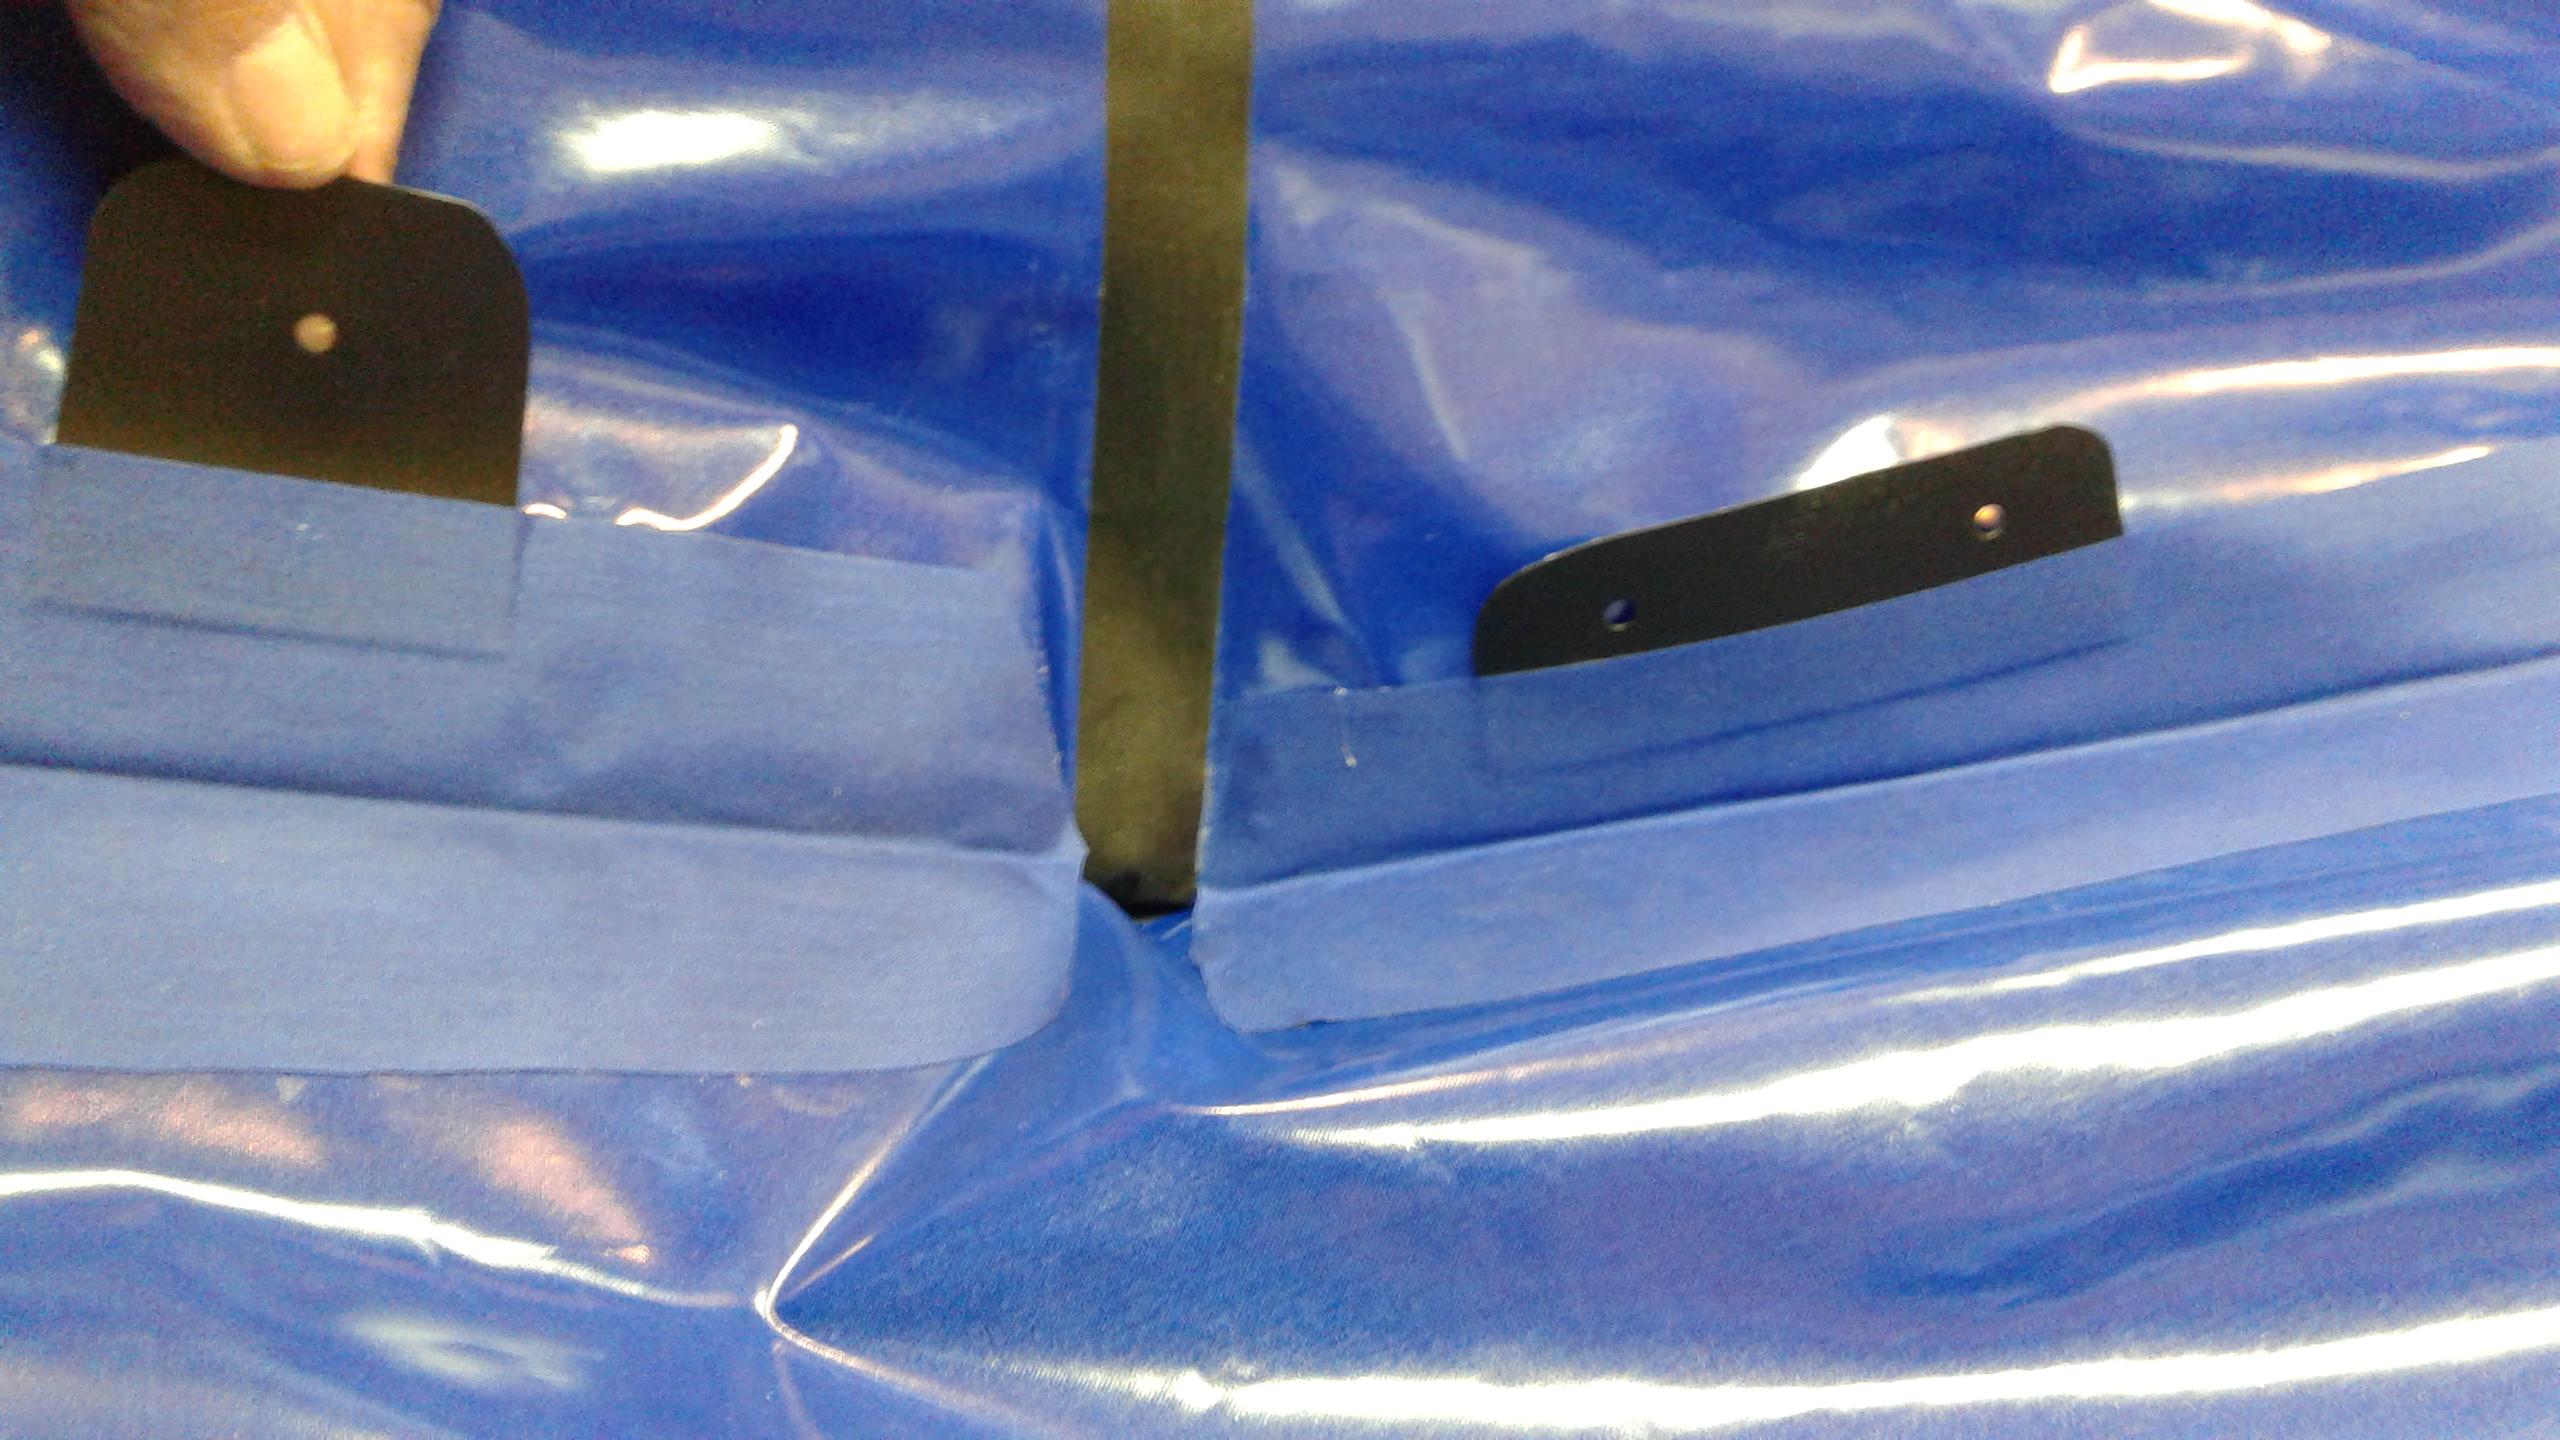
Taylor,
Punch holes in the tabs. Here’s another photo, pardon the poor image, but I hope you can see the holes. They are ready for short pieces of cord to tie to matching holes punched in similar tabs in the seat. The goal is to prevent the seat from floating away should you be si-washed in whitewater. Or carrying the raft from the car for that matter.
-
March 26, 2018 at 12:26 pm #5862BruceParticipant
The Boston Valve’s one-way middle partition is excellent. I use 1/2″ ID x 5/8″ OD tubing with a couple -three layers of duck tape around it to get a seal inside the middle valve. (7/8″ is for the larger opening when using my inflation bag.) I don’t want to snag the longer top-up tube attached to a top-up valve and have it pop apart. Especially if paddling in whitewater and attempting to assist someone who is swimming with their hard-shell kayal. If they grab the tubing instead of the webbing I have for them to grab onto?
 Oops! I could join them in the swim!
Bruce,
Fairbanks
-
February 4, 2018 at 11:37 pm #5381BruceParticipant
In further response to Clemens:
Here is a photo of the filed area on my second Chinese “adjustable Leather Iron” (made by Jingda Thermoelectric Products). The area filed is best illustrated before I smooth and polish it with sand paper and steel wool. Please note the blue tape over the cooling vents to prevent aluminum filings from contaminating the circuit board.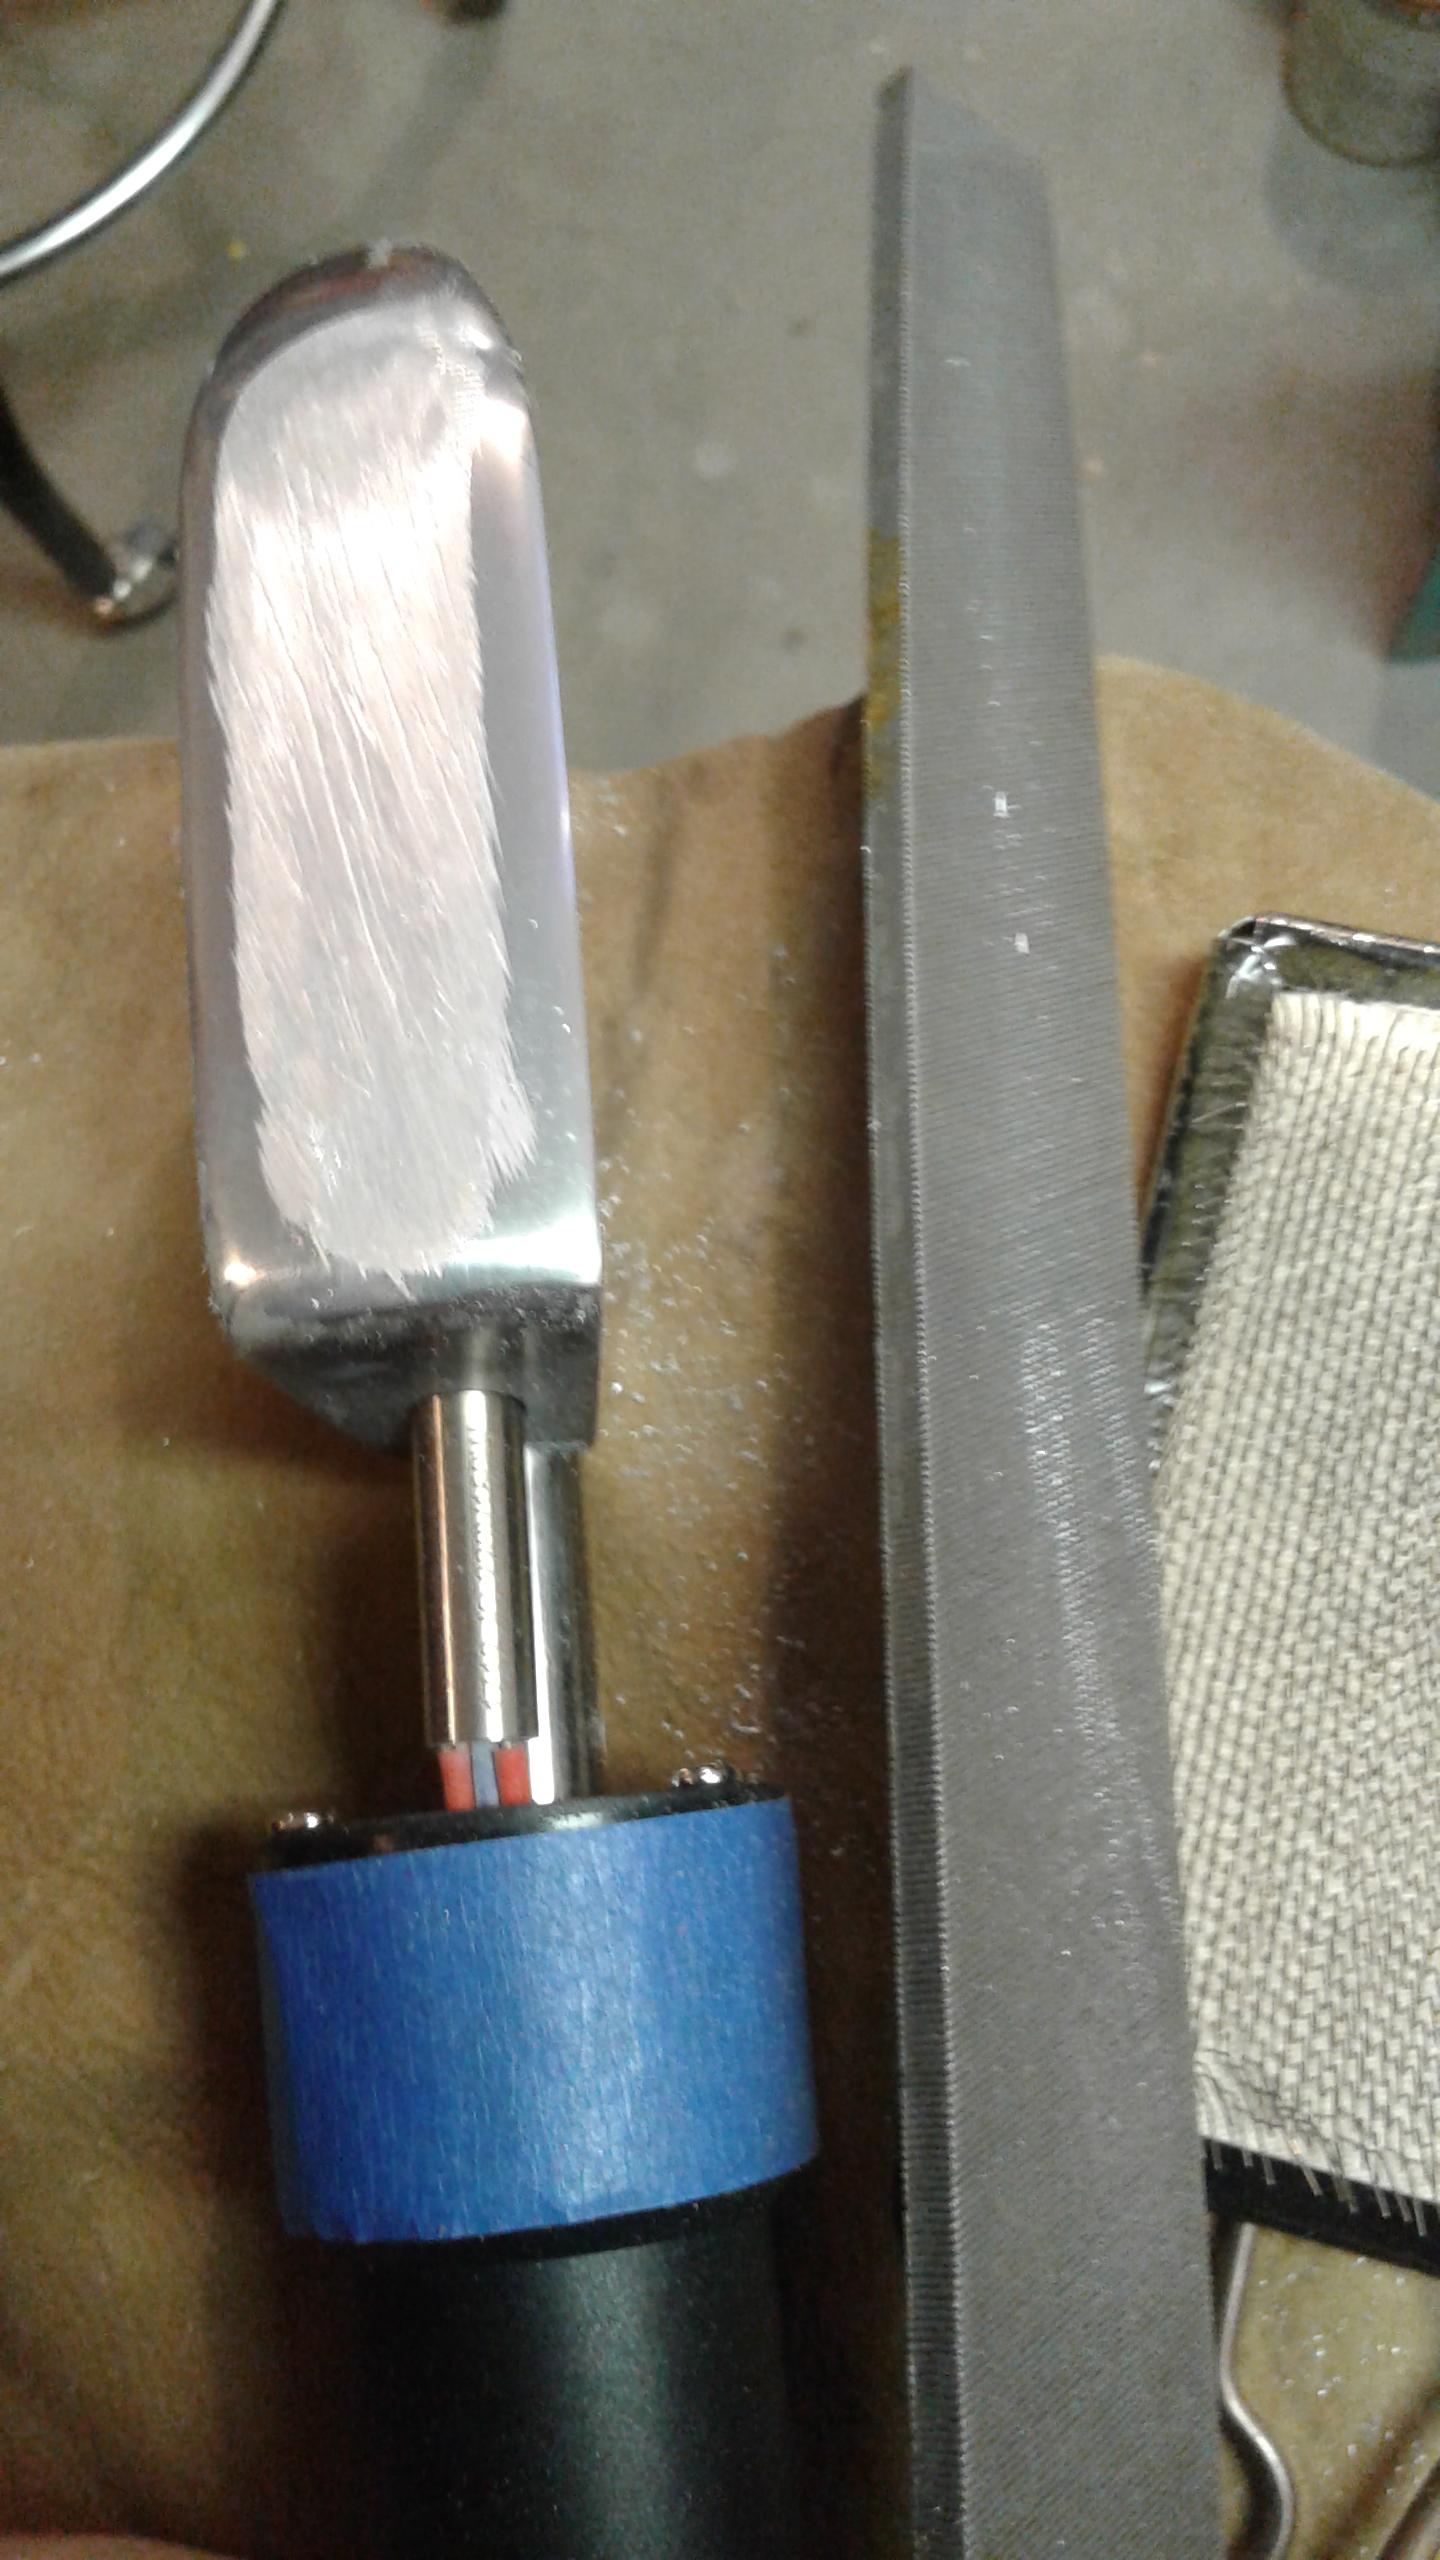
-
January 30, 2018 at 6:49 pm #5320BruceParticipant
To further answer Sean’s question about the temperature rating of the Aliexpress Adjustible leather iron. I measured the temperature, using a Coverite analog thermometer and a ThermaPro digital oven thermometer. Power source is 120v US electrical power.
Iron dial setting Coverite Temp ThermaPro
300 C 192 C 163 C
325 C 214 C 200 C
On a second iron, from a different seller, but with the same “Jingda Thermoelectronic Products” label, a setting of 295 degrees C yields 205 degrees C, just what I want for heat sealing.
So, yes, the small dial thermostat gives some variance in readings from instrument to instrument, as expected. But No, with two irons to compare, using 120 volt power does not reduce the temperature by 50% as portrayed on some of the Chinese seller’s websites.
Bruce
Fairbanks
-
January 30, 2018 at 6:30 pm #5319BruceParticipant
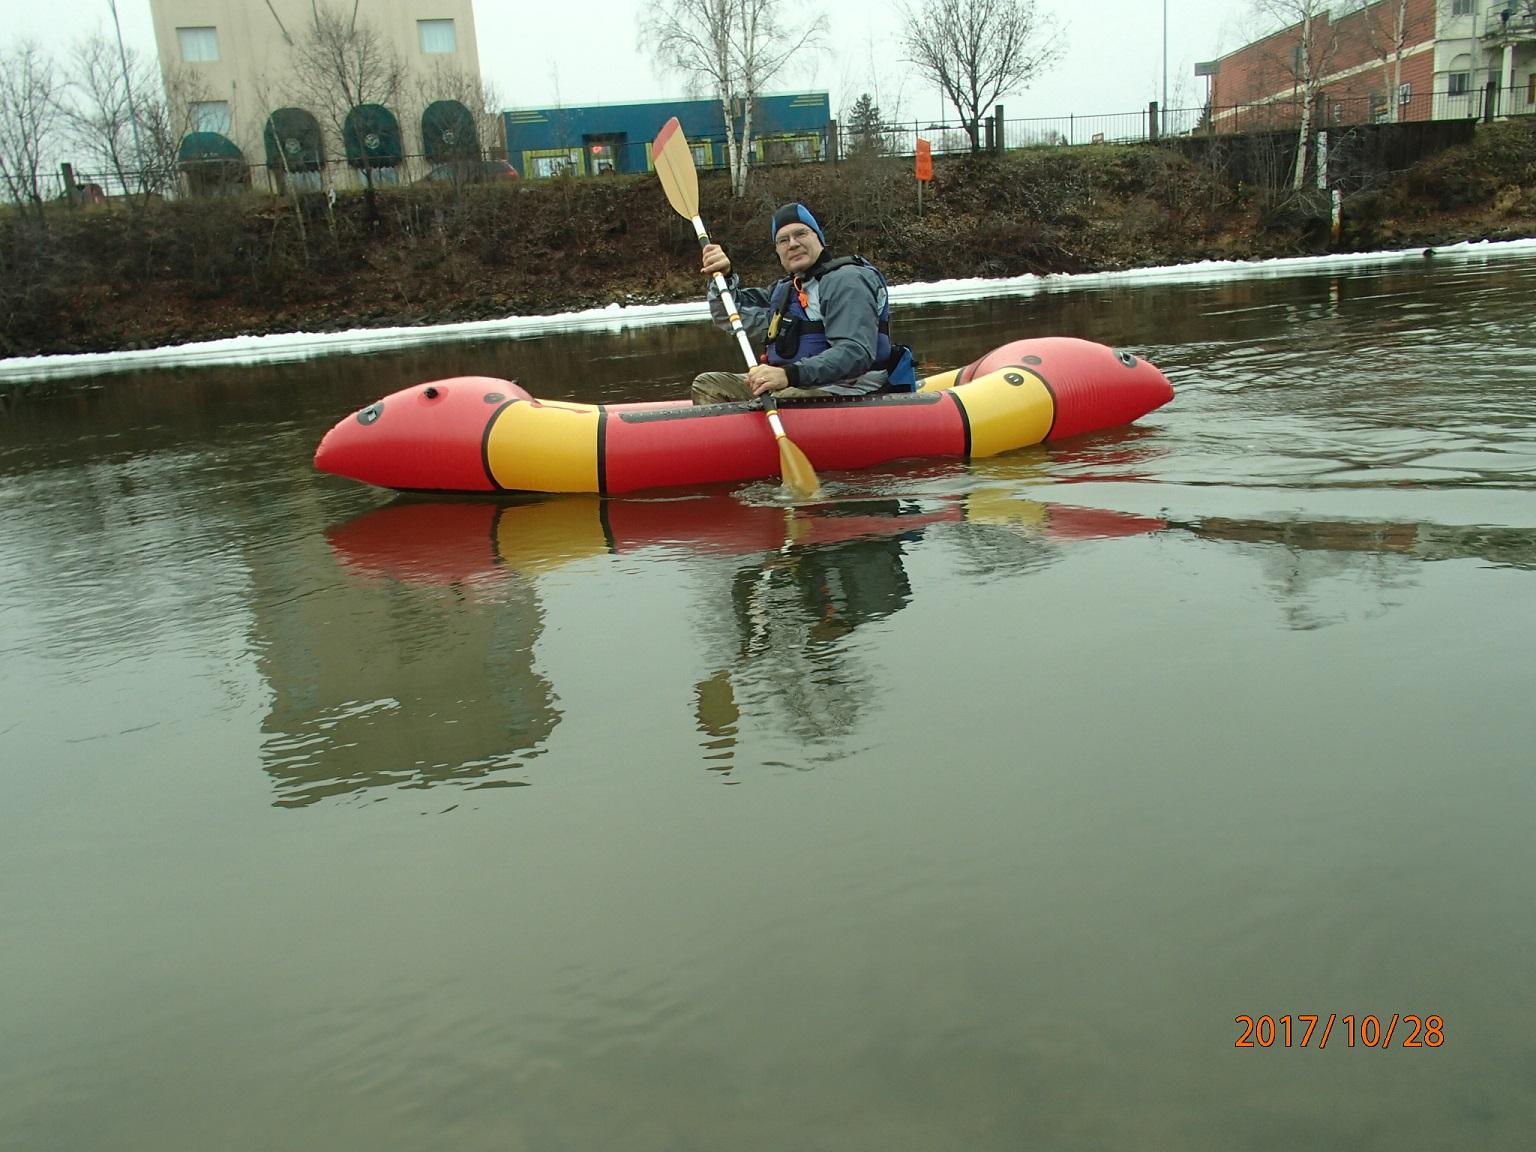 My first tandem, V3, on the Chena River, Fairbanks, Alaska. It was hard to keep the air pressure up ’cause I didn’t have a top-up valve installed. And the water was a lot colder than the air! As such, you can see some wrinkles when I move forward in the raft. Obviously, if one makes an even longer tandem, which is easy to do with the parallel tubes, then it can be harder to keep the side tubes stiffly inflated!
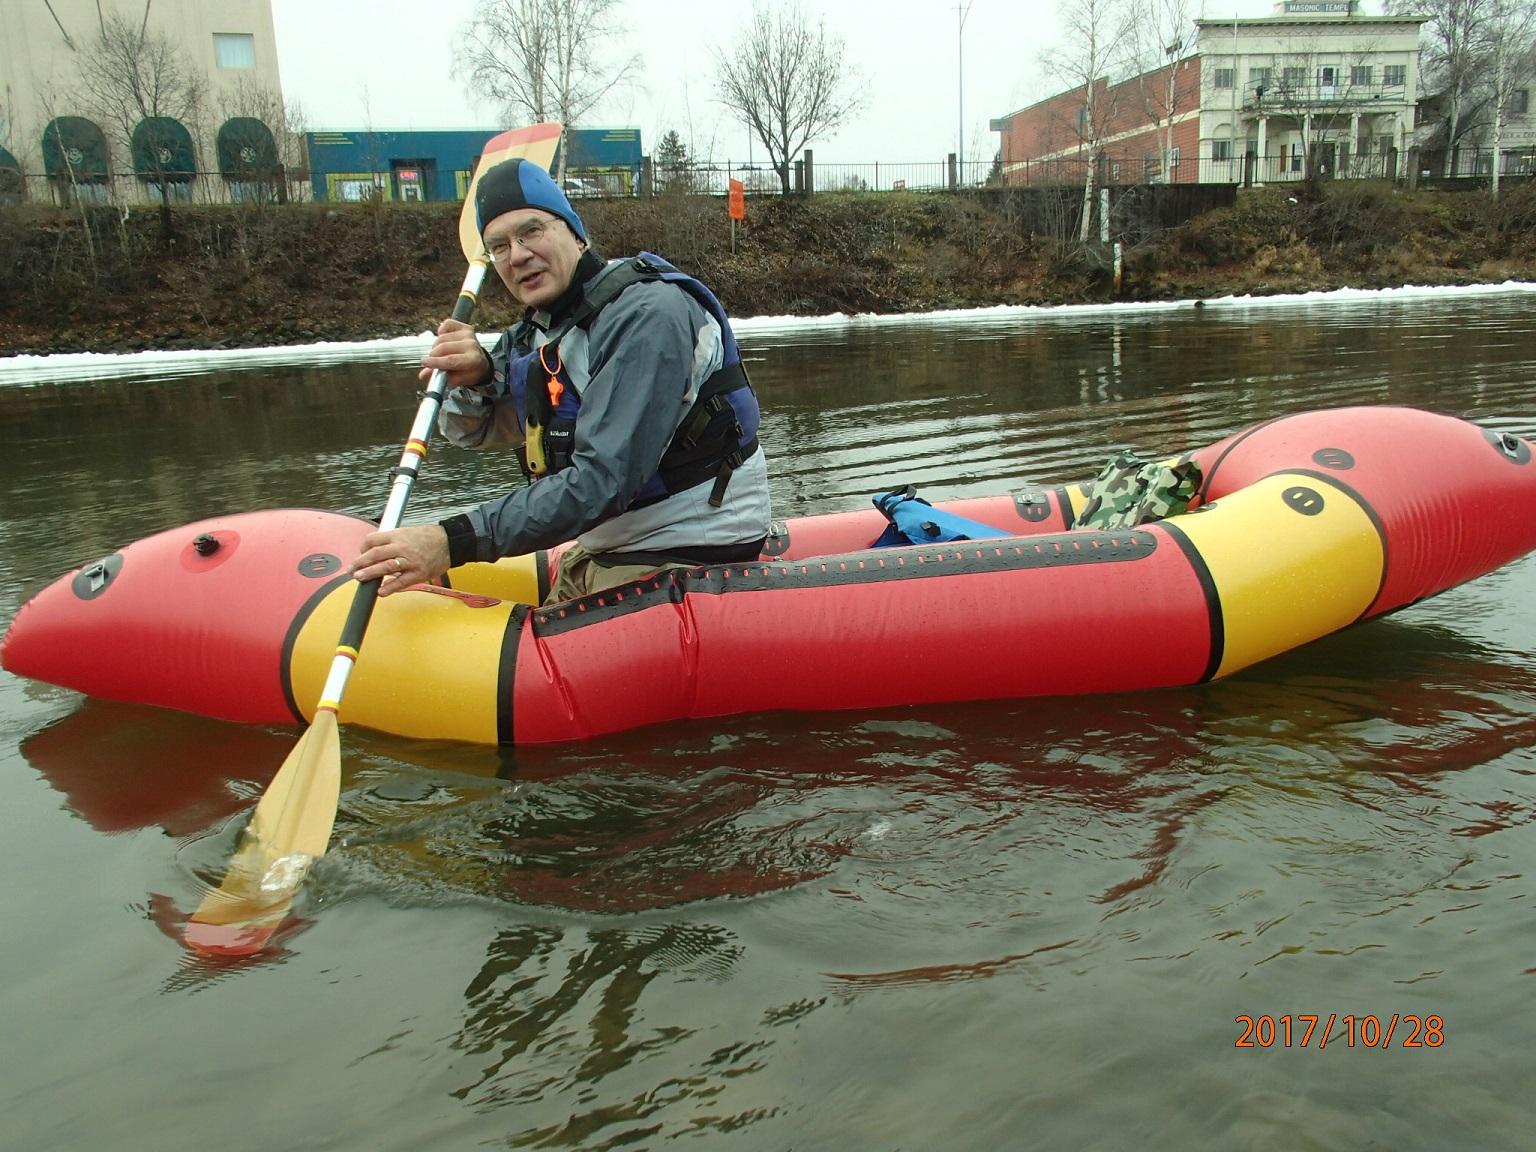
-
January 3, 2018 at 12:30 am #5191BruceParticipant
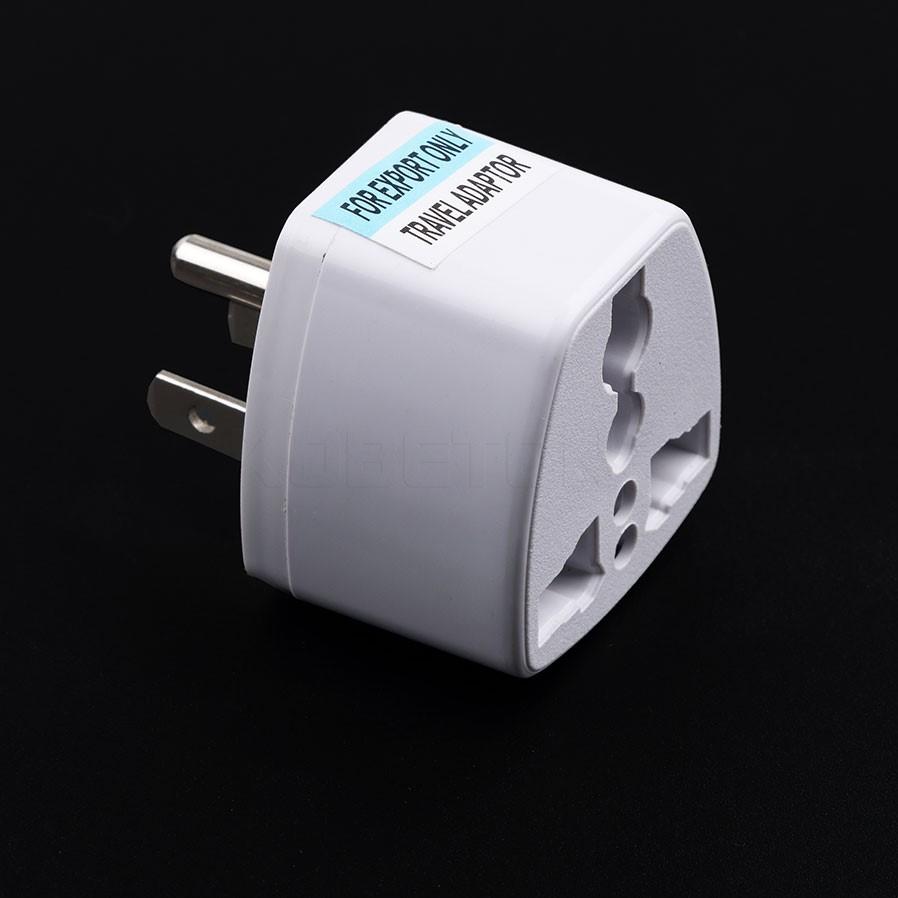
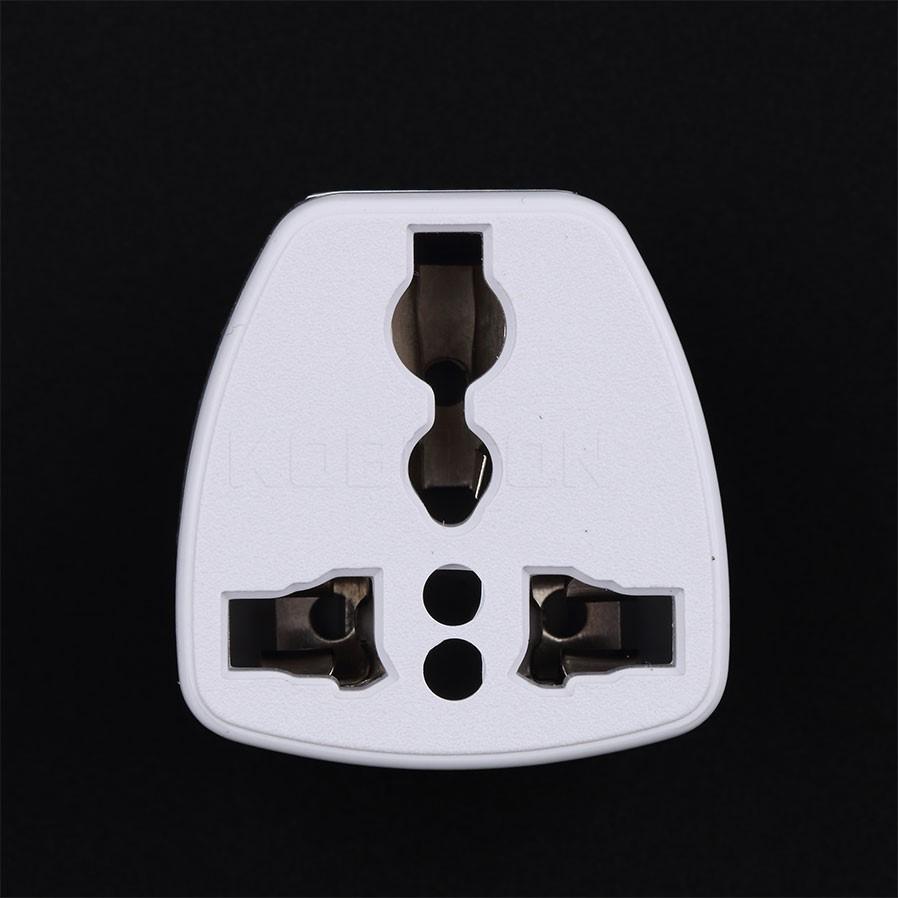
If you order an adjustable Leather Iron through Aliexpress, like the Jingda first discovered by Lynn, you may want to also order a 3-prong US plug adaptor. They are inexpensive ($0.66 with free shipping), but hard to find on Aliexpress. Here is a link for one. I haven’t ordered it, just wanted to provide the link so others might. I will order one when I order another iron and then I’ll report back:
The key search words seemed to be: Universal 3 Pin US Plug Travel Adapter
-
December 15, 2017 at 5:10 pm #5151BruceParticipant
Matt,
Yes, hard to find. I have best luck searching under: adjustable leather iron. There are many models and colors. Be aware: the lowest prices are for non-adjustable irons and I don’t know how these will work. I’ve also seen one with a wider foot – it might be easier to cut off the “wings” to a more desirable narrow foot, don’t know, but here is a link:
Maybe if I knew Chinese? Ha!
Bruce
-
-
AuthorReplies